Search
  • Information
    • About
    • Contact
    • Privacy Policy
  • Blog
  • Subscribe
  • Tutorials
    • Tutorials
    • Doll Clothes: Photos and some Patterns
  • Suggested Reading
  • Quilts: My Original Designs
  • Gallery: Color Studies
  • Gallery: Quilts I've Made
  • Doll Making Blog Posts
  • Recent blog posts
  • Quilts Based on The Improv Handbook for Modern Quilters
Close
Menu
Search
Close
  • Information
    • About
    • Contact
    • Privacy Policy
  • Blog
  • Subscribe
  • Tutorials
    • Tutorials
    • Doll Clothes: Photos and some Patterns
  • Suggested Reading
  • Quilts: My Original Designs
  • Gallery: Color Studies
  • Gallery: Quilts I've Made
  • Doll Making Blog Posts
  • Recent blog posts
  • Quilts Based on The Improv Handbook for Modern Quilters
Menu

Sleeping Dog Quilts

SLEEPING DOG QUILTS

October 14, 2021

Naural Dyeing With Fall Flowers: Marigolds and Asters

by Judy Tucker


Cotton yarn dyed with yellow marigolds

Cotton yarn dyed with yellow marigolds

Cotton yarn dyed with yellow marigolds

Cotton yarn dyed with yellow marigolds

There was a lull in during the hot days of summer when there weren’t many flowers blooming in my little yard. But in September, suddenly I had a lot of blossoms. I’d read that marigolds can make a lovely yellow natural dye. And indeed, they do!

The flat of marigolds I planted around by kitchen garden last spring had a mix of yellow, orange and red/gold variegated flowers. Only 2 of them were yellow, which is the color I keep trying to achieve with my natural dye experiments. I never want to strip a plant of all it’s flowers—the plant and the pollinators need them! So I was able to harvest about 10 blossoms which I figured might be enough to dye my small hank of #3 cotton crochet yarn. Using a soy milk mordant I did indeed get a soft yellow. This one makes me happy.

All summer I waited patiently for my large patch of pink and purple asters to bloom. By mid September they’d created a riot of color.

Purple and pink asters

Purple and pink asters

Would the purple asters give me a pink, purple or some other color dye? I used the whole flower, not just the petals.

Dyeing with purple aster

Dyeing with purple aster flowers

Yellow green?? It’s actually a lovely color, but so not what I was hoping for from those deep purple flowers. I took two aliquots of the dye solution and added vinegar to one and baking soda to the other. I thought that the baking soda brightened the color, so that the color you see is above is aster natural dye with alkali.

This was fun, but now I understand why there isn’t much out there about natural dyeing using aster flowers!

TAGS: Natural dyeing, Natural dyeing with asters, natural dyeing with marigolds


August 19, 2021

Natural Fabric Dyeing--the Adventure Continues

by Judy Tucker


Avocado Pit dyeing in a jar at room temperature for 8 days

Avocado Pit dyeing in a jar at room temperature for 8 days

Avocado Pit dyeing in a jar at room temperature for 8 days

Avocado Pit dyeing in a jar at room temperature for 8 days

The adventure of dyeing with natural dyes using Rebecca Desnos’s book Botanical Colour at your Fingertips continues!

Above is my last, and slowest, avocado pit dyeing. It was done without using any heat. I folded the fabric and put it in a mason jar with the lid on, using the remaining neutral dye from my avocado mash. It sat on my kitchen counter for 8 days. At that point I was thinking that it was starting that the it was all just starting to smell like a tad funky. Not wanting a fermented or moldy fabric, I pulled it out and hung it dry in the shade on my porch railing.

I really like this piece of fabric. I used Cover Wonder Clips instead of clothespins to secure the folds. They actually have a tighter grip so I got clear white squares which I love.

So that’s it for the avocado pit dye.

I have a very large patch of peppermint in my front garden. It’s in bloom at this moment and is pollinator heaven! So I picked a bunch of peppermint, flowers and all, and boiled up a new dye bath. I used one strip of fabric which had the soy milk mordant. And a strip which I had pre-soaked with 1 part white vinegar and 4 parts water. Here’s what happened.

IMG_6312.JPG
IMG_6208.jpg

The strip at the top, with the soy milk mordant picked up a lot of dye from the peppermint and turned a deep olive green. The fabric treated with the vinegar is a soft light green. Both fabrics were boiled together in the same dye bath.

It’s really interesting to see how the soy milk mordant really does bind so much more dye. Though I happen to really like the very pale green fabric better!

For my last natural dyeing experiment, I used yarrow, also growing in my front garden. When it first blossoms, the flowers are magenta, but then they fade to white. You can just see a trace of pink left in this cluster. As with the peppermint, I dyed both fabric treated with the soy milk mordant and the vinegar dip. Here’s what happened.

IMG_6315.jpg
IMG_6325.jpg

The fabric dipped in the vinegar solution at the top on the right barely picked up any dye from the yarrow. it is a very pale yellow with a hint of tan. The fabric with the soy mordant, at the bottom, picked up lots of dye and is lovely light green/tan color.

Here is a photo of the fabrics dyed with both the peppermint and the yarrow. They create a beautiful set of gradated fabrics in the yellow/green/olive/tan family.

Notice: This blog is not monetized: I do not use affiliate links. When there are links in a post, they are to give credit to another creative person, because I like or have used a product, or to help the reader easily find supplies for a project.

Top to bottom: Peppermint on fabric dipped in 1:5 vinegar solutionPeppermint on fabric with a soy milk mordantYarrow on fabric dipped in 1:5 vinegar solutionYarrow on fabric with a soy milk mordant

Top to bottom:

Peppermint on fabric dipped in 1:5 vinegar solution

Peppermint on fabric with a soy milk mordant

Yarrow on fabric dipped in 1:5 vinegar solution

Yarrow on fabric with a soy milk mordant

My neighbor just told me that I can harvest as much as I want from his sage “forest”! So stay tuned! But it will be a while. I need to treat some more fabric and then make the dye.

But in my next post I’ll tell you about a great zine which Rebecca edited and published.

TAGS: Natural dyeing, Natural dyeing with yarrow, Natural dyeing with peppermint, Natural dyeing with avocado pits, Natural Dyeing using the book "Botanical Colour at Your Fingertips" by Rebecca Desnos


August 12, 2021

Doing Natural Fabric Dyeing using the book "Botanical Colour at your Fingertips"

by Judy Tucker


Kona® cotton dyed with avocado pits. Top was first extraction with lemon juice added (acid), middle was the second extraction without any additives, bottom was second extraction, second used with baking soda added (alkali).

Kona® cotton dyed with avocado pits. Top was first extraction with lemon juice added (acid), middle was the second extraction without any additives, bottom was second extraction, second used with baking soda added (alkali).

Kona® cotton dyed with avocado pits. Top was first extraction with lemon juice added (acid), middle was the second extraction without any additives, bottom was second extraction, second used with baking soda added (alkali).

Kona® cotton dyed with avocado pits. Top was first extraction with lemon juice added (acid), middle was the second extraction without any additives, bottom was second extraction, second used with baking soda added (alkali).

In my post last week, I started a review of Rebecca Desnos’s lovely book, Botanical Colour at your Fingertips. Rather than tell you all about the contents of the book, I thought I’d show you what I’ve done using Rebecca’s excellent instructions.

I do love pink, and when I read that avocado skins and pits create peach and pink dyes, that is were I decided to start. The avocado pits give a deeper color, and they are definitely easier to store, so my pink dye is derived from avocado pits.

So let’s get the dye pot on the stove to start the extractions from the avocado pits!

409ACAB2-AD21-4928-BE6B-65A9B9E45969.jpeg
1ADF7D71-CED1-4F78-8DAA-2DDF9DDFB661.jpeg

i have to say I was less than overwhelmed with the results I got from the first extraction from the avocado pits. The colors do get more vivid with a second extraction, but part of the problem I didn’t get a lot of color is that I folded a fat quarter of my fabric in too many layers, making it difficult for the dye to penetrate. You can see below that the color really only dyed the edges of the folds and the two bits of fabric that were the outside folds.

Avocado pit dye, first extraction, folded fabric

Avocado pit dye, first extraction, folded fabric

I also tried creating an ombré by dipping one end of some folded fabric in the dye pot and leaving the other just inside the rim at the top of the pot. It looks like he Kona® cotton didn’t wick very well. So my ombré is barely visible in the final fabric. There is almost a hard line that shows which part of the fabric was submersed in the dye.

90835403-CEAB-44AB-A015-8D15029F8087.jpeg
DAE62FFC-4F15-4DC6-9F6E-0A33EE4A3D52_1_201_a.jpeg

I added some lemon juice to the first extraction to make the dye pot more acidic, and that created the lovely light brown dye. (See above top).

The color was a deeper pink with the second time I boiled the avocado pulp. (See middle fabric at top). I also use a smaller pieces of fabric with in the second dye lot which helped too.

Finally i decided to add baking soda to the dye bath to see what an alkali dye would do. One unexpected side effect of that is that the dye nearly boiled over a couple times. it really frothed up and tried to climb out of the pot! So I had to watch it closely and keep the pot on a very low simmer. It looked like the color was going to be deeper and more purple. I does have a light purple cast (bottom fabric at top) but it definitely isn’t deeper.

So that’s it so far with my adventures with natural dyeing with avocado pits. I did put the avocado pit pulp in the freeze and maybe someday I’ll see what happens with extracting a third dye pot lot with the mash.

In my next post, I’ll show you what I’ve done with plants from the garden.

TAGS: Natural dyeing, Natural Dyeing using the book "Botanical Colour at your Fingertips", Making pink dye from avocado pits, Natural dyeing with avocado pits


August 5, 2021

Book Review: "Botanical Colour at your Fingertips"

by Judy Tucker


IMG_6189.JPG
IMG_6189.JPG

If you ever wanted to try to do some natural dyeing using plants from the woods, your garden, or your kitchen, Rebecca Desnos’s 2016 book Botanical Colour at your Fingertips is a great place to start.

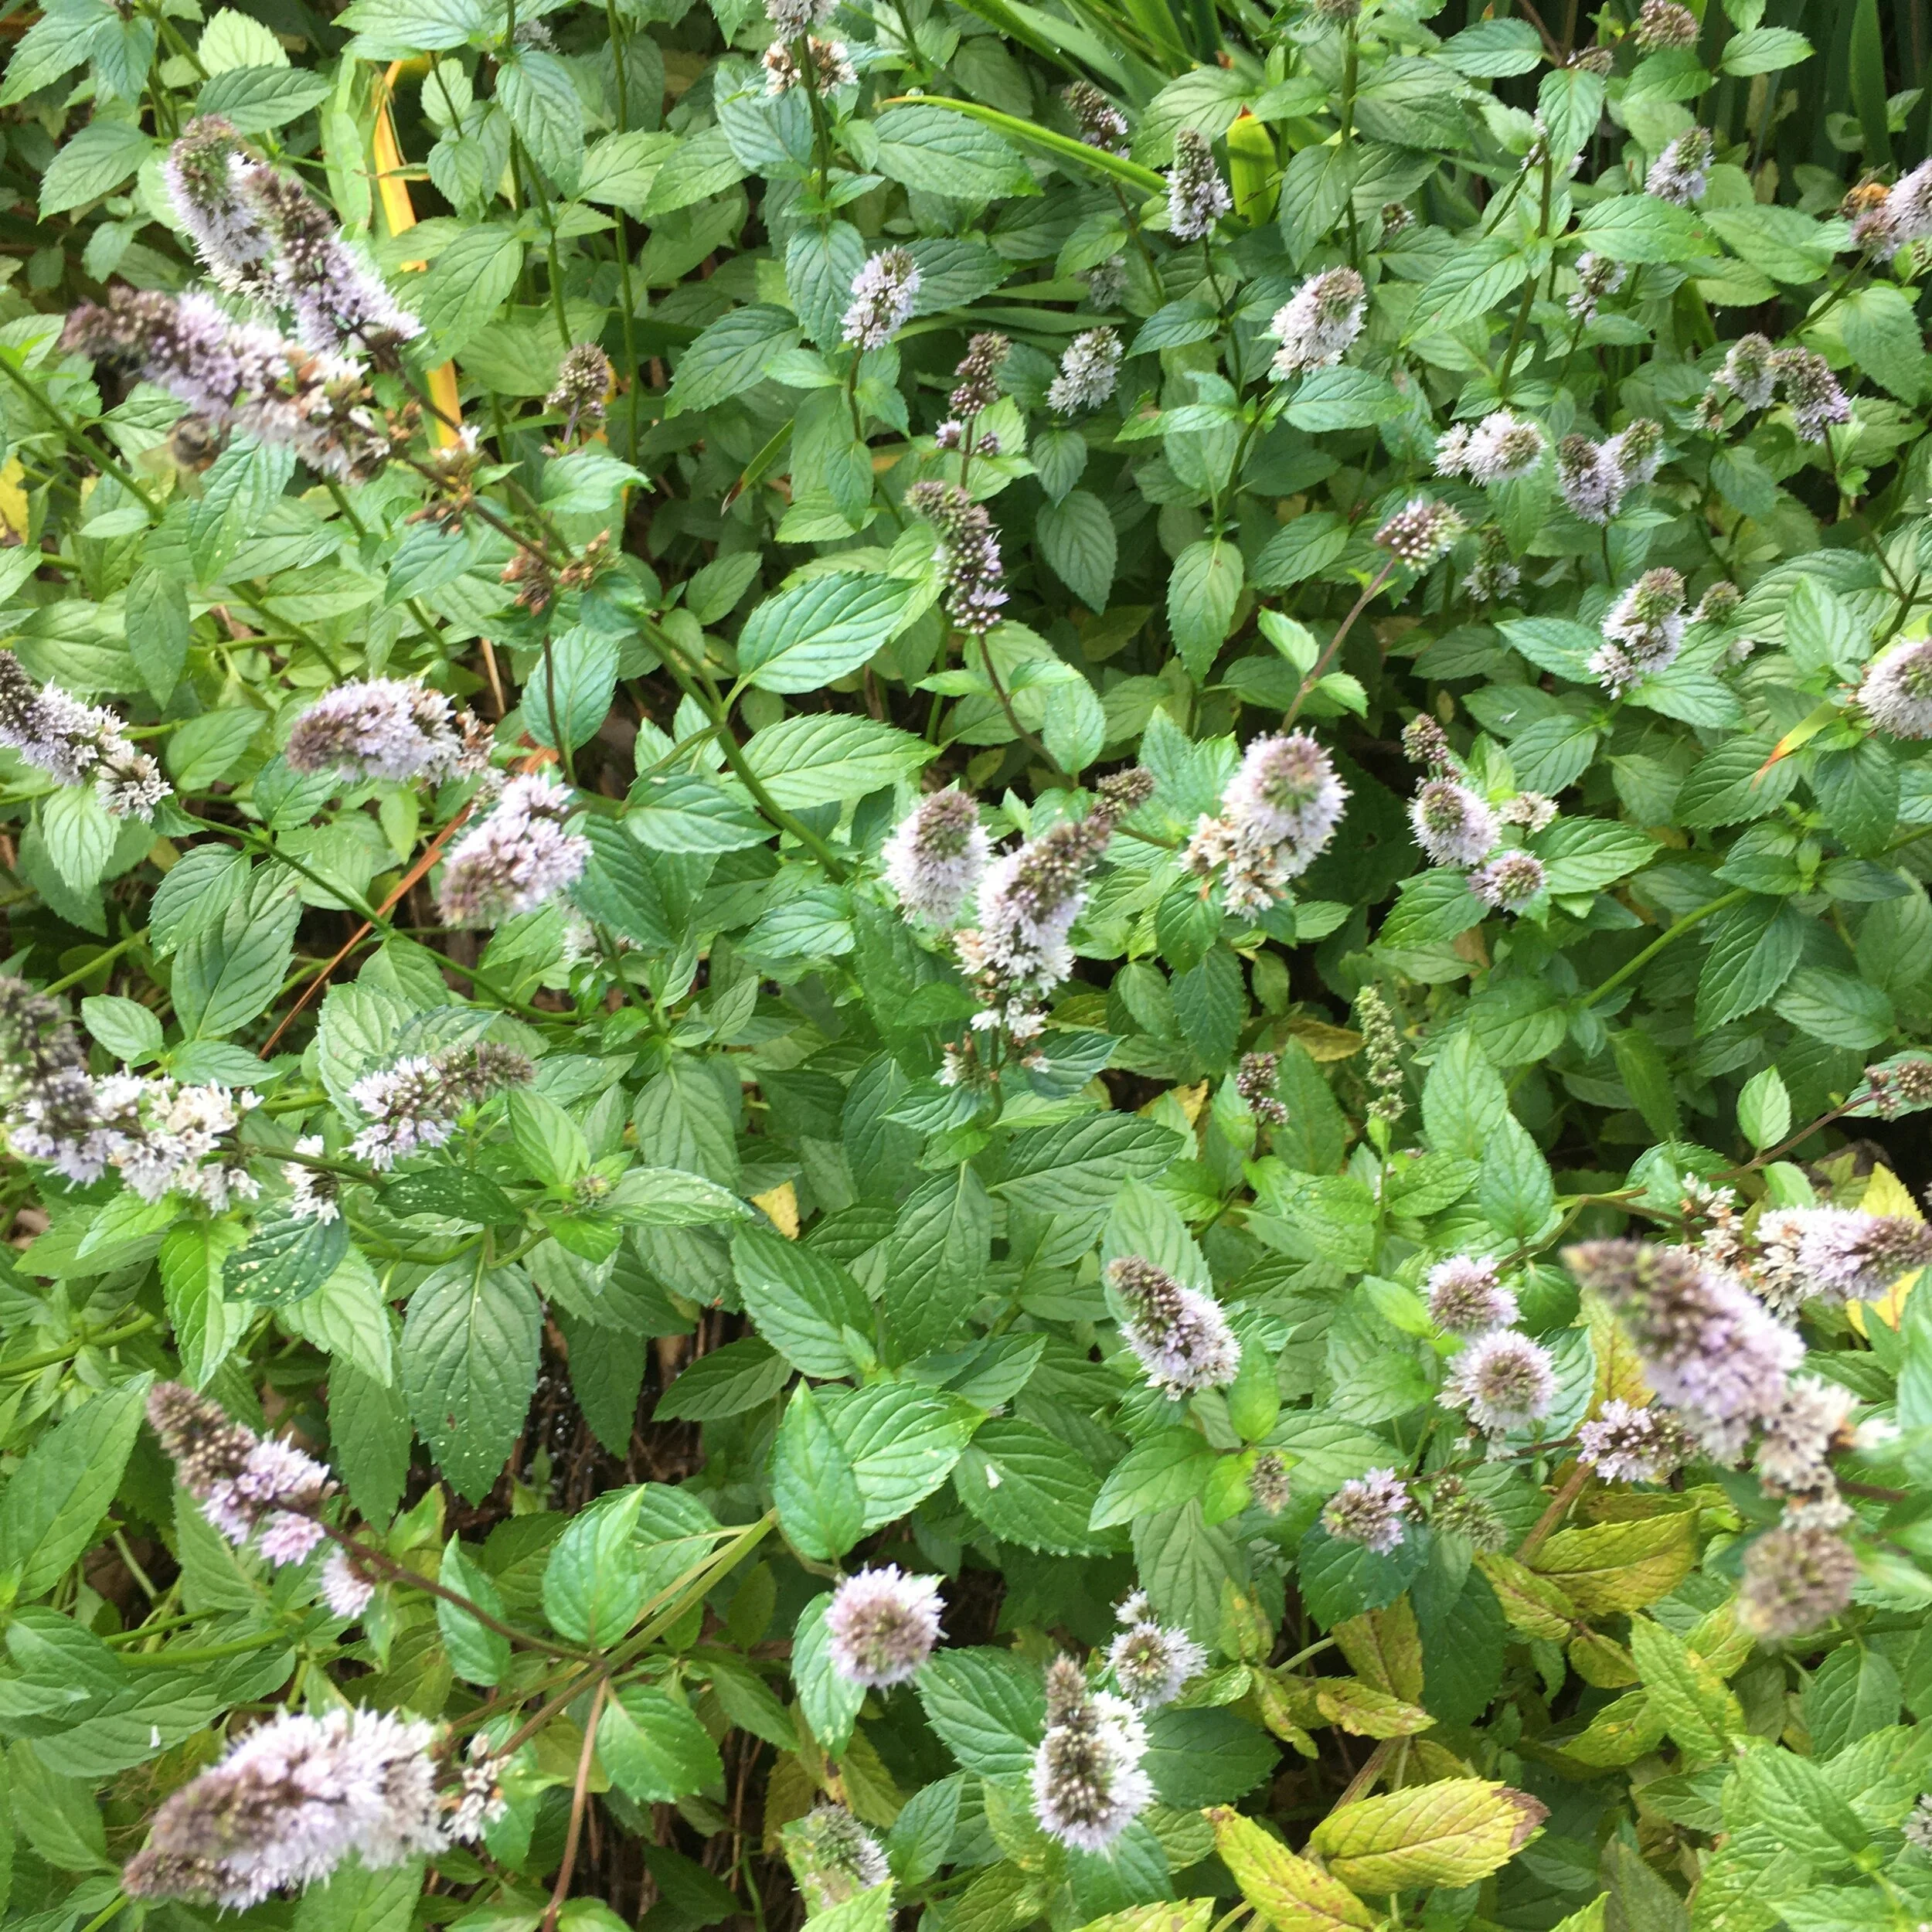
In the past, I’ve done dyeing with synthetic dyes, but I’ve never tried dyeing anything with natural dyes. But when I saw that green avocados create peach and pink dyes, that I just had to try!

This book goes takes you through the process of natural dyeing, step-by-step, covering each step in its own chapter. The instructions are clear, thorough, and beautifully illustrated. This book really does teach you how to do everything in the entire process from collecting plant matter to fixing the dyed items.

Natural dyeing is really fun, but be forewarned—this is a s-l-o-w process. Especially the first time you dye something. It will take 3-4 weeks before you will have fabric or yarn dyed and ready for use. So, definitely not a quick project to do in a weekend or with impatient children.

Rather than talking more about the book’s contents, I thought I’d show you about my experience doing natural dyeing using this book.

My task was collecting the items I needed to do the dyeing. All of the kitchen wear/utensils used for dyeing should be reserved JUST FOR DYEING. You can NOT dye and cook with the equipment. Rebecca recommends using an aluminum pot because the aluminum acts as a mordant for the dye. But she also discusses how other types of pots can create interesting effects with the plant dyes.

I don’t use any aluminum pots or pans in my kitchen so I couldn’t just re-purpose some thing I had. But I had a hunch I might find just what I needed at a local thrift shop. The first store only had stainless steel pots, but at the second, larger one, I had a choice of aluminum pots. Pick one with a lid, since you will need to cover the pot when you are boiling things. (I didn’t realize I’d need a lid, so I got a pot without one. That was easily solved with an inexpensive glass lid, but that was an extra expense I could have avoided if I’d picked a pot that still had its lid)! I fished around in my spoon drawer for a less-loved wooden spoon and found a wooden spatula that I never used. I wrote CRAFT ONLY on it with a marker, to be sure it wouldn’t need up back in the kitchen drawer. I had all the other items needed in my house.

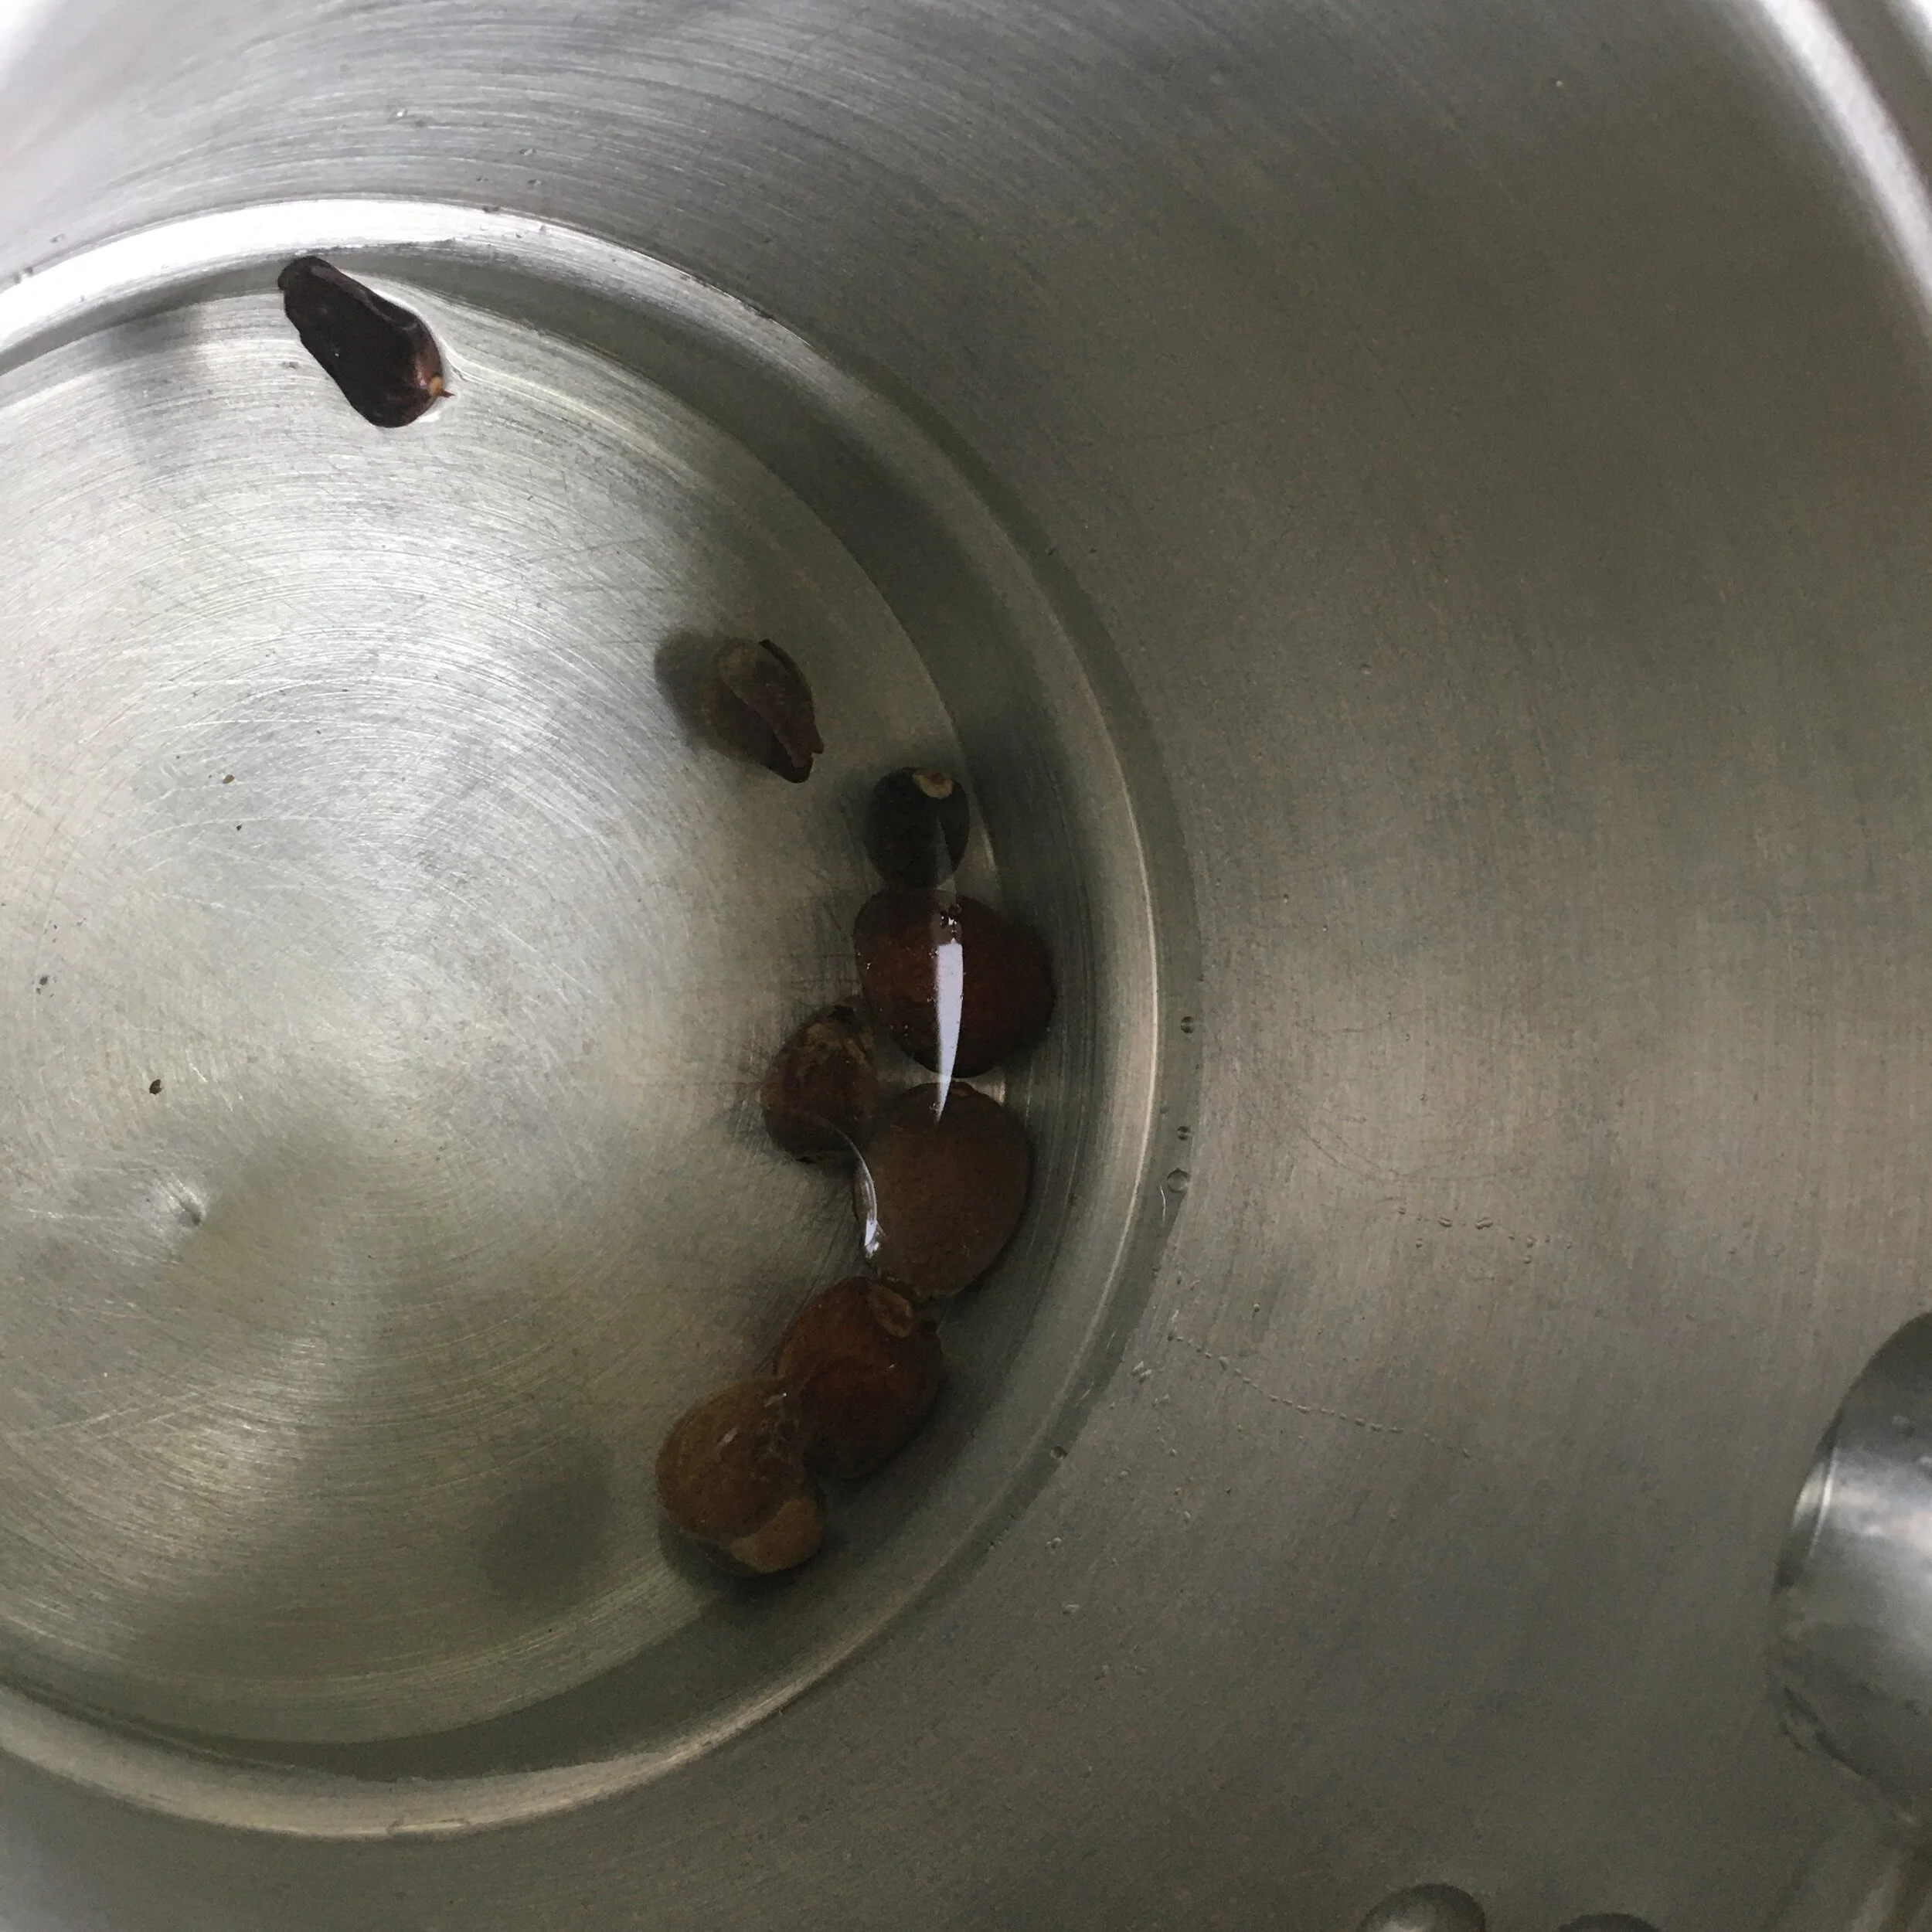
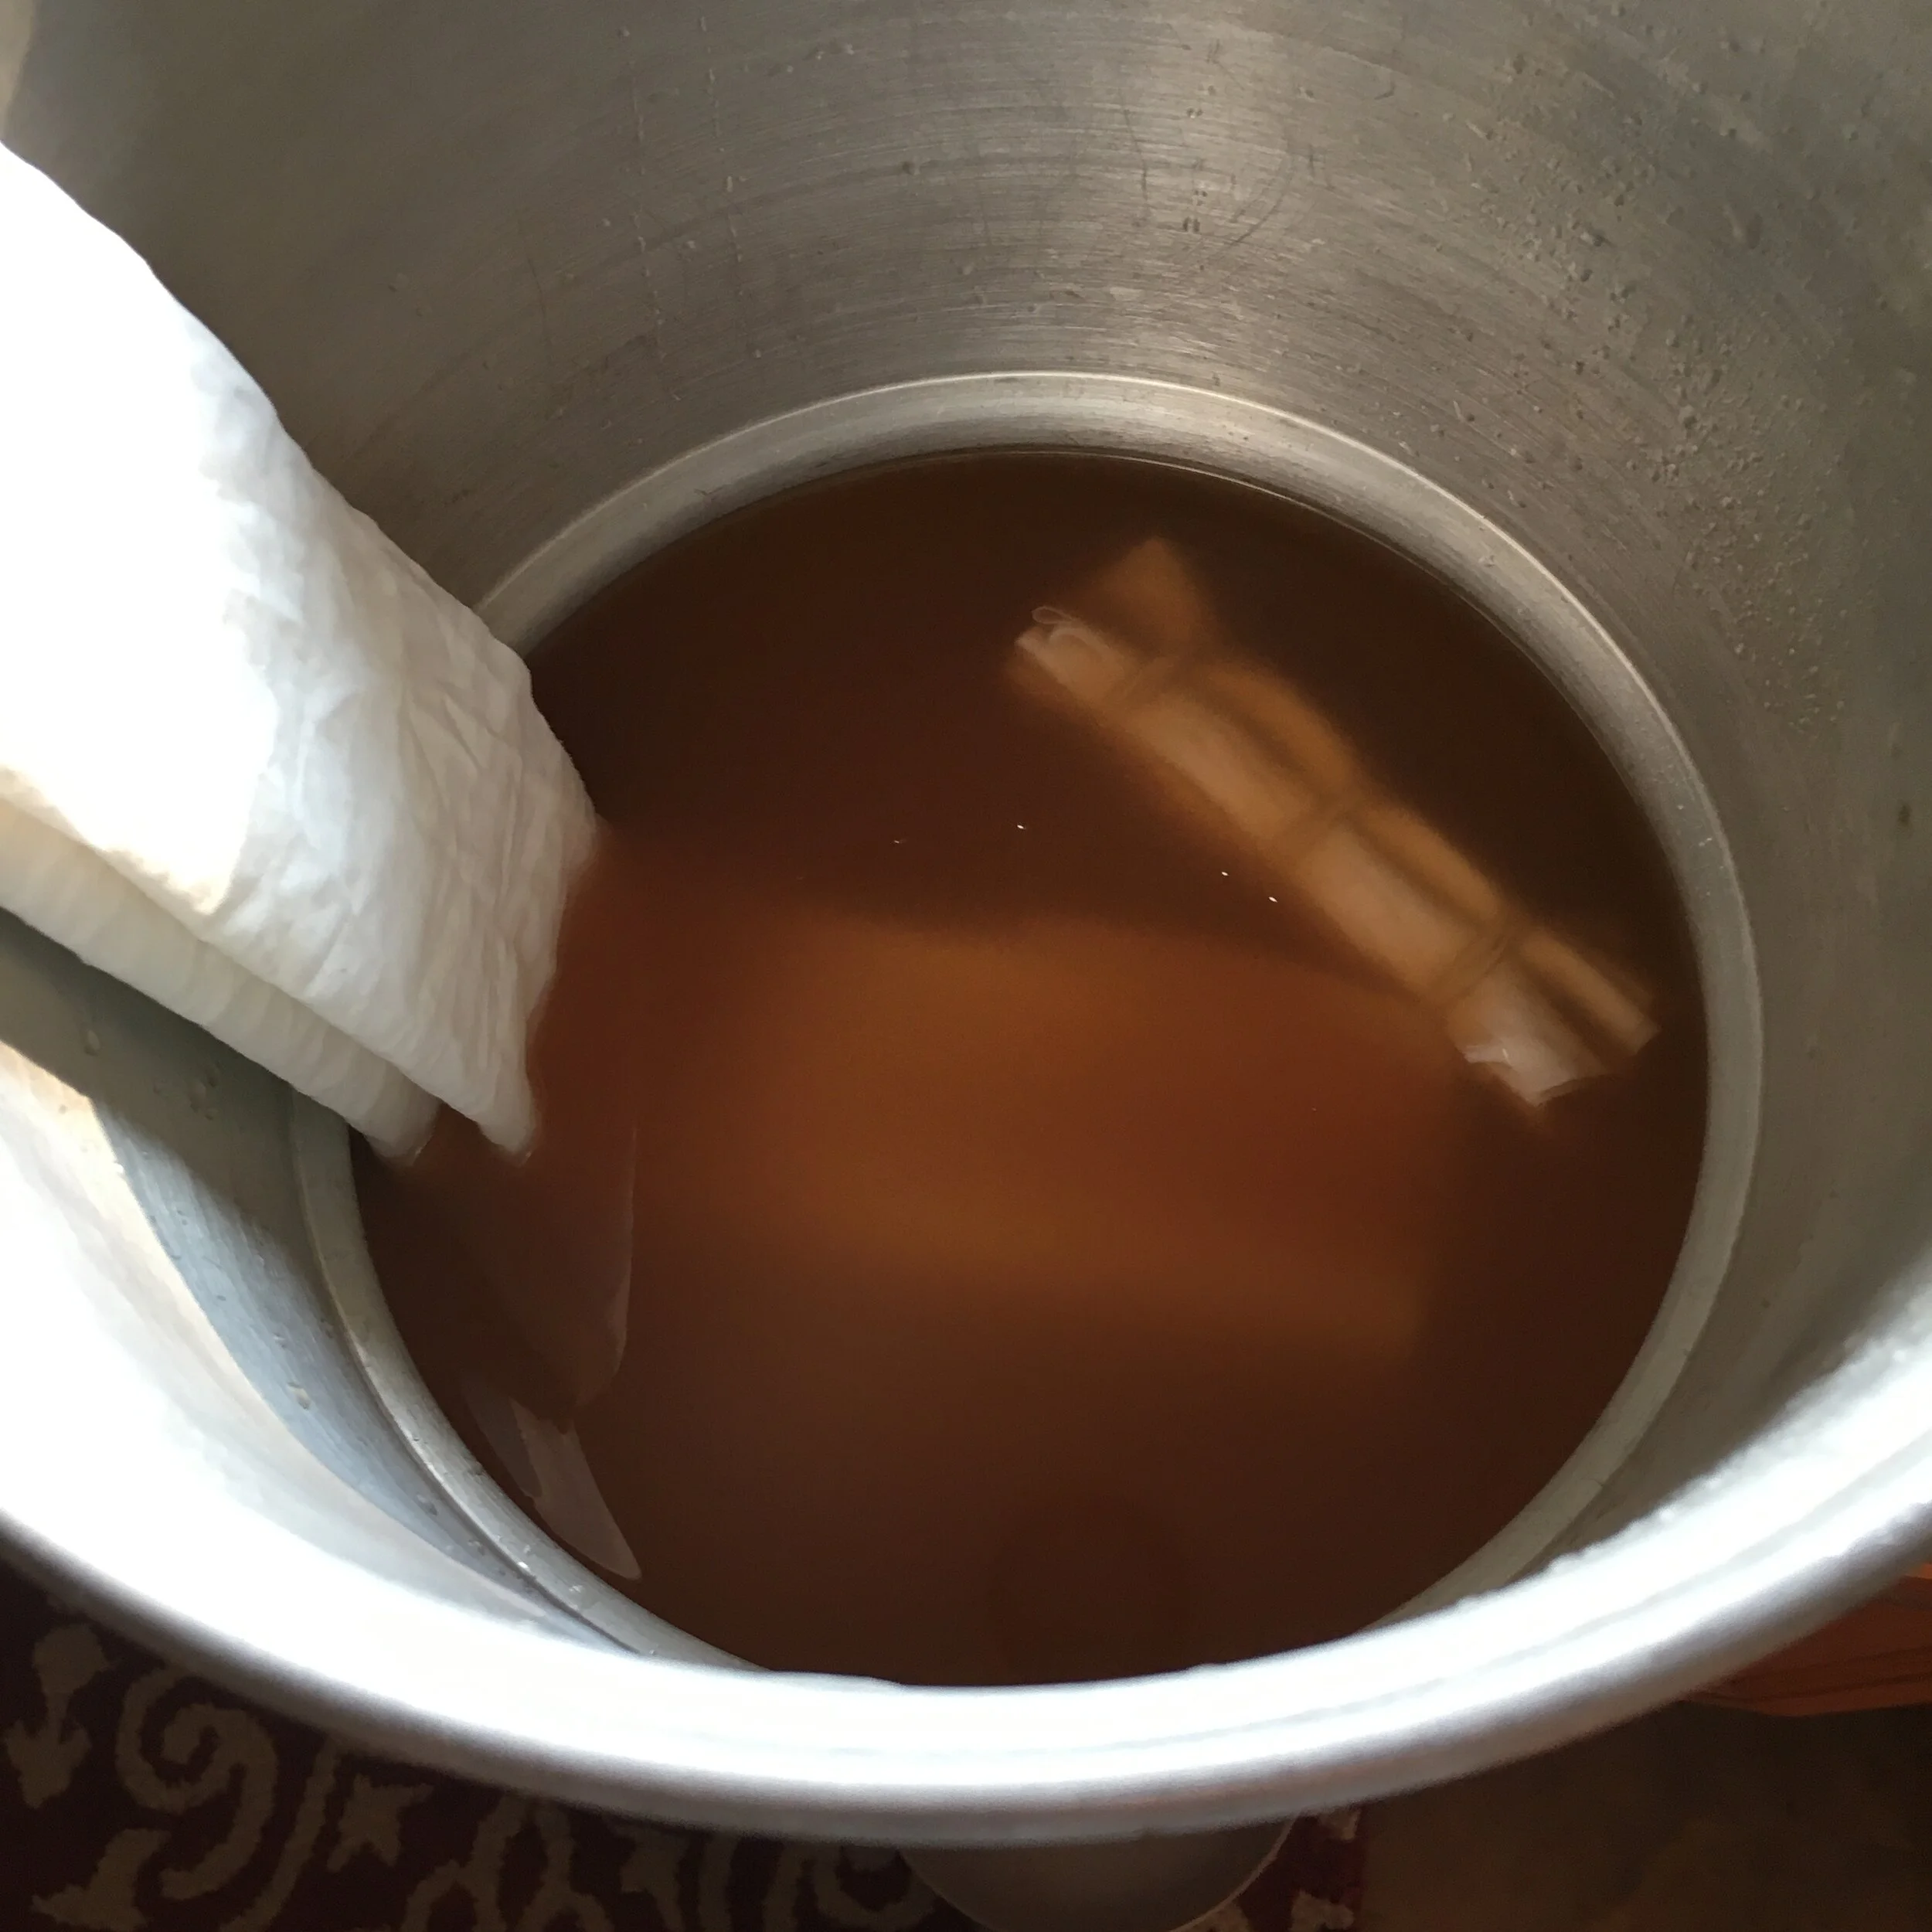
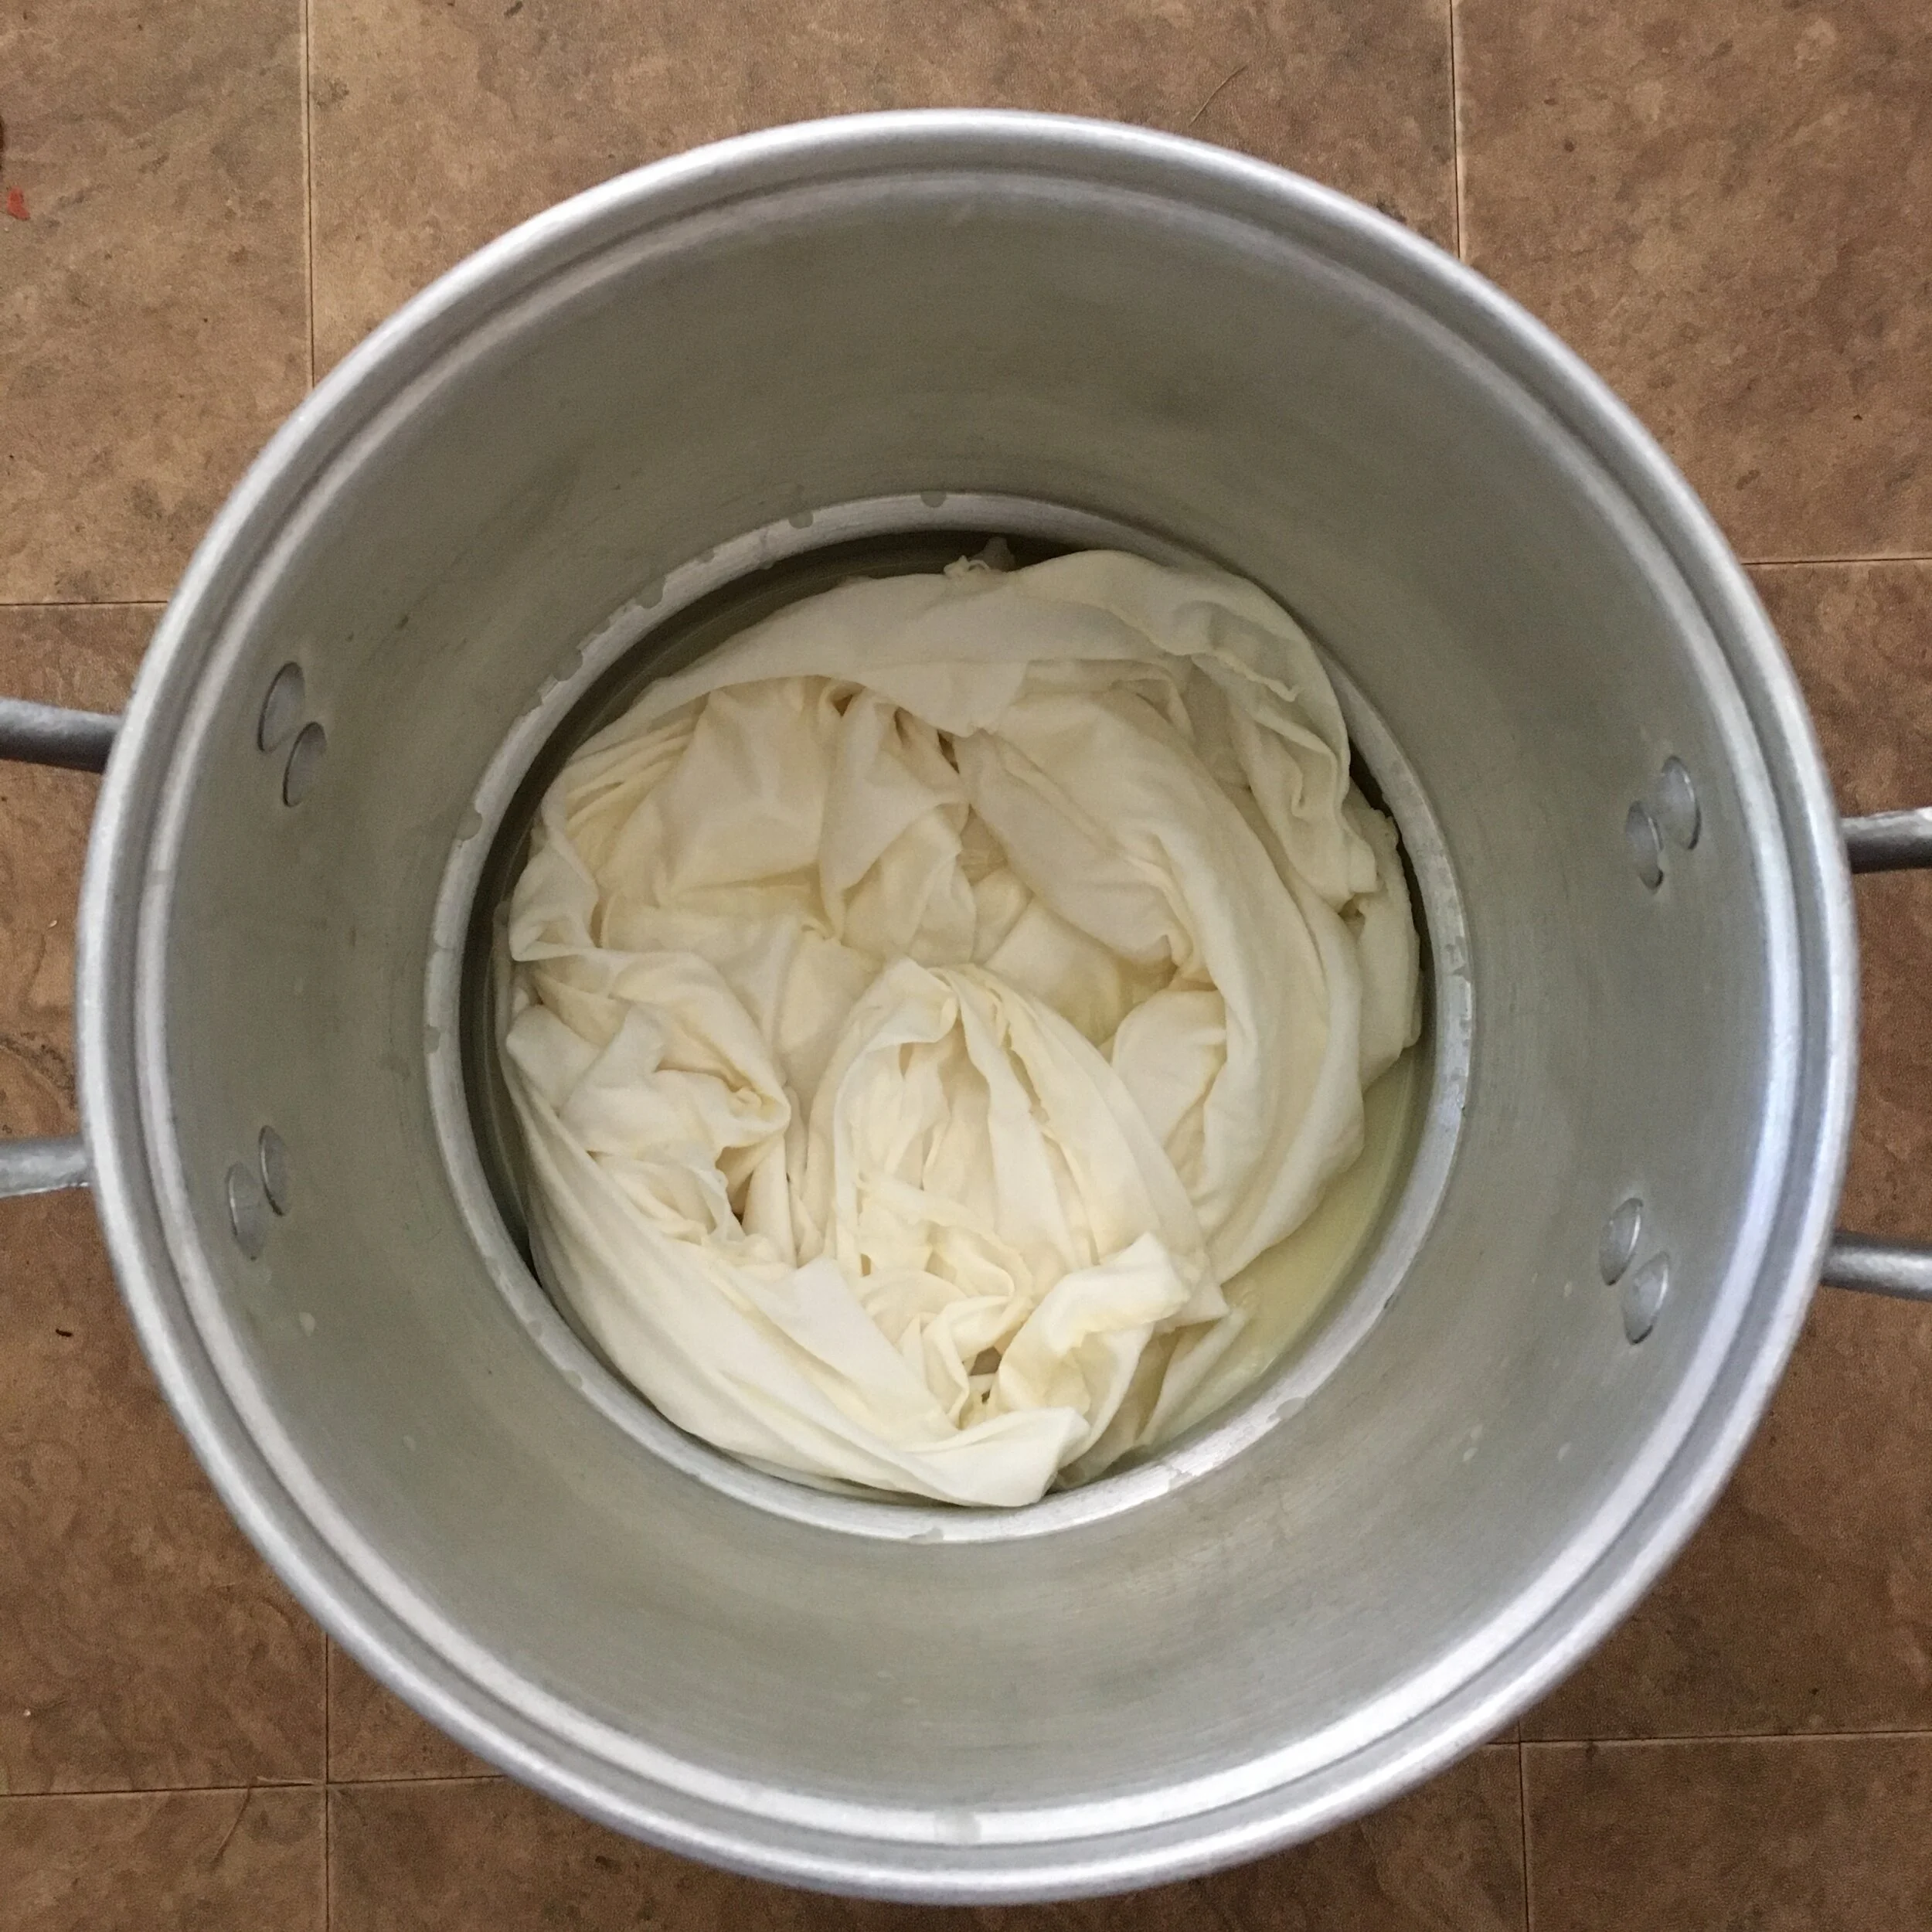
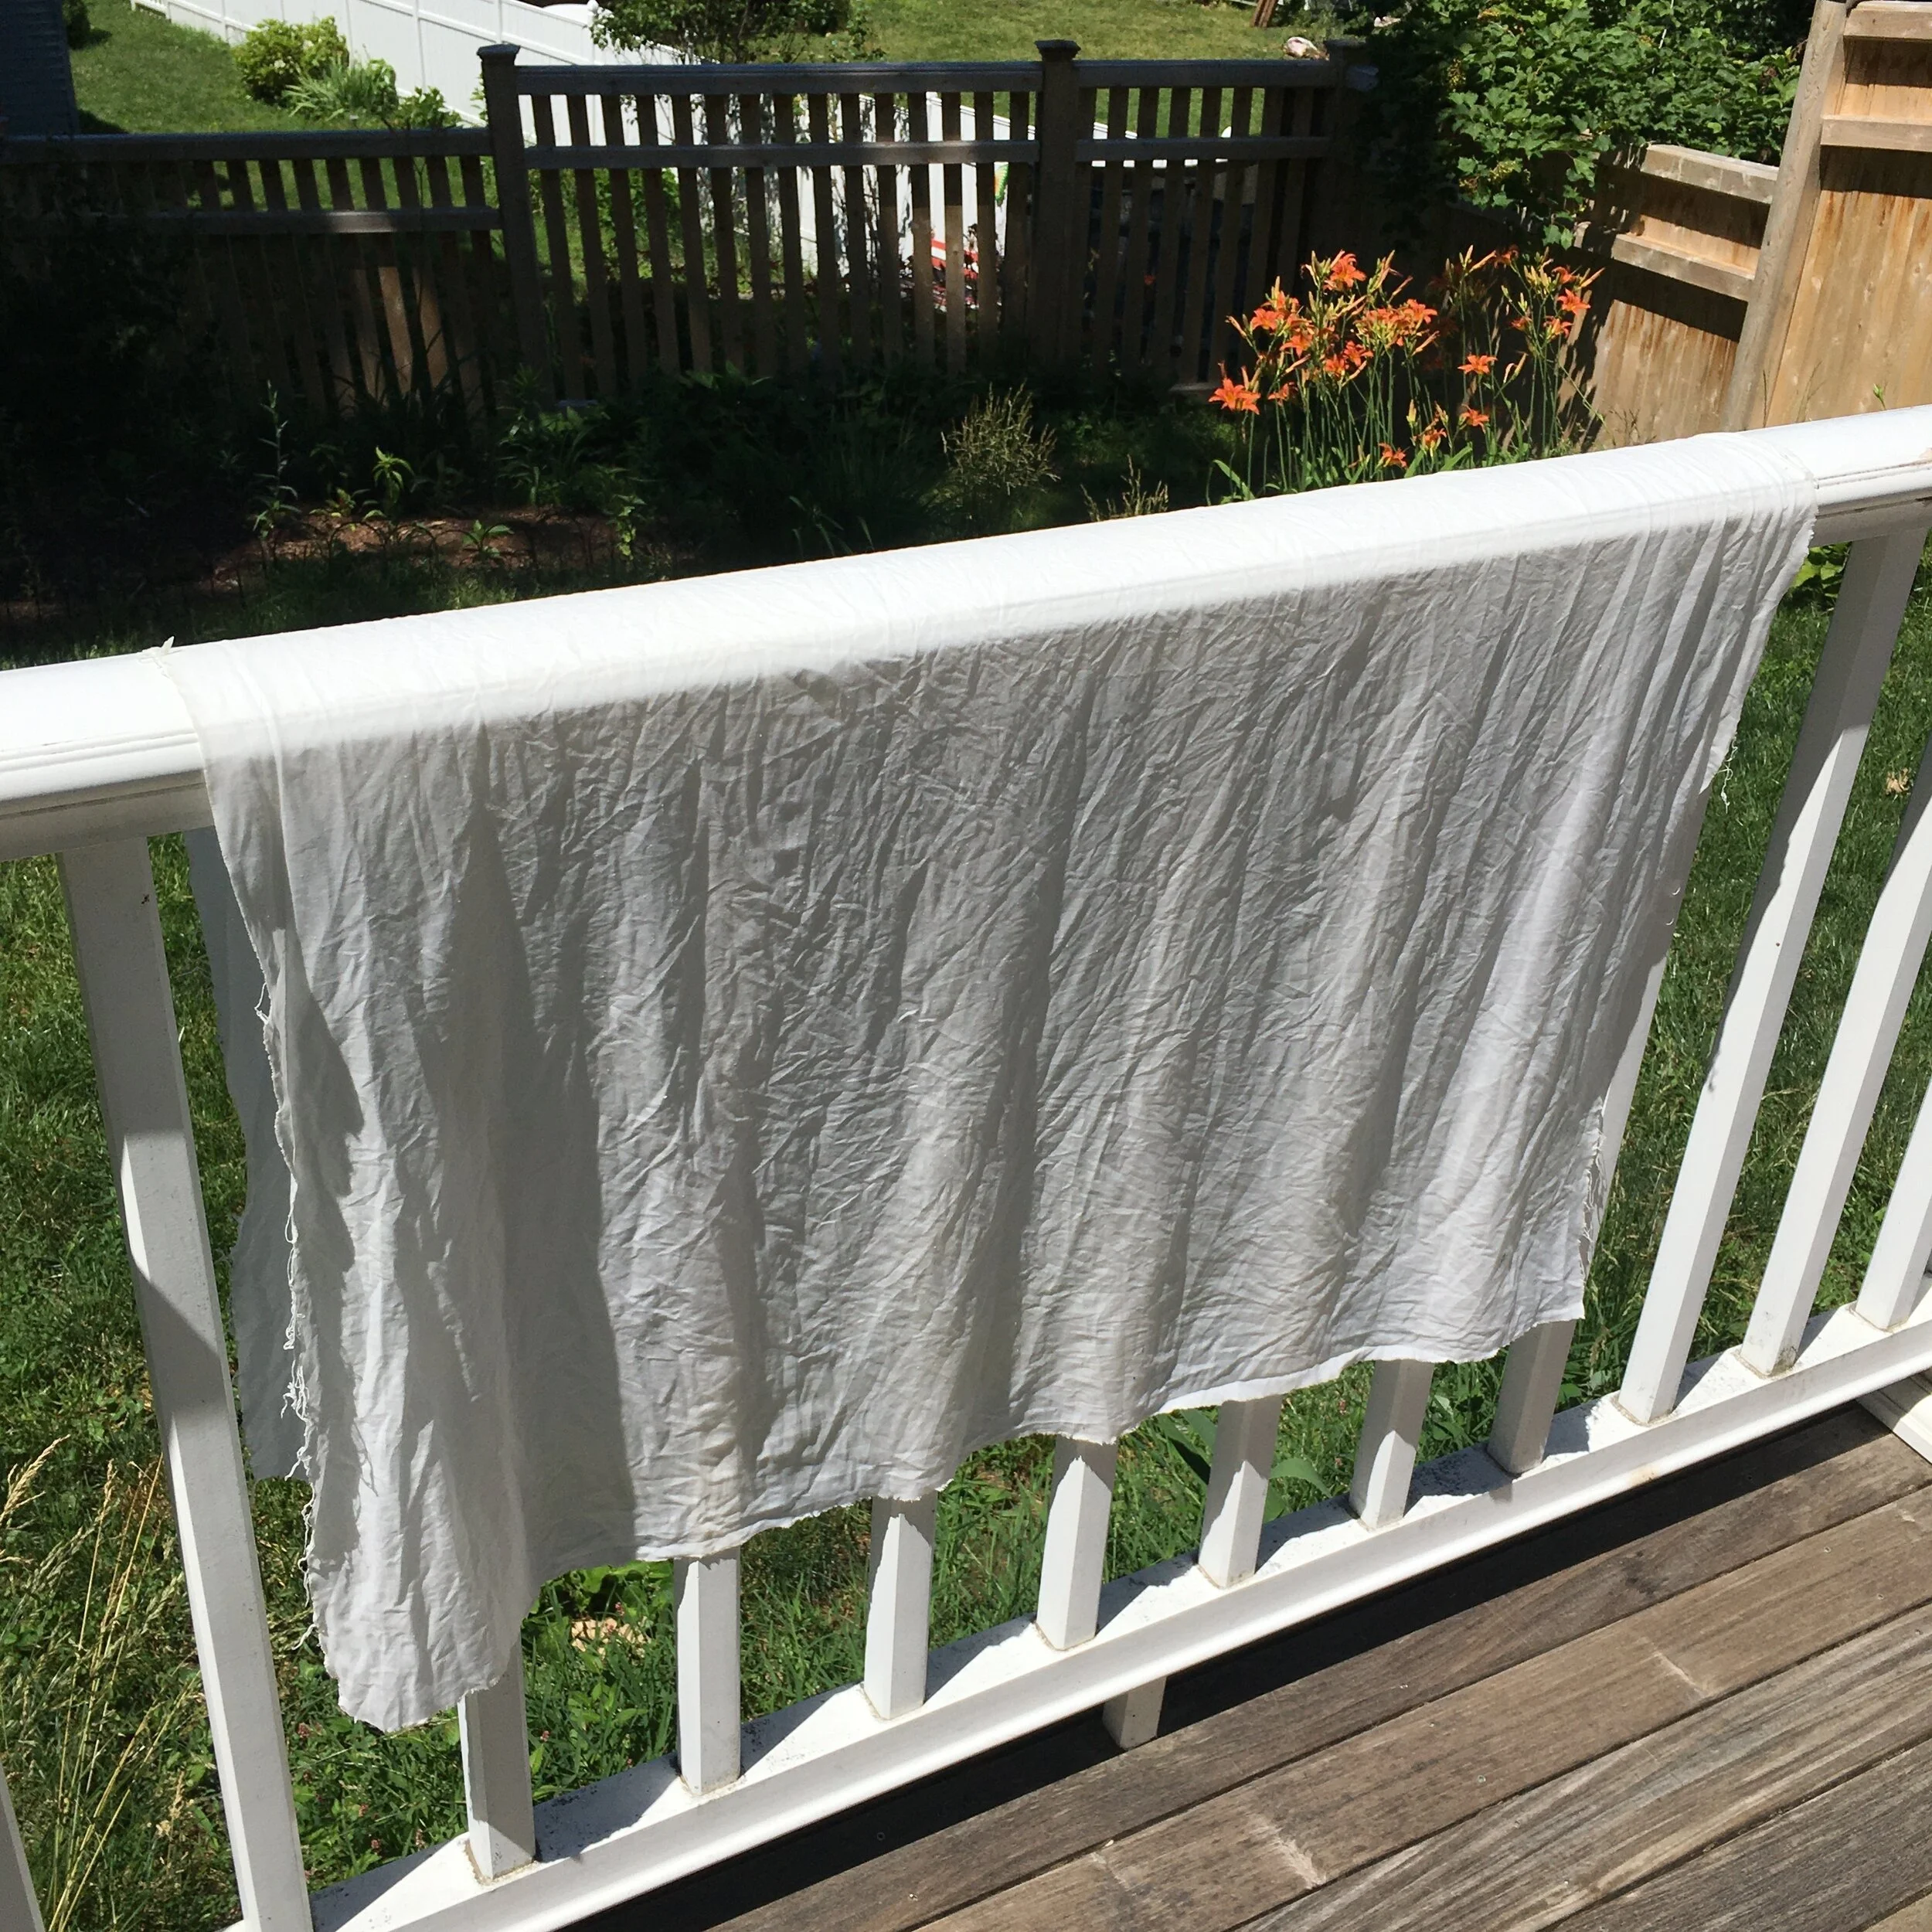
Rebecca recommends using soy milk as a mordant to help bind the plant dyes to the fabric. You can use soy milk from your local market, but I have dried soybeans I keep on hand for making soy milk, so I made up a 2 quart batch. For fabric I used Kona® cotton that is prepared for dyeing. I expect I could have just used this prepared fabric as is, but I pre-washed it as recommended and then treated it with the soy milk. I needs to be dipped several times, so look for a couple sunny days in a row to do that! I thought the soy milk treated fabric might start to go off or spoil after a few weeks, but I’ve had some for a at least 6 weeks now and it still smells sweet!

Here is a yard of fabric, soaking in my homemade soy milk in my amazing aluminum pot, and then drying over my deck railing in between dips. The treated fabric needs to rest at least a week before it you can dye it.

AFCD5B1F-23E2-47FF-B955-6C4A8FAEF1BF.jpeg
422E7E0B-849D-412F-91EF-DE10DE67BAE8.jpeg

So, this is the perfect place for me to stop writing, and for you to rush off and purchase a copy of the book! (I might also need to eat a few more avocados)!

In my next post I’ll show you the fabric I have dyed so far.

Notice: This blog is not monetized: I do not use affiliate links. When there are links in a post, they are to give credit to another creative person, because I like or have used a product, or to help the reader easily find supplies for a project.

TAGS: Natural dyeing, Using "Botanical Colour at your Fingertips" by Rebecca Desnos, Dyeing with plants


Powered by Squarespace 7