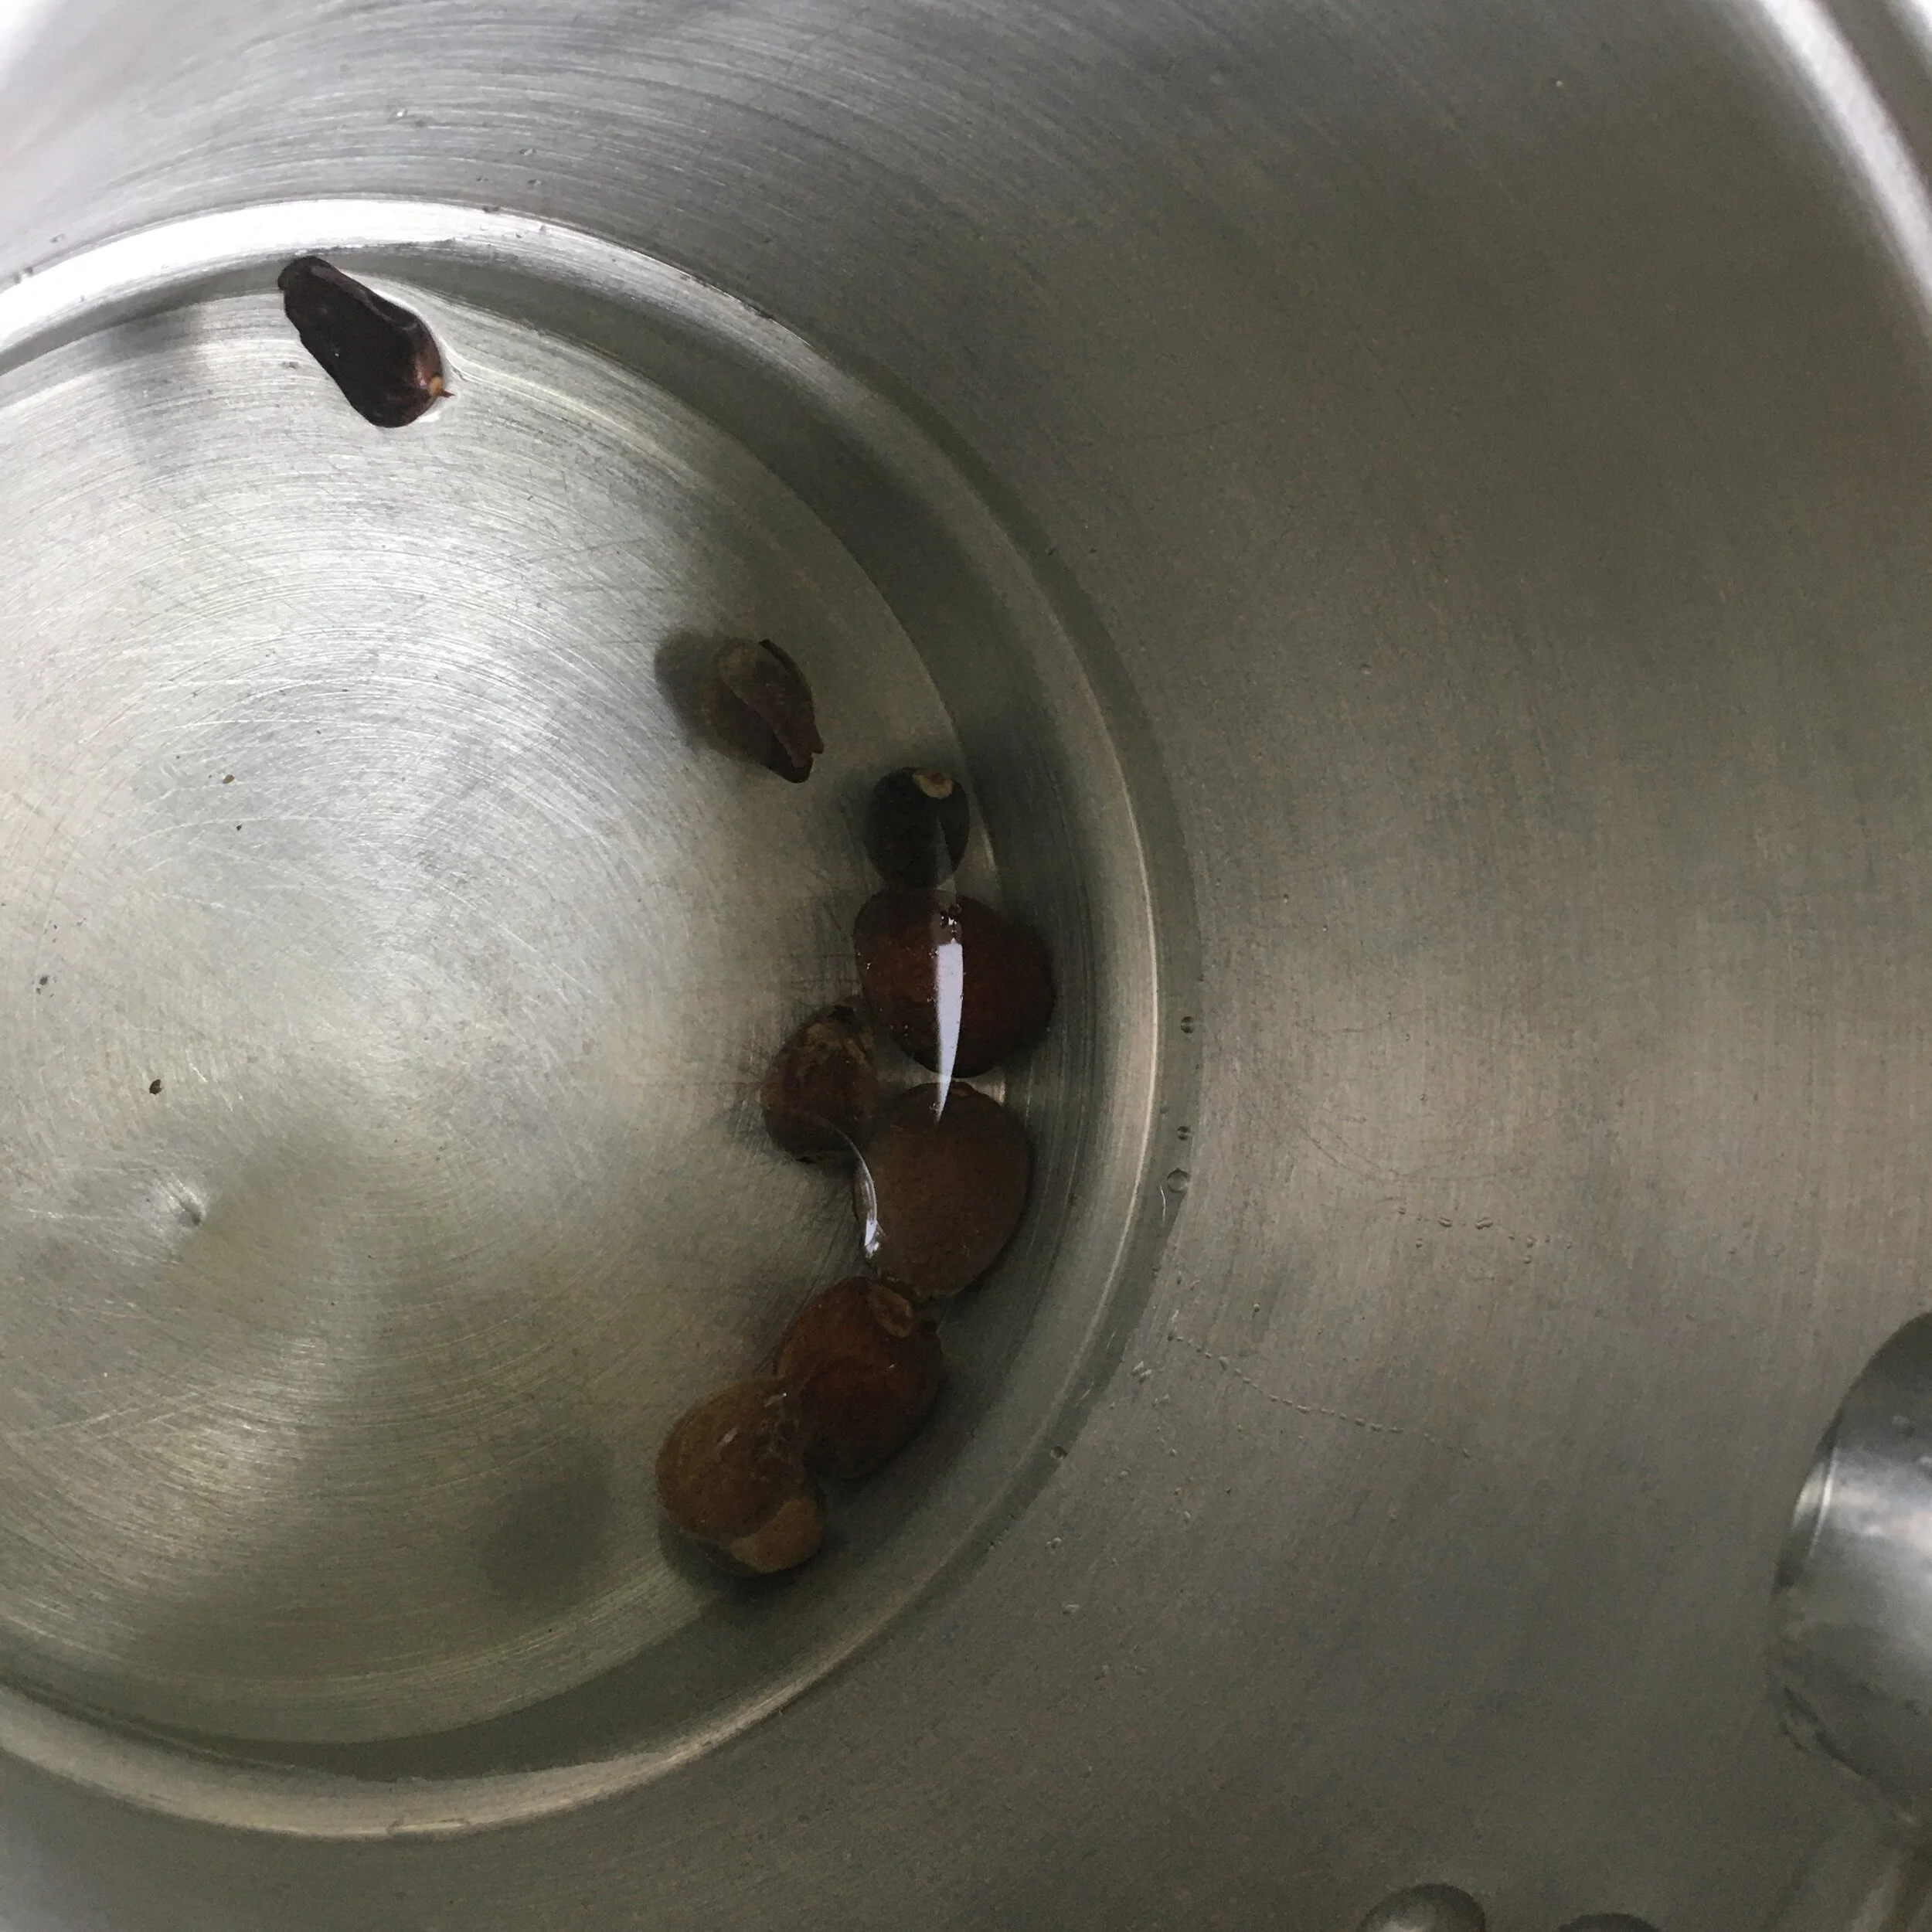
Avocado Pit dyeing in a jar at room temperature for 8 days
The adventure of dyeing with natural dyes using Rebecca Desnos’s book Botanical Colour at your Fingertips continues!
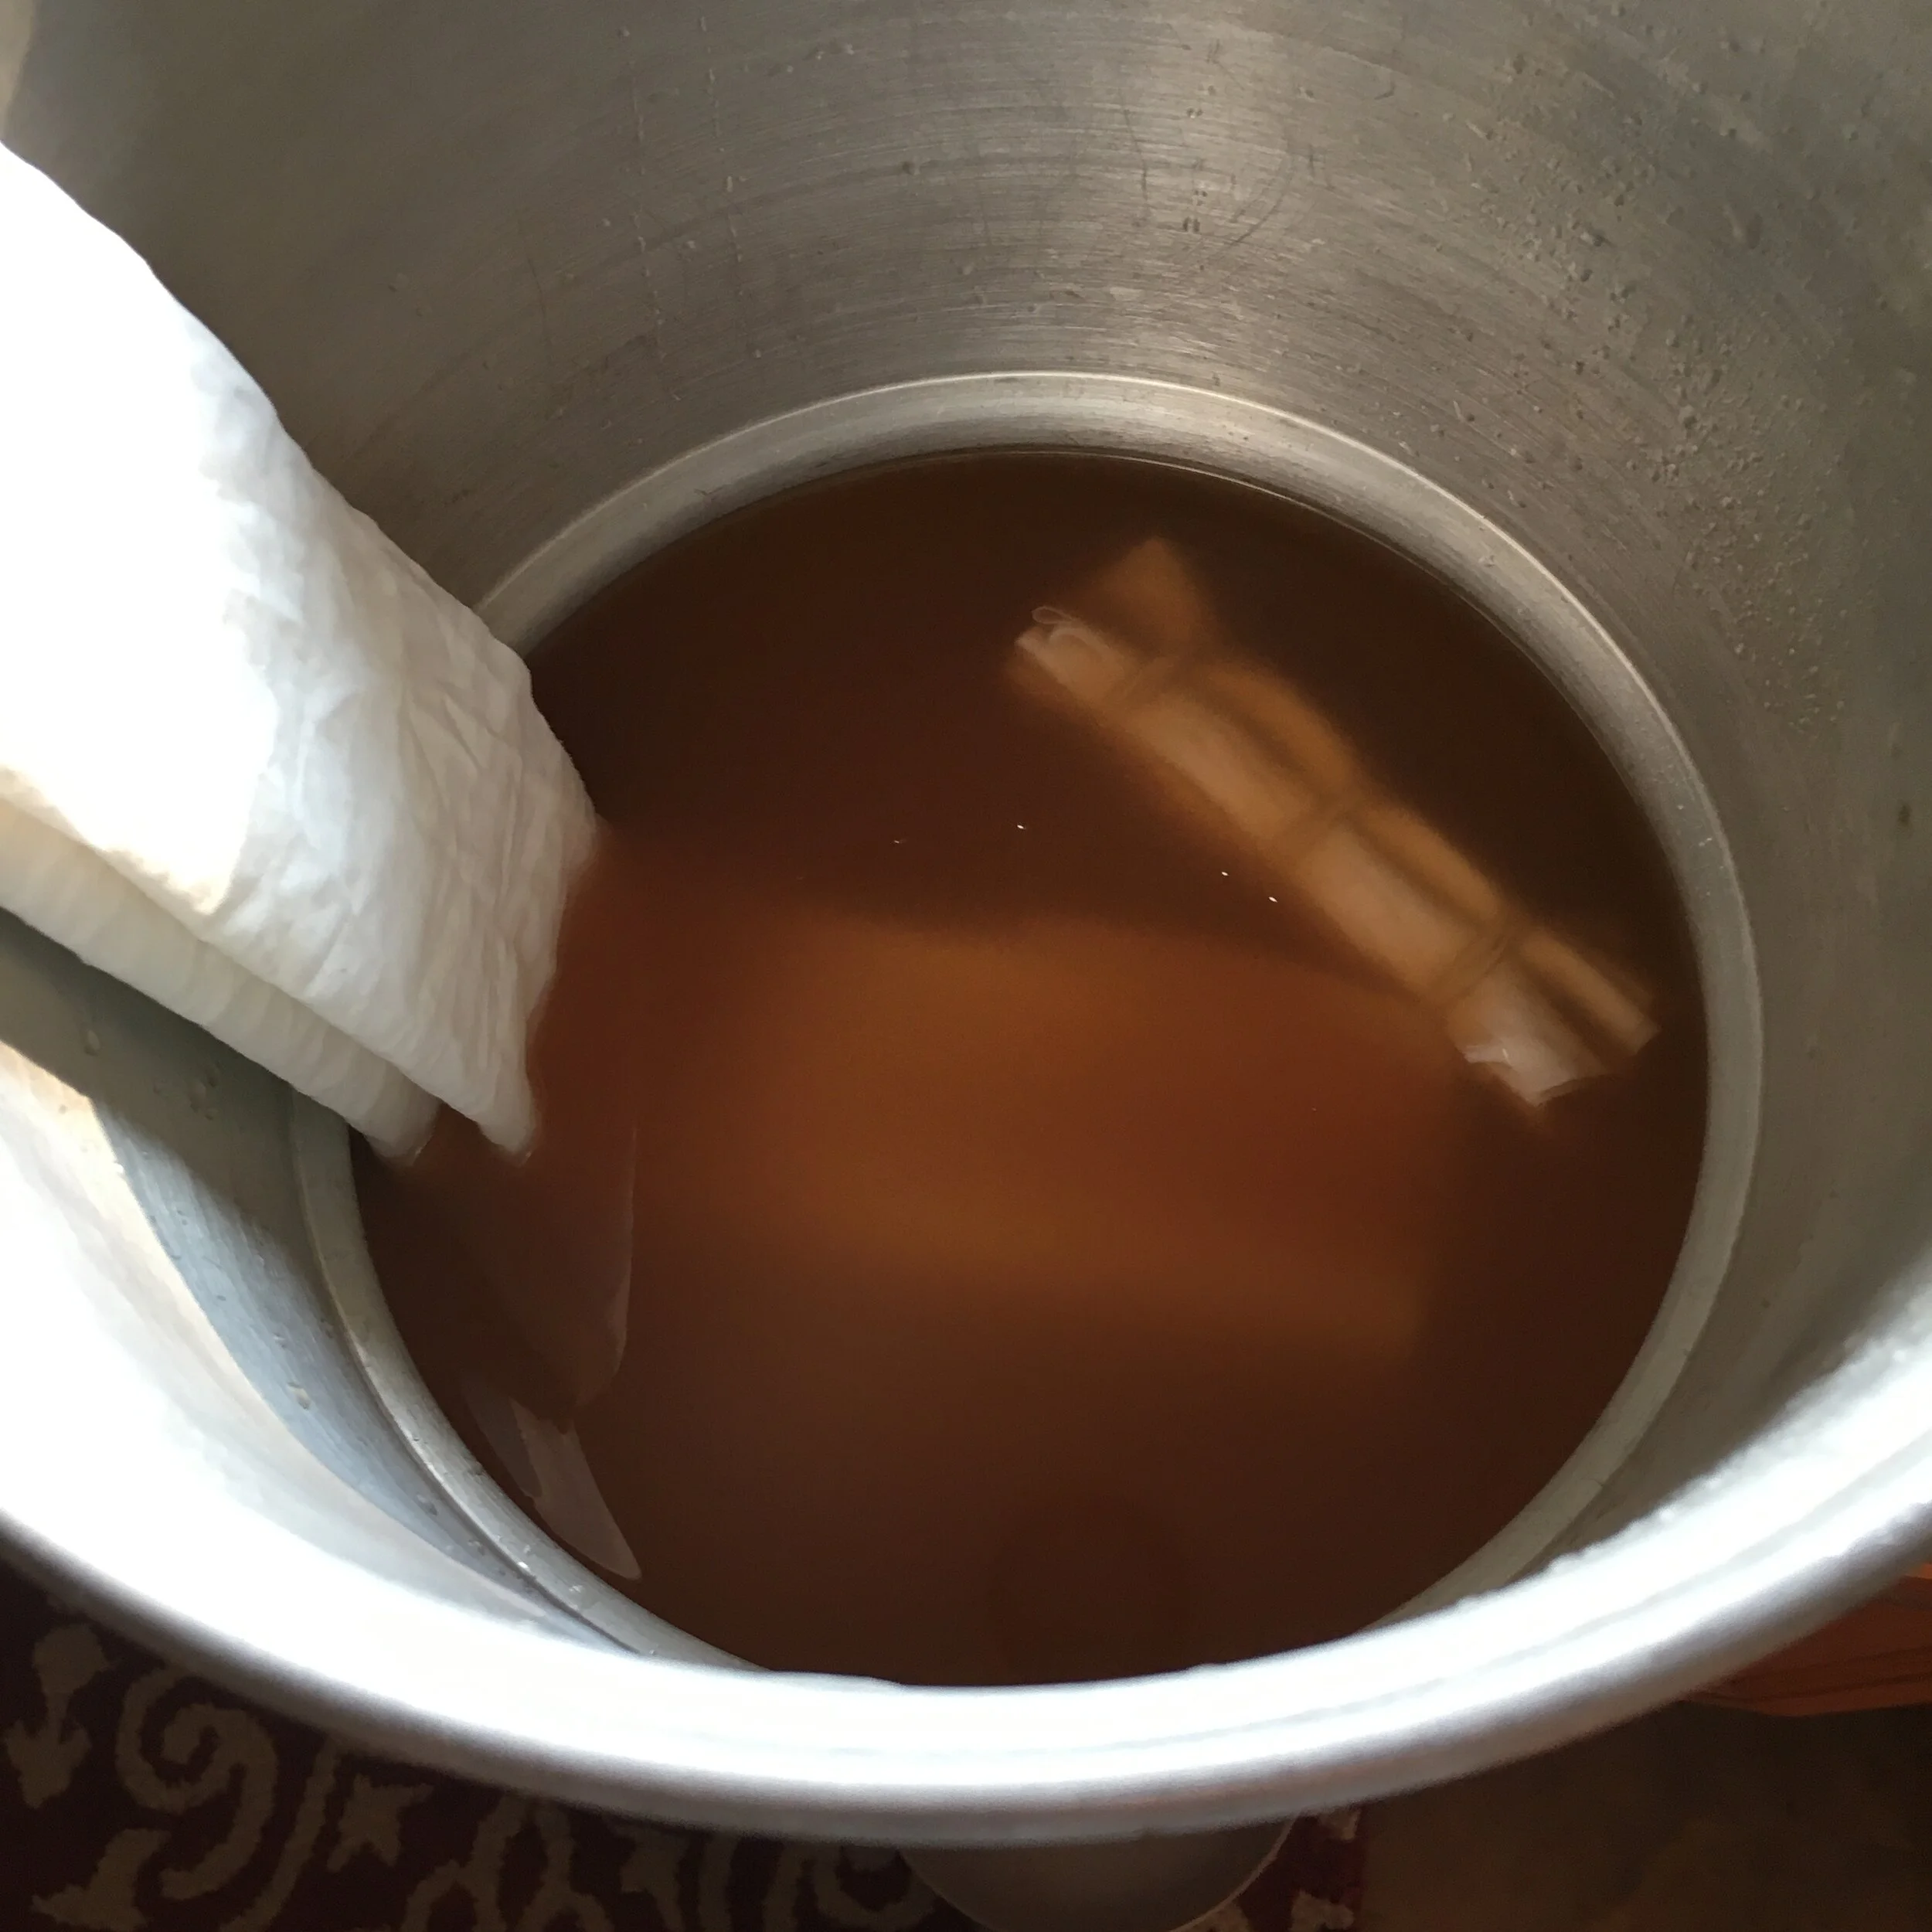
Above is my last, and slowest, avocado pit dyeing. It was done without using any heat. I folded the fabric and put it in a mason jar with the lid on, using the remaining neutral dye from my avocado mash. It sat on my kitchen counter for 8 days. At that point I was thinking that it was starting that the it was all just starting to smell like a tad funky. Not wanting a fermented or moldy fabric, I pulled it out and hung it dry in the shade on my porch railing.
I really like this piece of fabric. I used Cover Wonder Clips instead of clothespins to secure the folds. They actually have a tighter grip so I got clear white squares which I love.
So that’s it for the avocado pit dye.
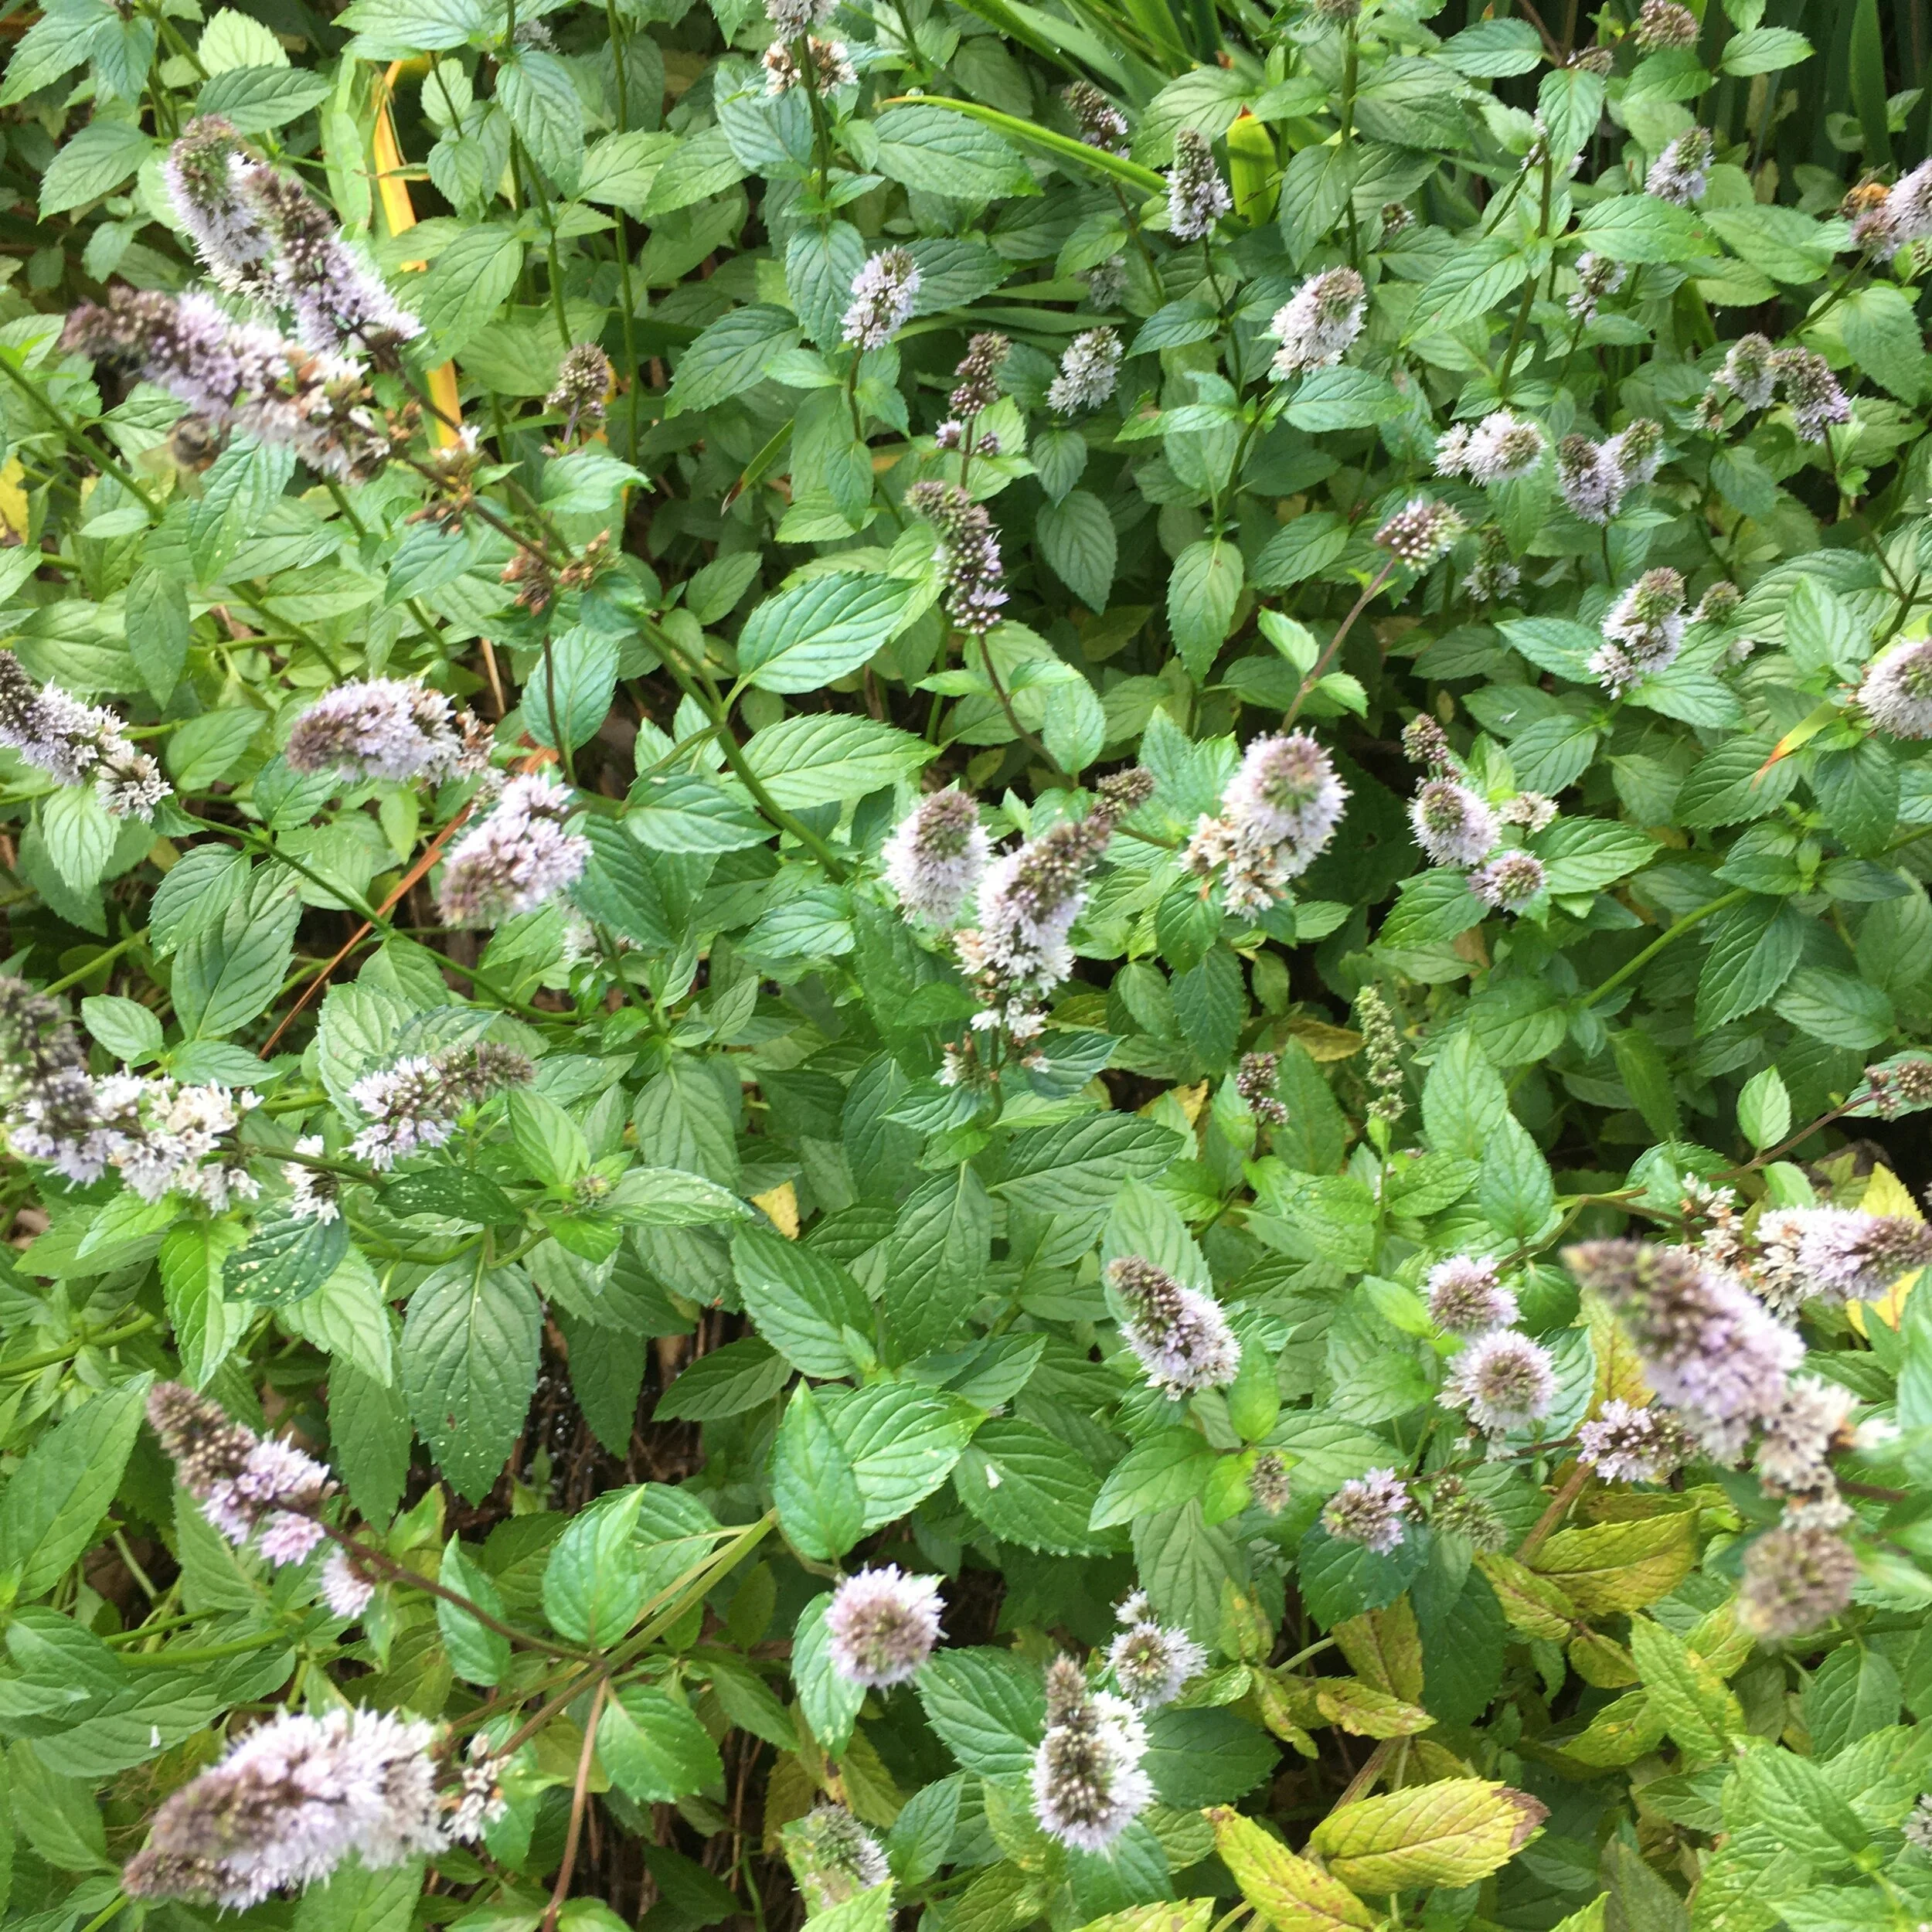
I have a very large patch of peppermint in my front garden. It’s in bloom at this moment and is pollinator heaven! So I picked a bunch of peppermint, flowers and all, and boiled up a new dye bath. I used one strip of fabric which had the soy milk mordant. And a strip which I had pre-soaked with 1 part white vinegar and 4 parts water. Here’s what happened.

The strip at the top, with the soy milk mordant picked up a lot of dye from the peppermint and turned a deep olive green. The fabric treated with the vinegar is a soft light green. Both fabrics were boiled together in the same dye bath.
It’s really interesting to see how the soy milk mordant really does bind so much more dye. Though I happen to really like the very pale green fabric better!
For my last natural dyeing experiment, I used yarrow, also growing in my front garden. When it first blossoms, the flowers are magenta, but then they fade to white. You can just see a trace of pink left in this cluster. As with the peppermint, I dyed both fabric treated with the soy milk mordant and the vinegar dip. Here’s what happened.


The fabric dipped in the vinegar solution at the top on the right barely picked up any dye from the yarrow. it is a very pale yellow with a hint of tan. The fabric with the soy mordant, at the bottom, picked up lots of dye and is lovely light green/tan color.
Here is a photo of the fabrics dyed with both the peppermint and the yarrow. They create a beautiful set of gradated fabrics in the yellow/green/olive/tan family.
Notice: This blog is not monetized: I do not use affiliate links. When there are links in a post, they are to give credit to another creative person, because I like or have used a product, or to help the reader easily find supplies for a project.

Top to bottom:
Peppermint on fabric dipped in 1:5 vinegar solution
Peppermint on fabric with a soy milk mordant
Yarrow on fabric dipped in 1:5 vinegar solution
Yarrow on fabric with a soy milk mordant
My neighbor just told me that I can harvest as much as I want from his sage “forest”! So stay tuned! But it will be a while. I need to treat some more fabric and then make the dye.
But in my next post I’ll tell you about a great zine which Rebecca edited and published.