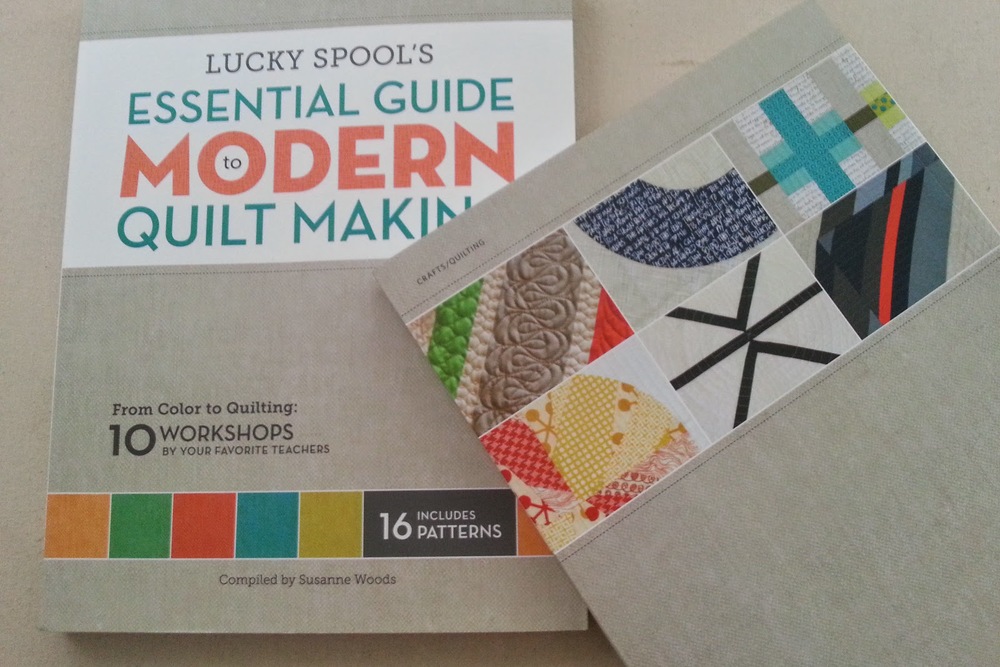
When I purchased a copy of Savor Each Stitch--Studio Quilting and Mindful Design a couple of weeks ago I didn't know Carolyn Friedlander's name. But I have been intrigued by her fabric for the past year. I had been wondering who was designing fabrics with graph paper in the background and fabric that has a blue print look.
In the first chapter, "Finding your Passion" Carolyn discussing her path from architecture school to fabric design and quilting. As soon as I read that, I totally got that these intriguing fabrics were hers! Not only did I have a collection of them in my stash, I had just made 2 quilts using her fabrics!
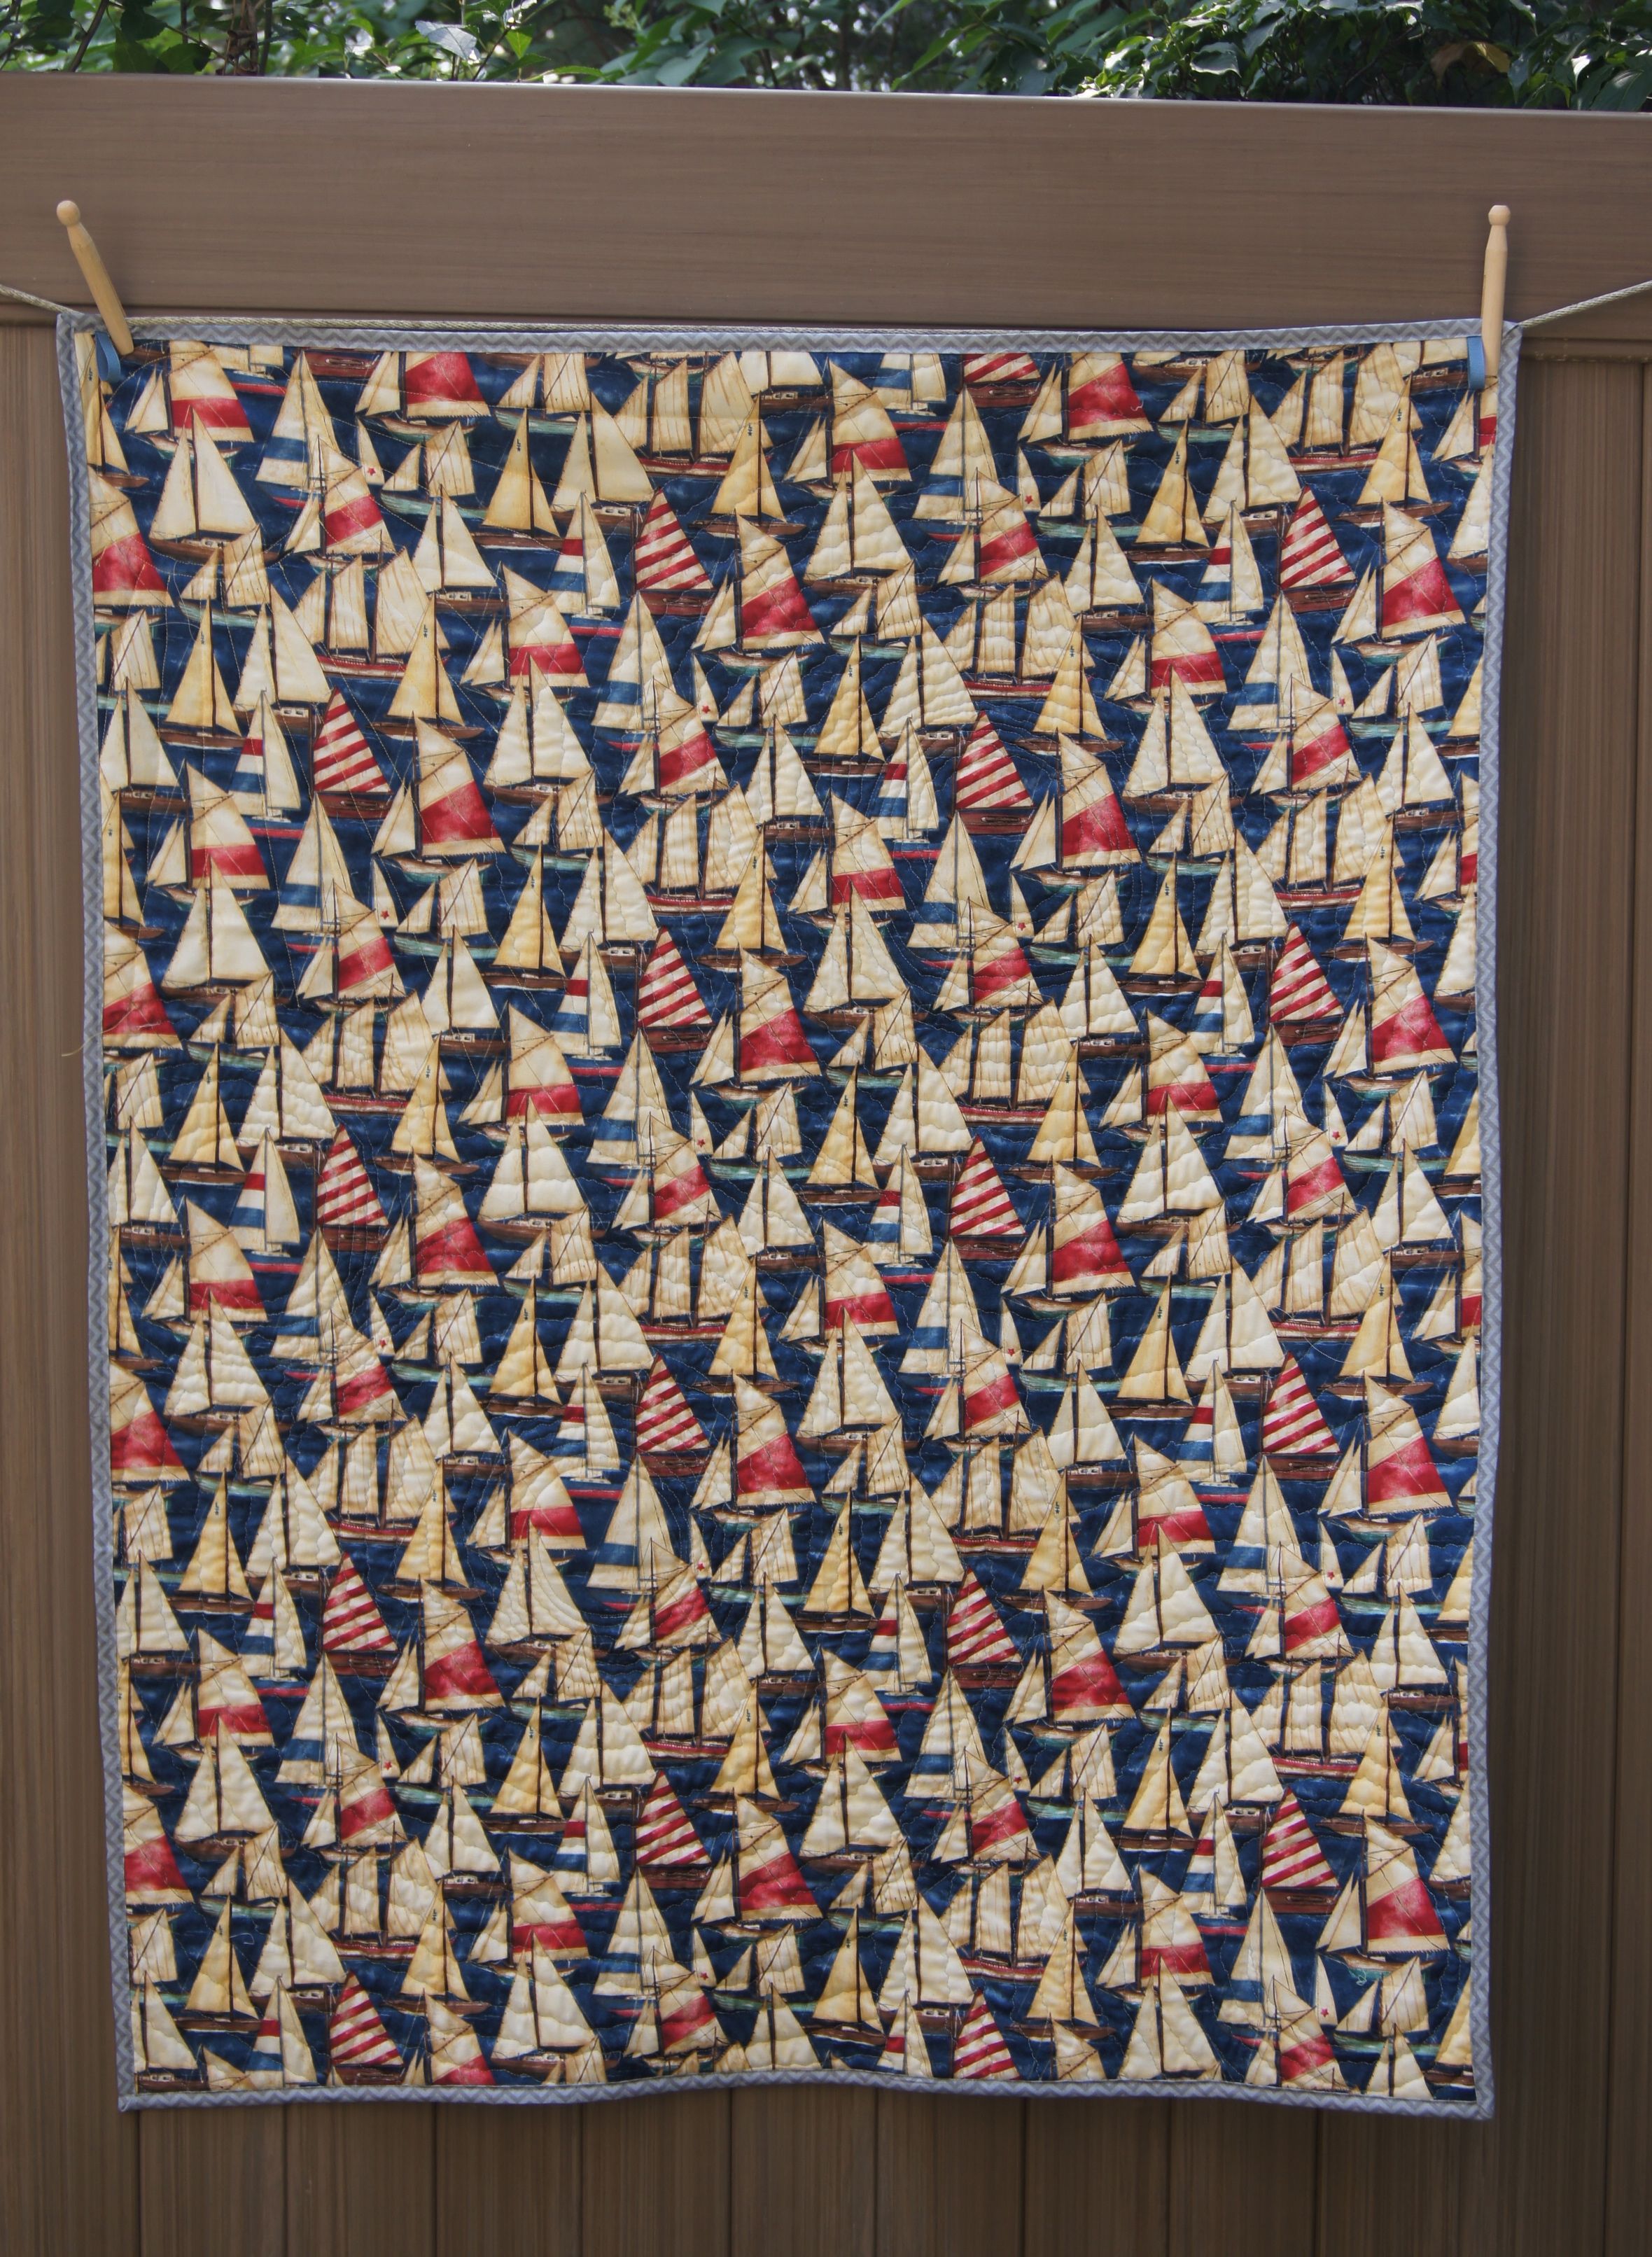
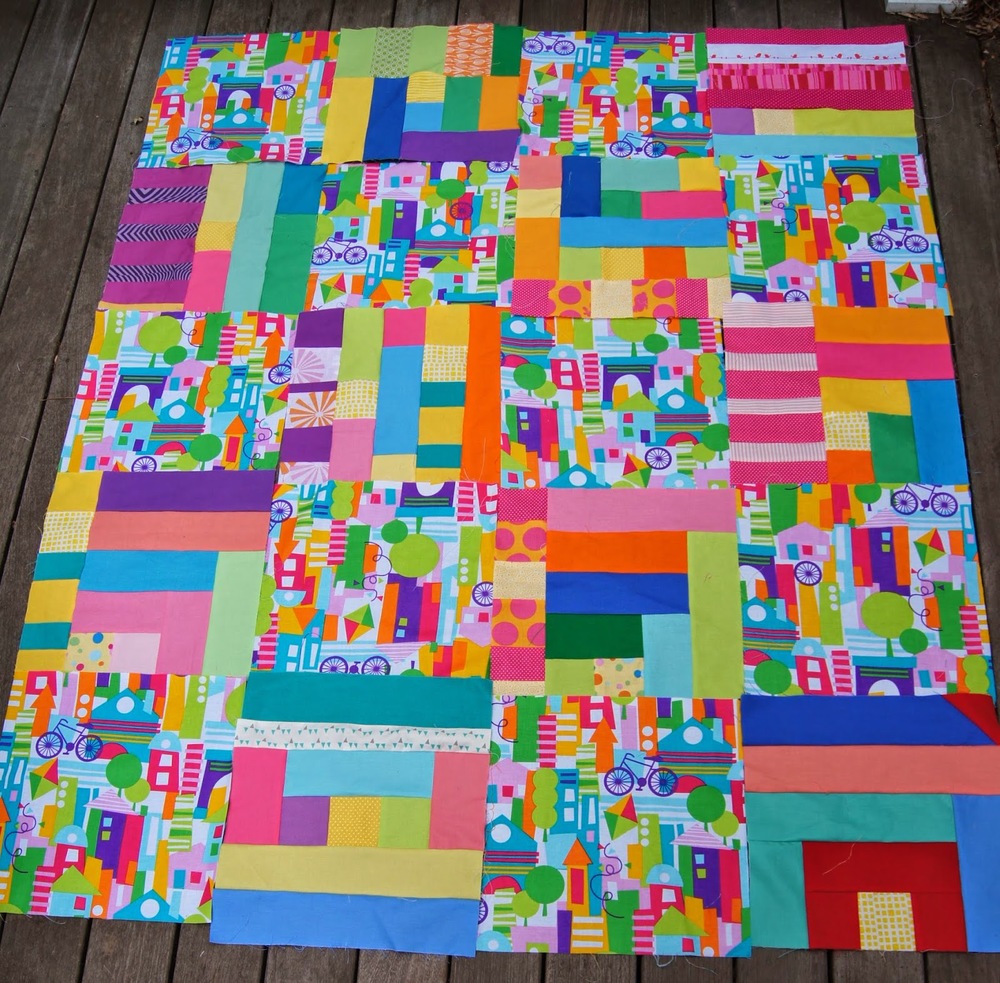
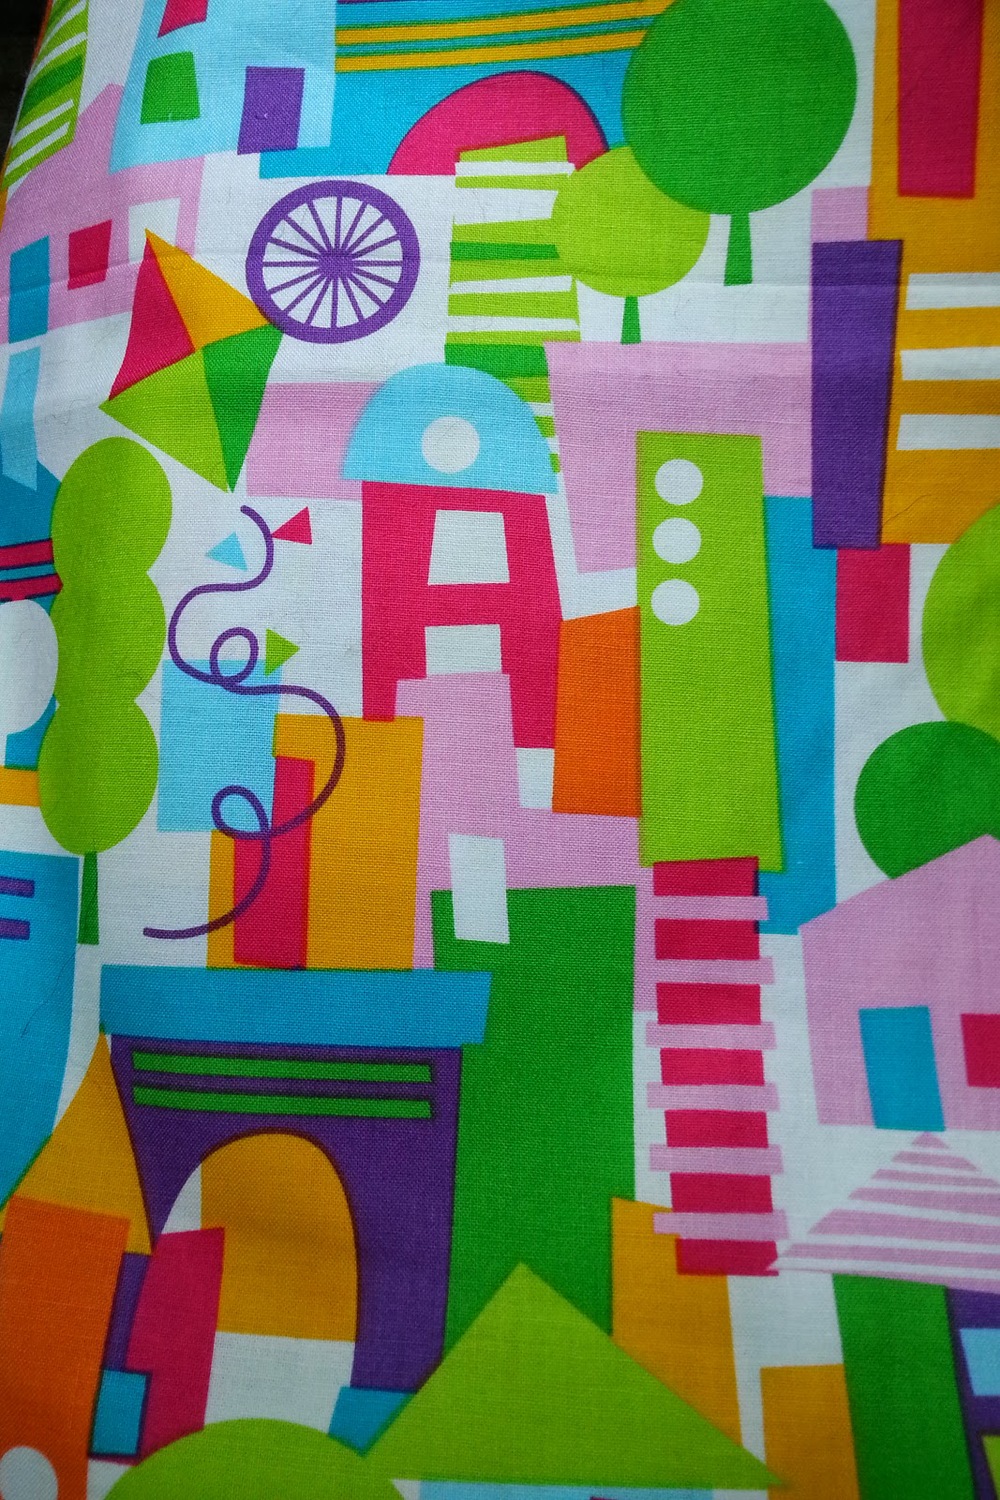
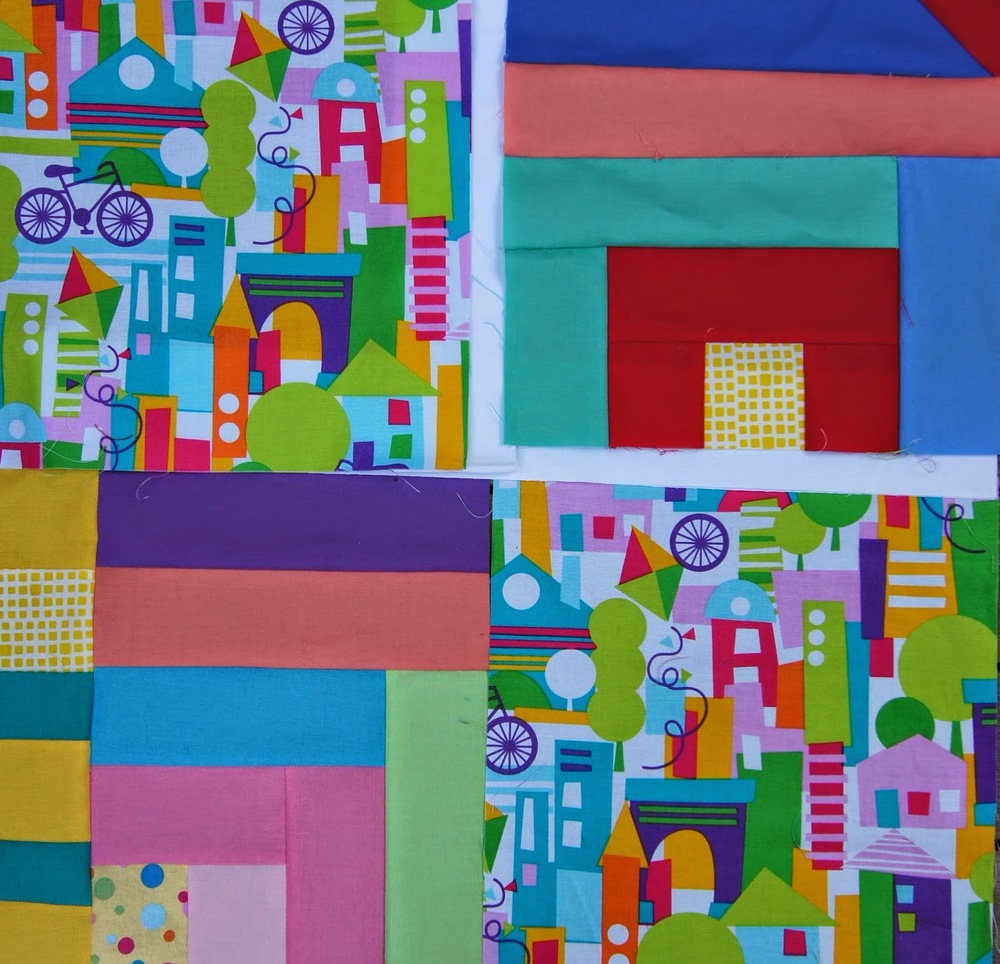
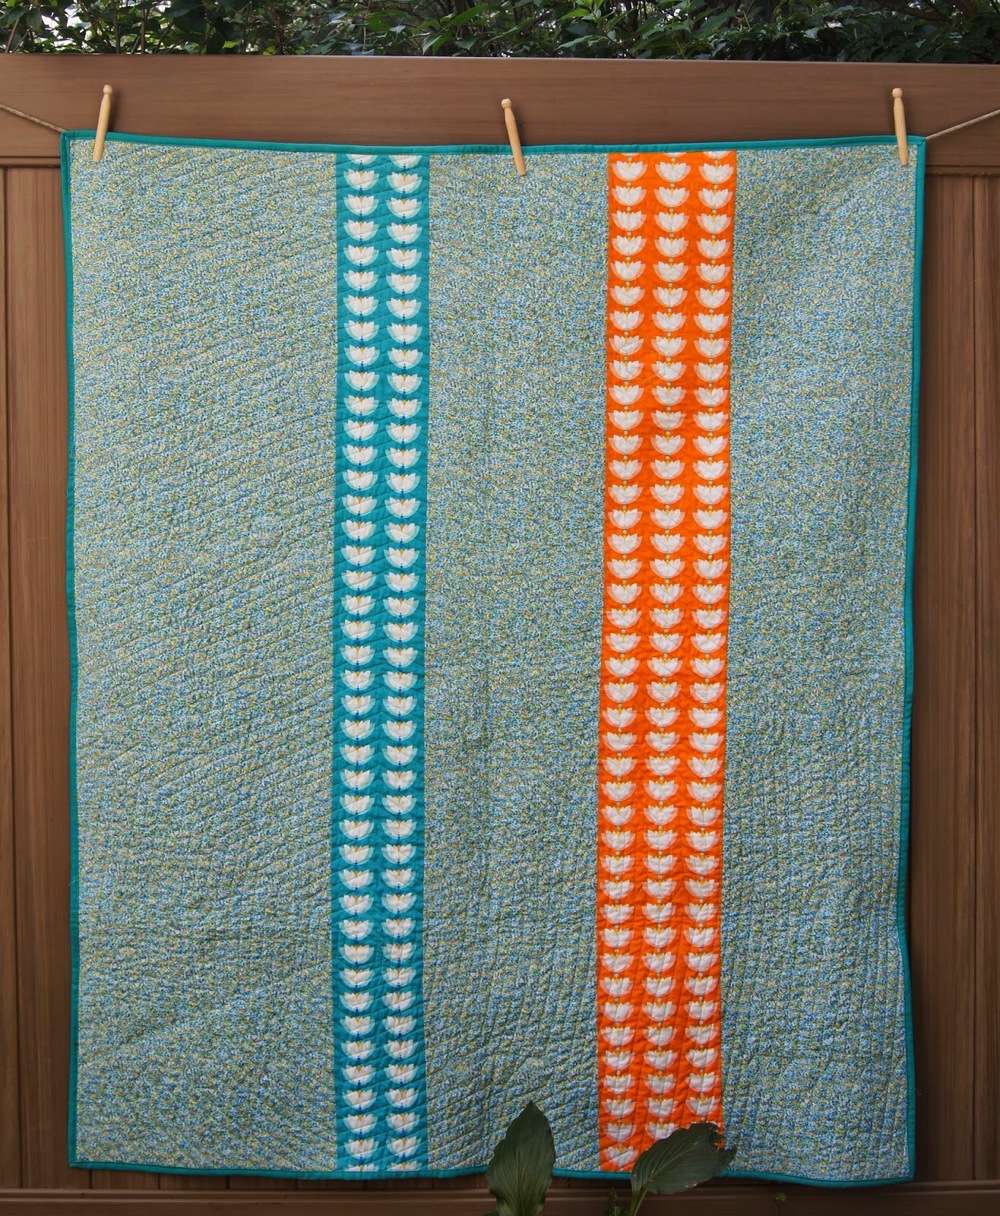
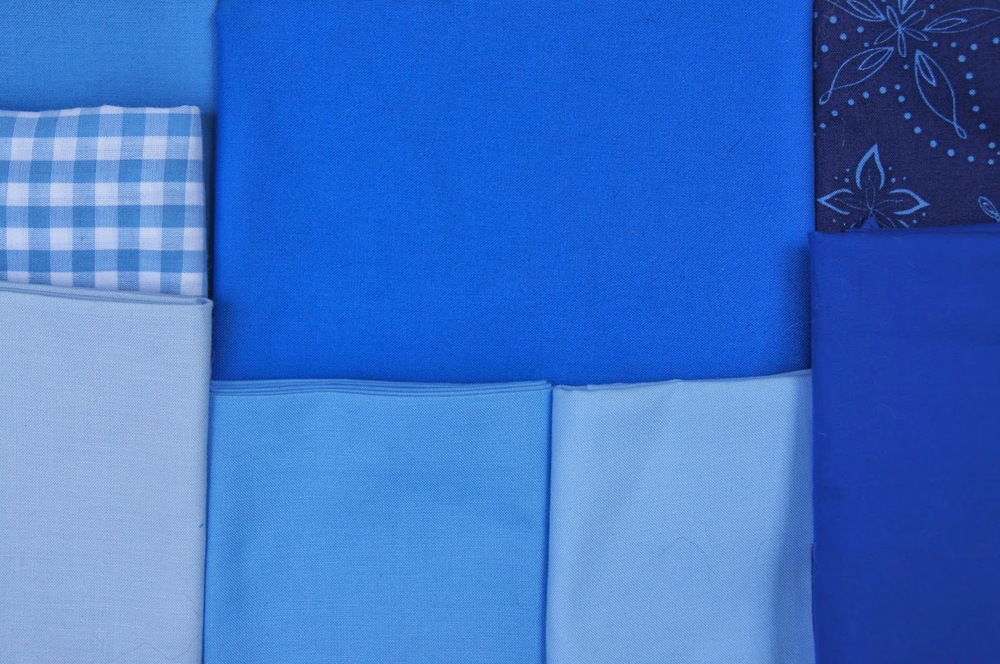
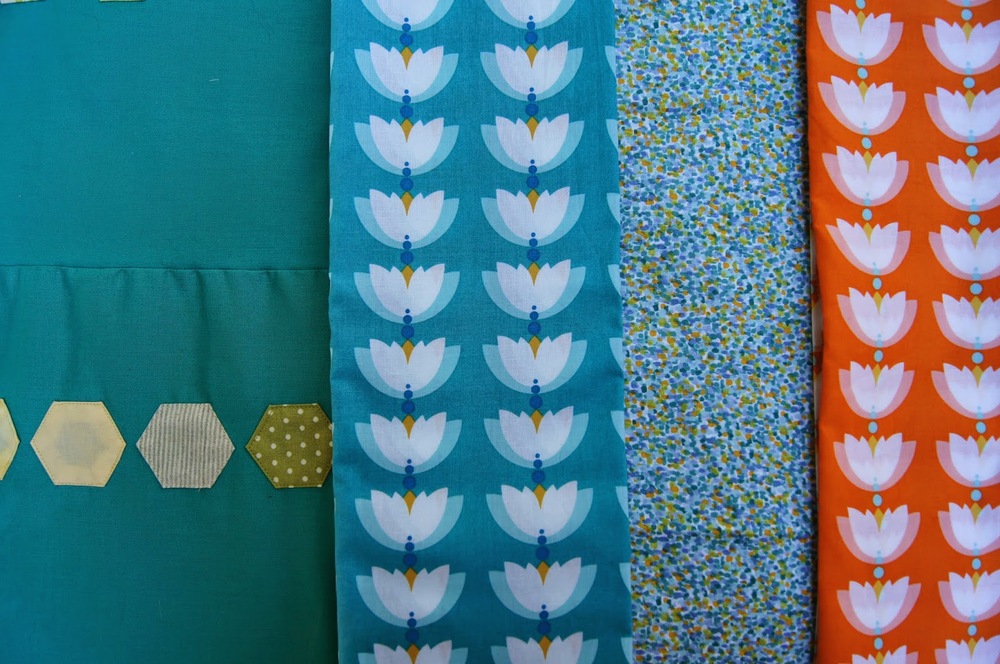
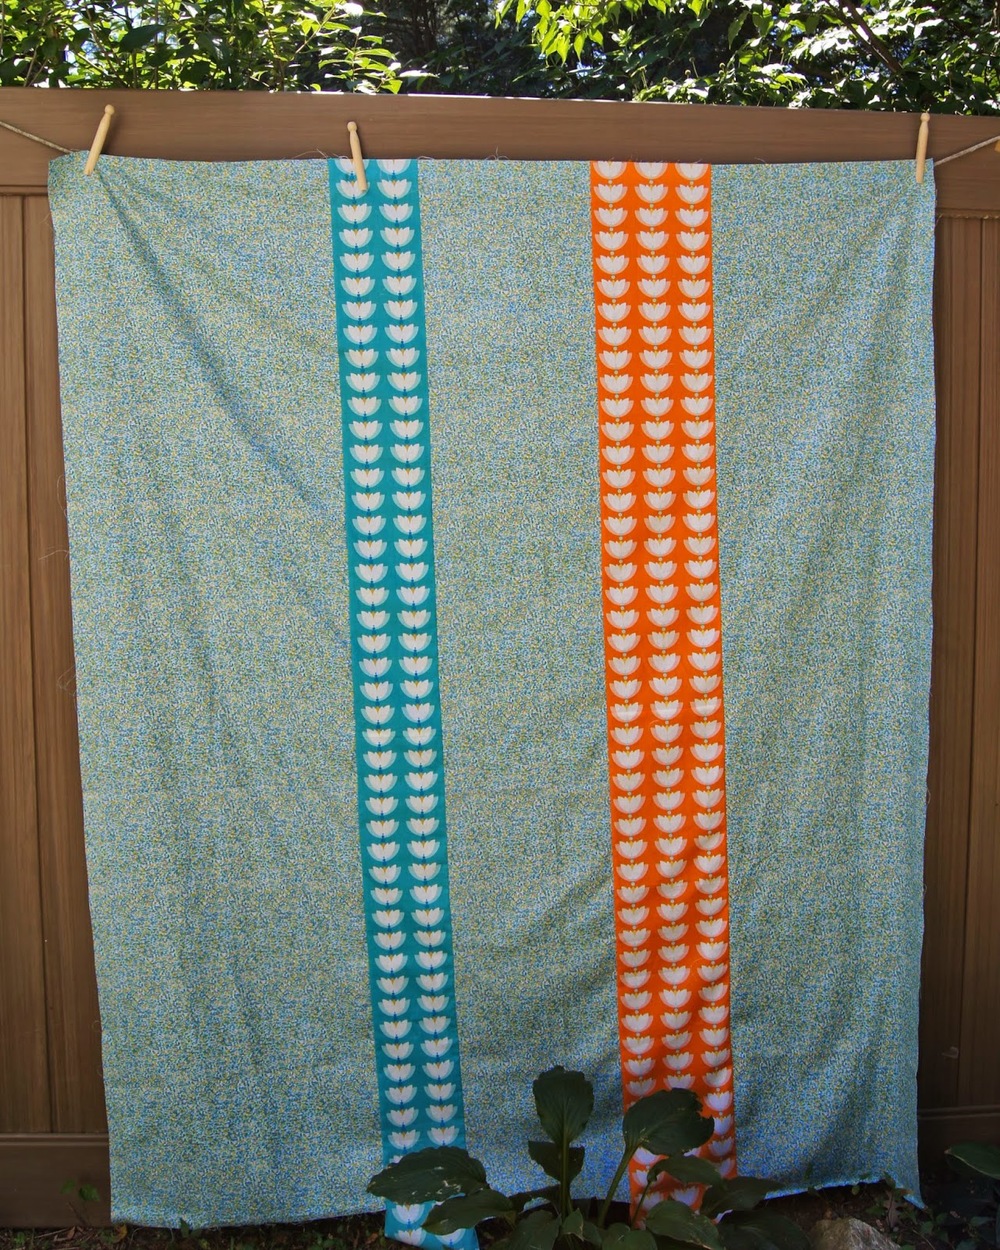
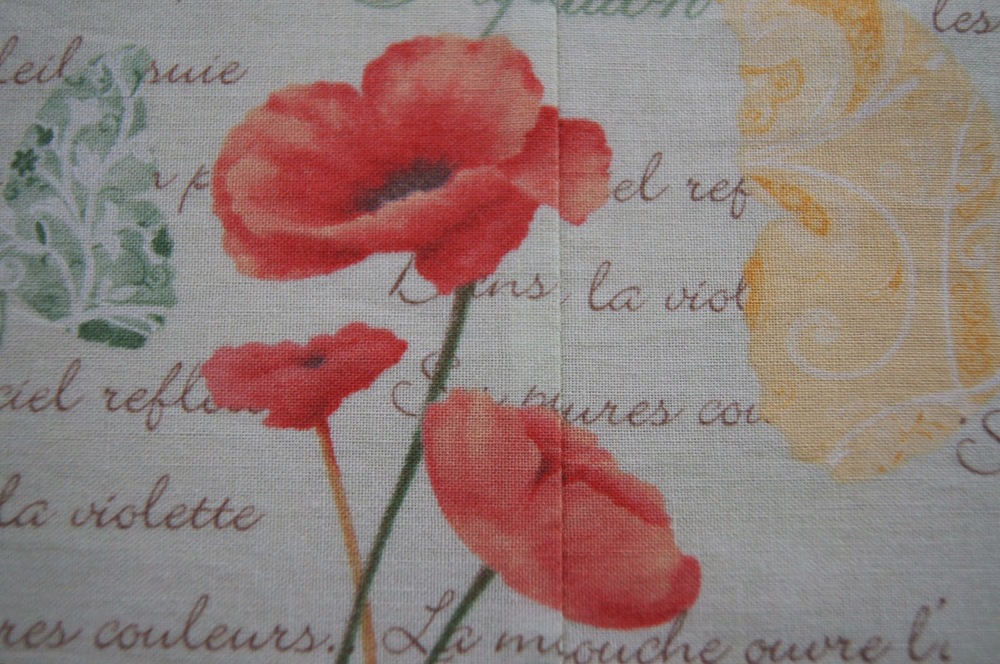
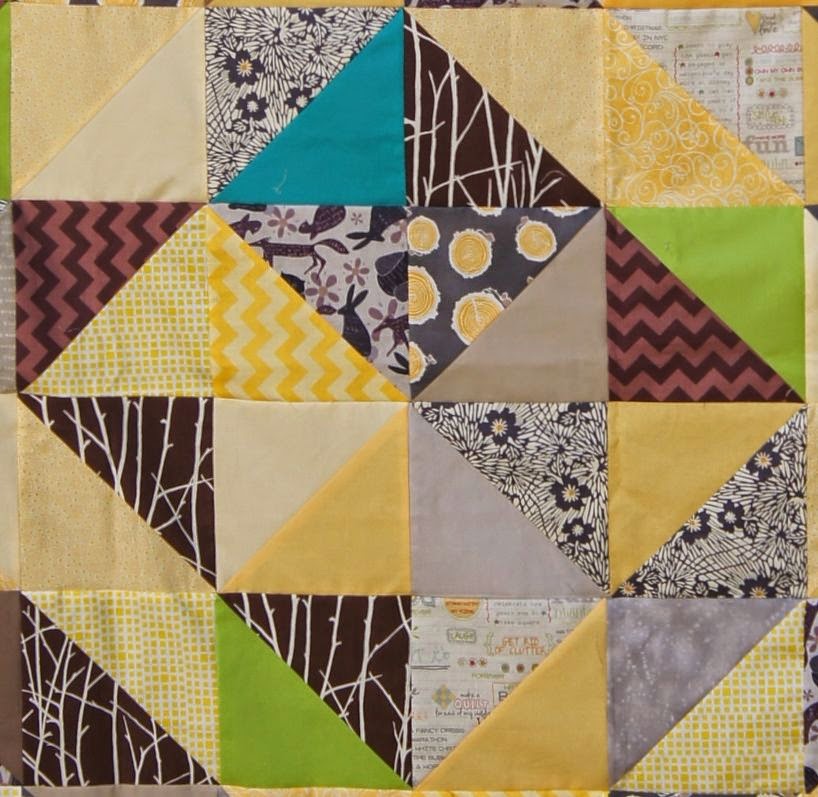
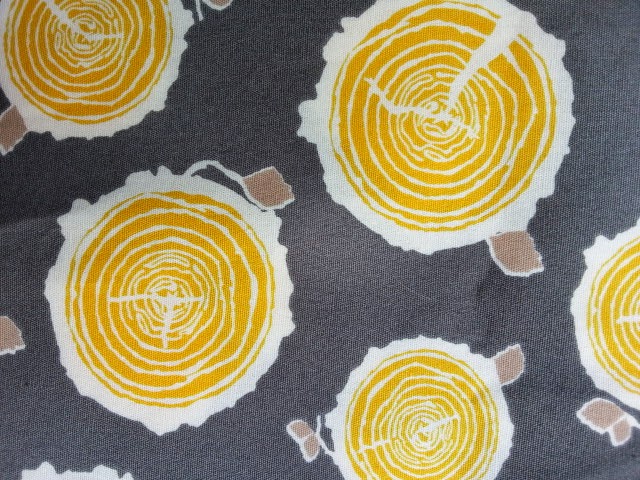
A quick look through my stash found these fabrics from her 2 lines, Architextures and Botanics.
Carolyn Friedlander fabrics from the Architexture and Botanics collections
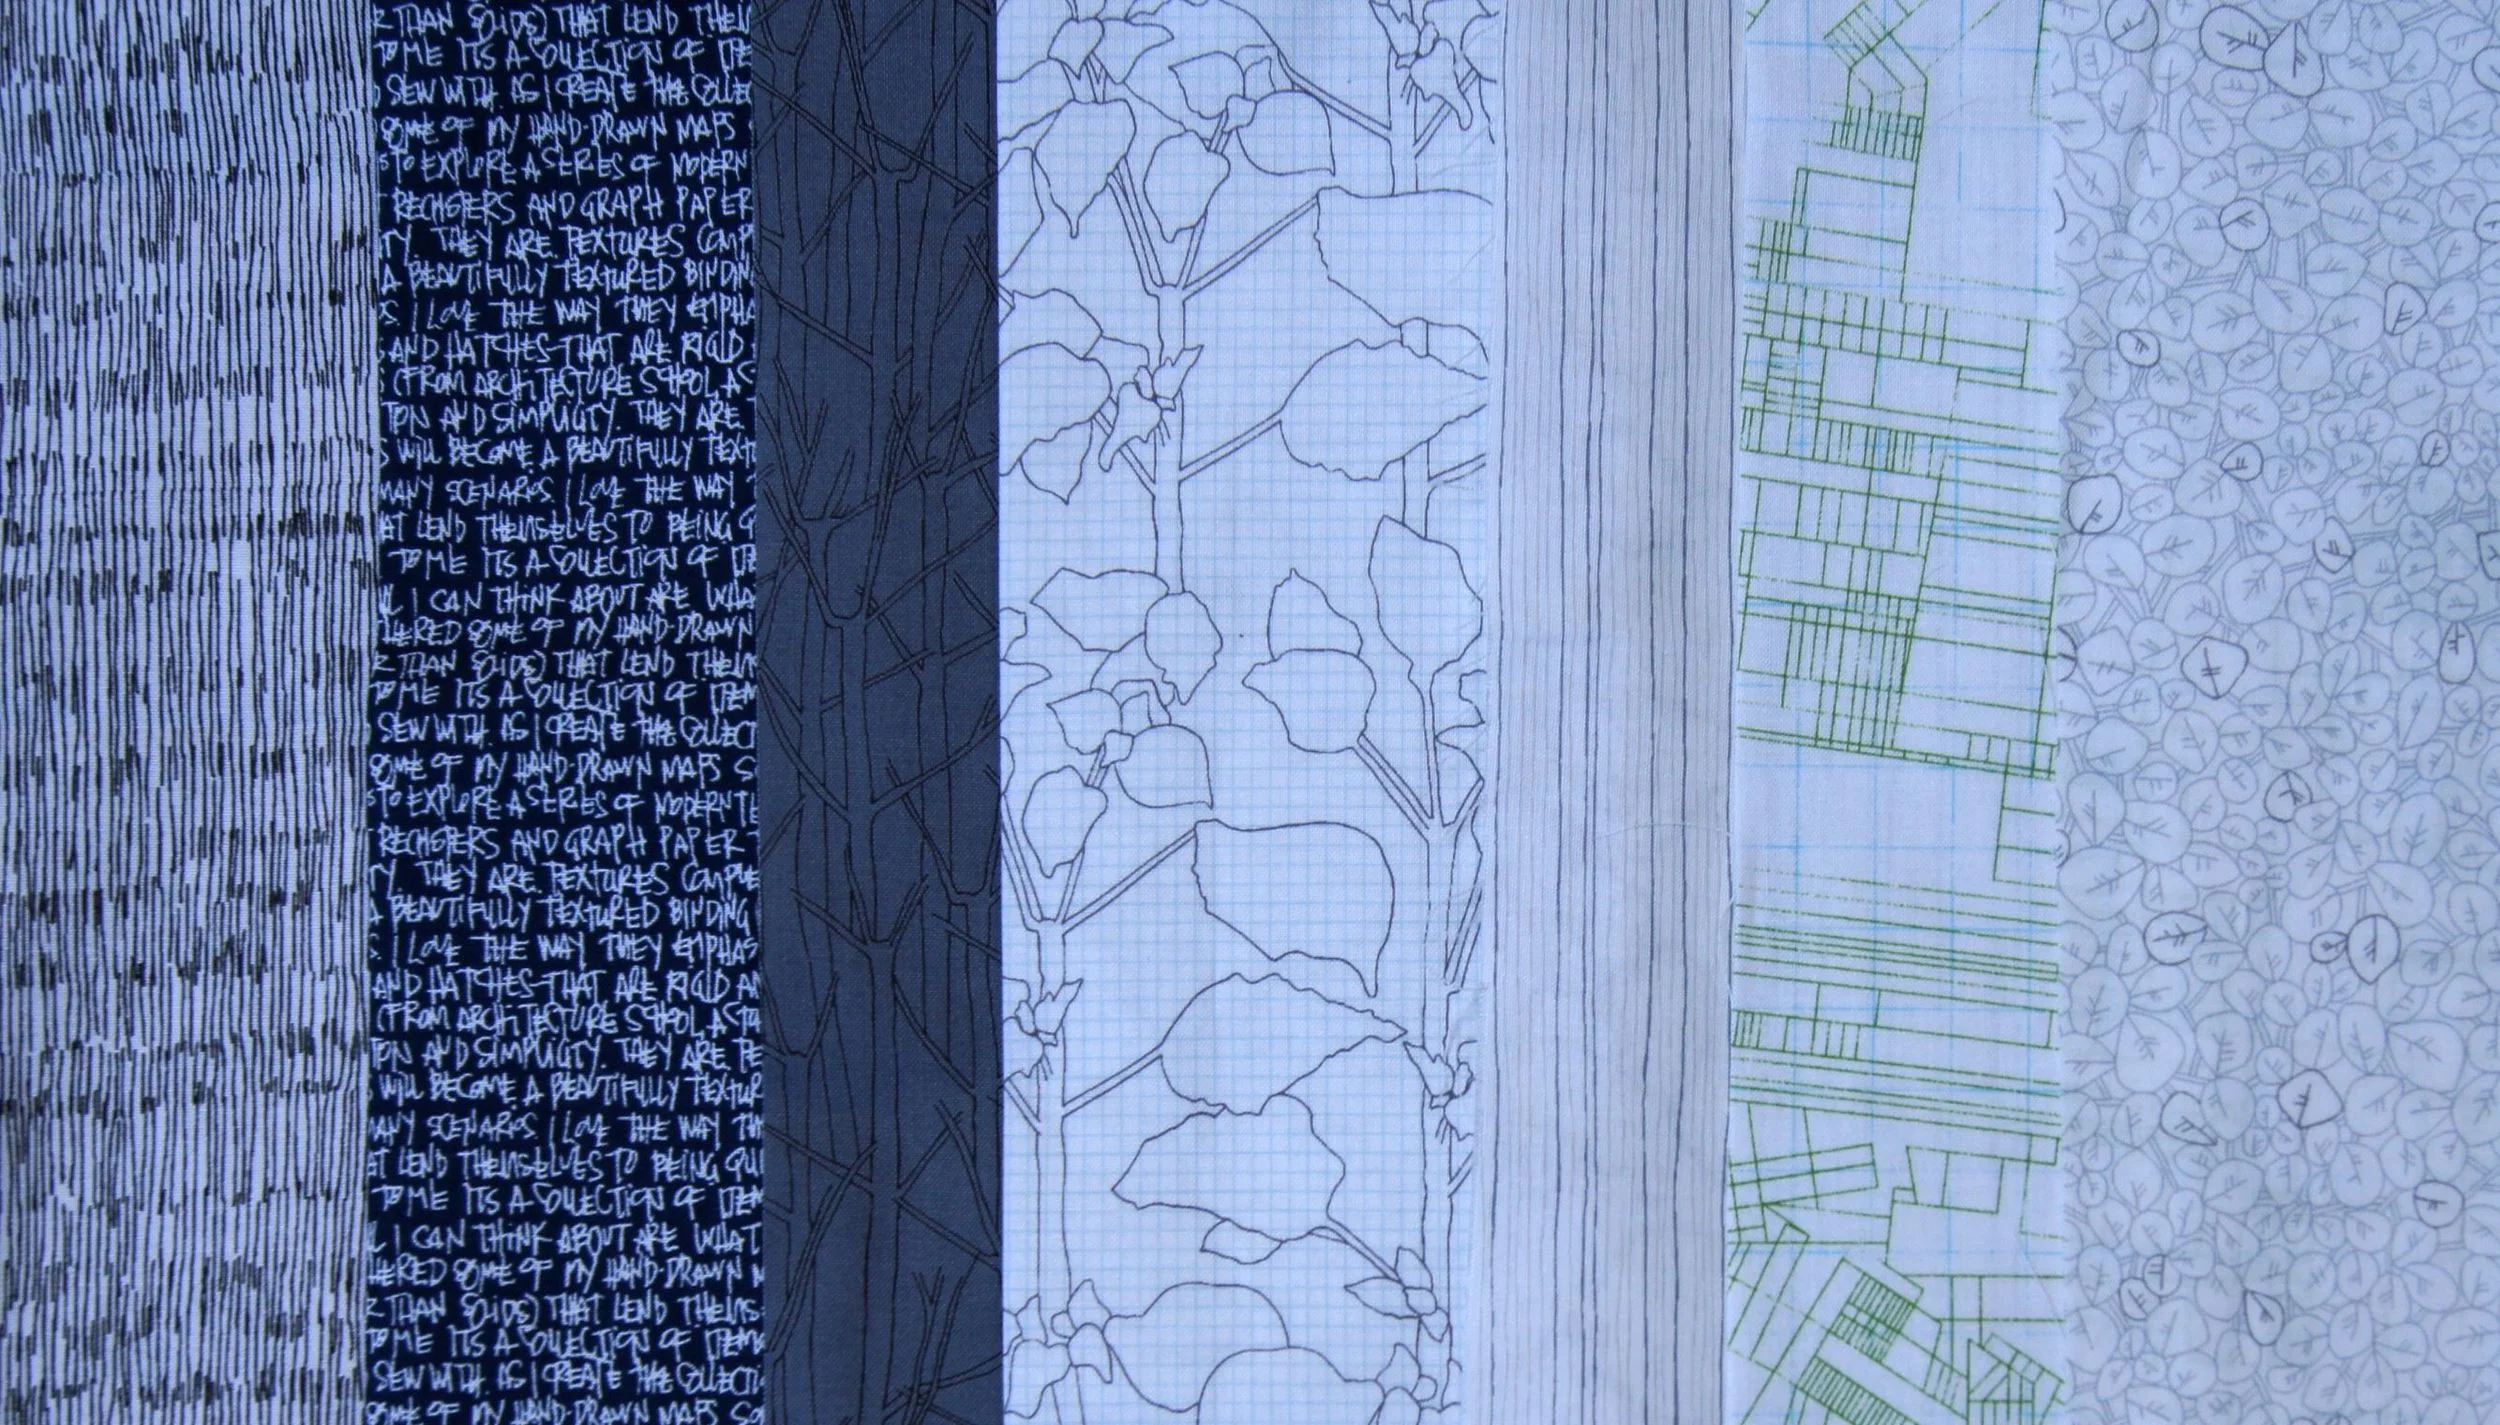
I really appreciate her low volume fabrics and love her fine linear designs.
Like many modern quilters, Carolyn sees patterns in her neighborhood (Florida orange grove country) and turns them into quilts. She has quilts in this book based on the orange groves, lattice work and even a screen door.
She is interested in design and color. She had made multiples of each quilt in the book to compare how using various fabrics, texture and colors change the look of the quilt.
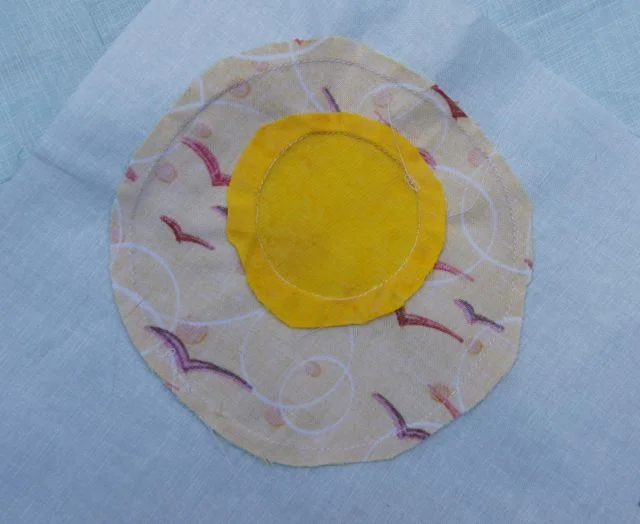
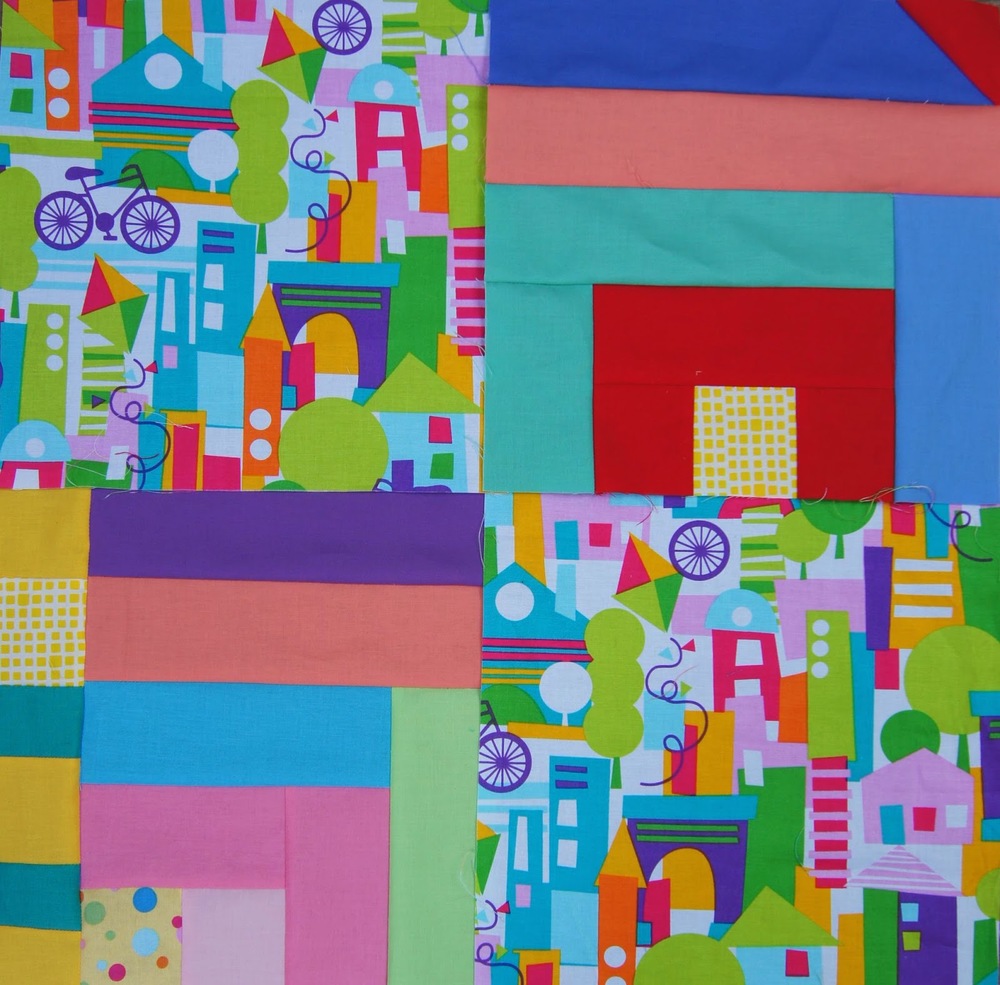
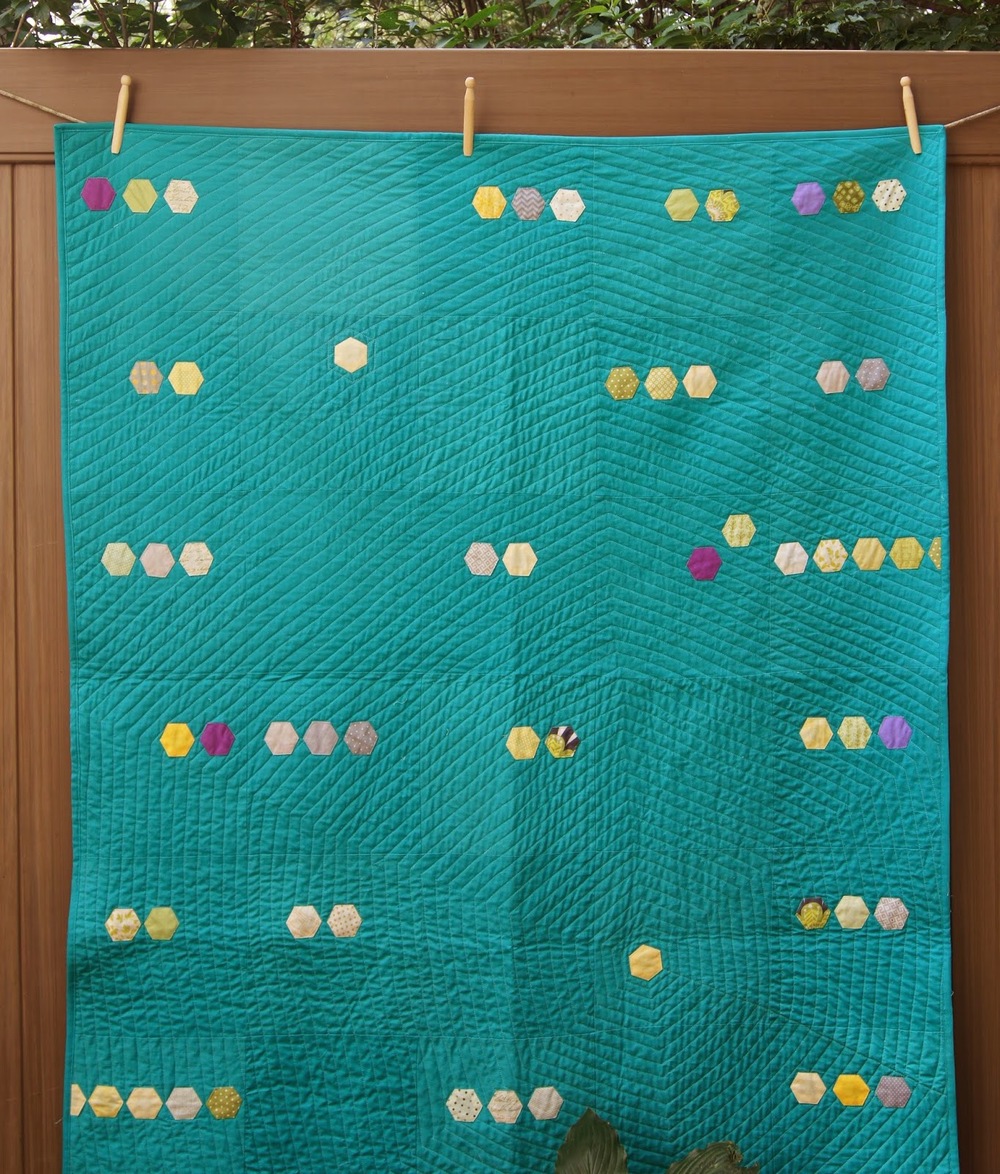
Her quilts range the gamut--hand appliqué, piecing and foundation piecing. (The book includes a take out sheet with templates). Carolyn did a workshop at Gather Here, a quilt shop in Cambridge Massachusetts, this past June. Many of the quilts in the book are on display on the shop's wall. You can see them on her blog post about that workshop. I particularly like her Bulls Eye quilts and the small quartet of aqua blue crazy quilt blocks.
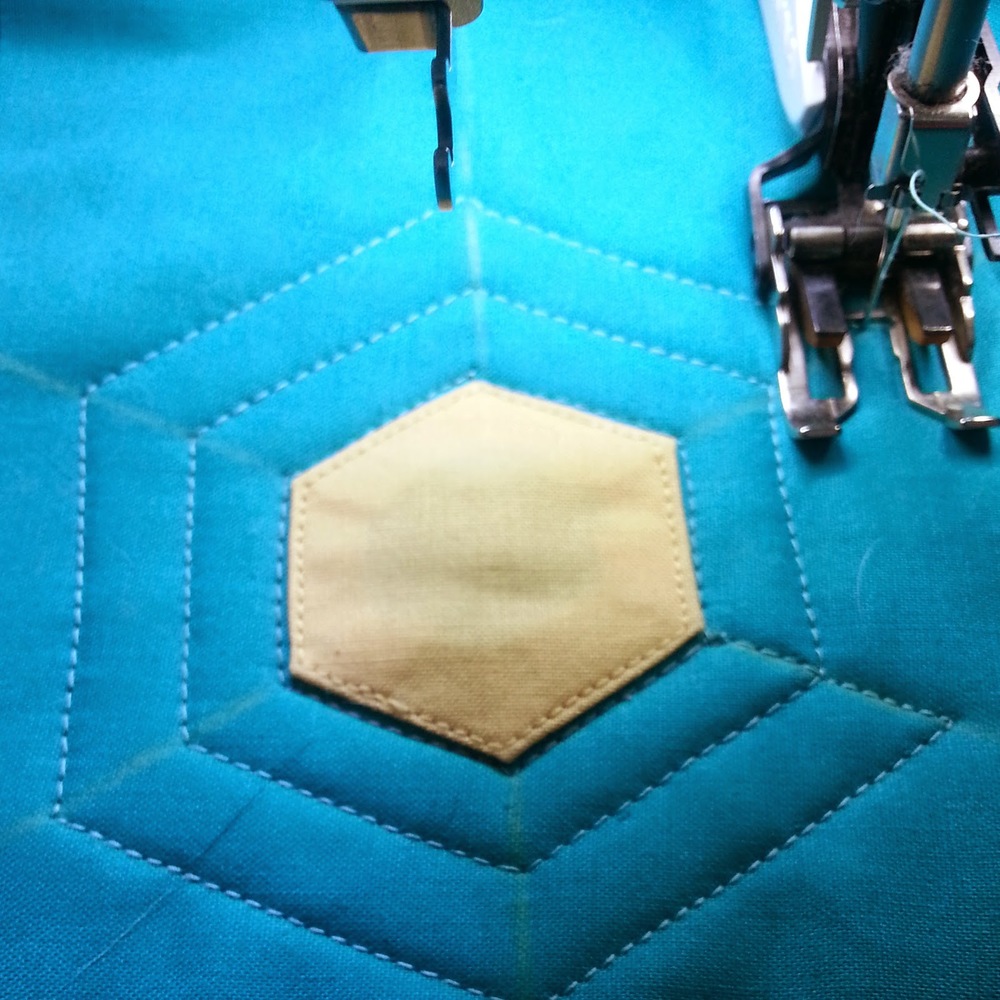
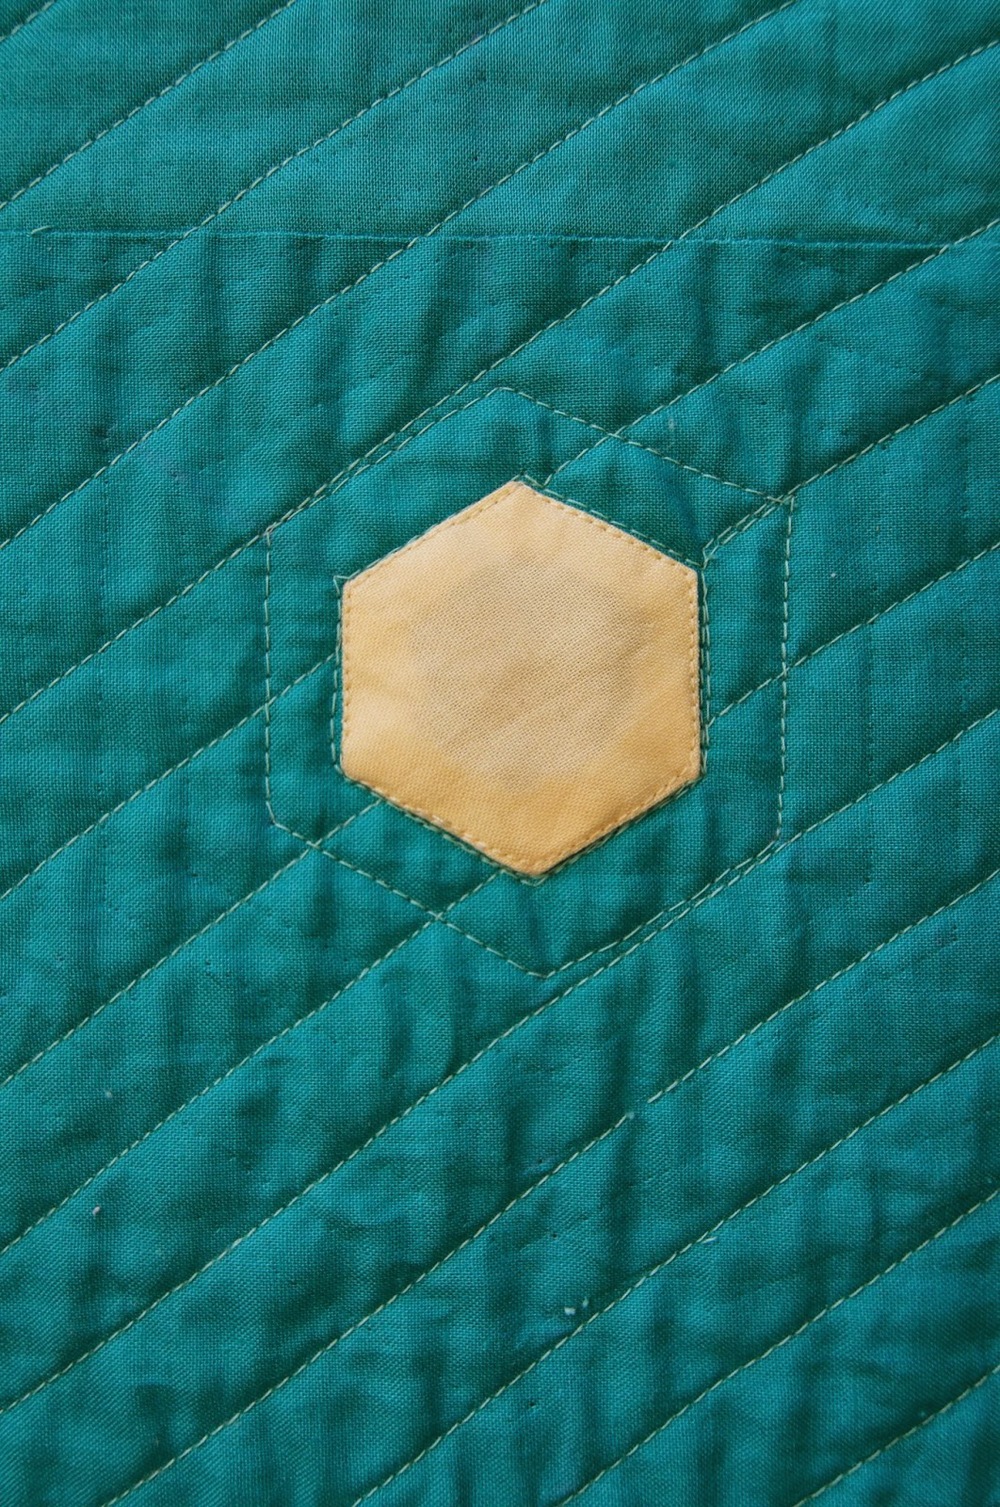
I read the whole book. While I liked her quilts, my initial thought was that there was no way I was going to make any of them. And then I headed off to my stash to find fabrics to make the hand appliquéd Bull's Eye quilt! It's a WIP at the moment…more about it in a future post.
Savor Each Stitch may not be the book you grab when you are looking for a pattern for a quick quilt but if you are interested in design and color, you'll be fascinated by Carolyn Freidlander's book. She is an excellent writer and takes you with her on her explorations of line, contrast, scale, color, emphasis, volume and texture. I loved reading her book!
Oh…those monolithic looking brown objects on the cover? When I looked a the book cover on-line they totally puzzled me. What are they?? They are (really) old ironing boards. I'm no spring chicken but I've never seen a wooden ironing board frame. Now I know how kids feel when they see a dial phone!