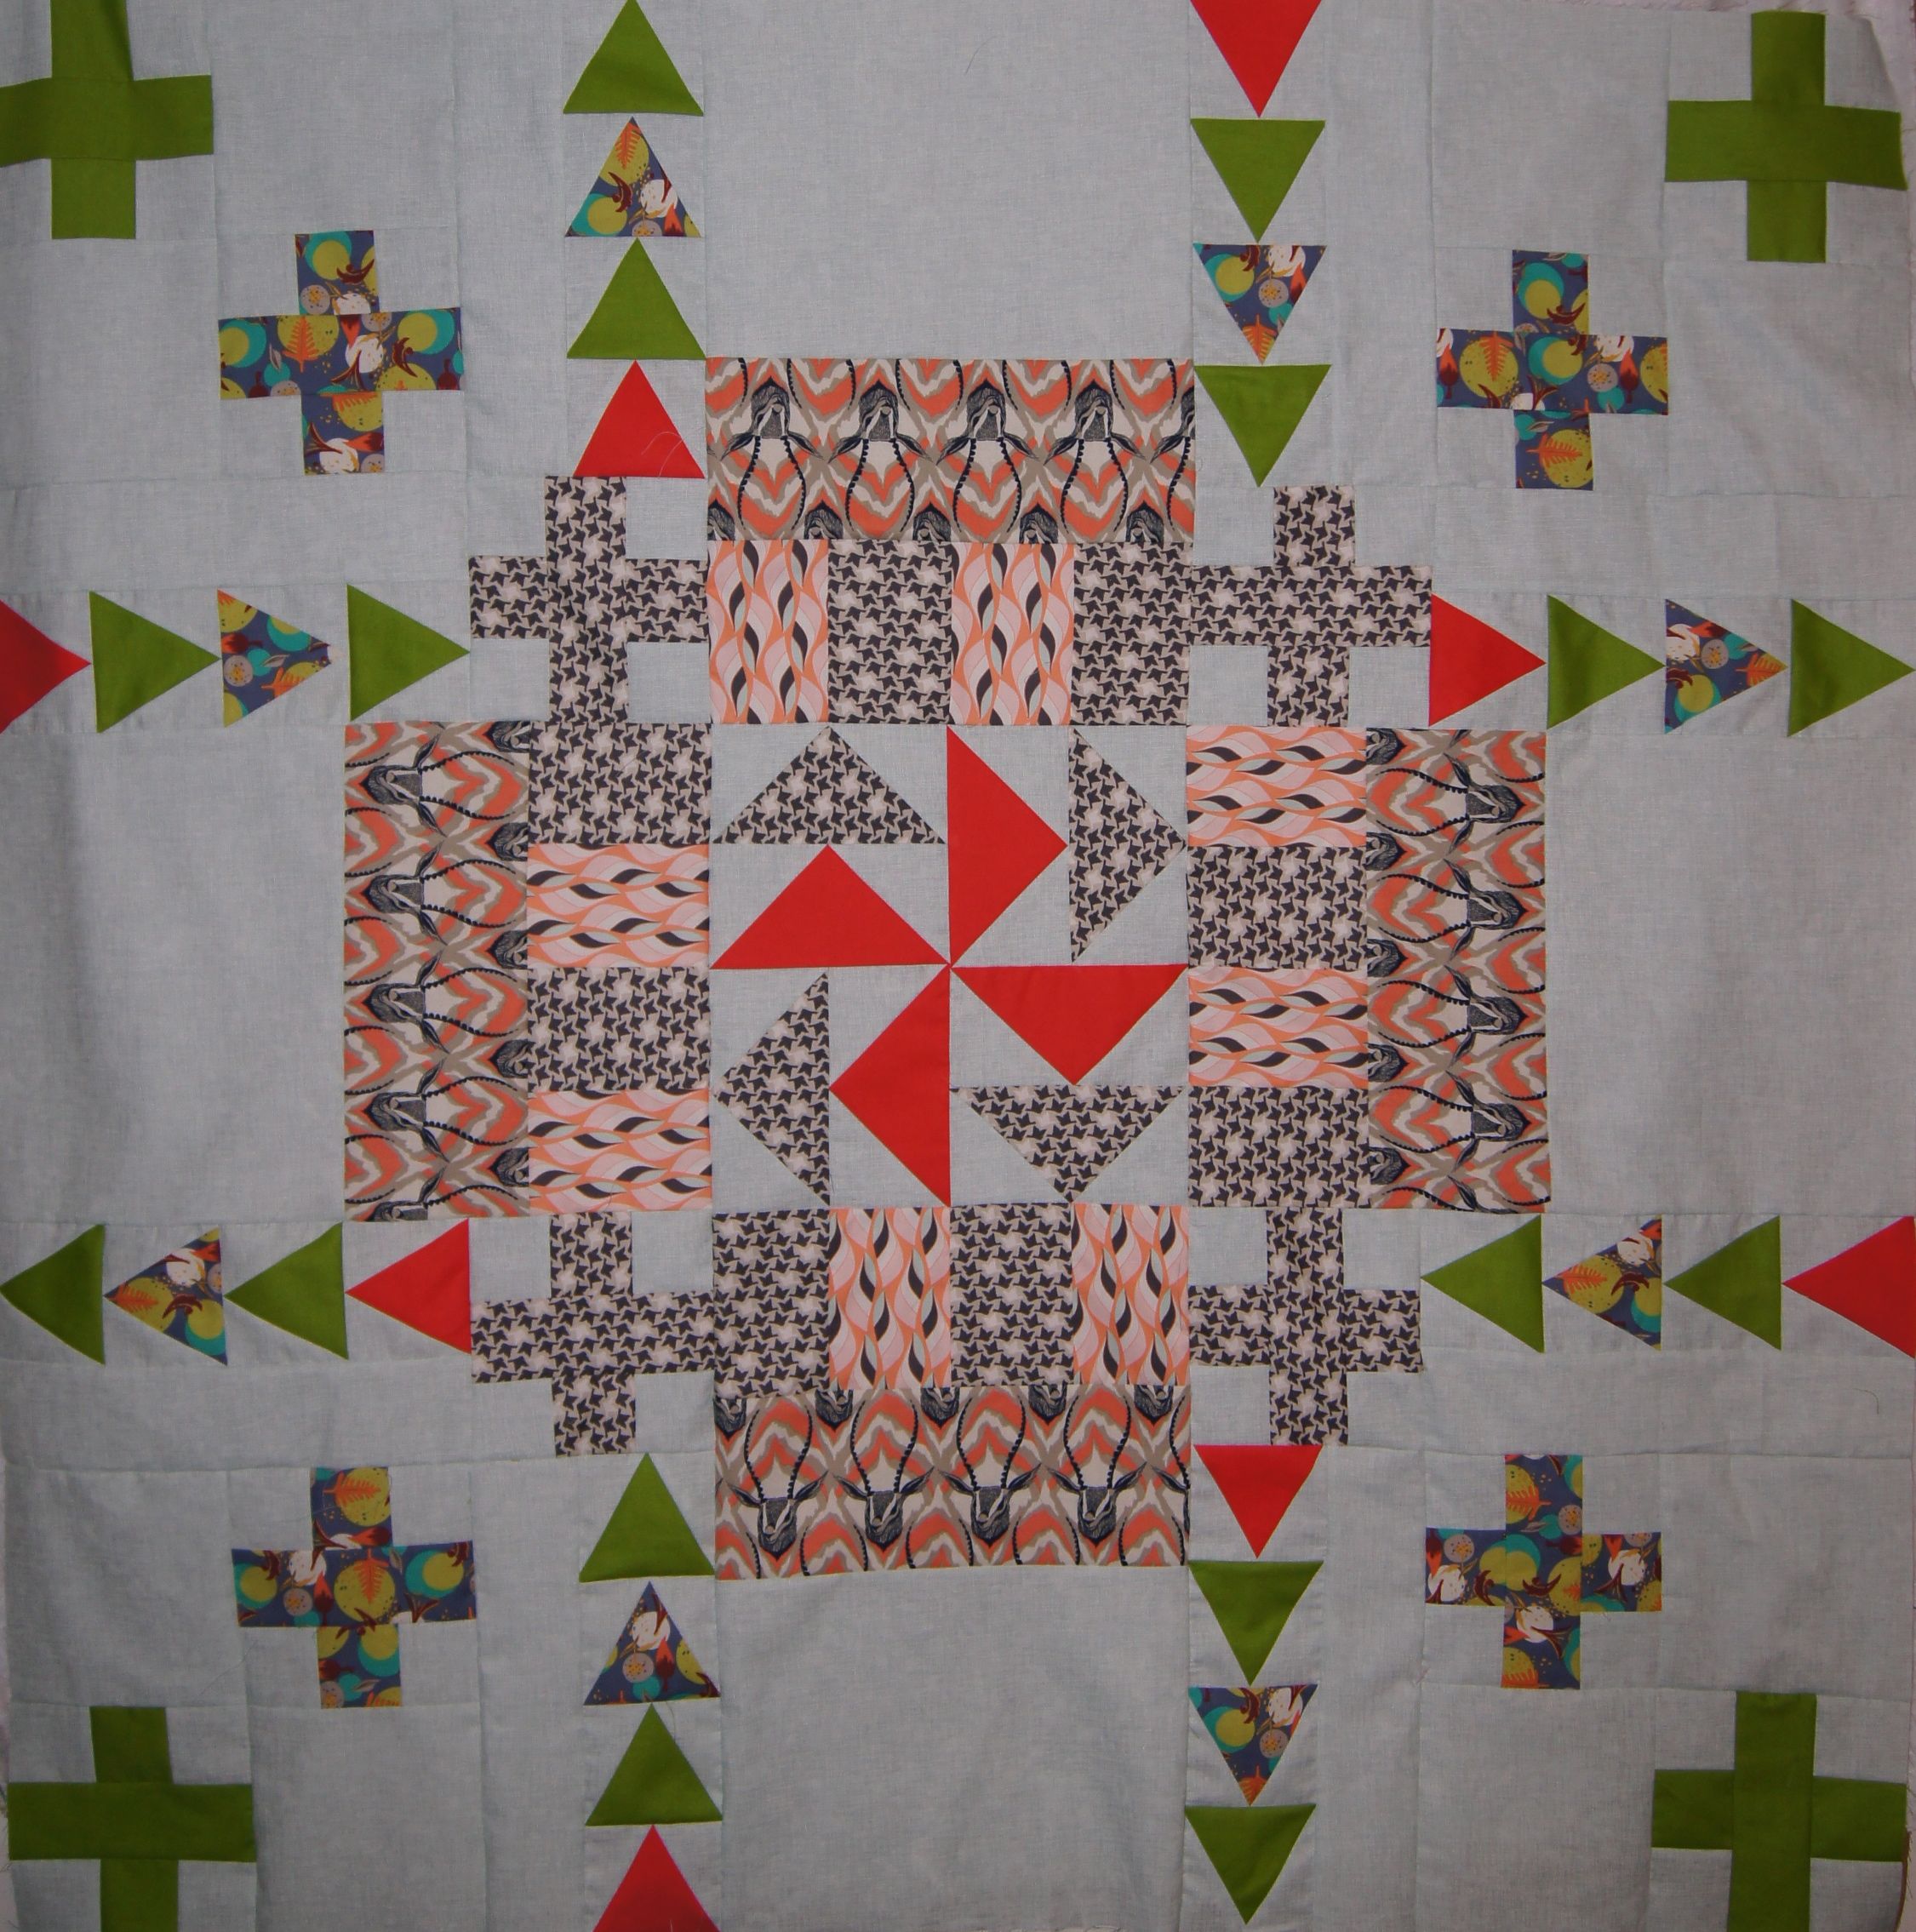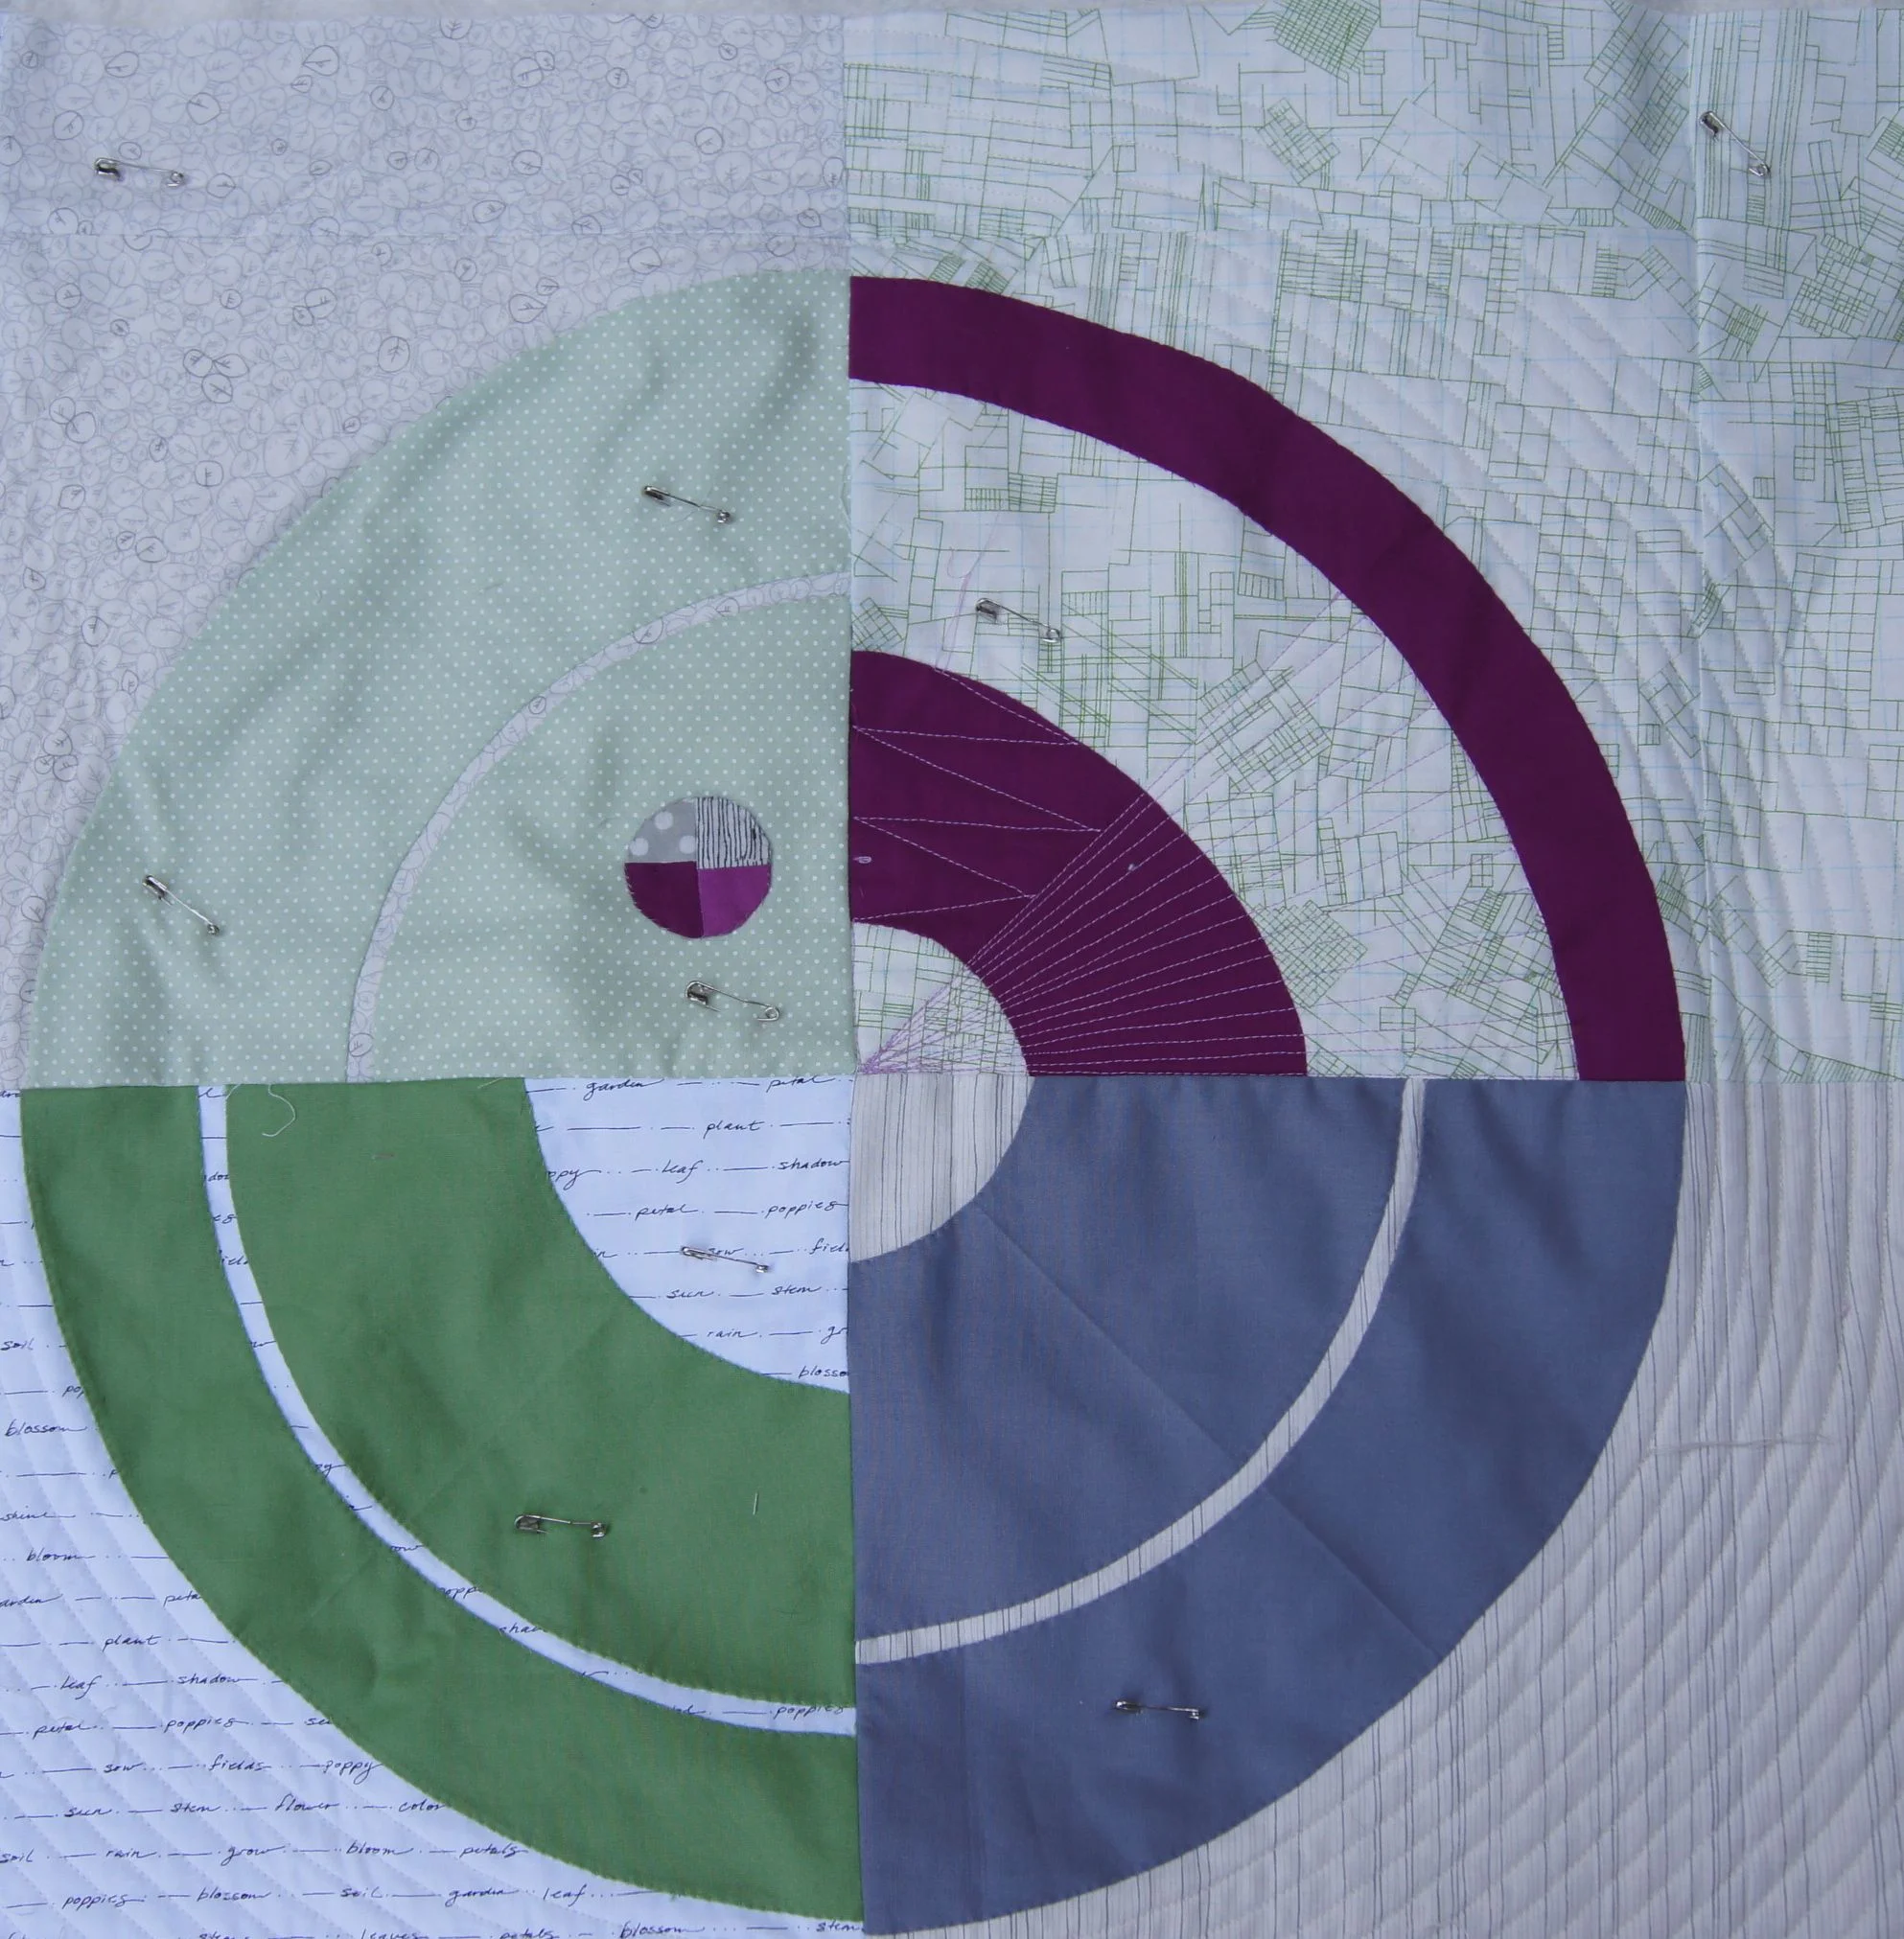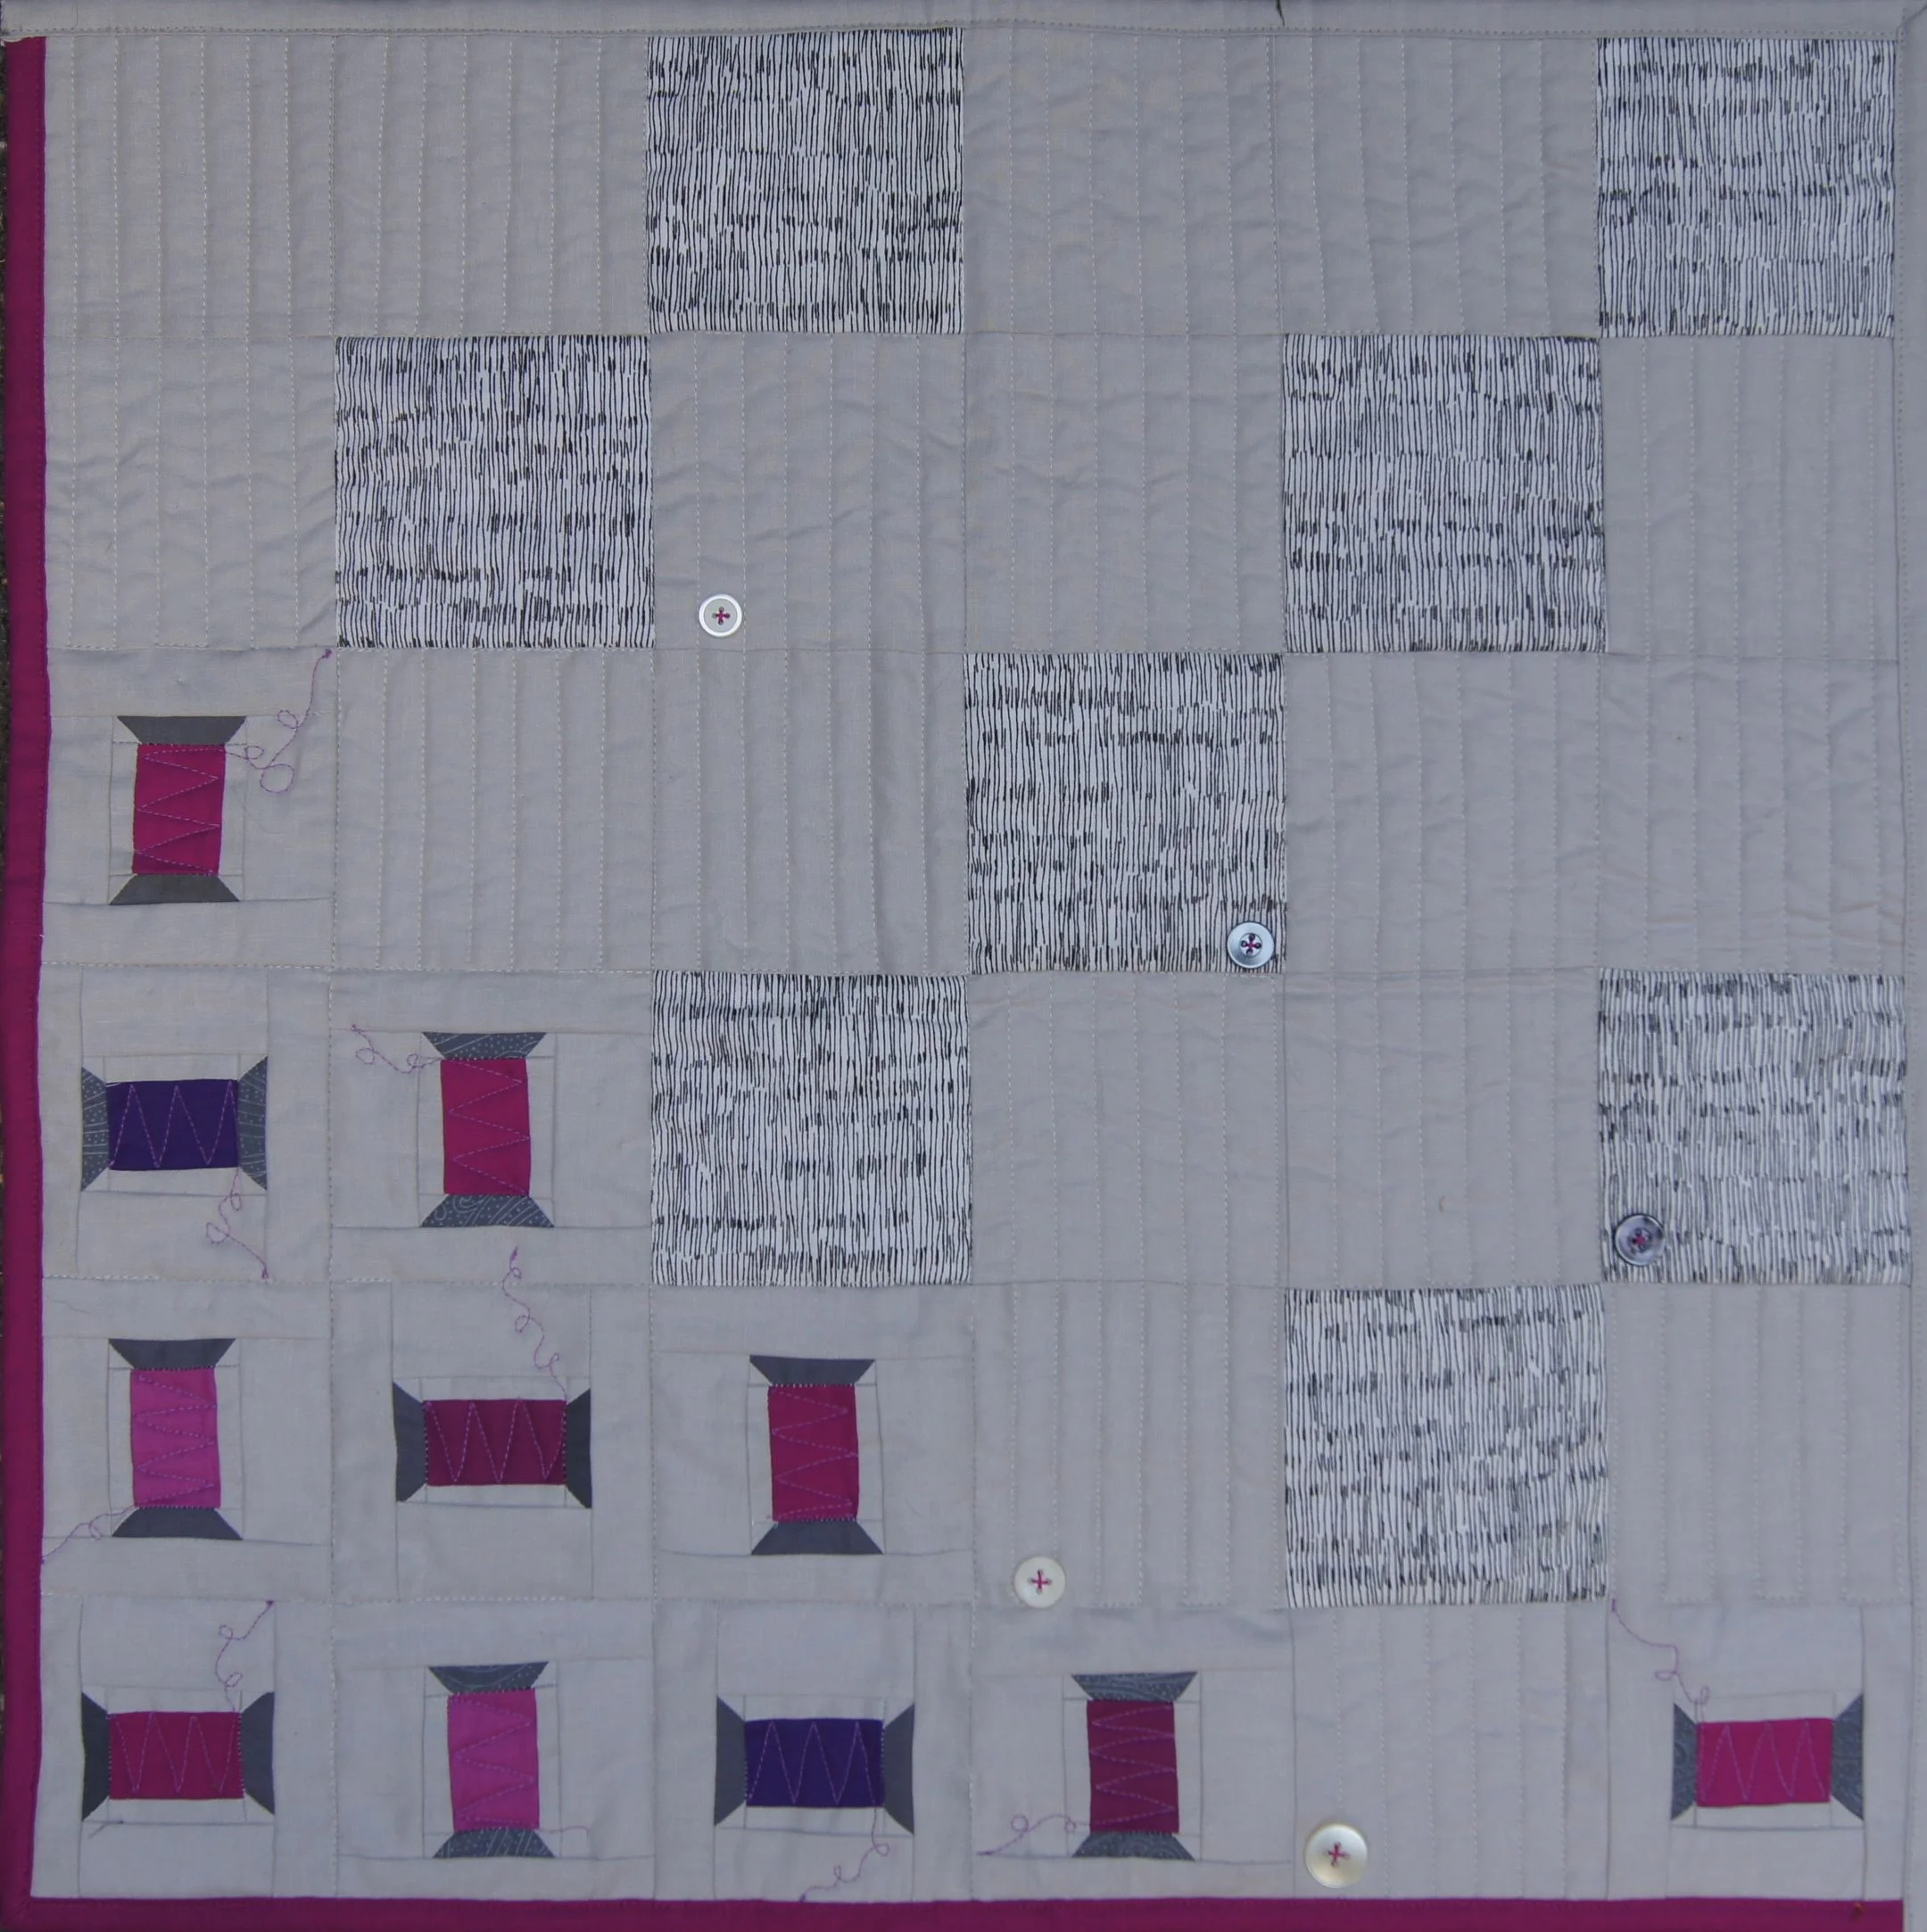
"Mending the Bishop's Buttons" 21 x 21 inch wall hanging
The Proper Bostonian Quilt Guild runs a Summer Challenge every year. It's a project to keep everyone sewing in the summer months when the guild doesn't meet! And it's a contest.
This year there were two options for the Summer Challenge quilts. Both options must be based on a specific inspiration which can be explained in a sentence.
- A small quilt, 24 x 24 inches or smaller using the Pantone Color of the Year for 2014, Radiant Orchid (Kona cotton's Cerise). We were required to use all of a Fat 1/16 (a piece of fabric 9.5 x 11 inches) which was provided at the last meeting in June. It had to incorporate 3-5 Modern Quilting Design Characteristics. ( A list of 11 characteristics was included. You can see the list if click on the link above and then on the link for the Summer Challenge Instructions).
- A quilt 36 x 36 inches but less than not larger than 72 x 72 inches. It must incorporate 3 to 5 Modern Quilting Design Characteristics.
The Purple family is not a slice of the Color Wheel I would typical use as a color for a focus fabric. I'm more likely to add a magenta or purple as an accent. So this challenge definitely pushed me right out of my comfort zone.
I took one look at that rectangle of Kona Cerise fabric and thought, "That looks like the color a Bishop's clerical shirt." Turns out that Bishop's shirts come in 2 colors--Red Purple similar to Radiant Orchid and Blue Purple. Awesome. That added another color and interest for the quilt!
This idea didn't totally come out of left field. I have 2 great friends who are married. Our friendship goes back to our days when we were college age. He's grown up to become an Anglican Bishop. She loves to sew and does some quilting.
I had just finished my Jumbled Spools Quilt. A friend in the Guild saw that quilt and told me that years ago she made a Spool Quilt with little spools. So I took the color inspiration from the Bishop's colors and the idea of a quilt of Little Spools and designed the wall having above.
It meets the Modern Quilt criteria by having an asymmetric pattern, texture from dense linear quilting, lots of negative space and no borders.
I thought it would be fun with some button to add some visual accents. Hence the title, "Mending the Bishop's Buttons."
When I quilted it, I quilted the spools so that the thread on some of the spools dangling. More than once I've run my hand across this little quilt to brush off the loose threads! Except they aren't loose--it's the quilting! Too funny!
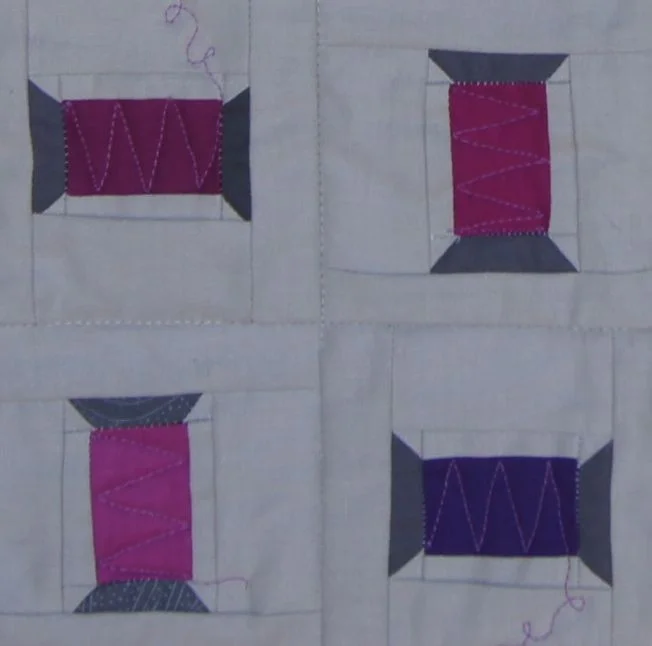
Detail of Spools. The spool upper right is Kona Cerise, the lower Right is a Blue Purple
This year all the PBQ Summer Challenge quilts will be in a show at the library in West Roxbury, MA, November 13-15. 2014.
Our first meeting of the fall is tonight. Can't wait to see what everyone as created for this Summer Challenge!