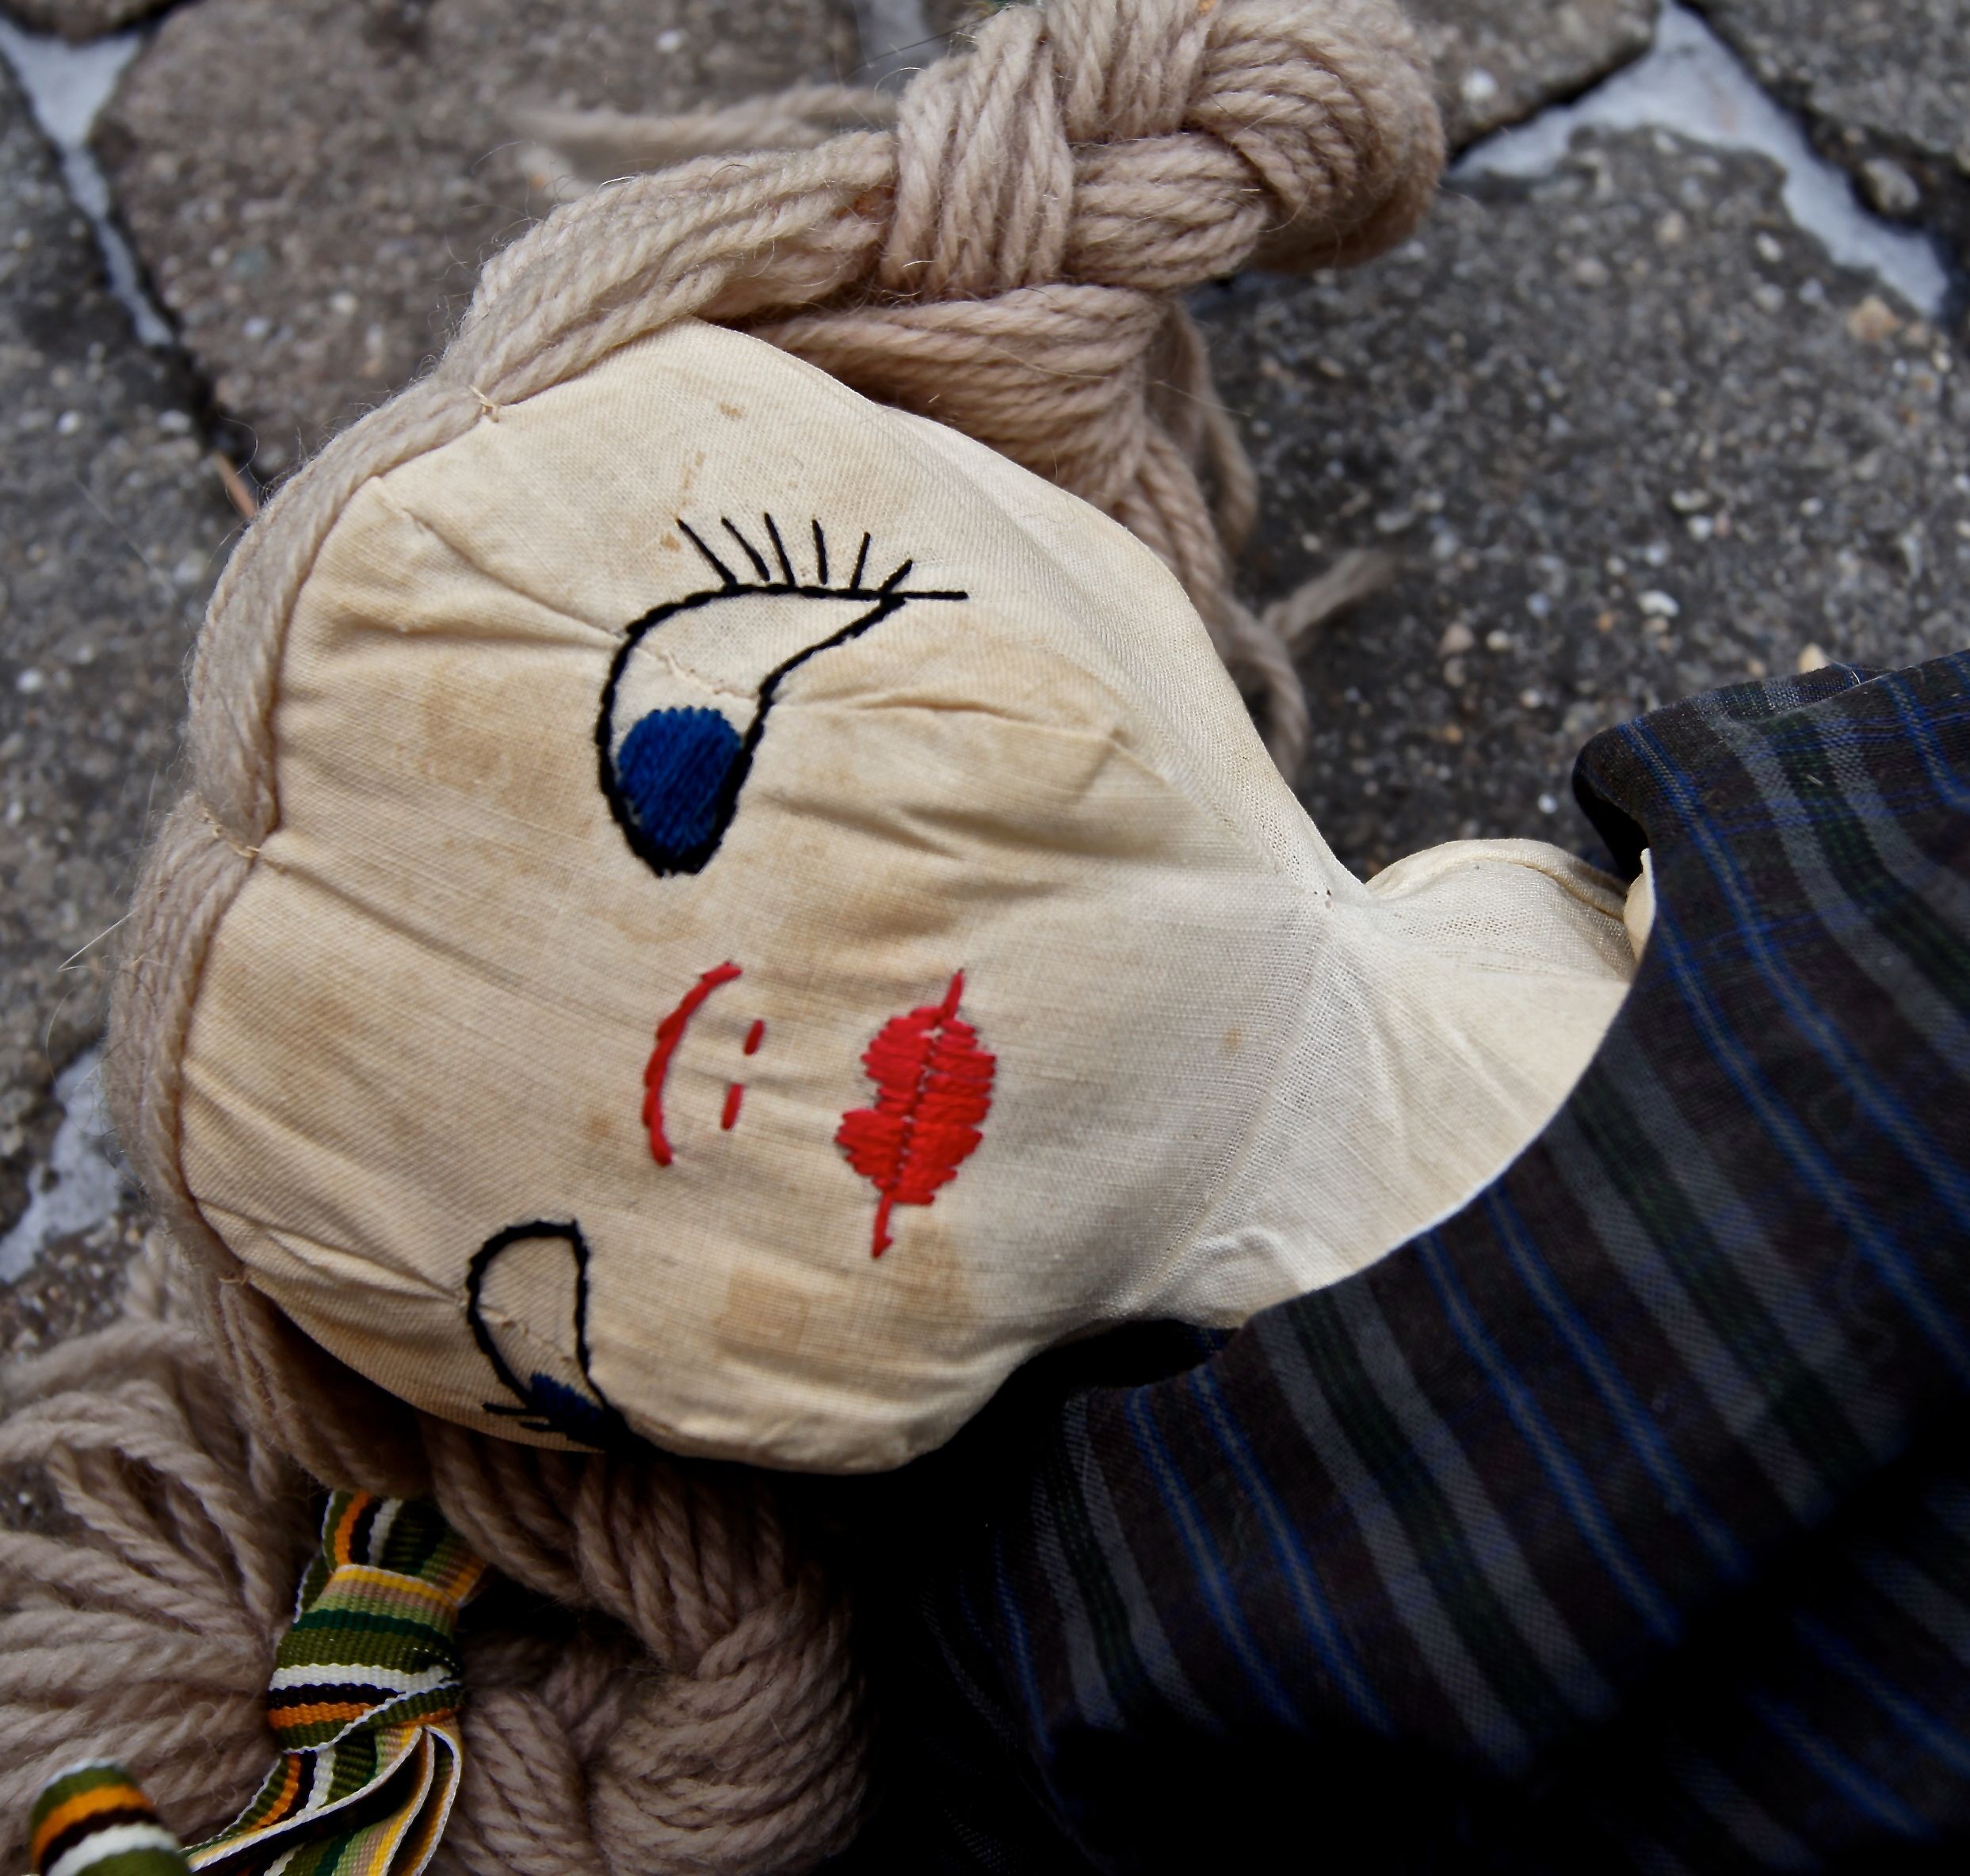
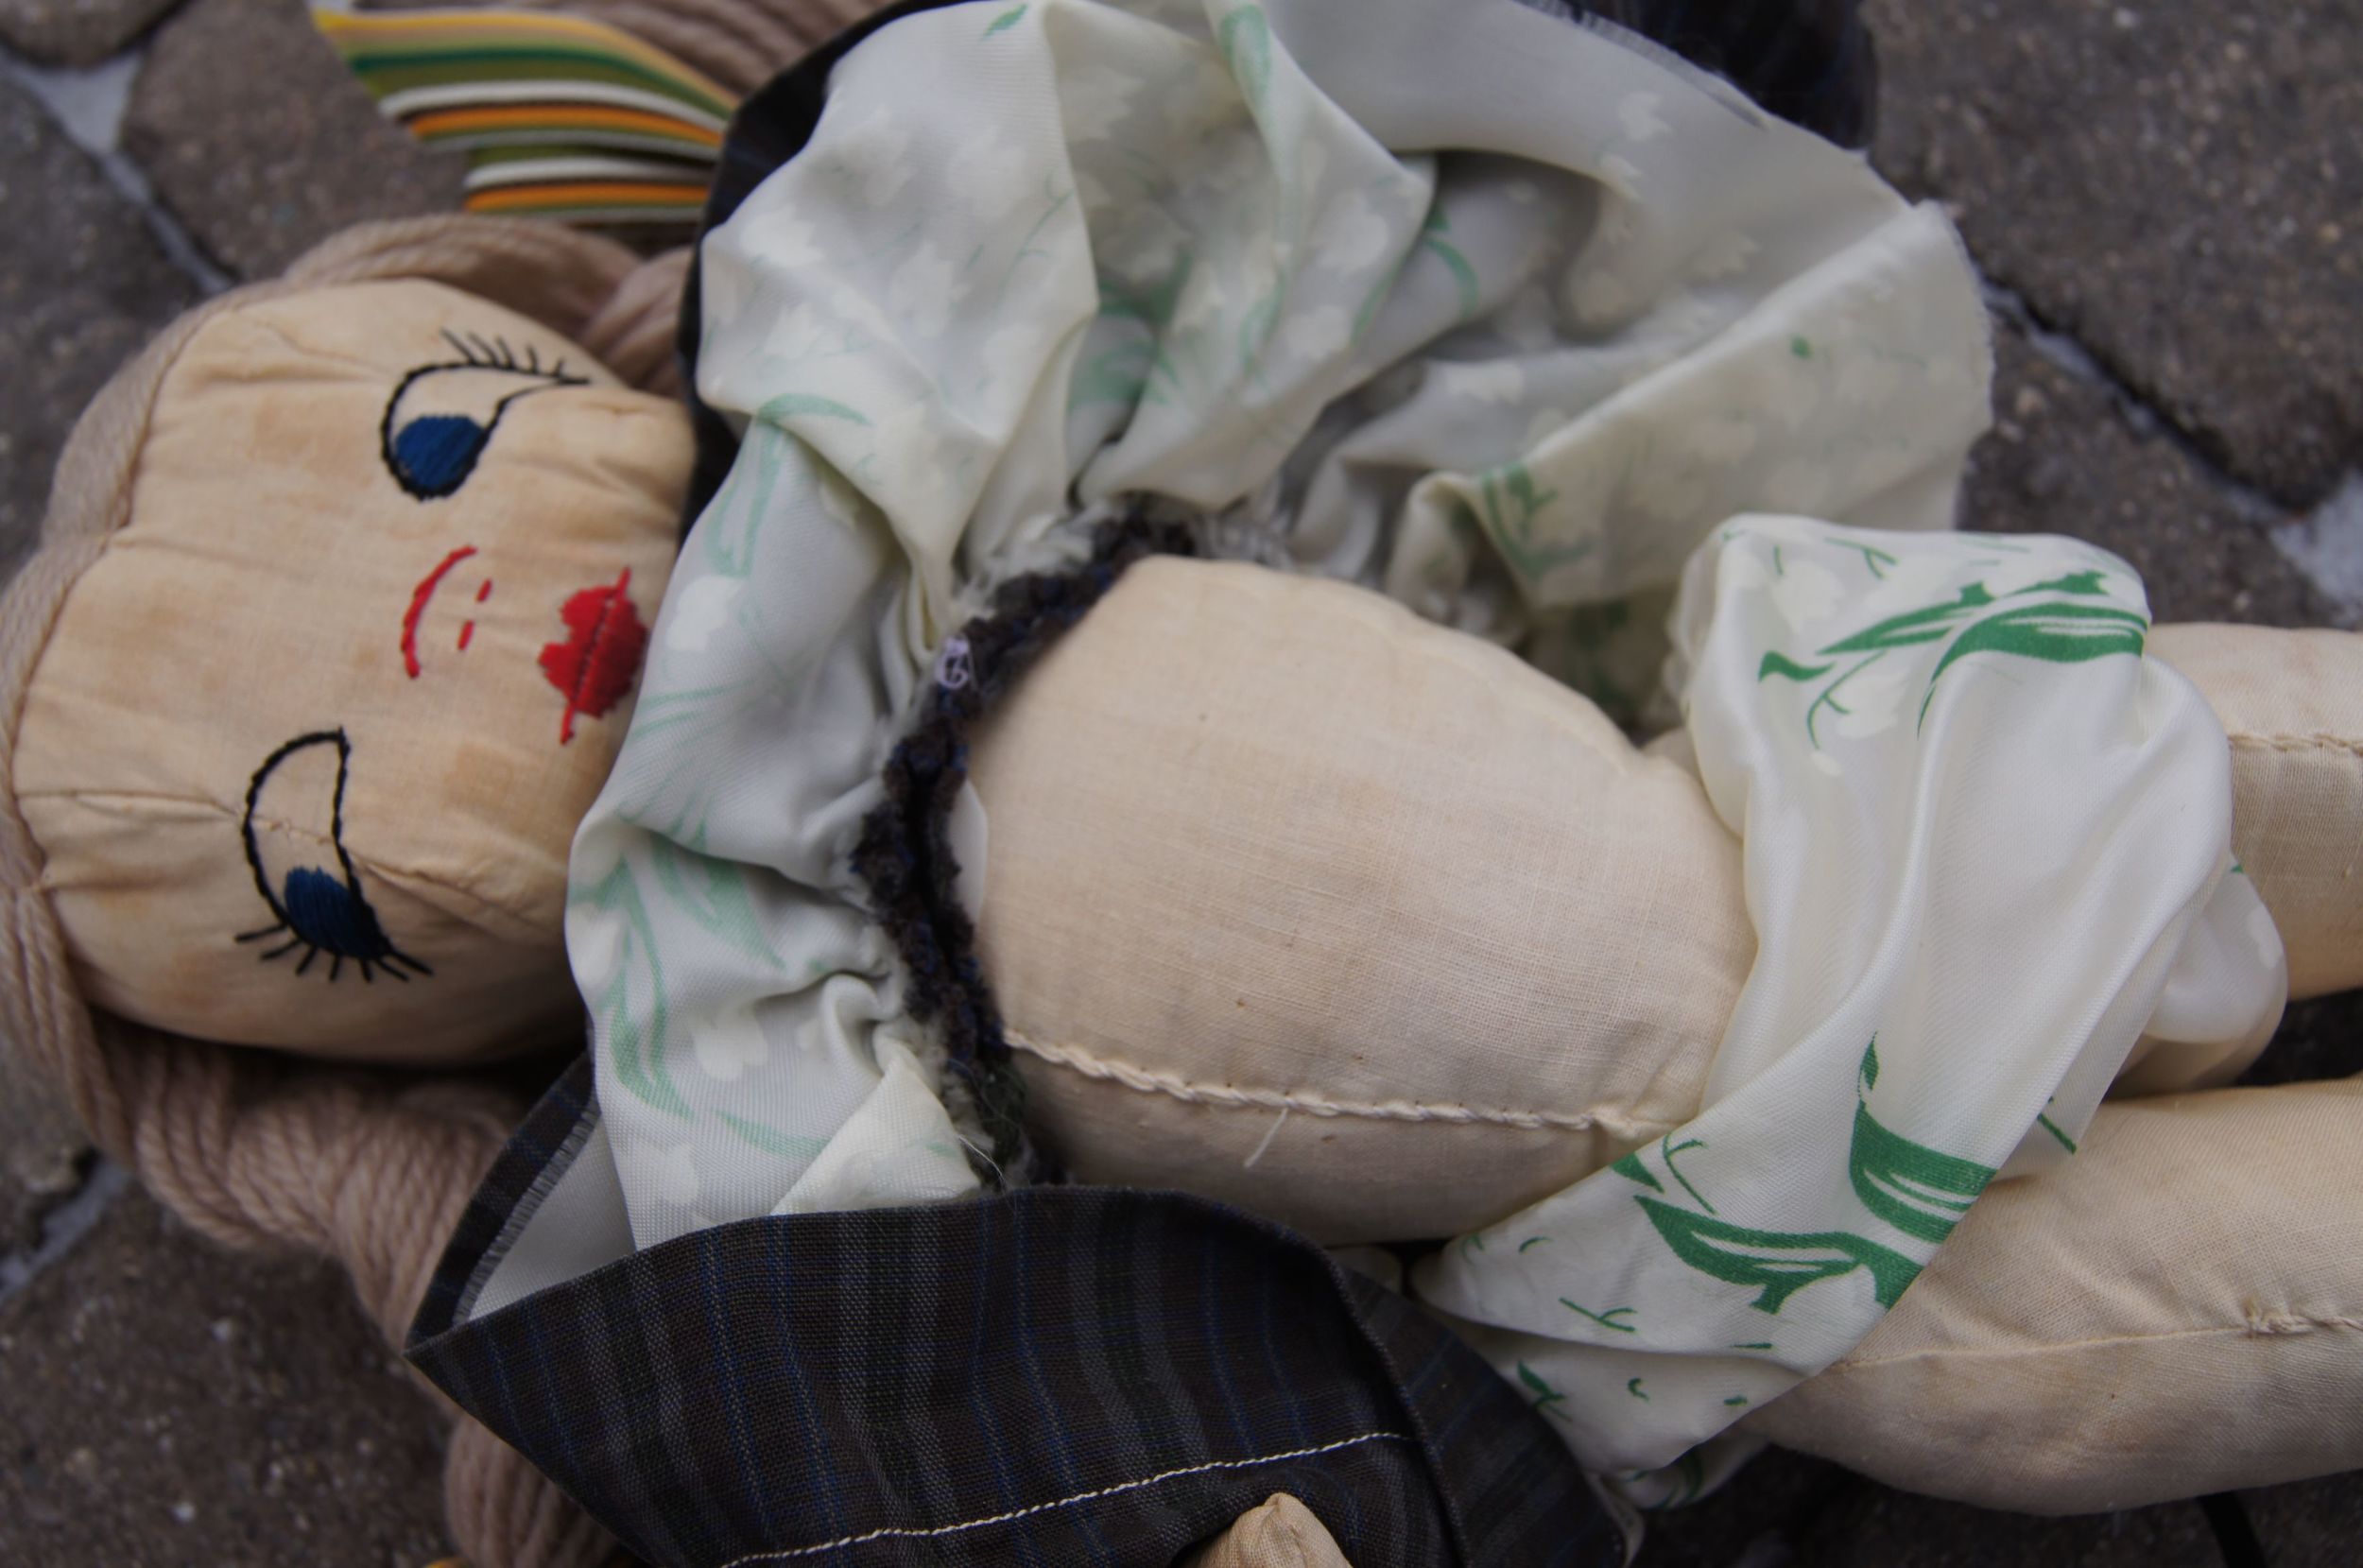
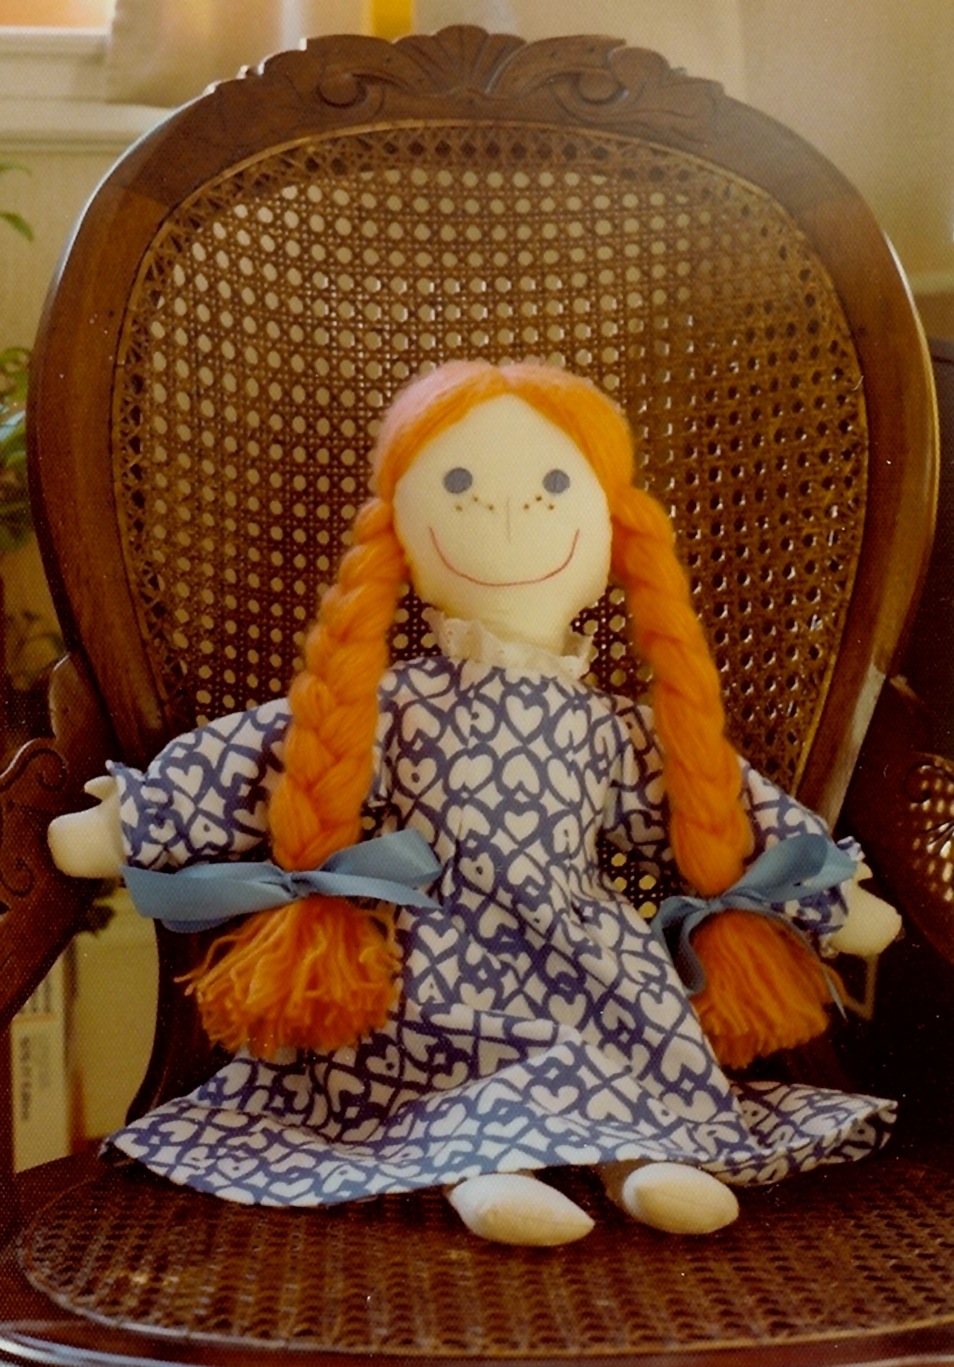
Toddler Doll "Amy"
Today I'd like to introduce you to some of the dolls I've designed and made. They were sewn in the 1970s and 1980s. My Mom gave me a copy of Jean Ray Laury's Doll Making: A Creative Approach. It is a great resource which explains how to design, joint and add hair for children's toys as well as art dolls.
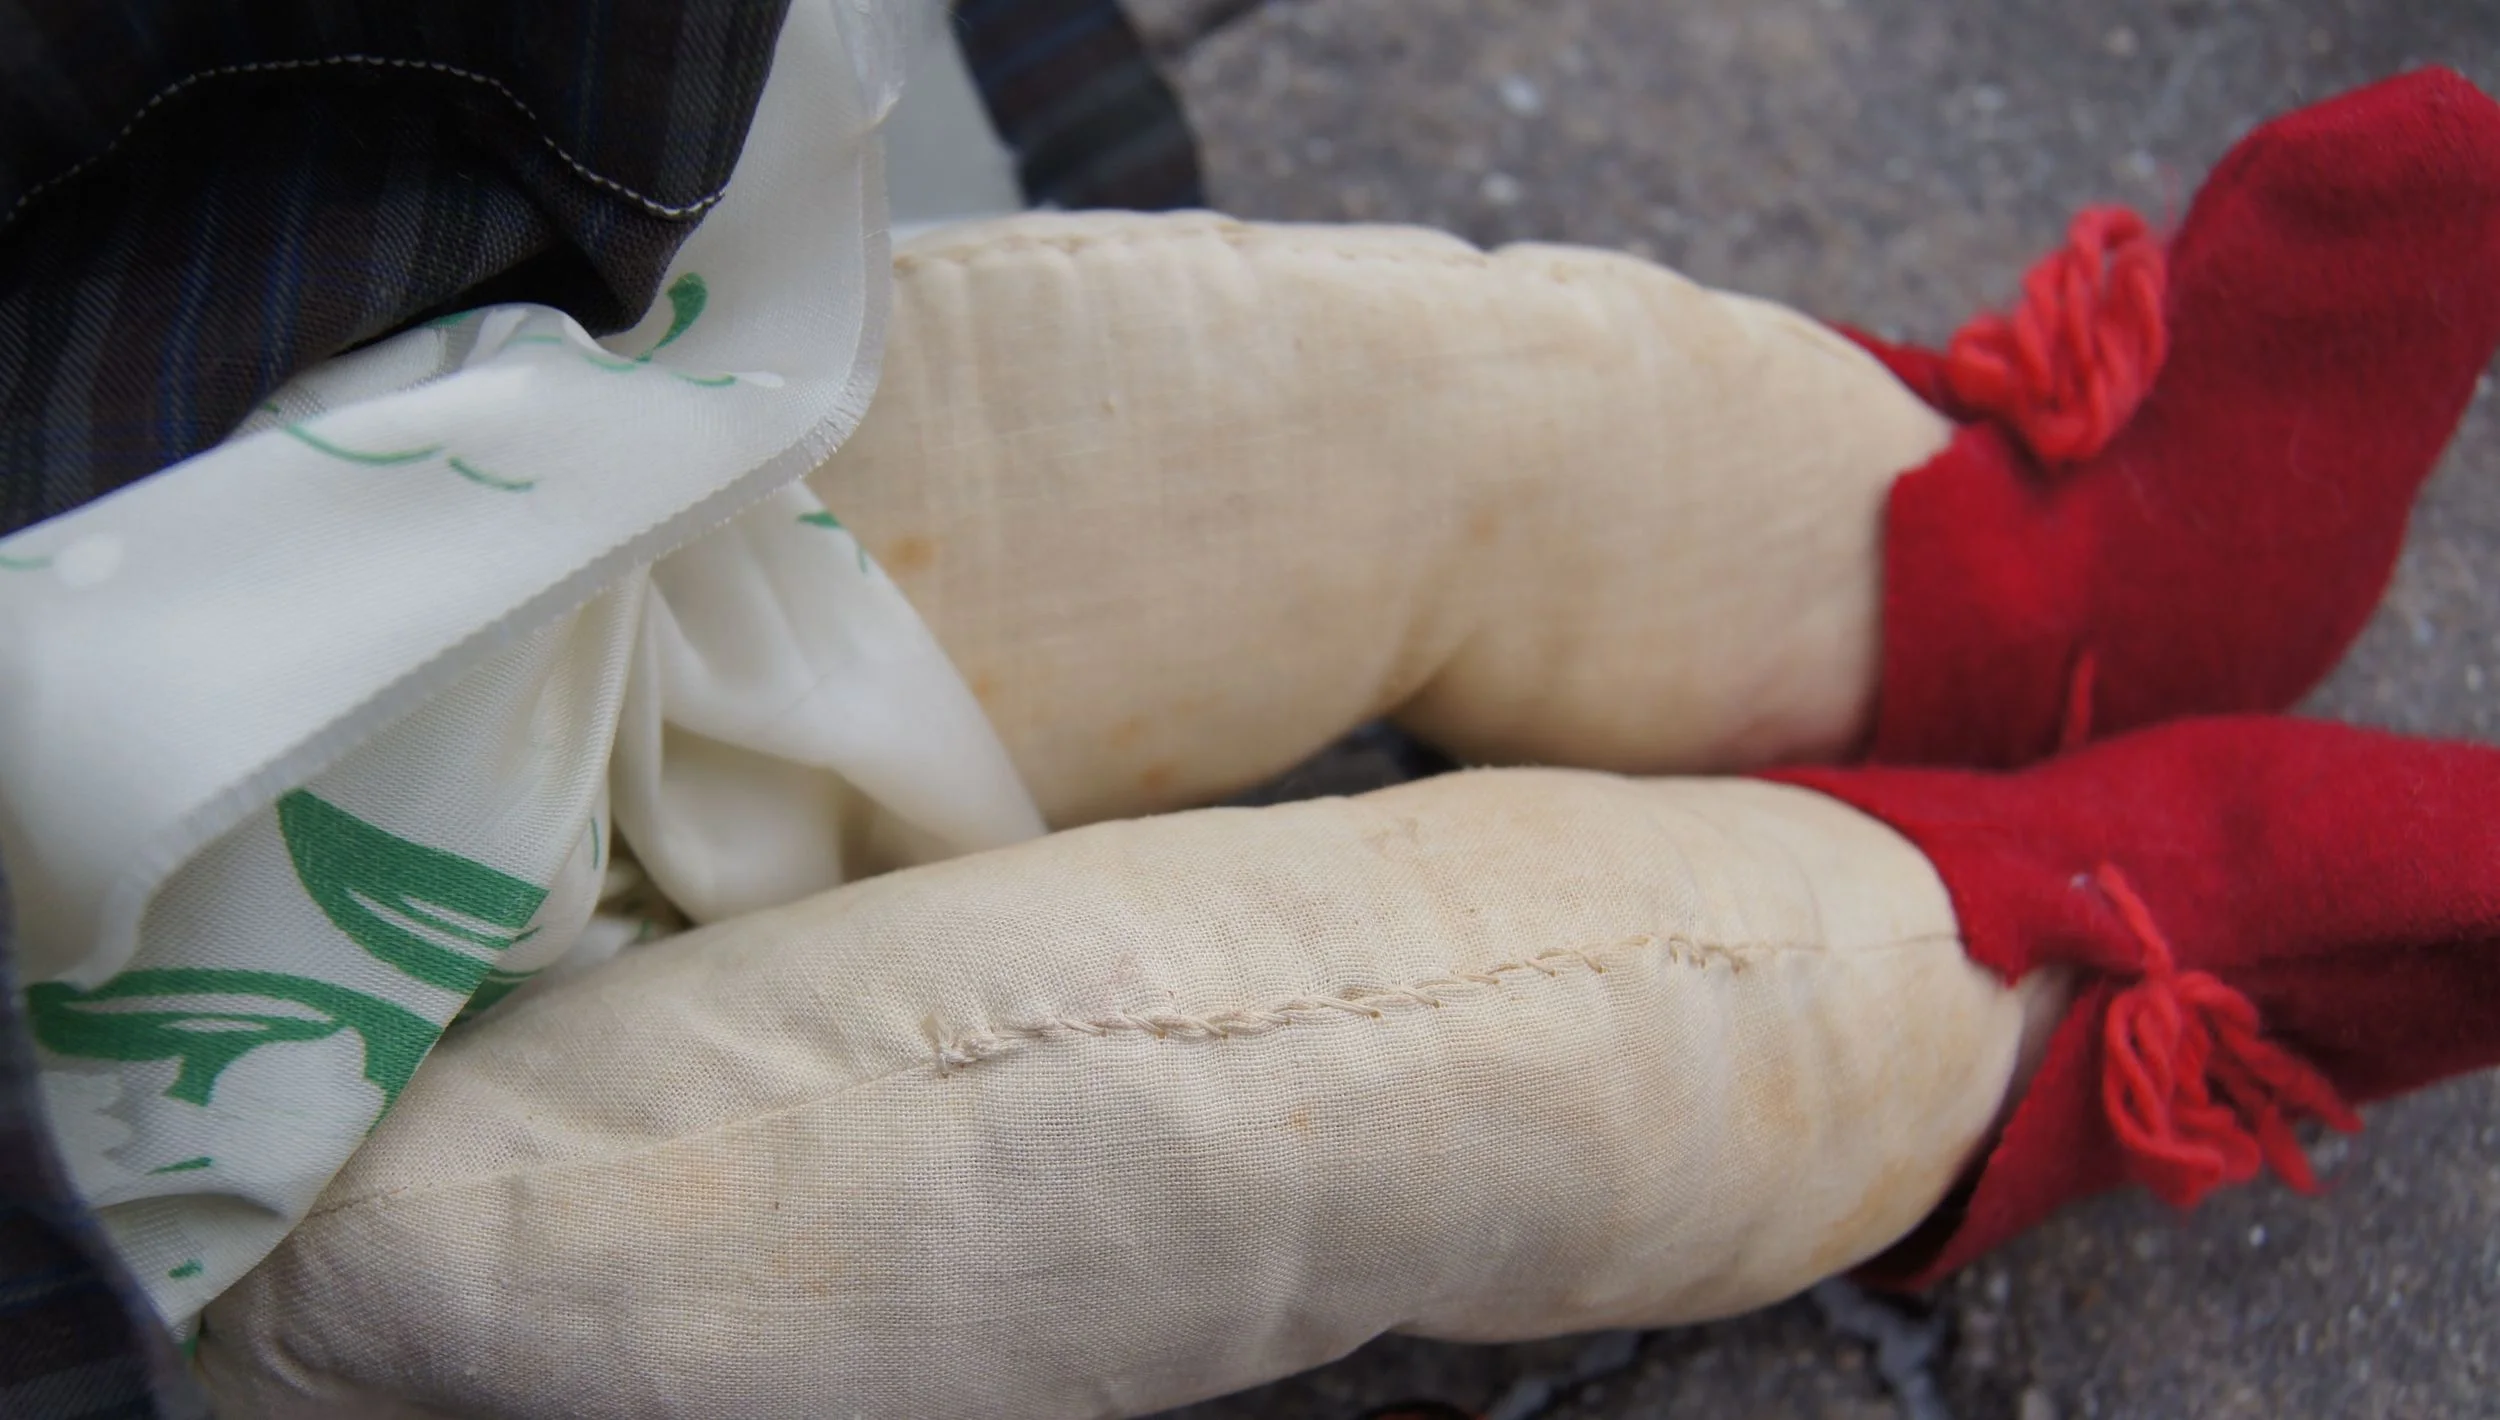
My dolls are all products of their day: Their bodies are cotton polyester fabric and they are all stuffed the polyester fill. The clothes are cotton or cotton polyester blend. I chose to use the cotton poly fabric. There wasn't a wide range of solid cotton fabrics available at the time and I didn't like the look or feel of the muslin which was rough to the touch.
Each of the dolls were created for someone special. Most were made for the children in my life though two dolls were made for adults who fell in love with them and asked if they could have one.
"Amy", the doll above is the second doll I made. Her photo is dated 1975. I have 2 photos of my first doll, but unfortunately those pictures have faded with time and didn't scan well. "Amy" and my first doll are from the same pattern, though as my second doll, "Amy's" fabric hair has better styling! Both these early dolls were made for children under 2 years old. They are toddler-safe: No fuzzy hair to chew and the doll's features are embroidered. One of the faded photos of is a toddler and her doll together in a wagon. Sweet!
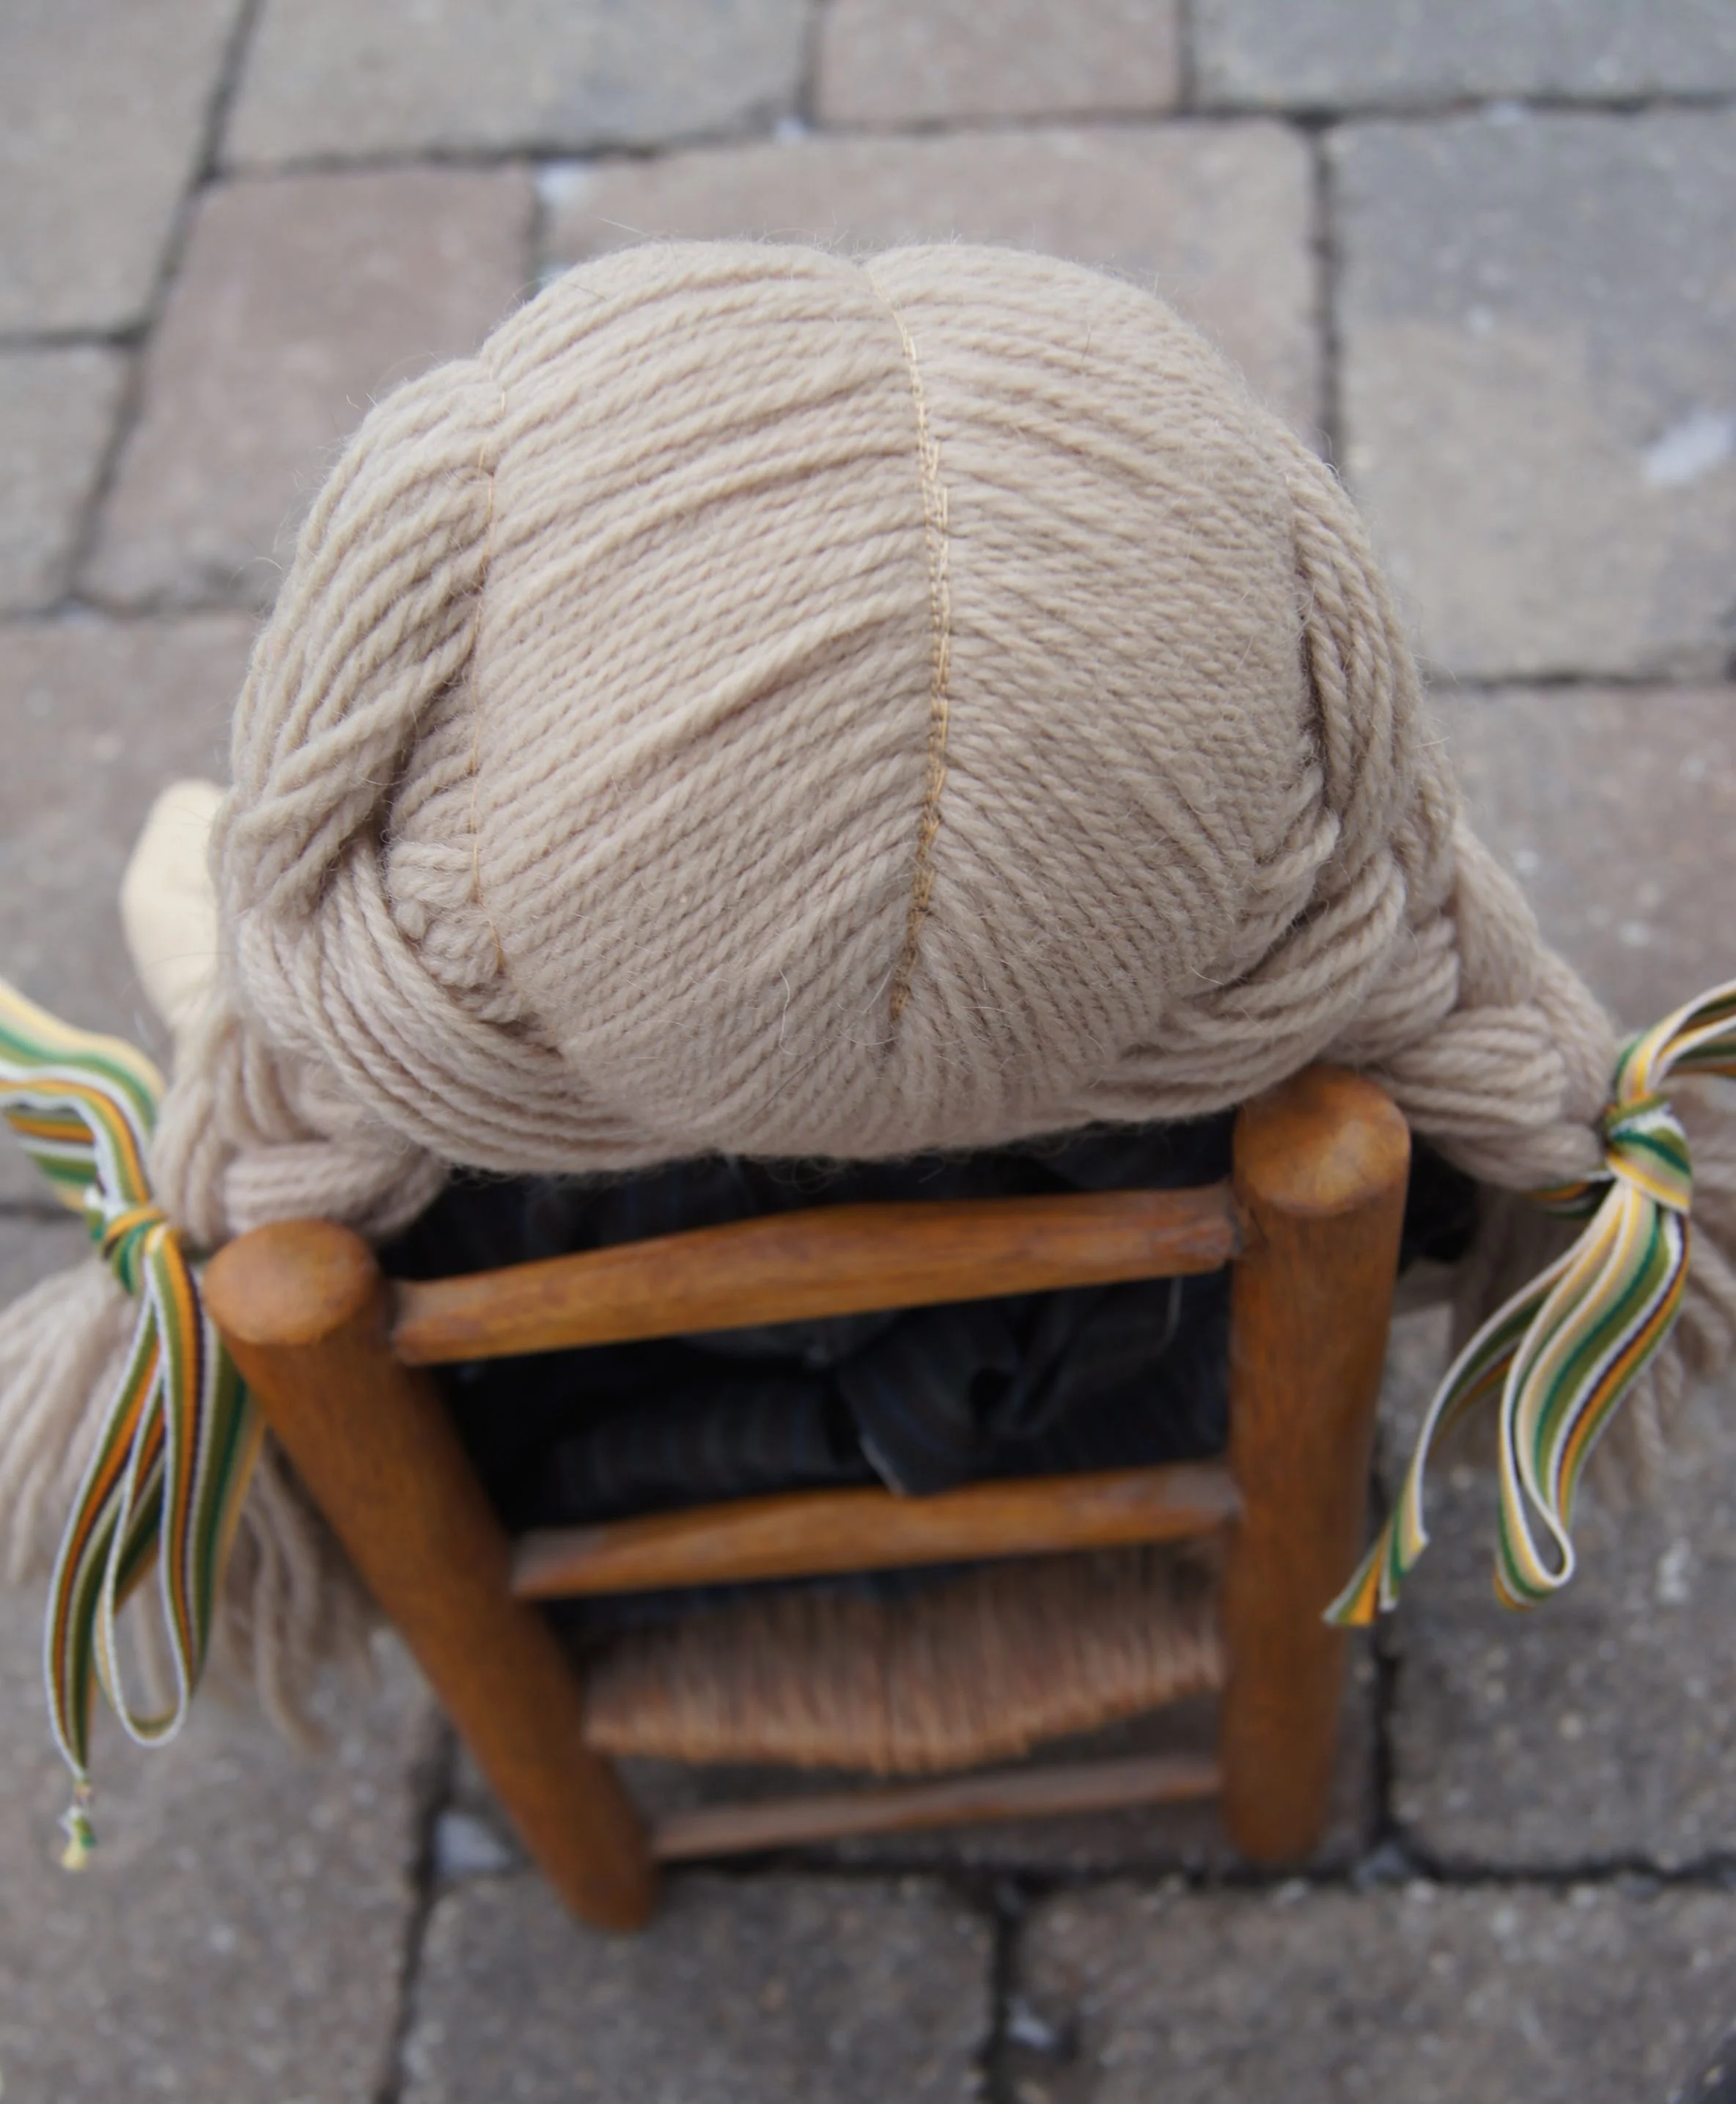
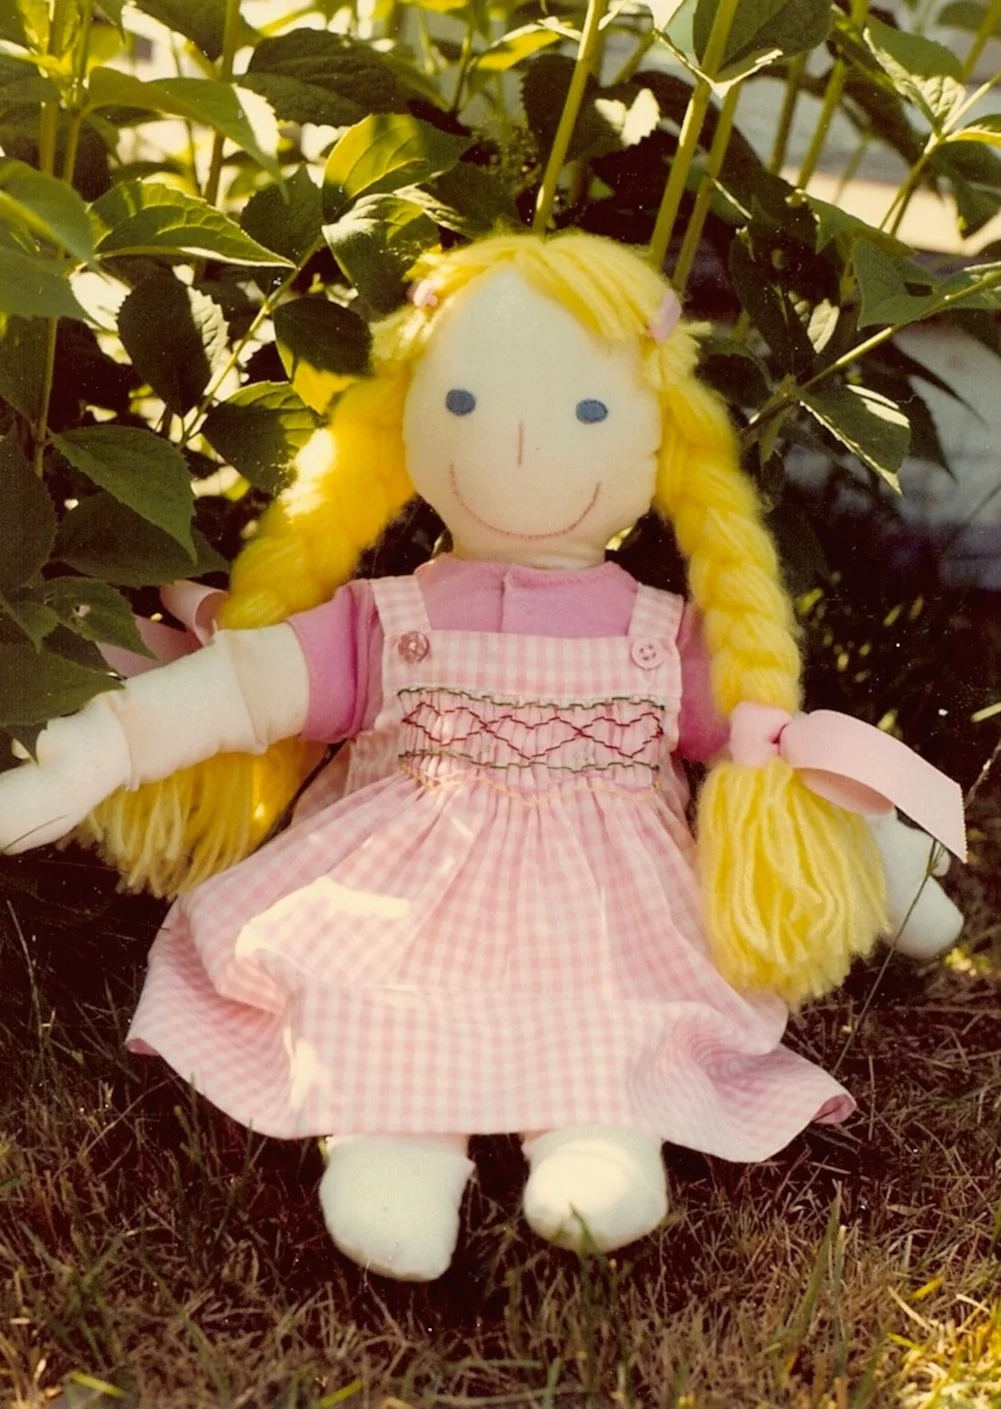
As the children got a bit older, I made them larger dolls with yarn hair. Here is "Annenina". She was my first child doll and still my favorite.

"Annenina"
These dolls were made with a separate head, torso, arms and legs. The head was stuffed and then sewn onto the completed torso. The doll's arms have joints at the shoulder, elbow and wrist. The legs have hips, knees and ankles. The arms and legs are sewn into the torso--no buttons. I drew the pattern pieces for the doll on the paper used to pad packages for shipping. I still have the pattern!
The dolls are a bit floppy but the joints in the extremities do make the dolls delightfully posable. I didn't know about Waldorf dolls when I was making these dolls. The construction of the Waldorf doll has the key to a doll with a separate head which isn't floppy. Waldorf dolls have a neck section which extends into the torso which gives it excellent stability.
To make my dolls washable, I chose to use polyester yarn for their hair. Only one of the dolls, "Annje" so is on the far right below, has wool hair.
Here are some of the other dolls. Left to right, "Molly", "Kaja" and "Annje." Molly's freckles are French knots. I really like them! Seeing them now, I wish I'd used them on more of the dolls!
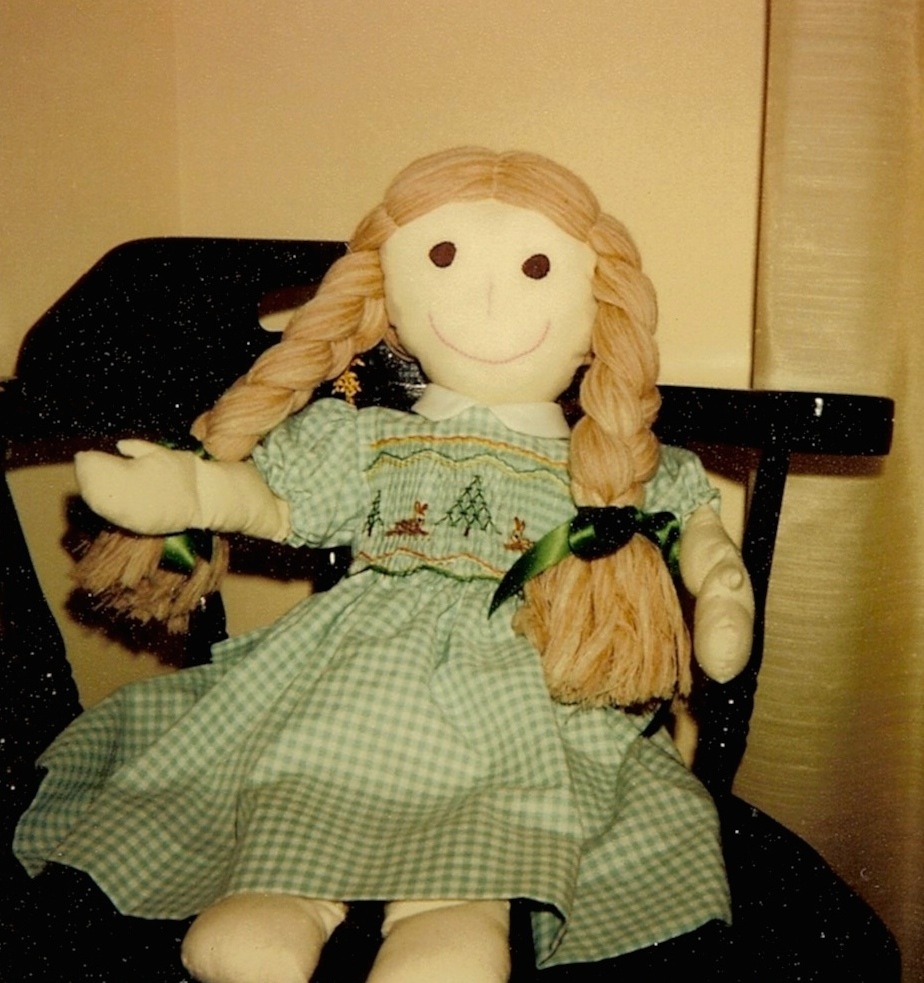
I was making smocked dresses for the doll's owners at the time, so the dolls often got smocked dresses as well! The checked gingham provides a perfect grid for the gathering needed for the smocking, no marking required!
I made one doll for a boy. "Meriadoc" is based on one of the hobbits from J. R. R. Tolkein's book The Hobbitt. He has yarn loop hair on his head and his feet! This hair is created by sewing the yarn directly into the head. One loose loop is followed by a tight loop to lock the first stitch in place. It's very secure and has a great effect. It takes a long time to make a head of hair this way, and it's a bit hard on the fingers. But is really is worth it!
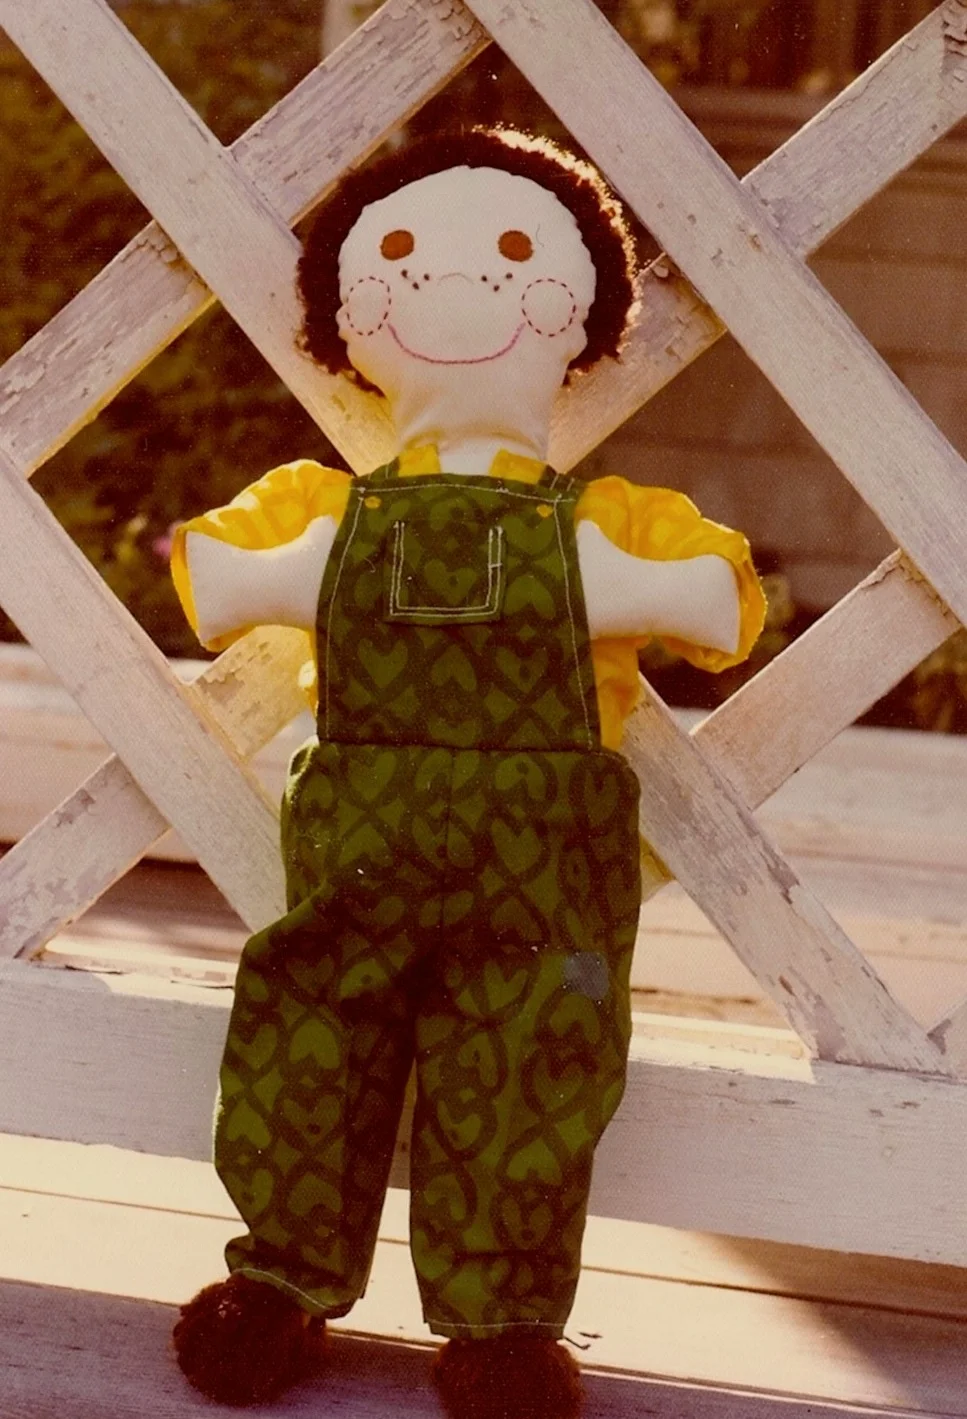
"Meriadoc"
"Meriadoc" has French knot freckles and embroidered rosy cheeks! He's a cutie!
"Meriadoc" and "Molly" are both dressed in fabrics hand silkscreened by Marblehead Handprints from Marblehead, Massachusetts. I was living near Marblehead at the time and frequently used their fabrics for both crafts and clothing construction. It fun to shop in their store and see the ladies doing the silkscreening. The Marblehead Handprints shop closed years ago but you can see some of their other fabrics and products on Pinterest by clicking the link above.
Next Monday I'll show you a couple of my other dolls. You'll be surprised!
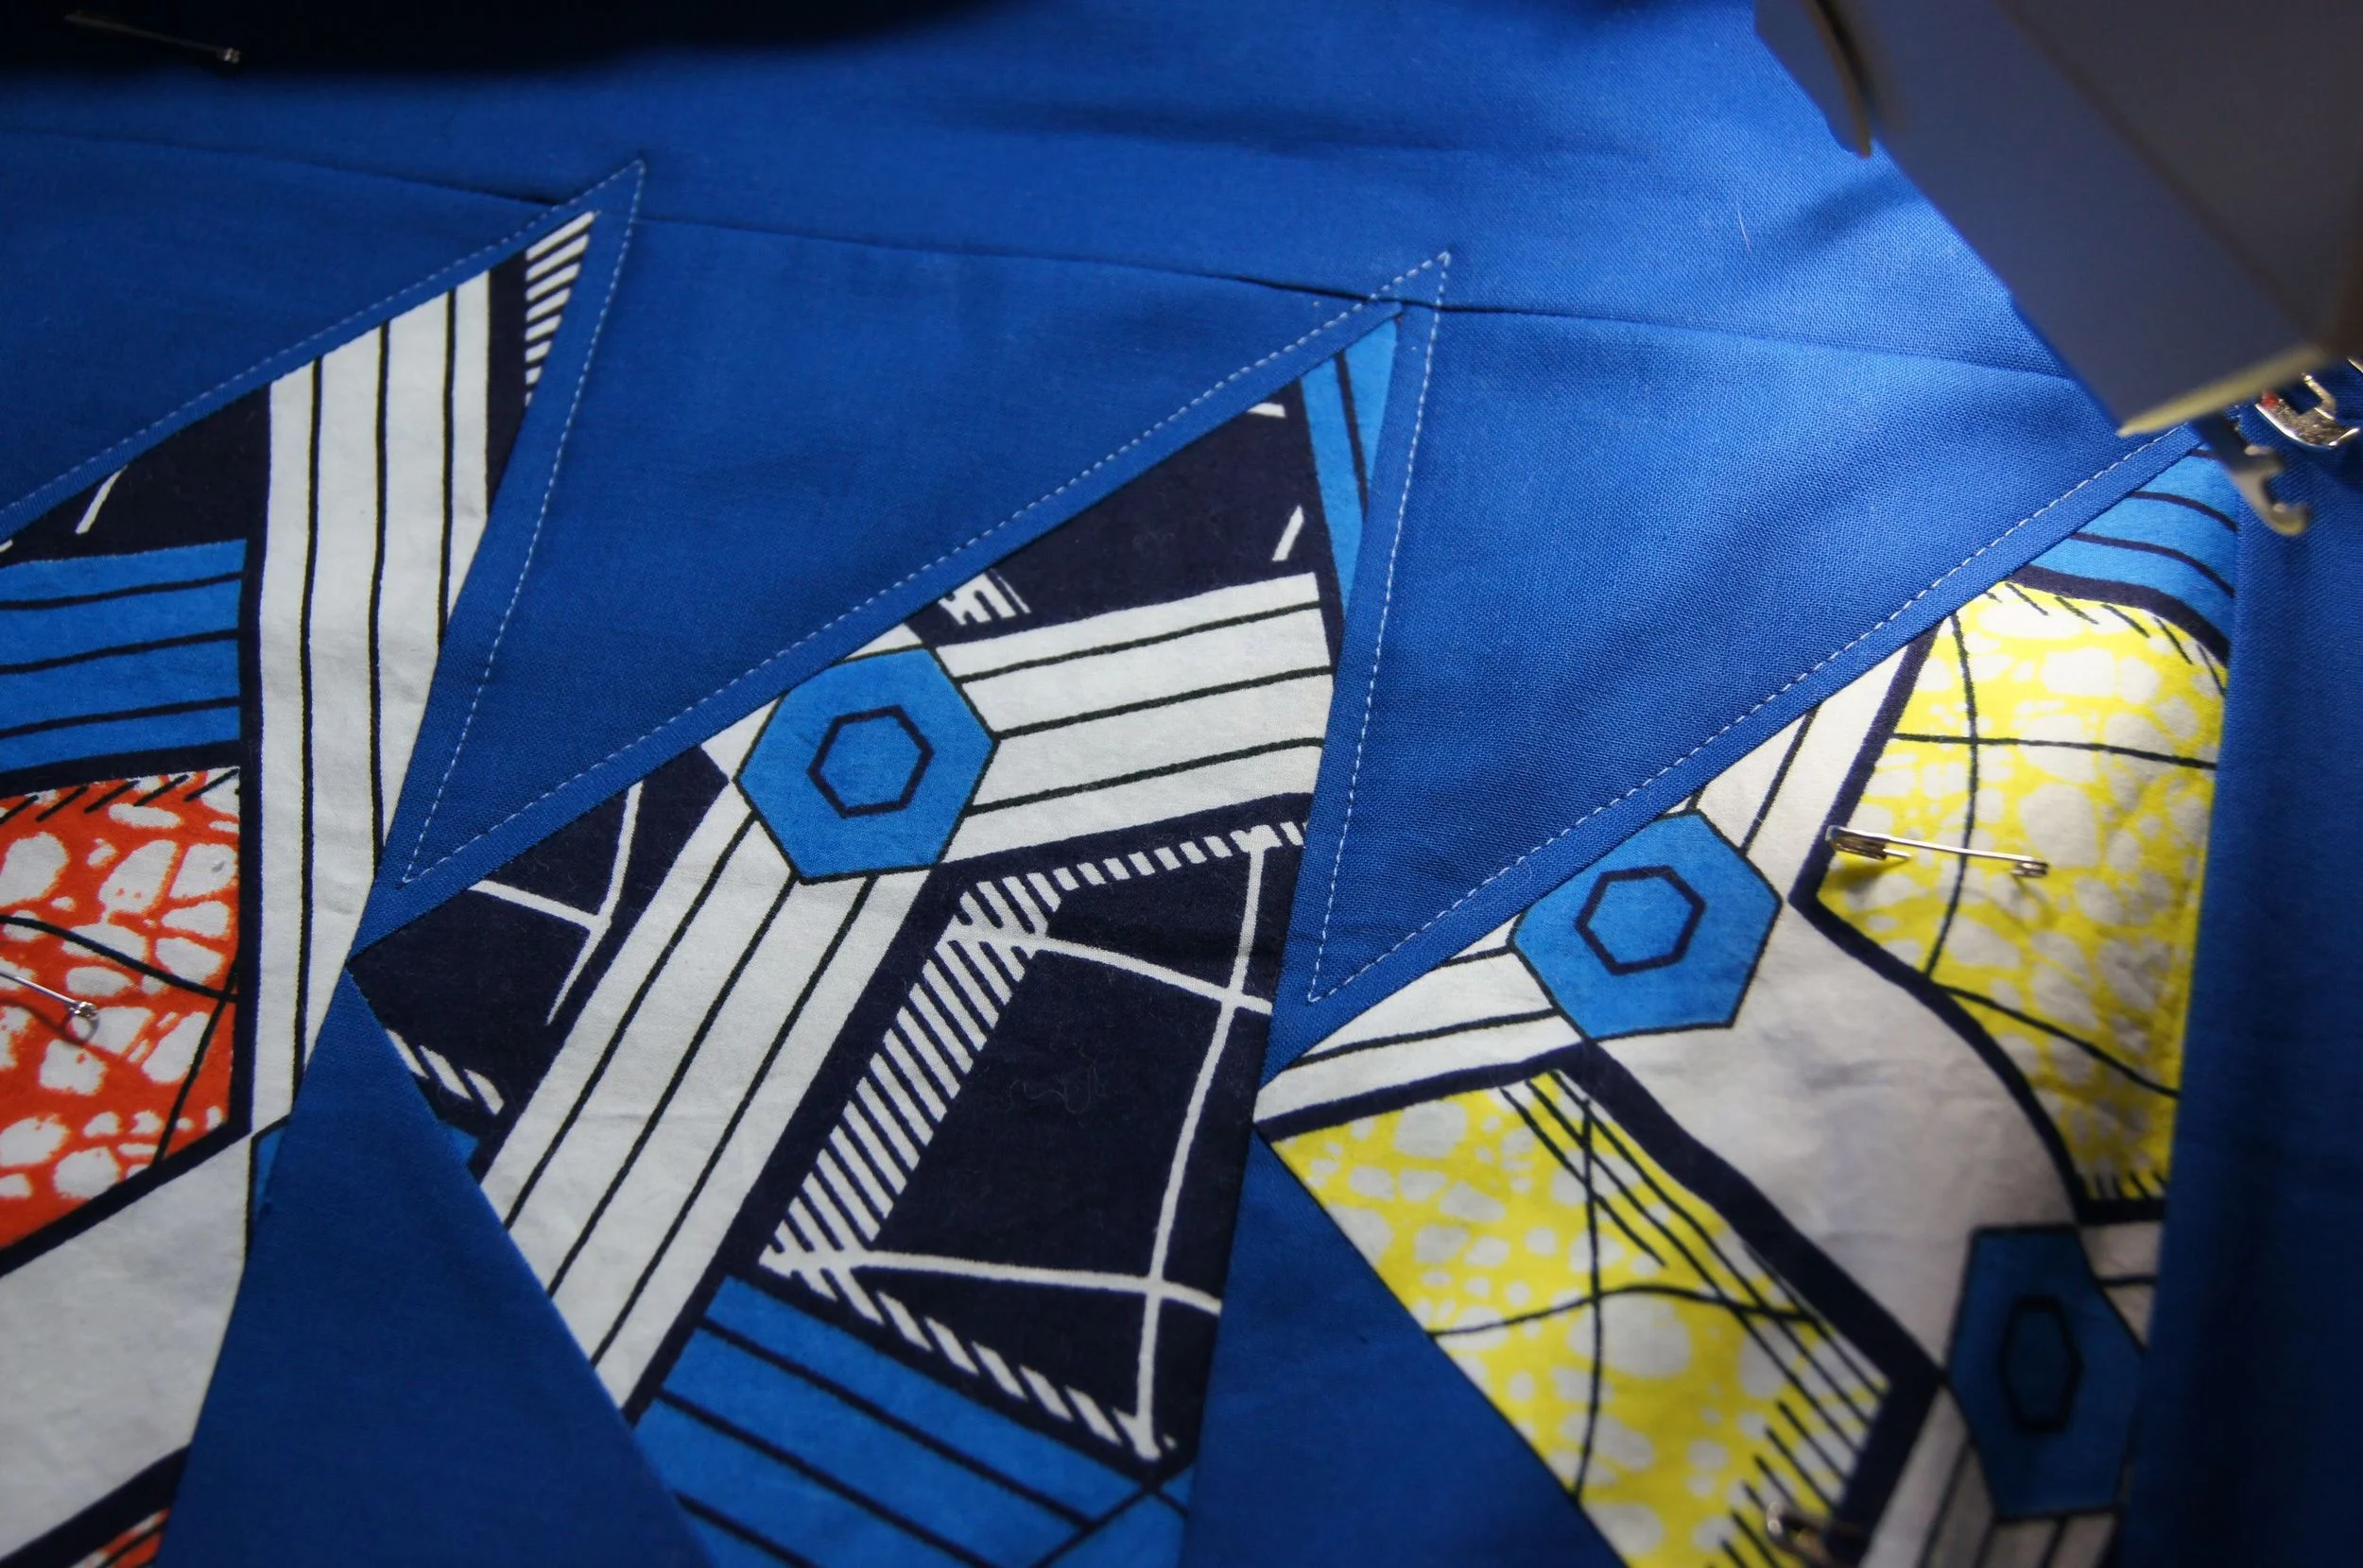
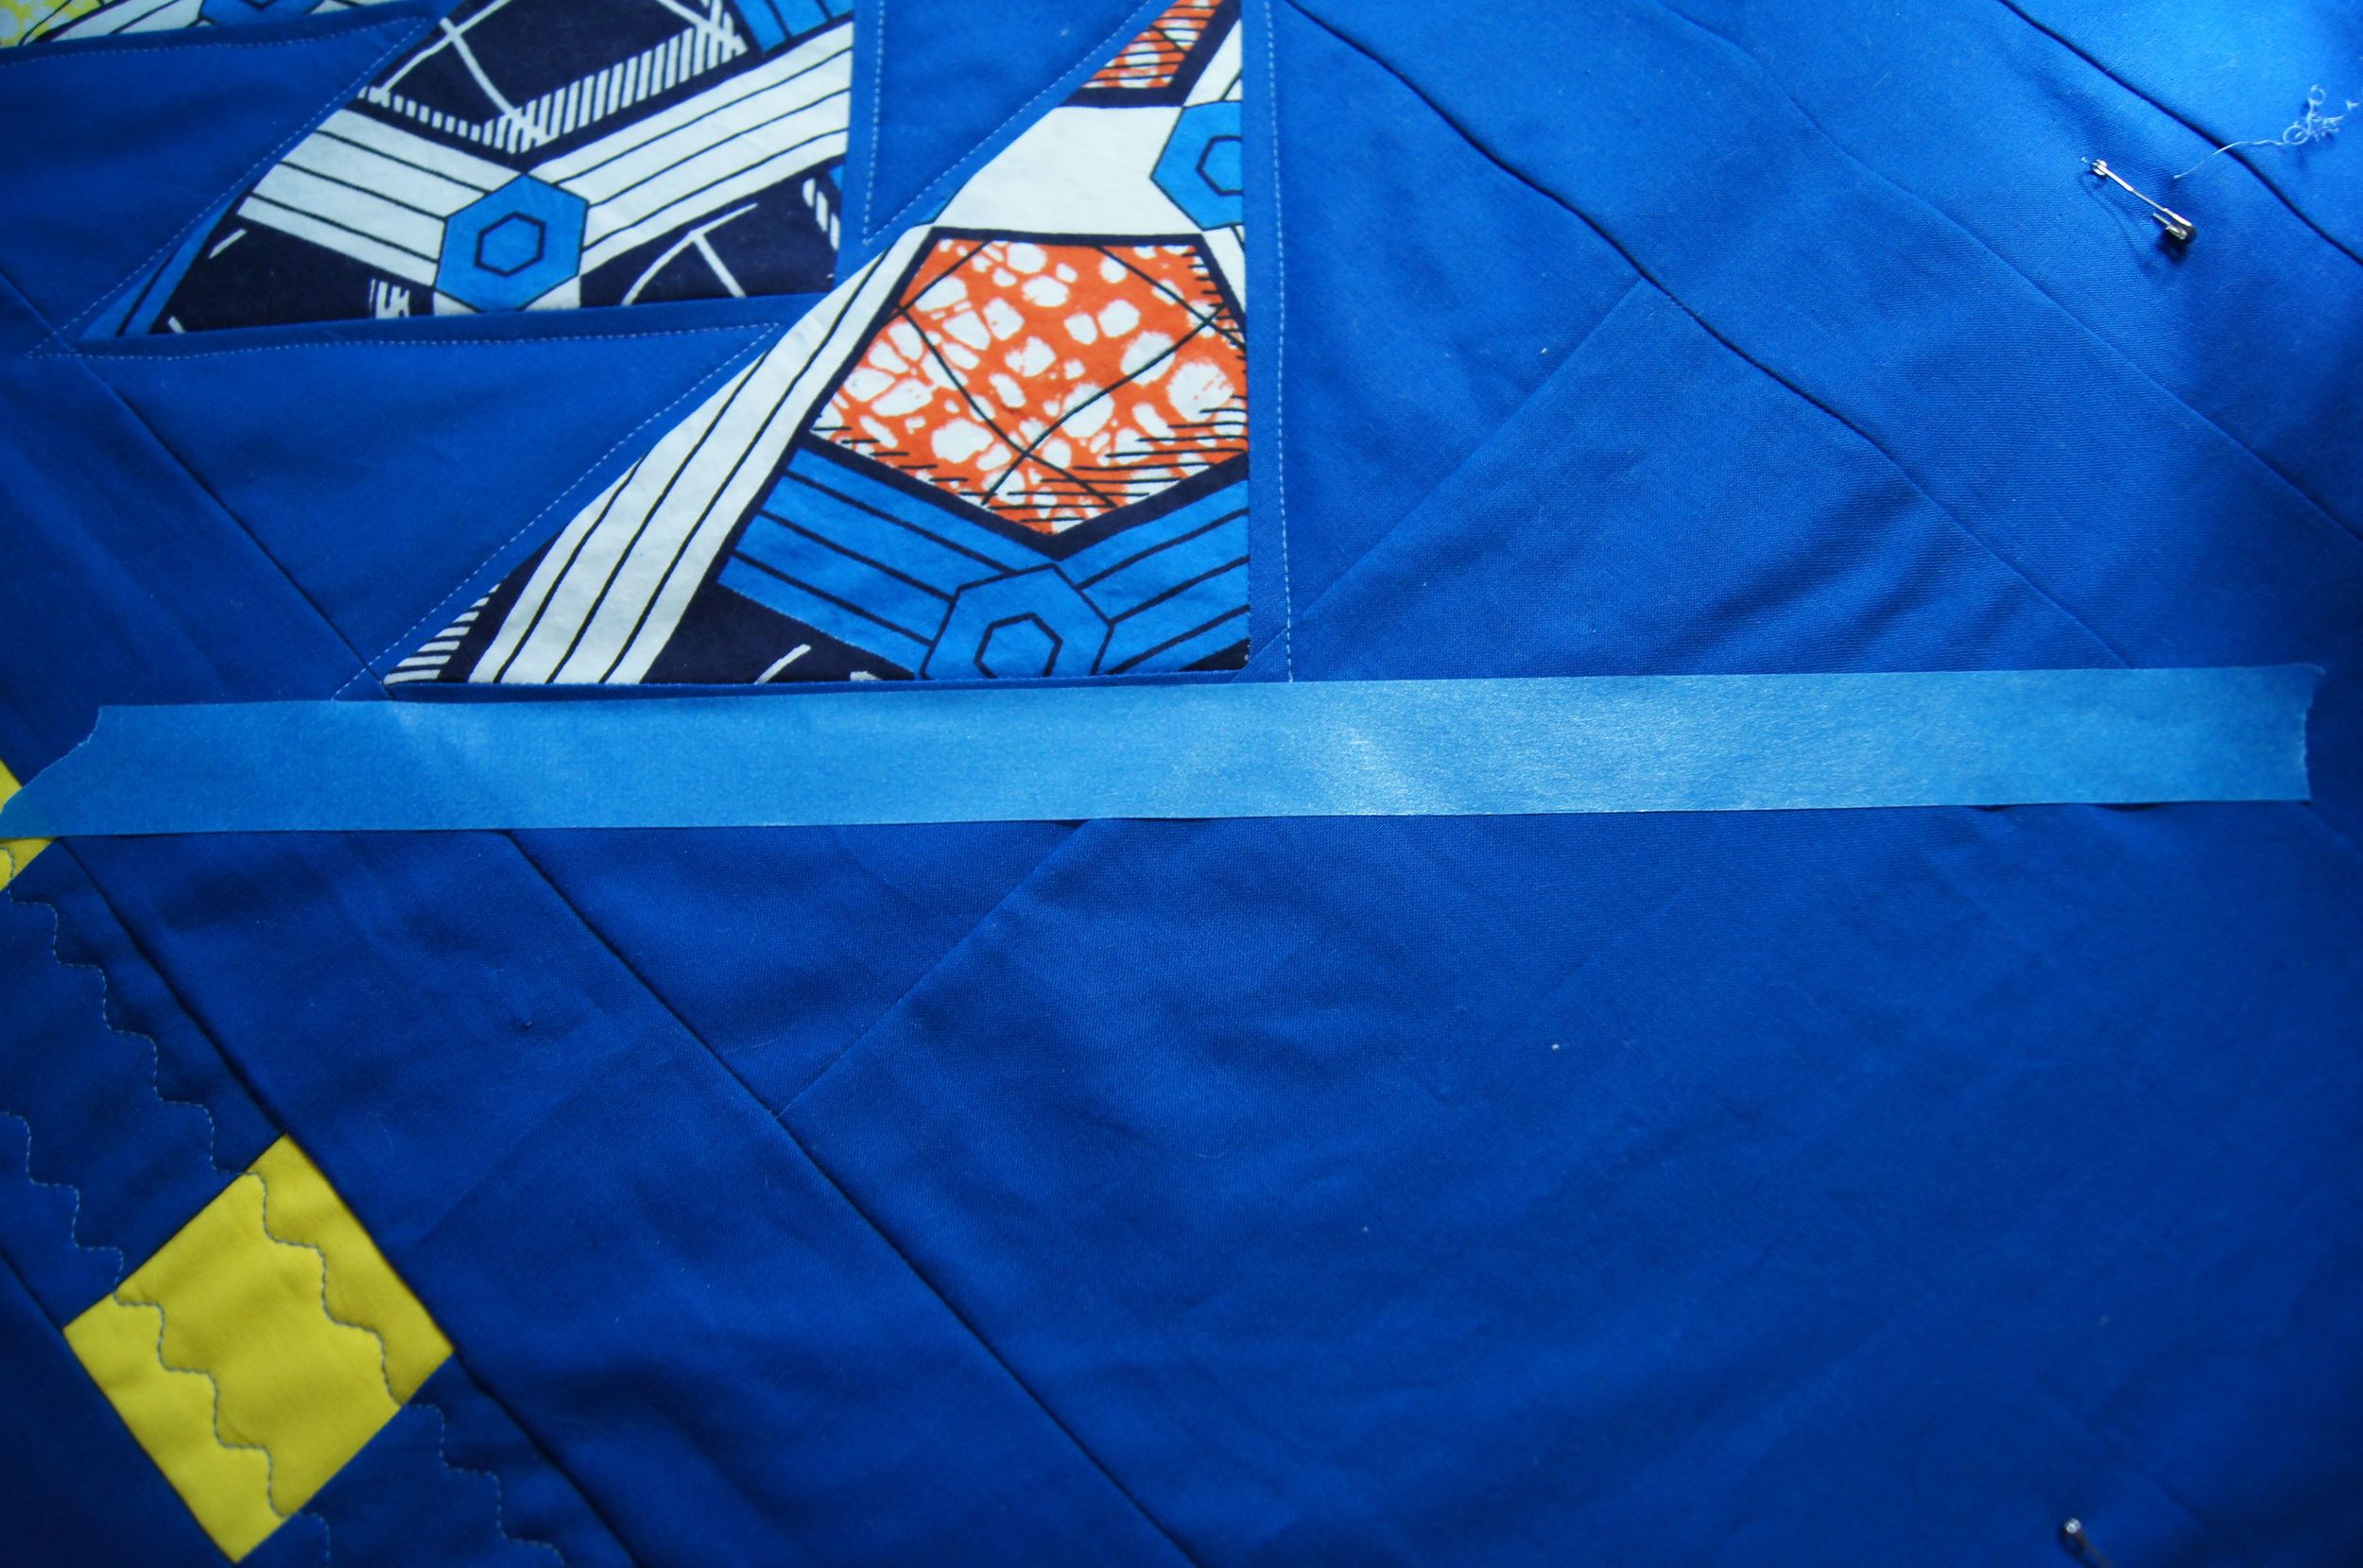
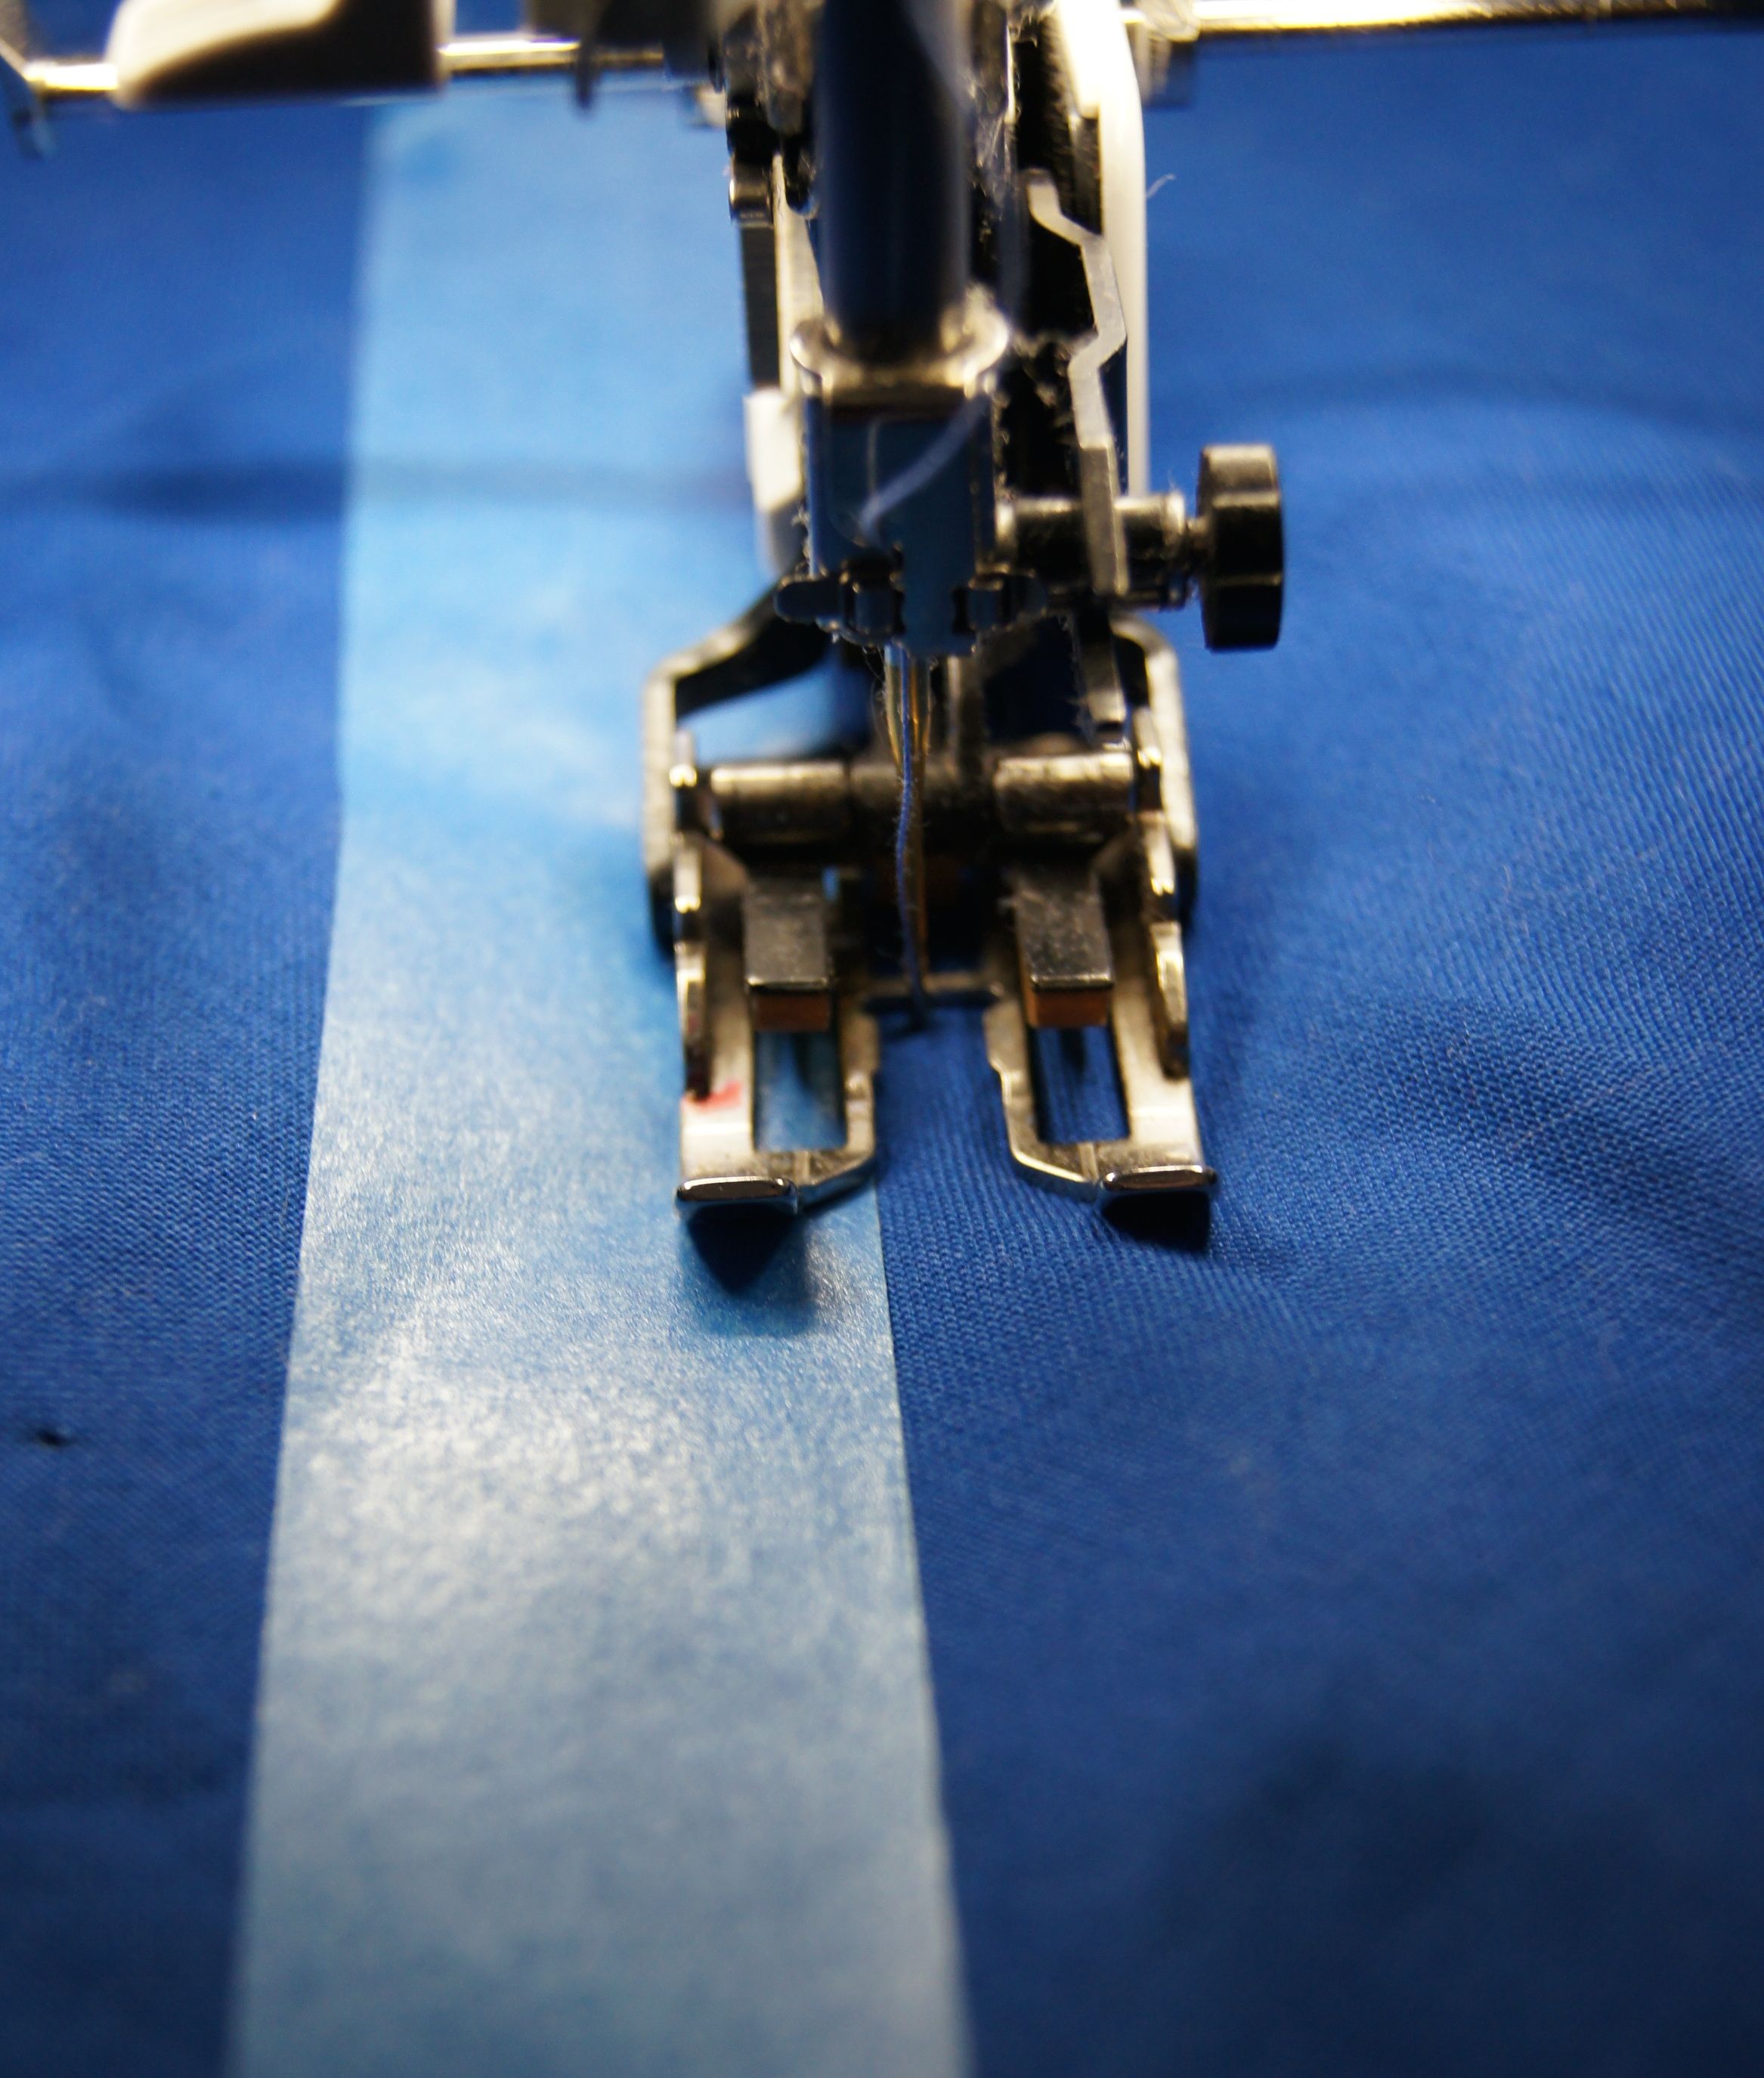
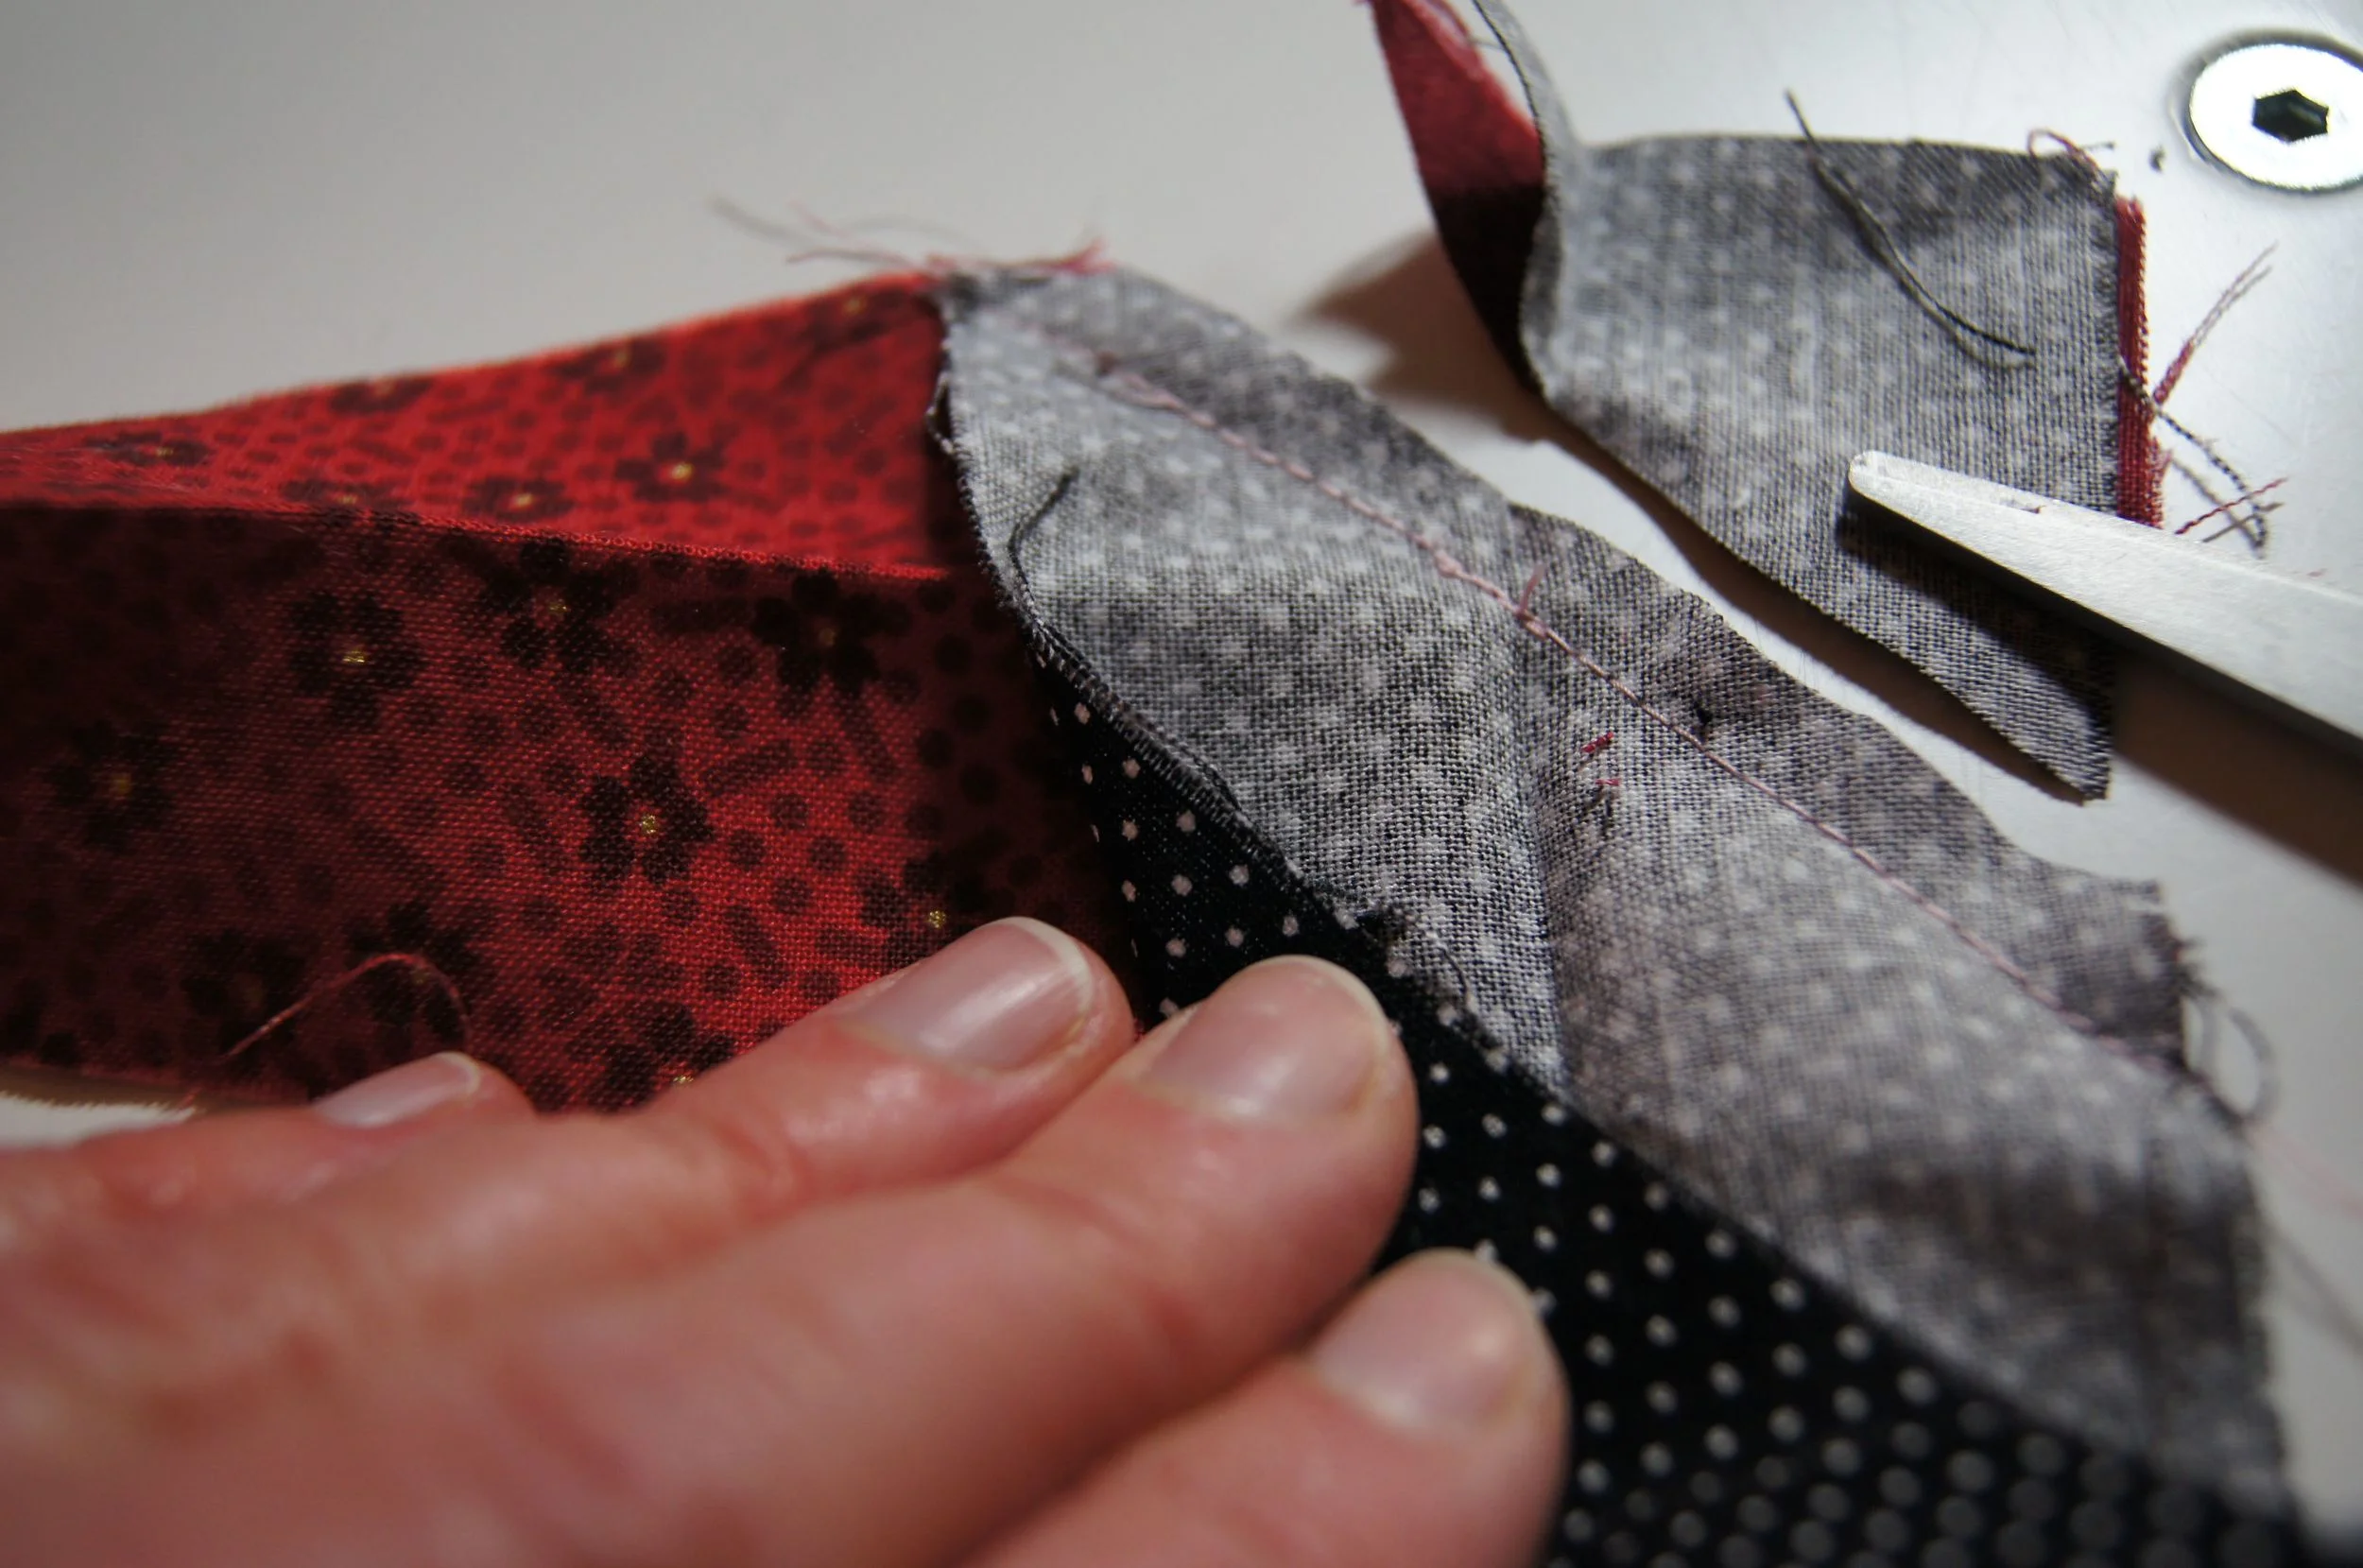
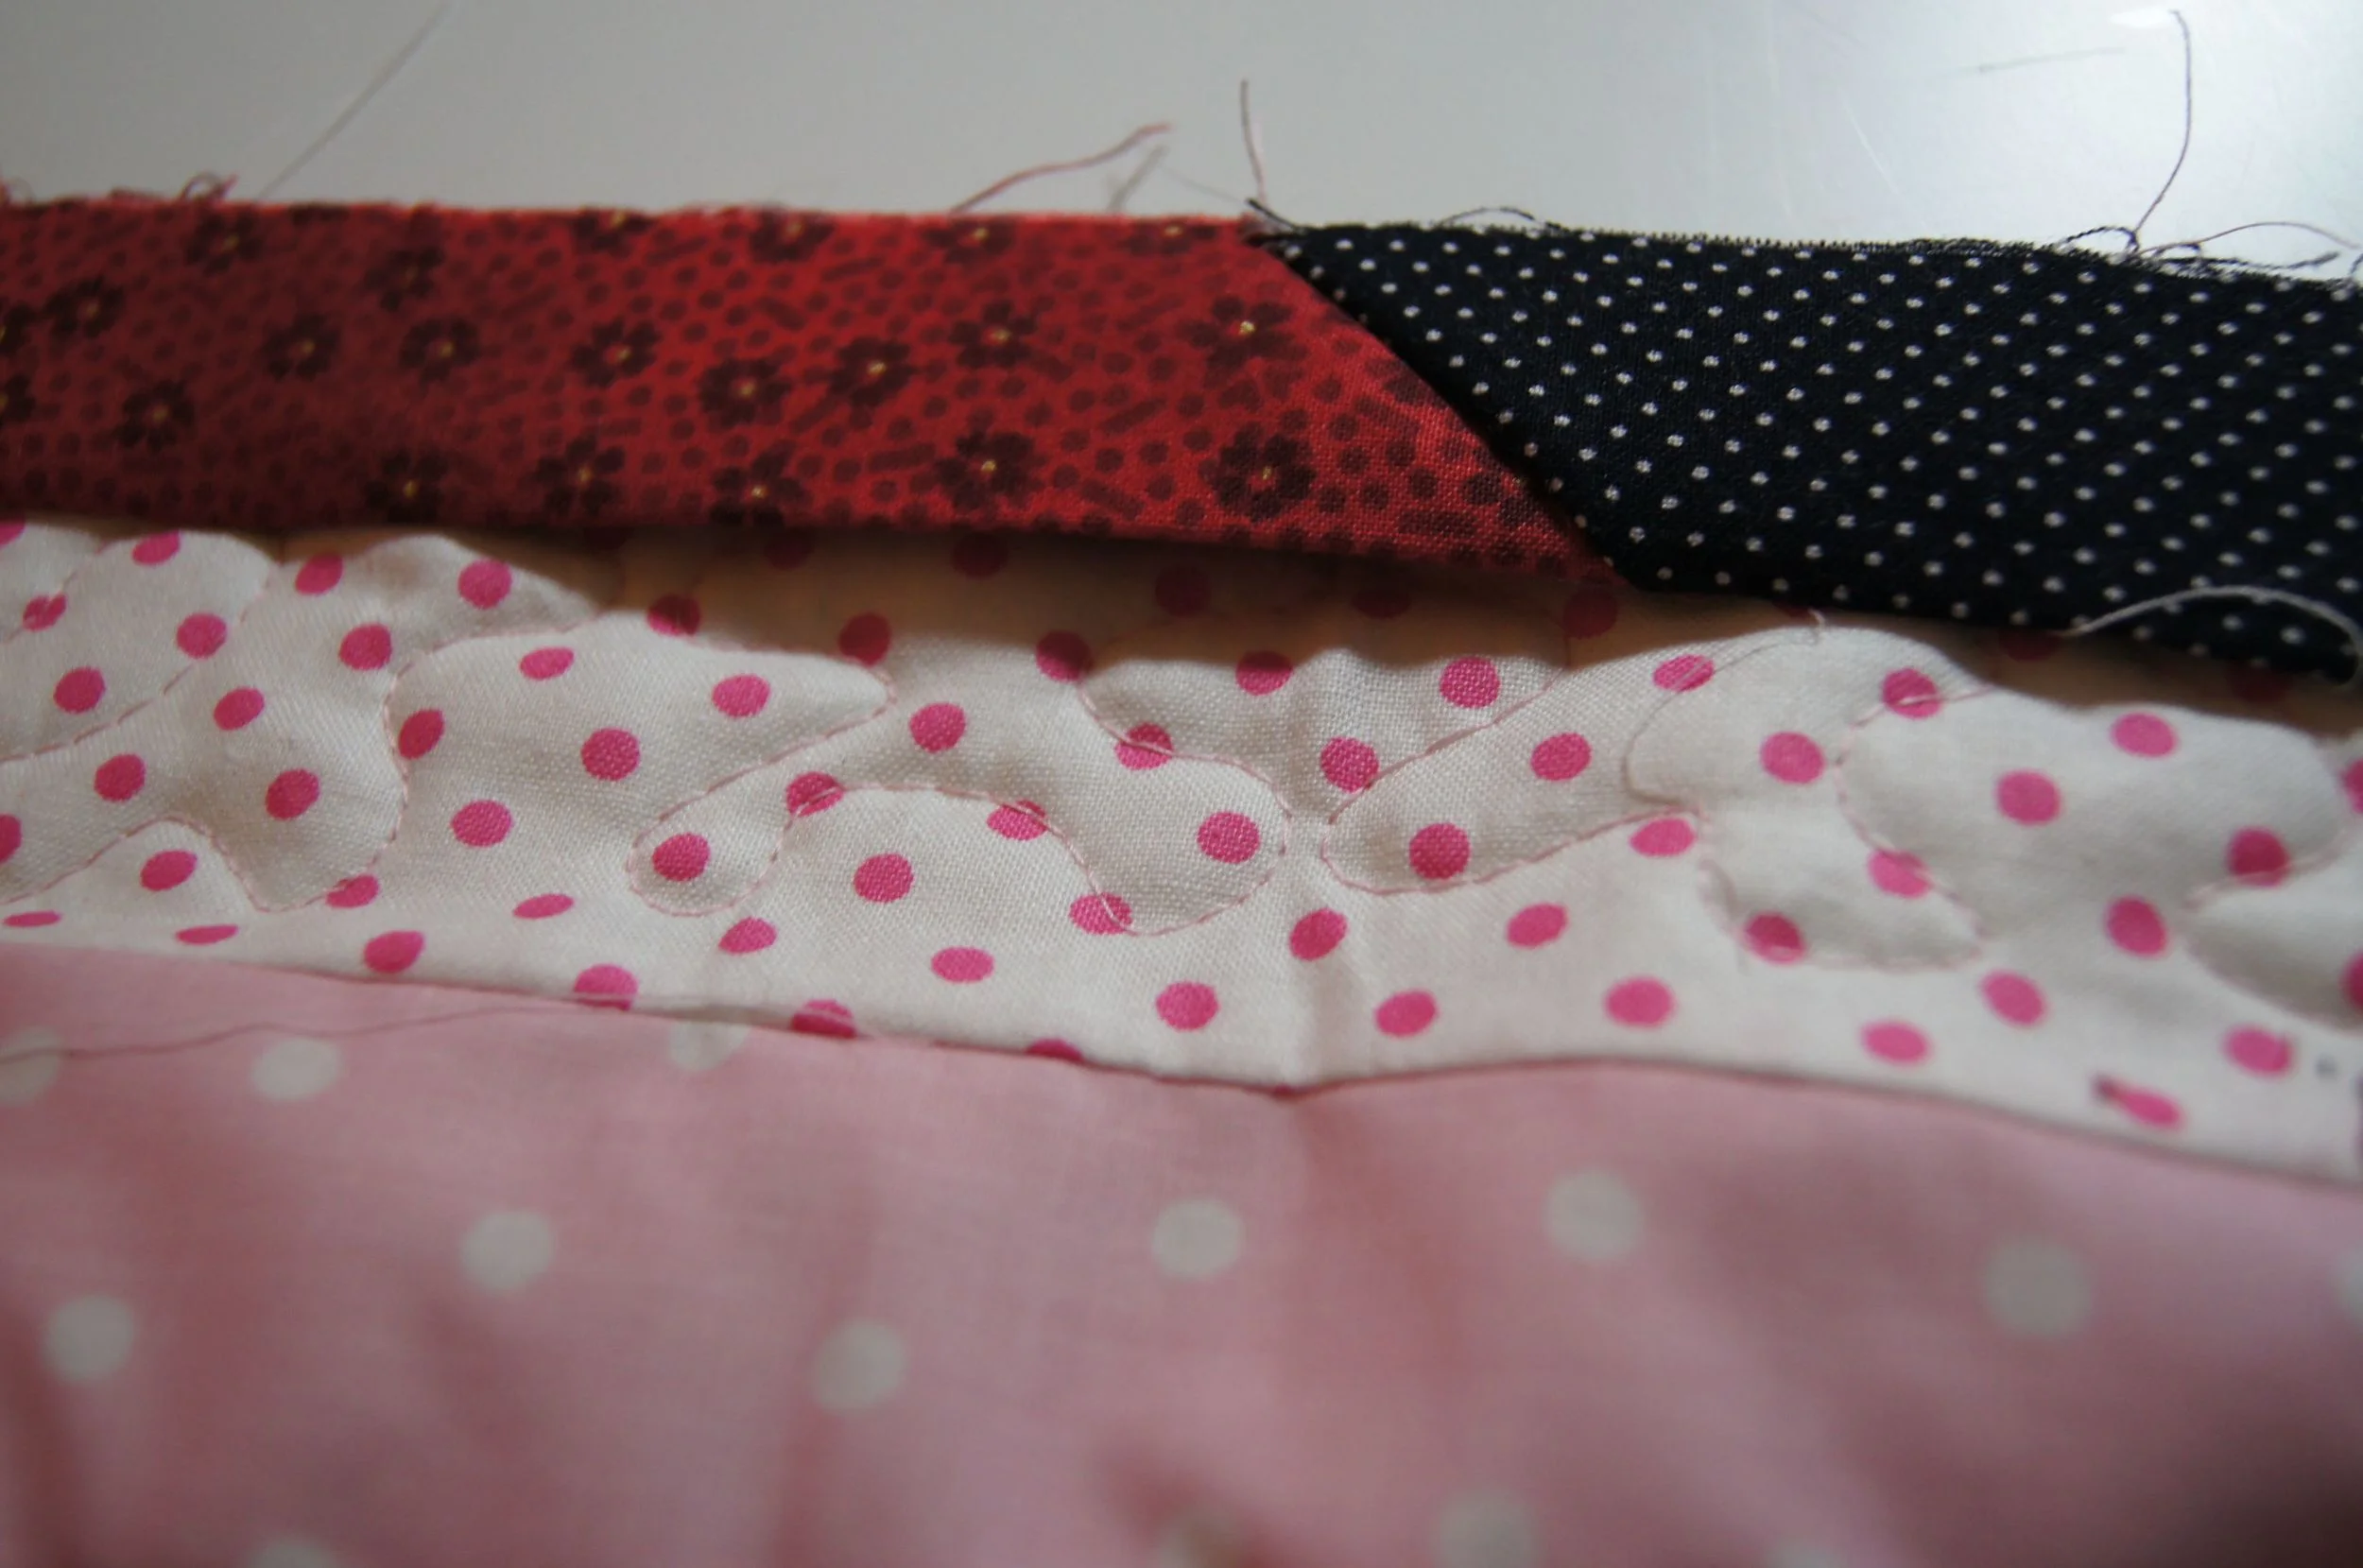
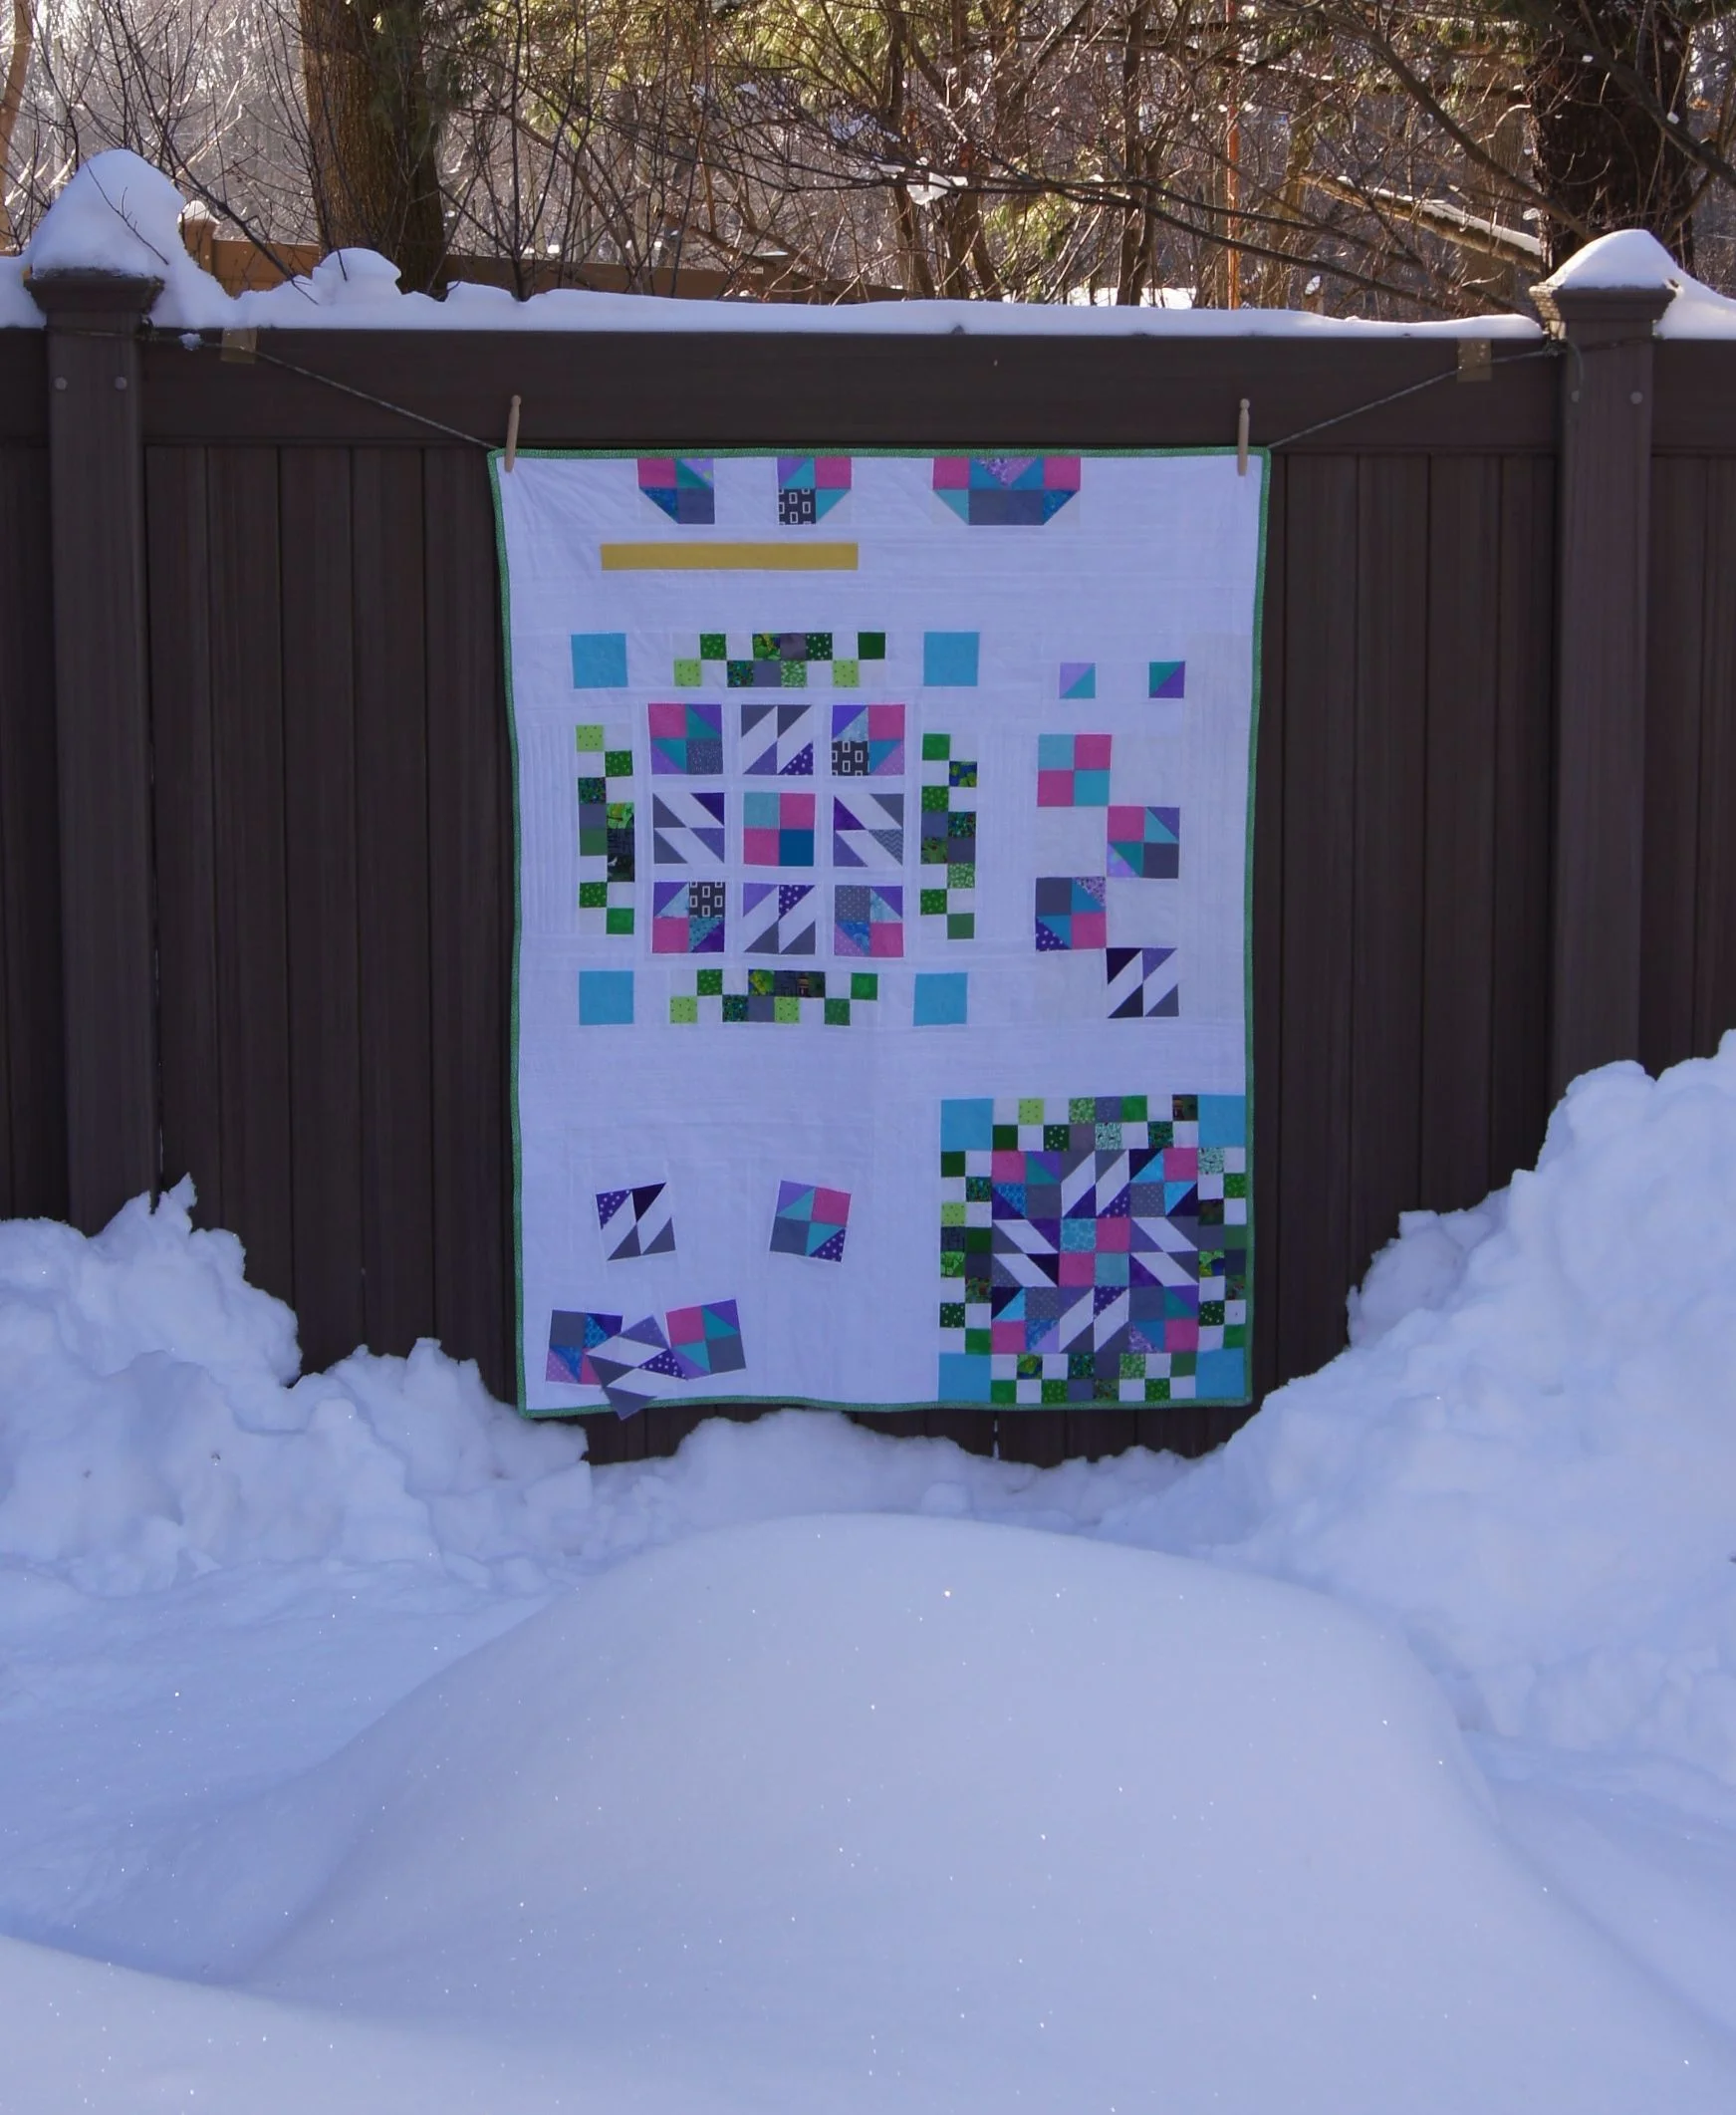
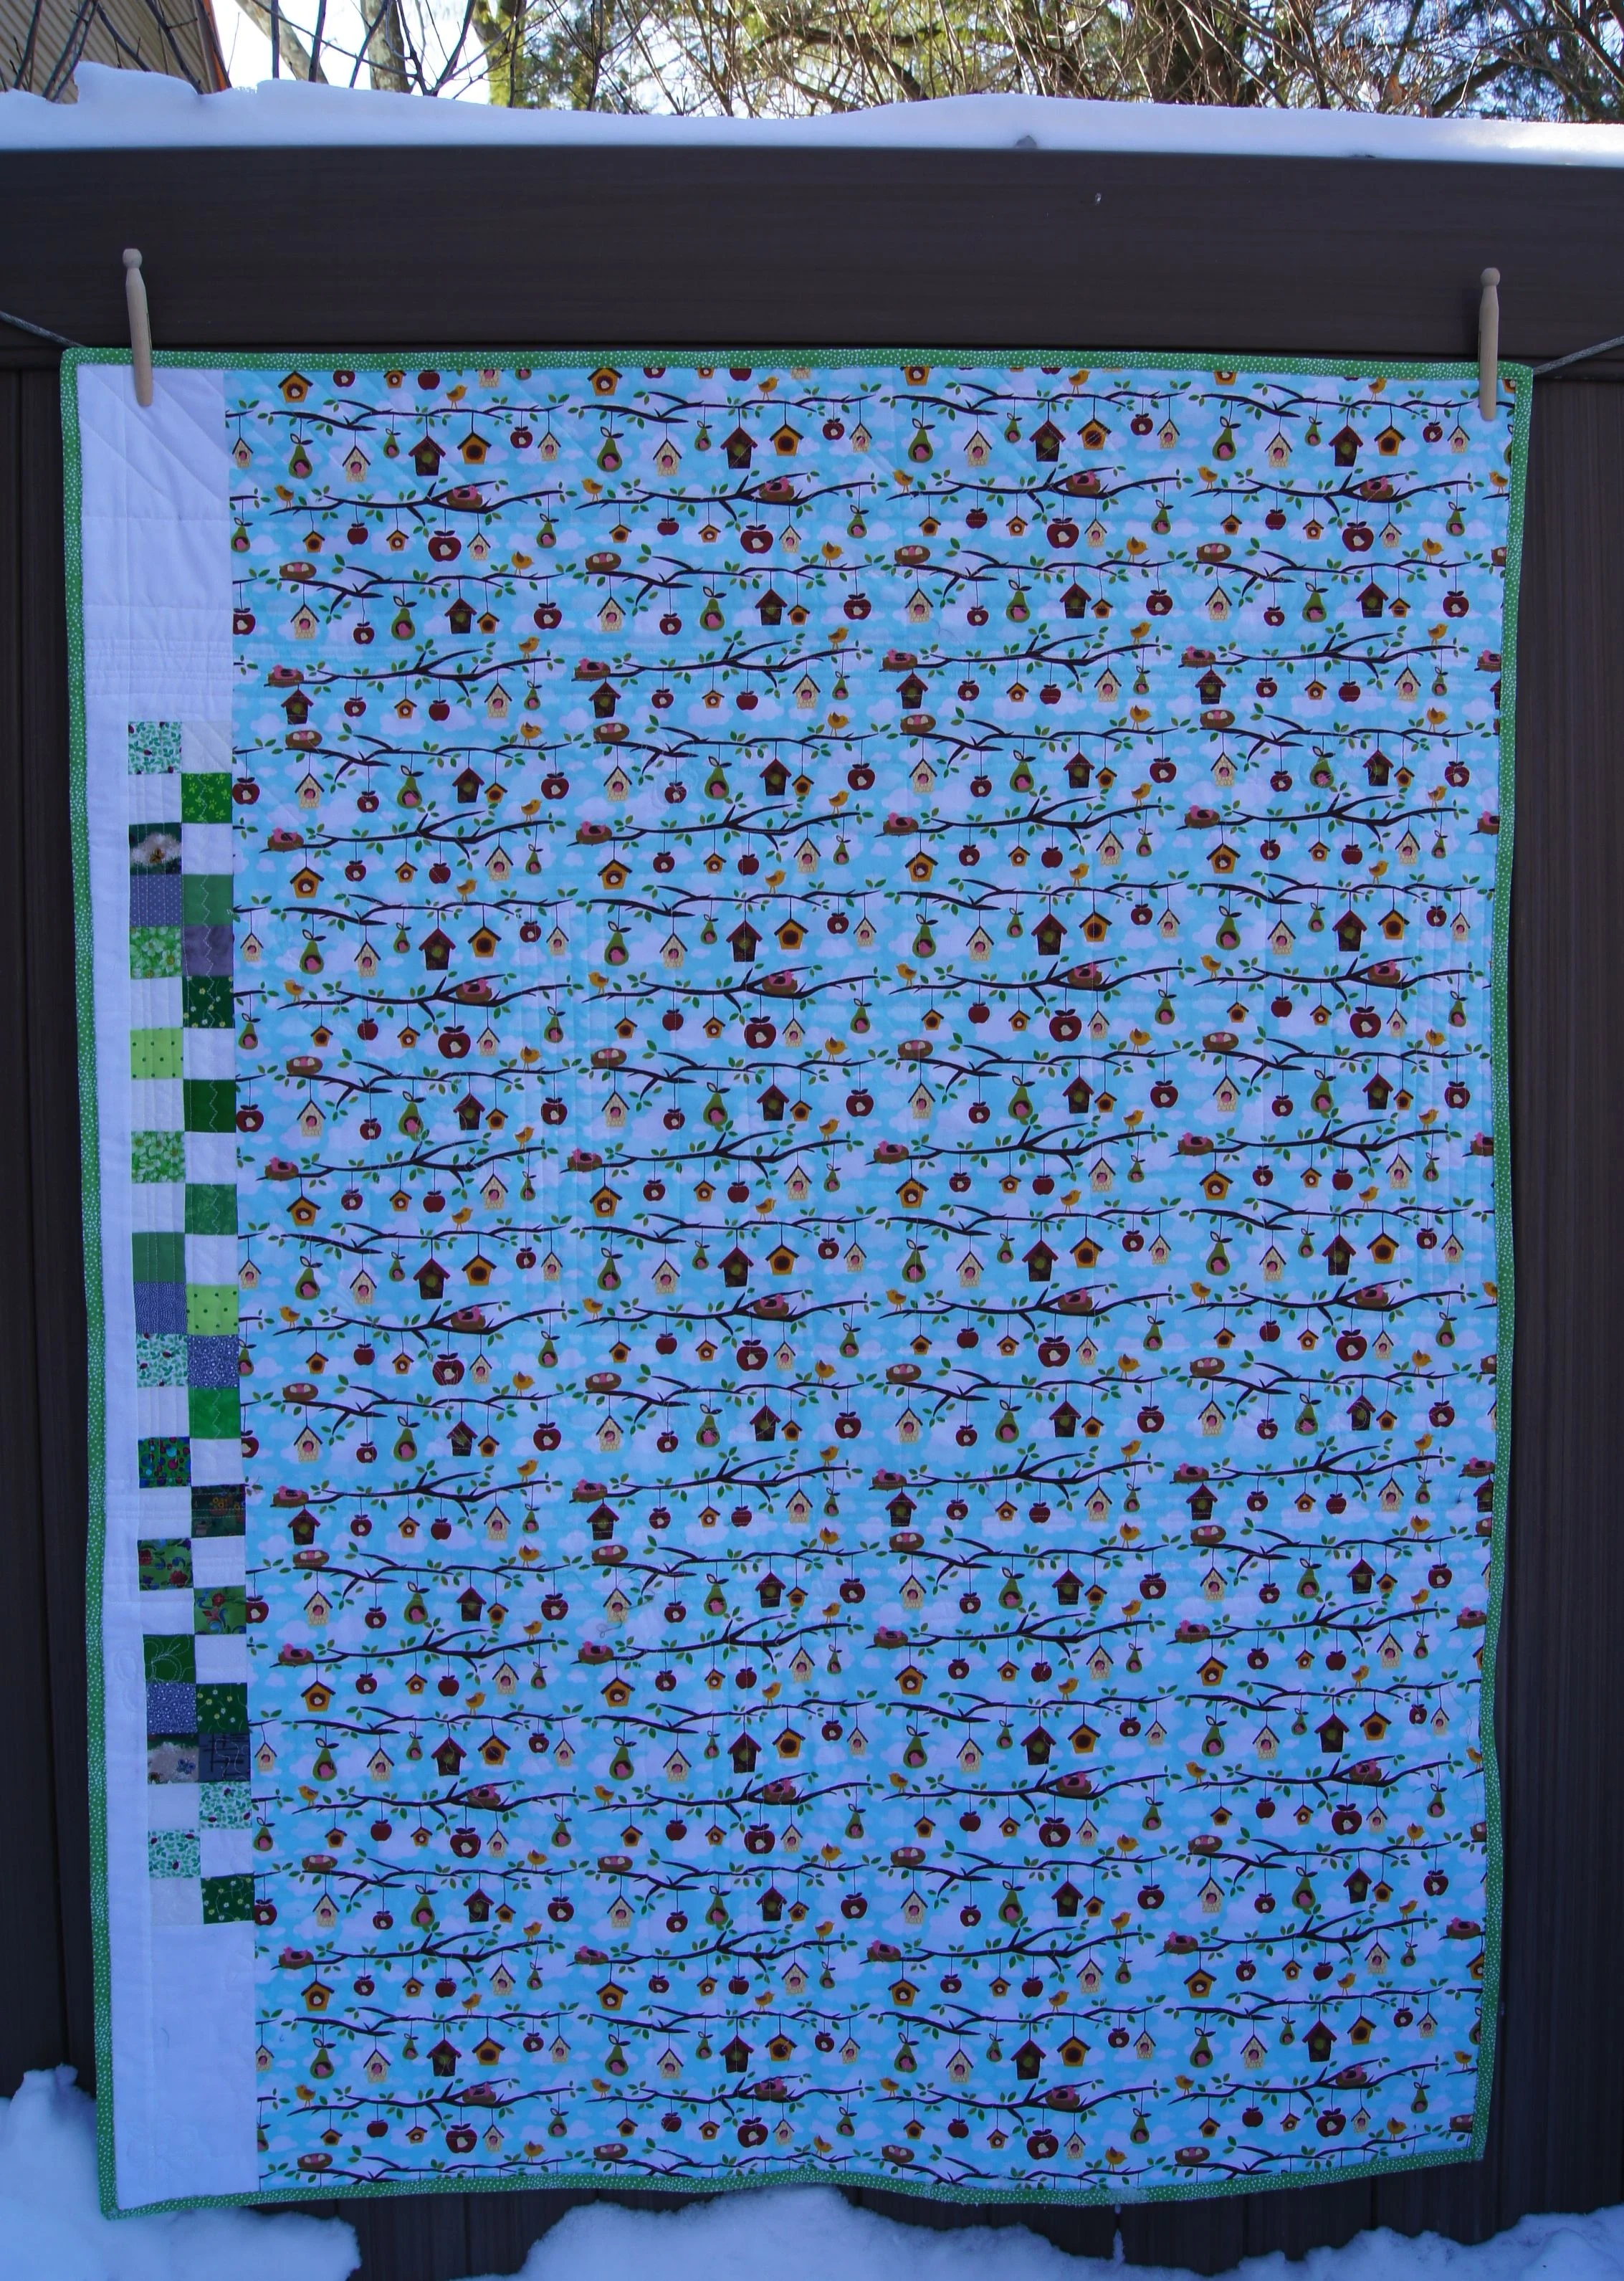
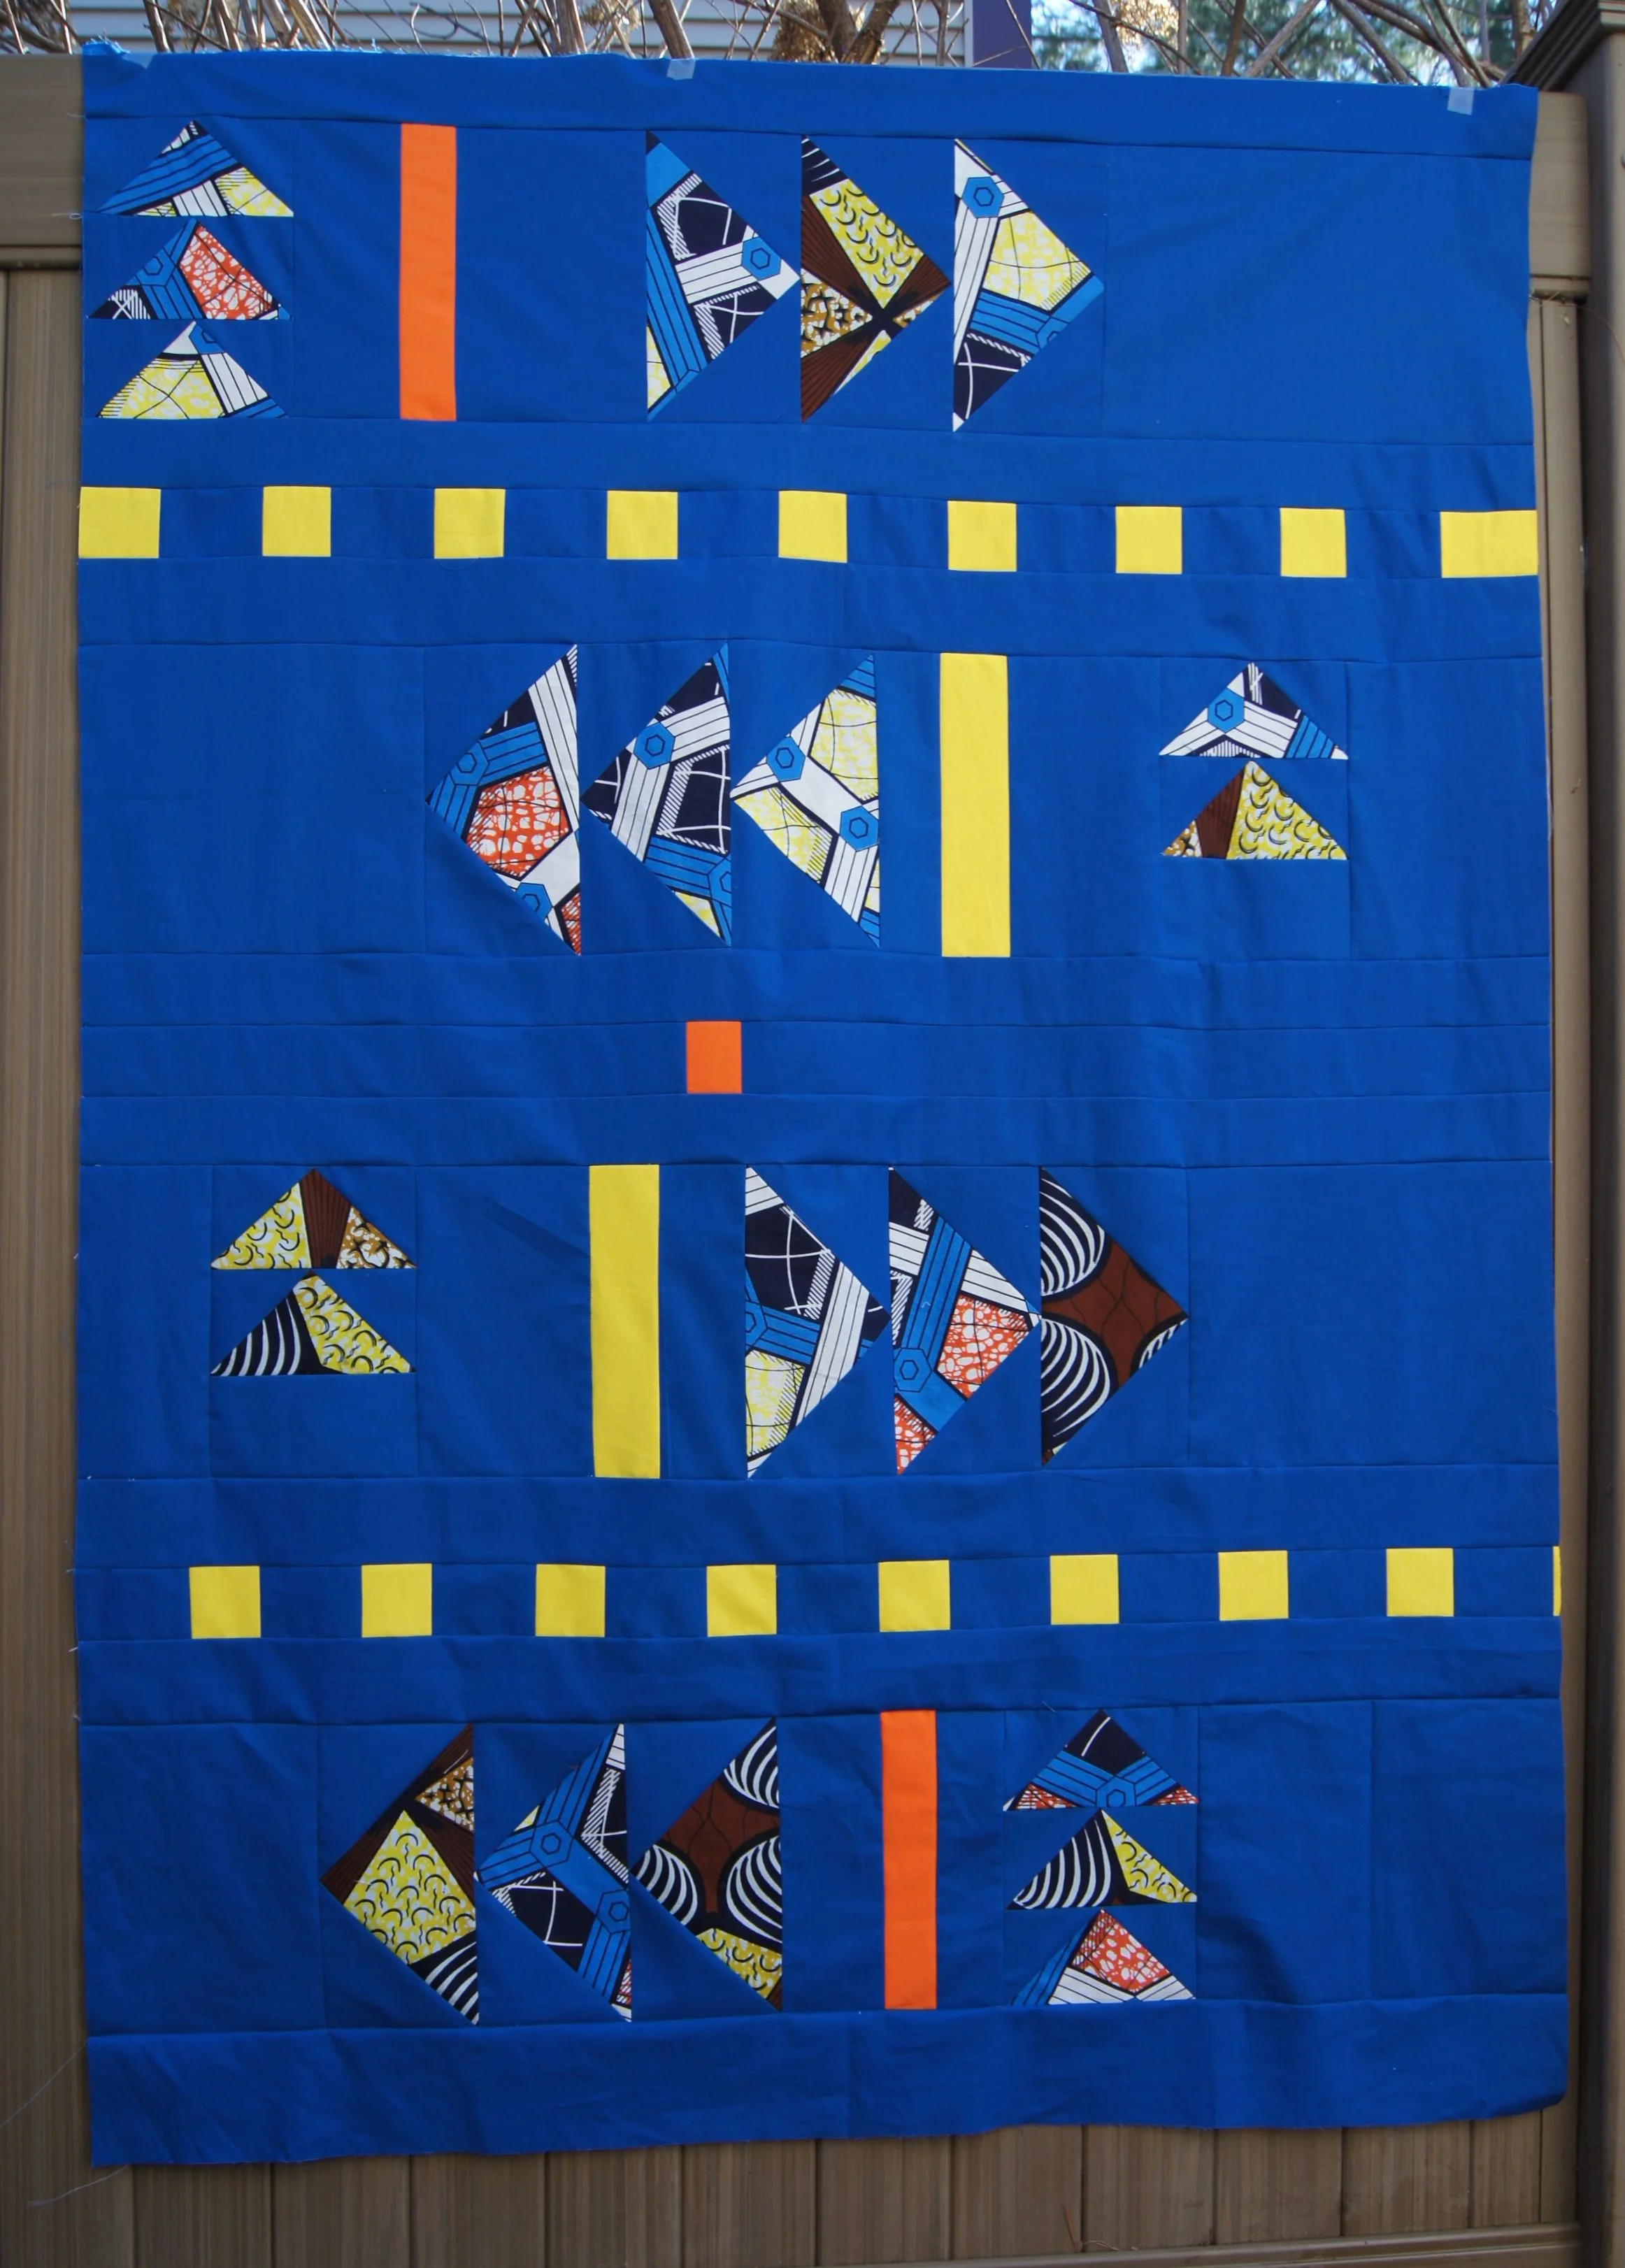
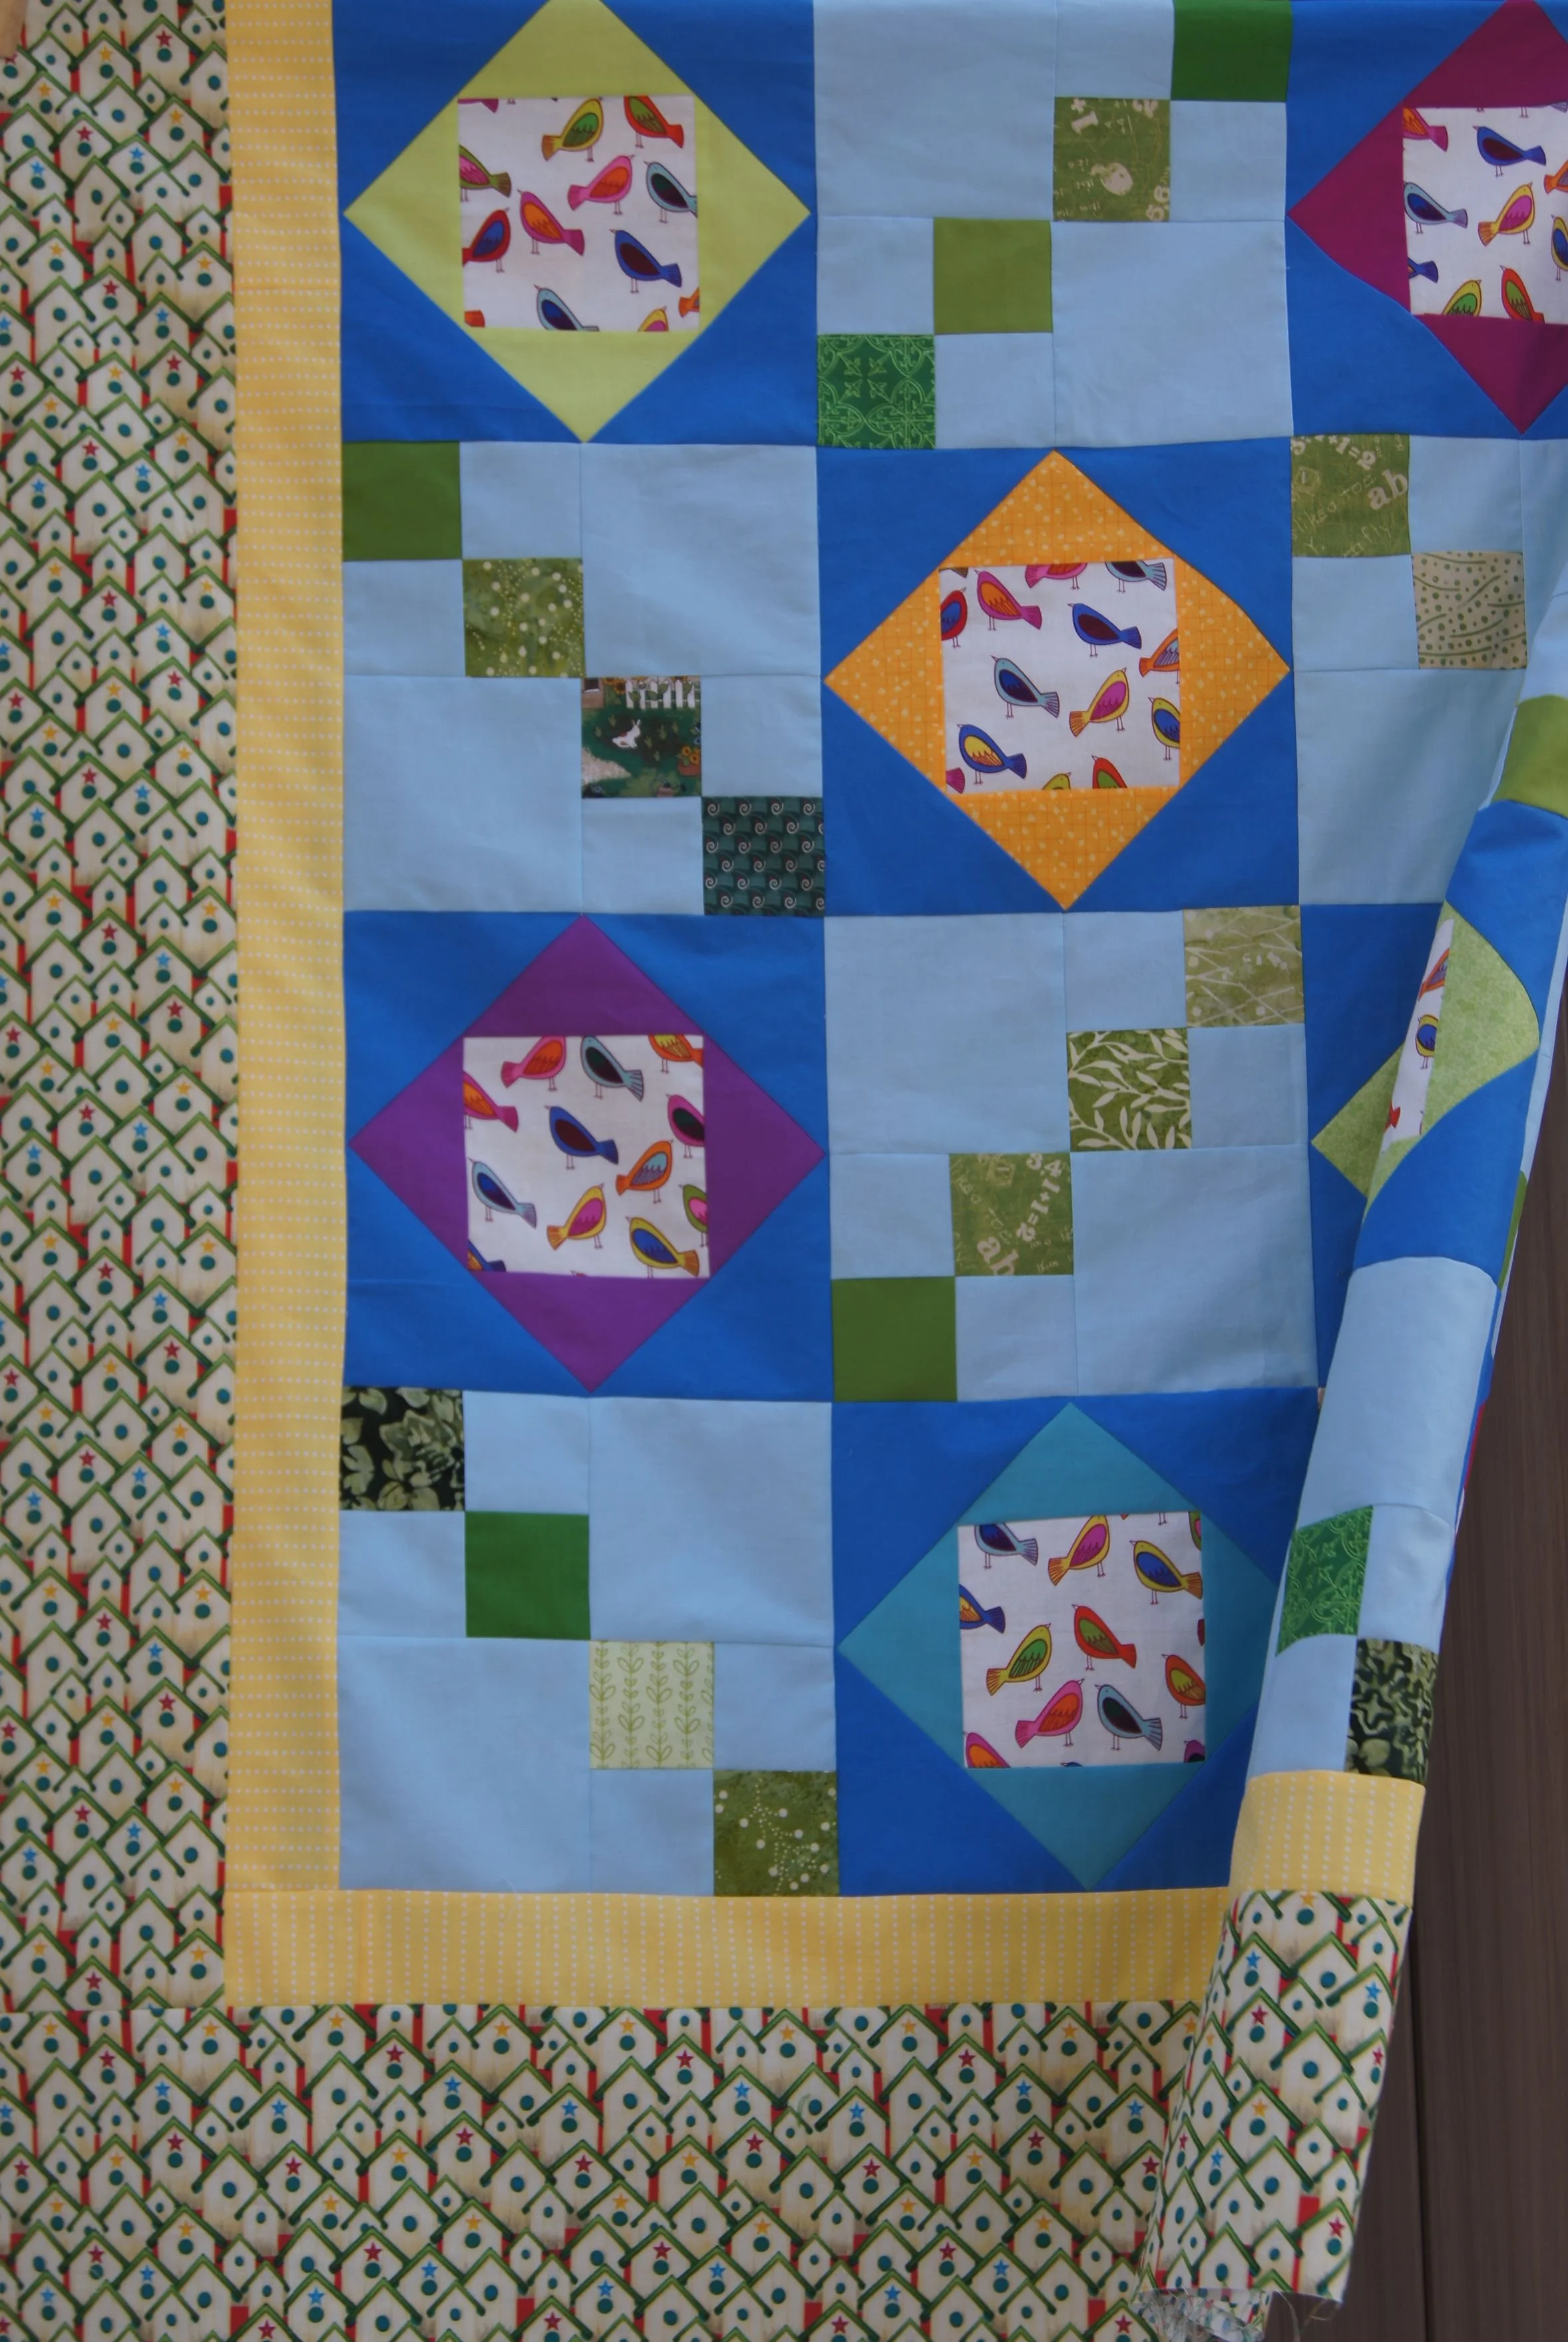
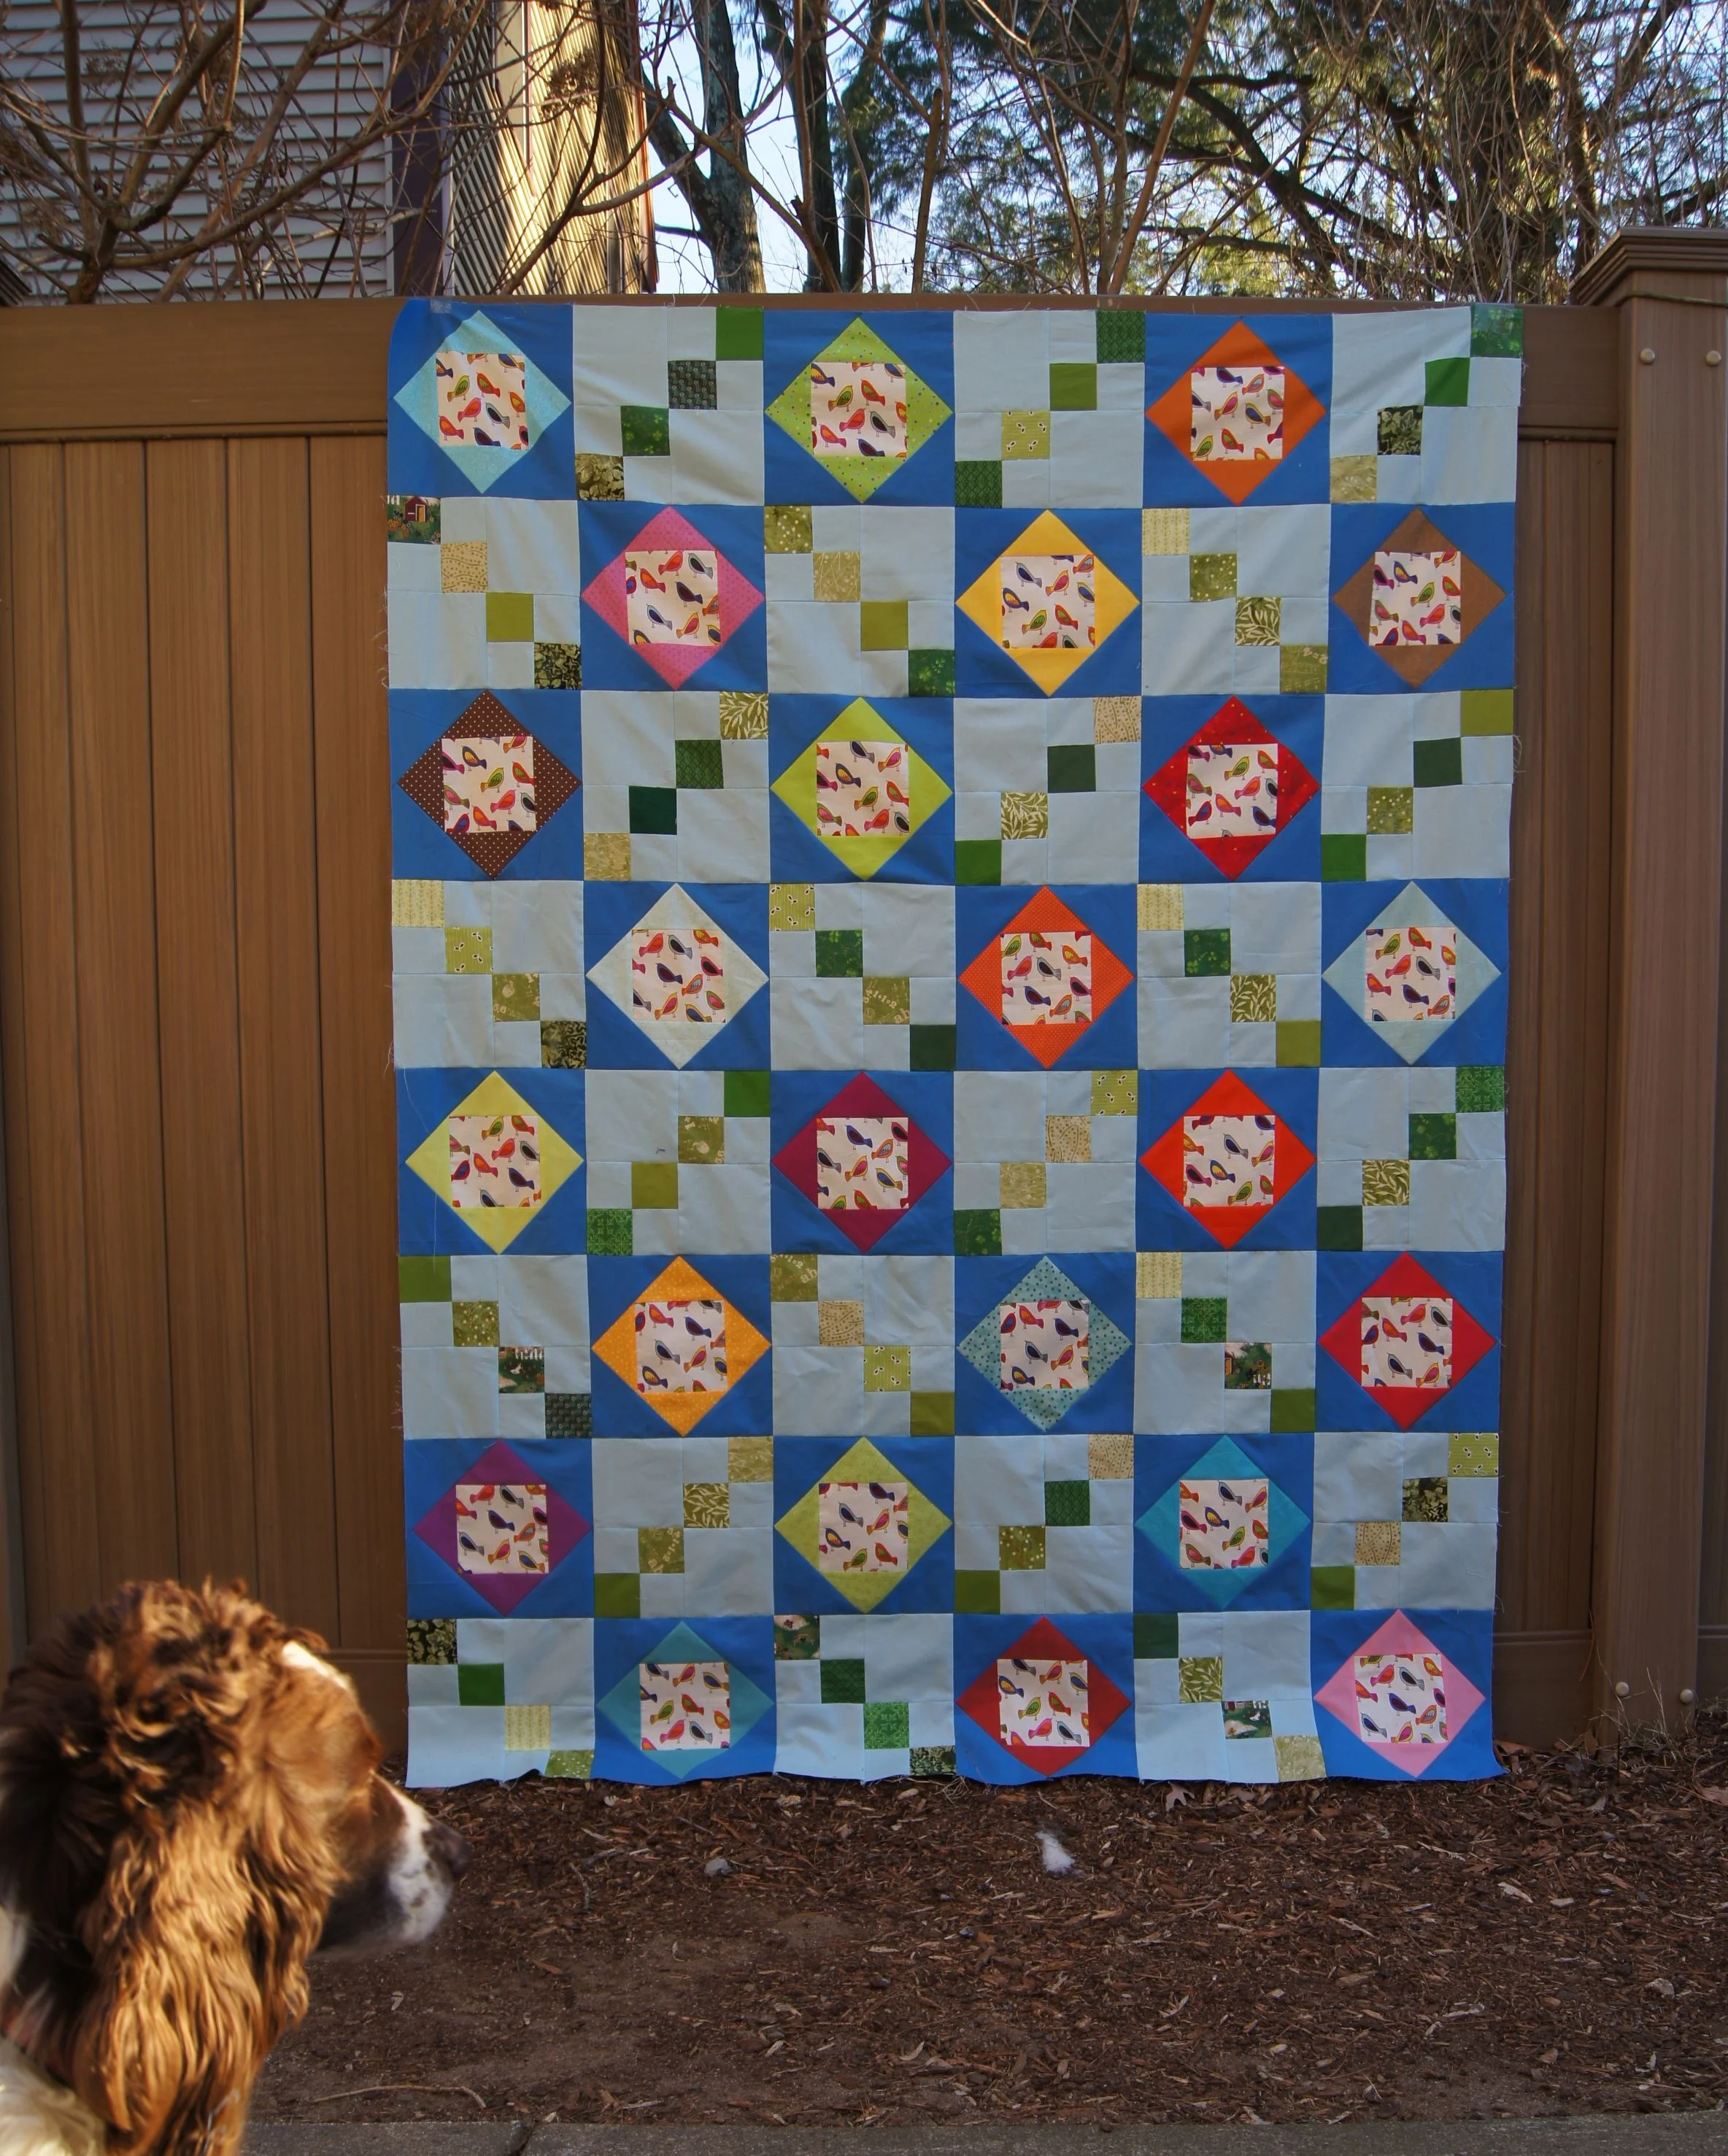
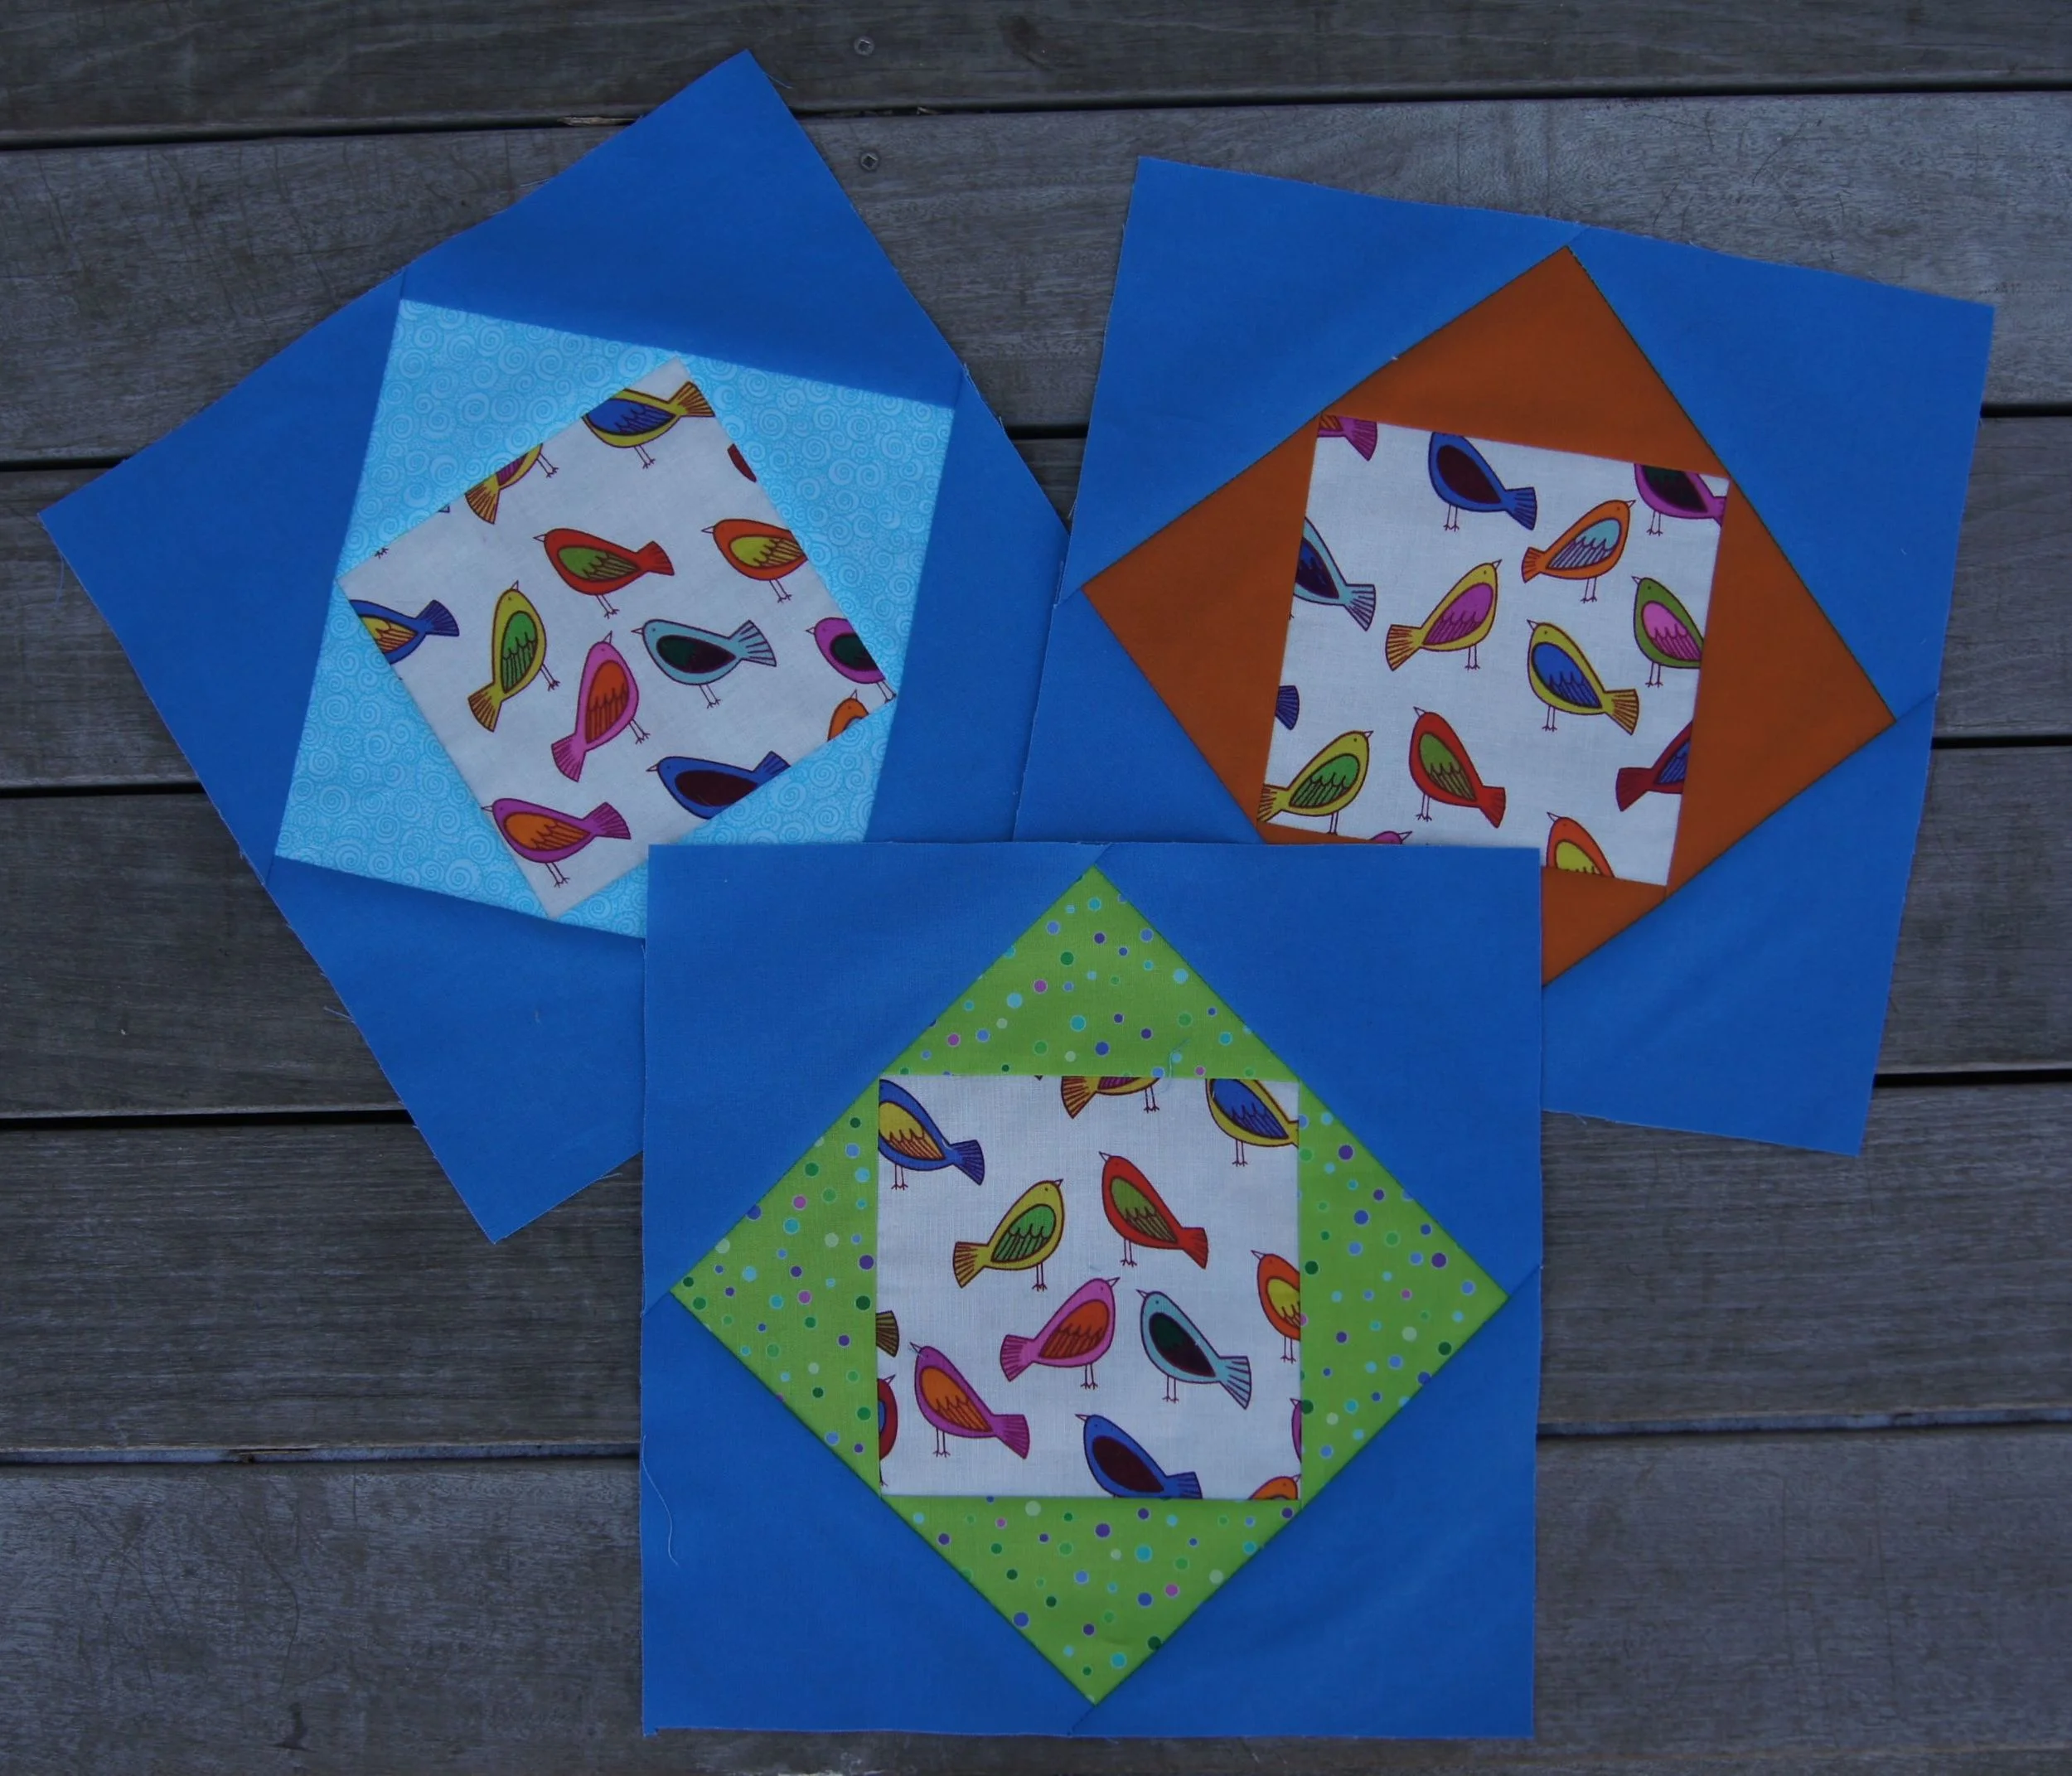
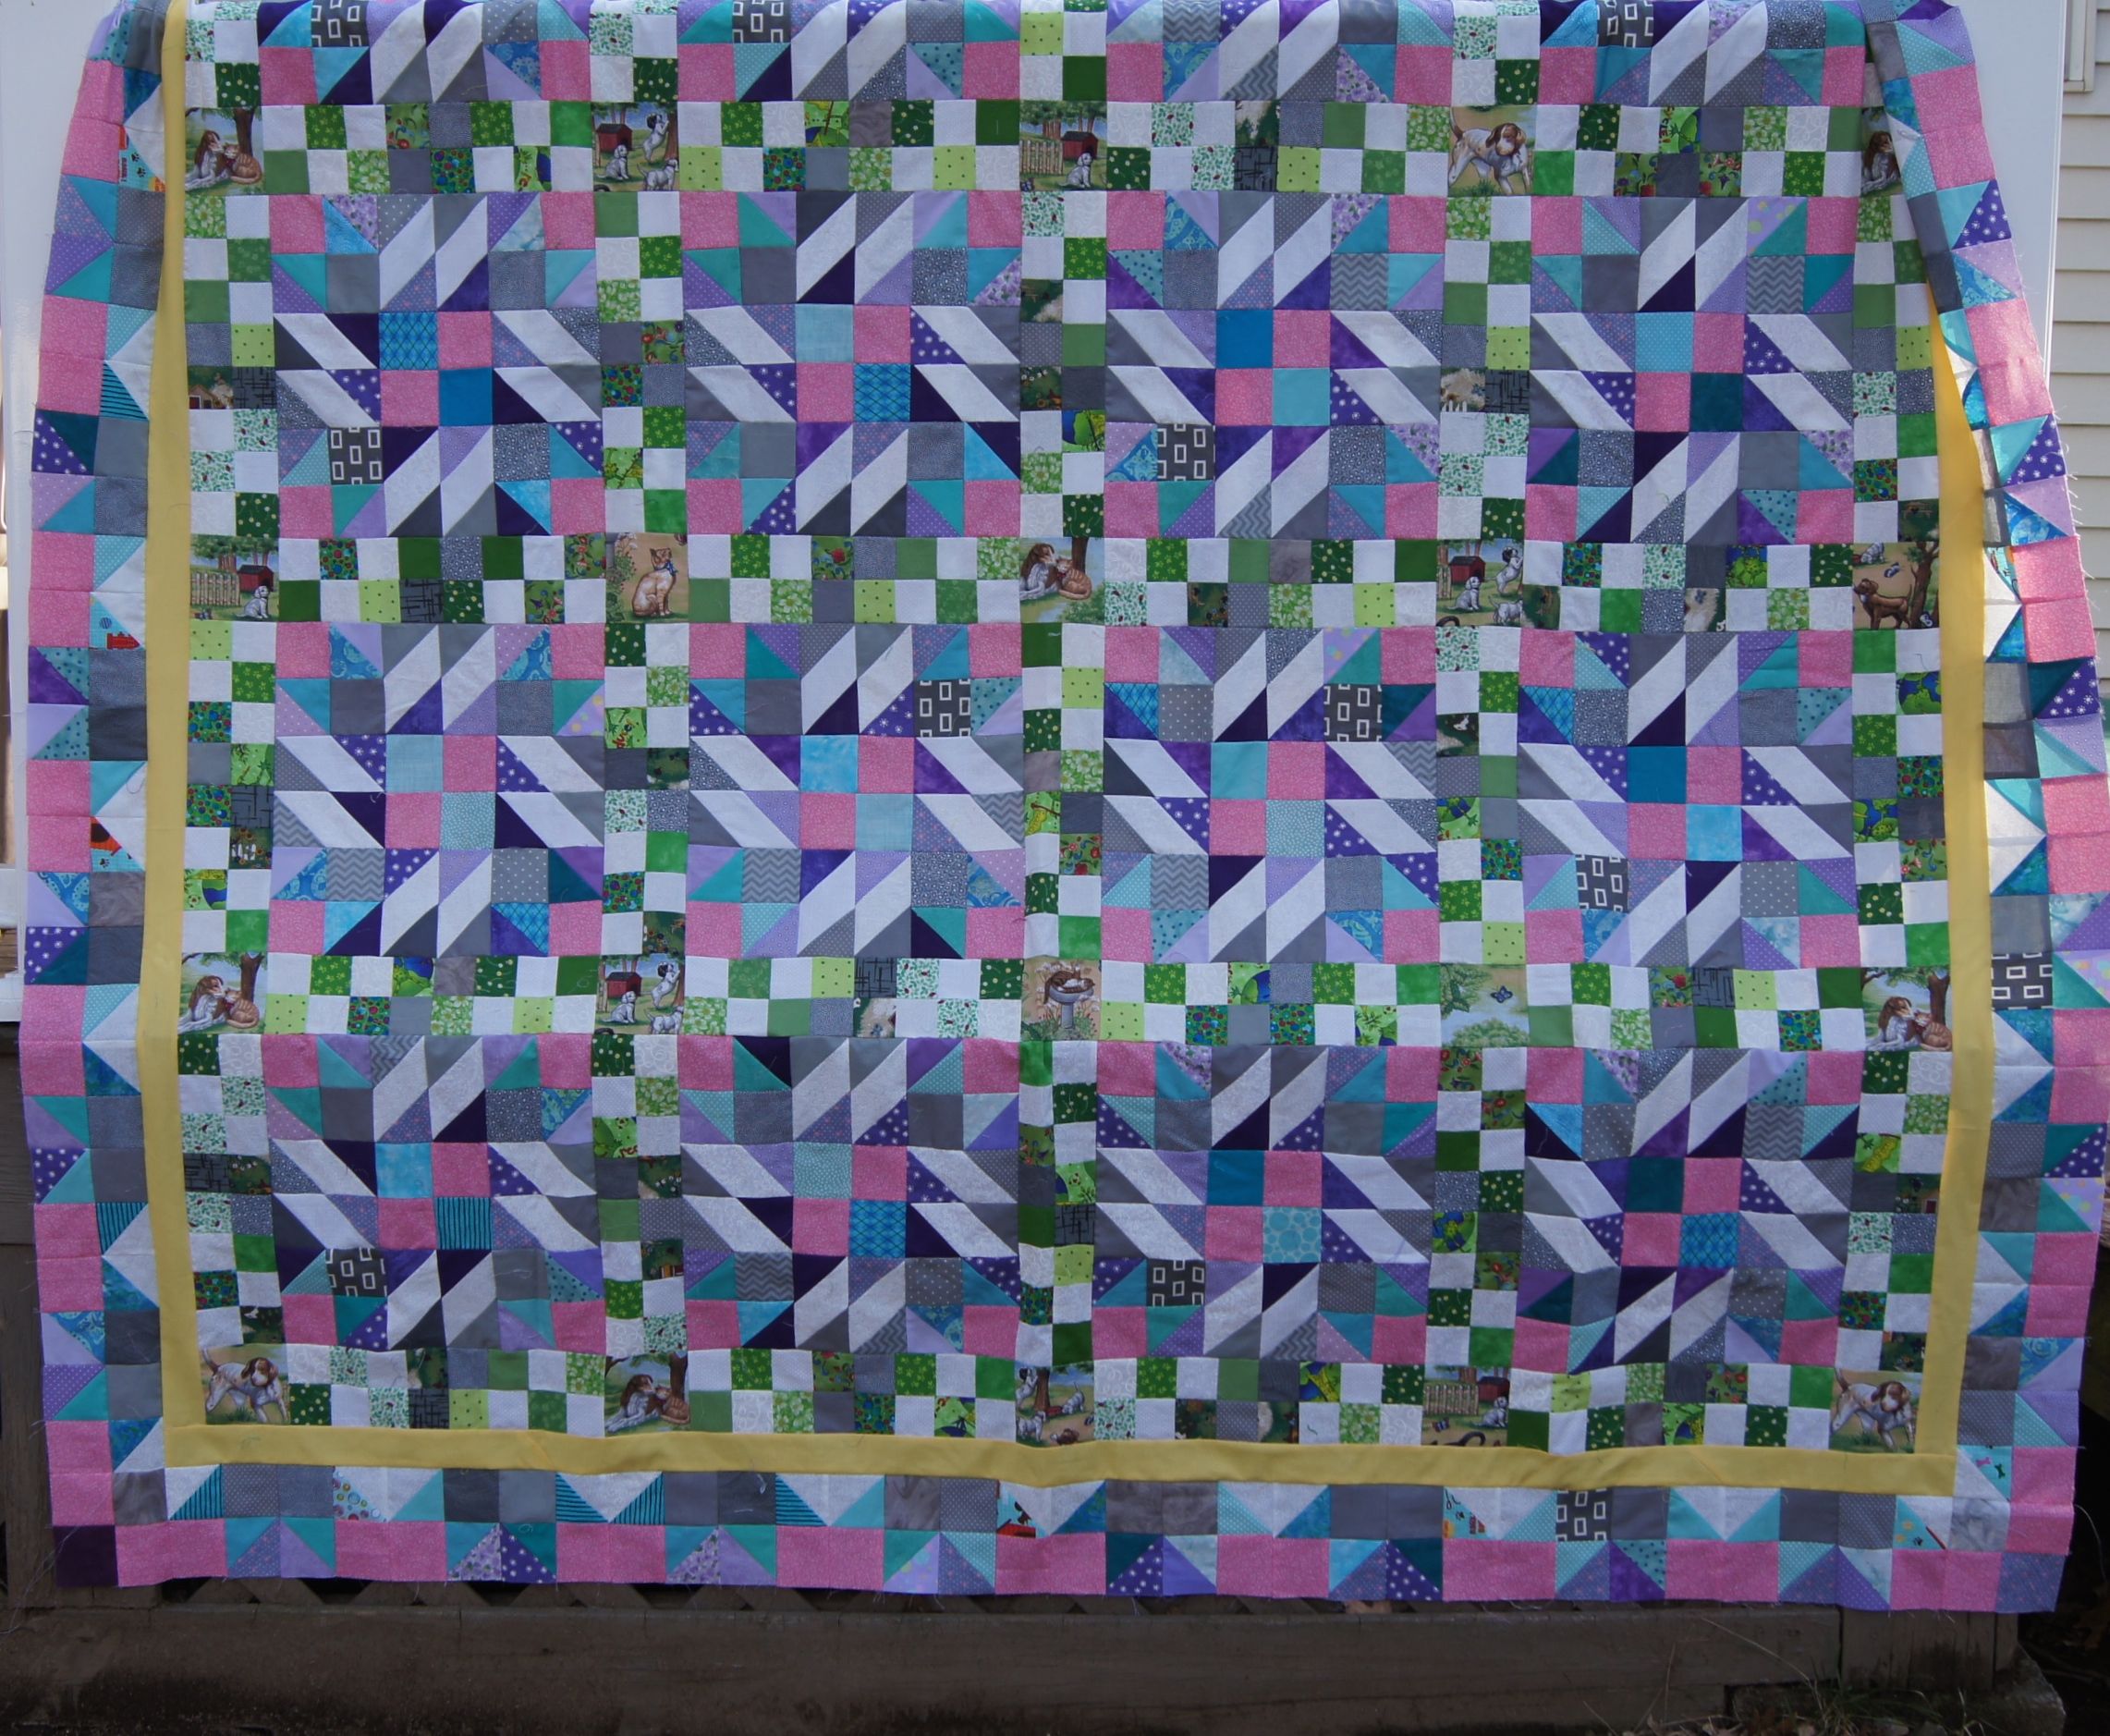
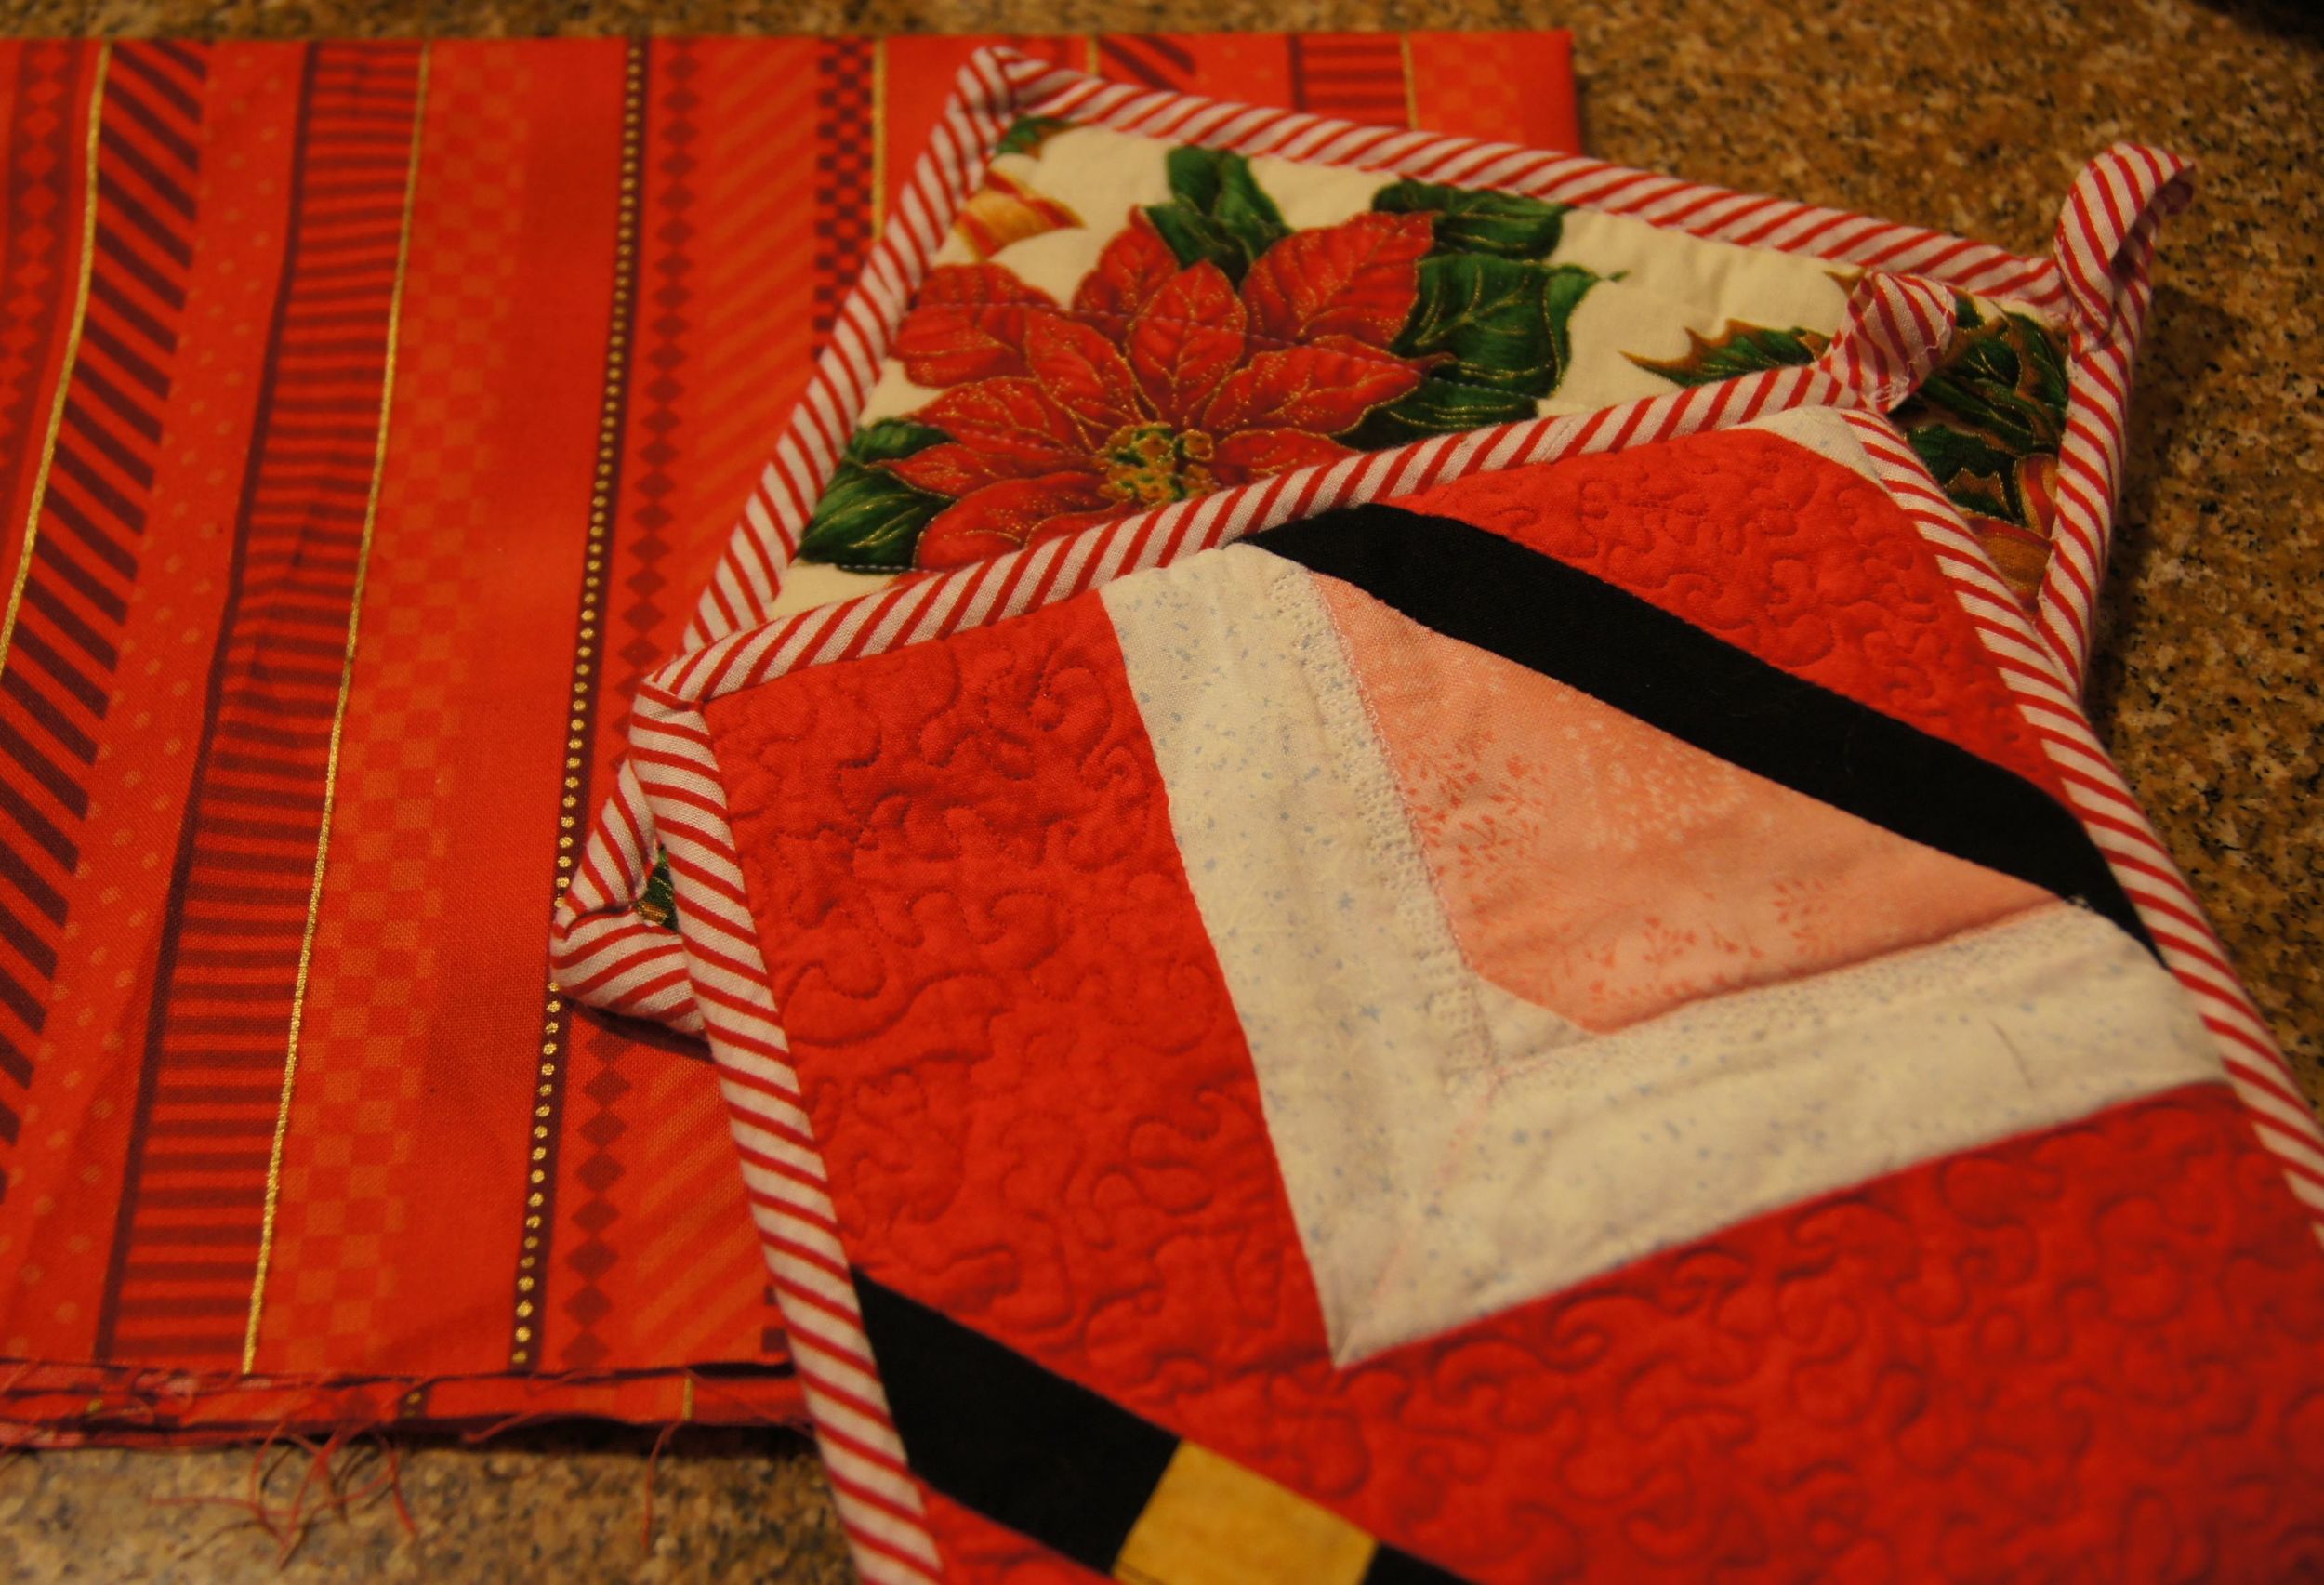
I'm the binding on the Economy Block bird quilt today. Bonnie Hunter's "Grand Illusion" Mystery Quilt is next in the Finish it February quilt pile!