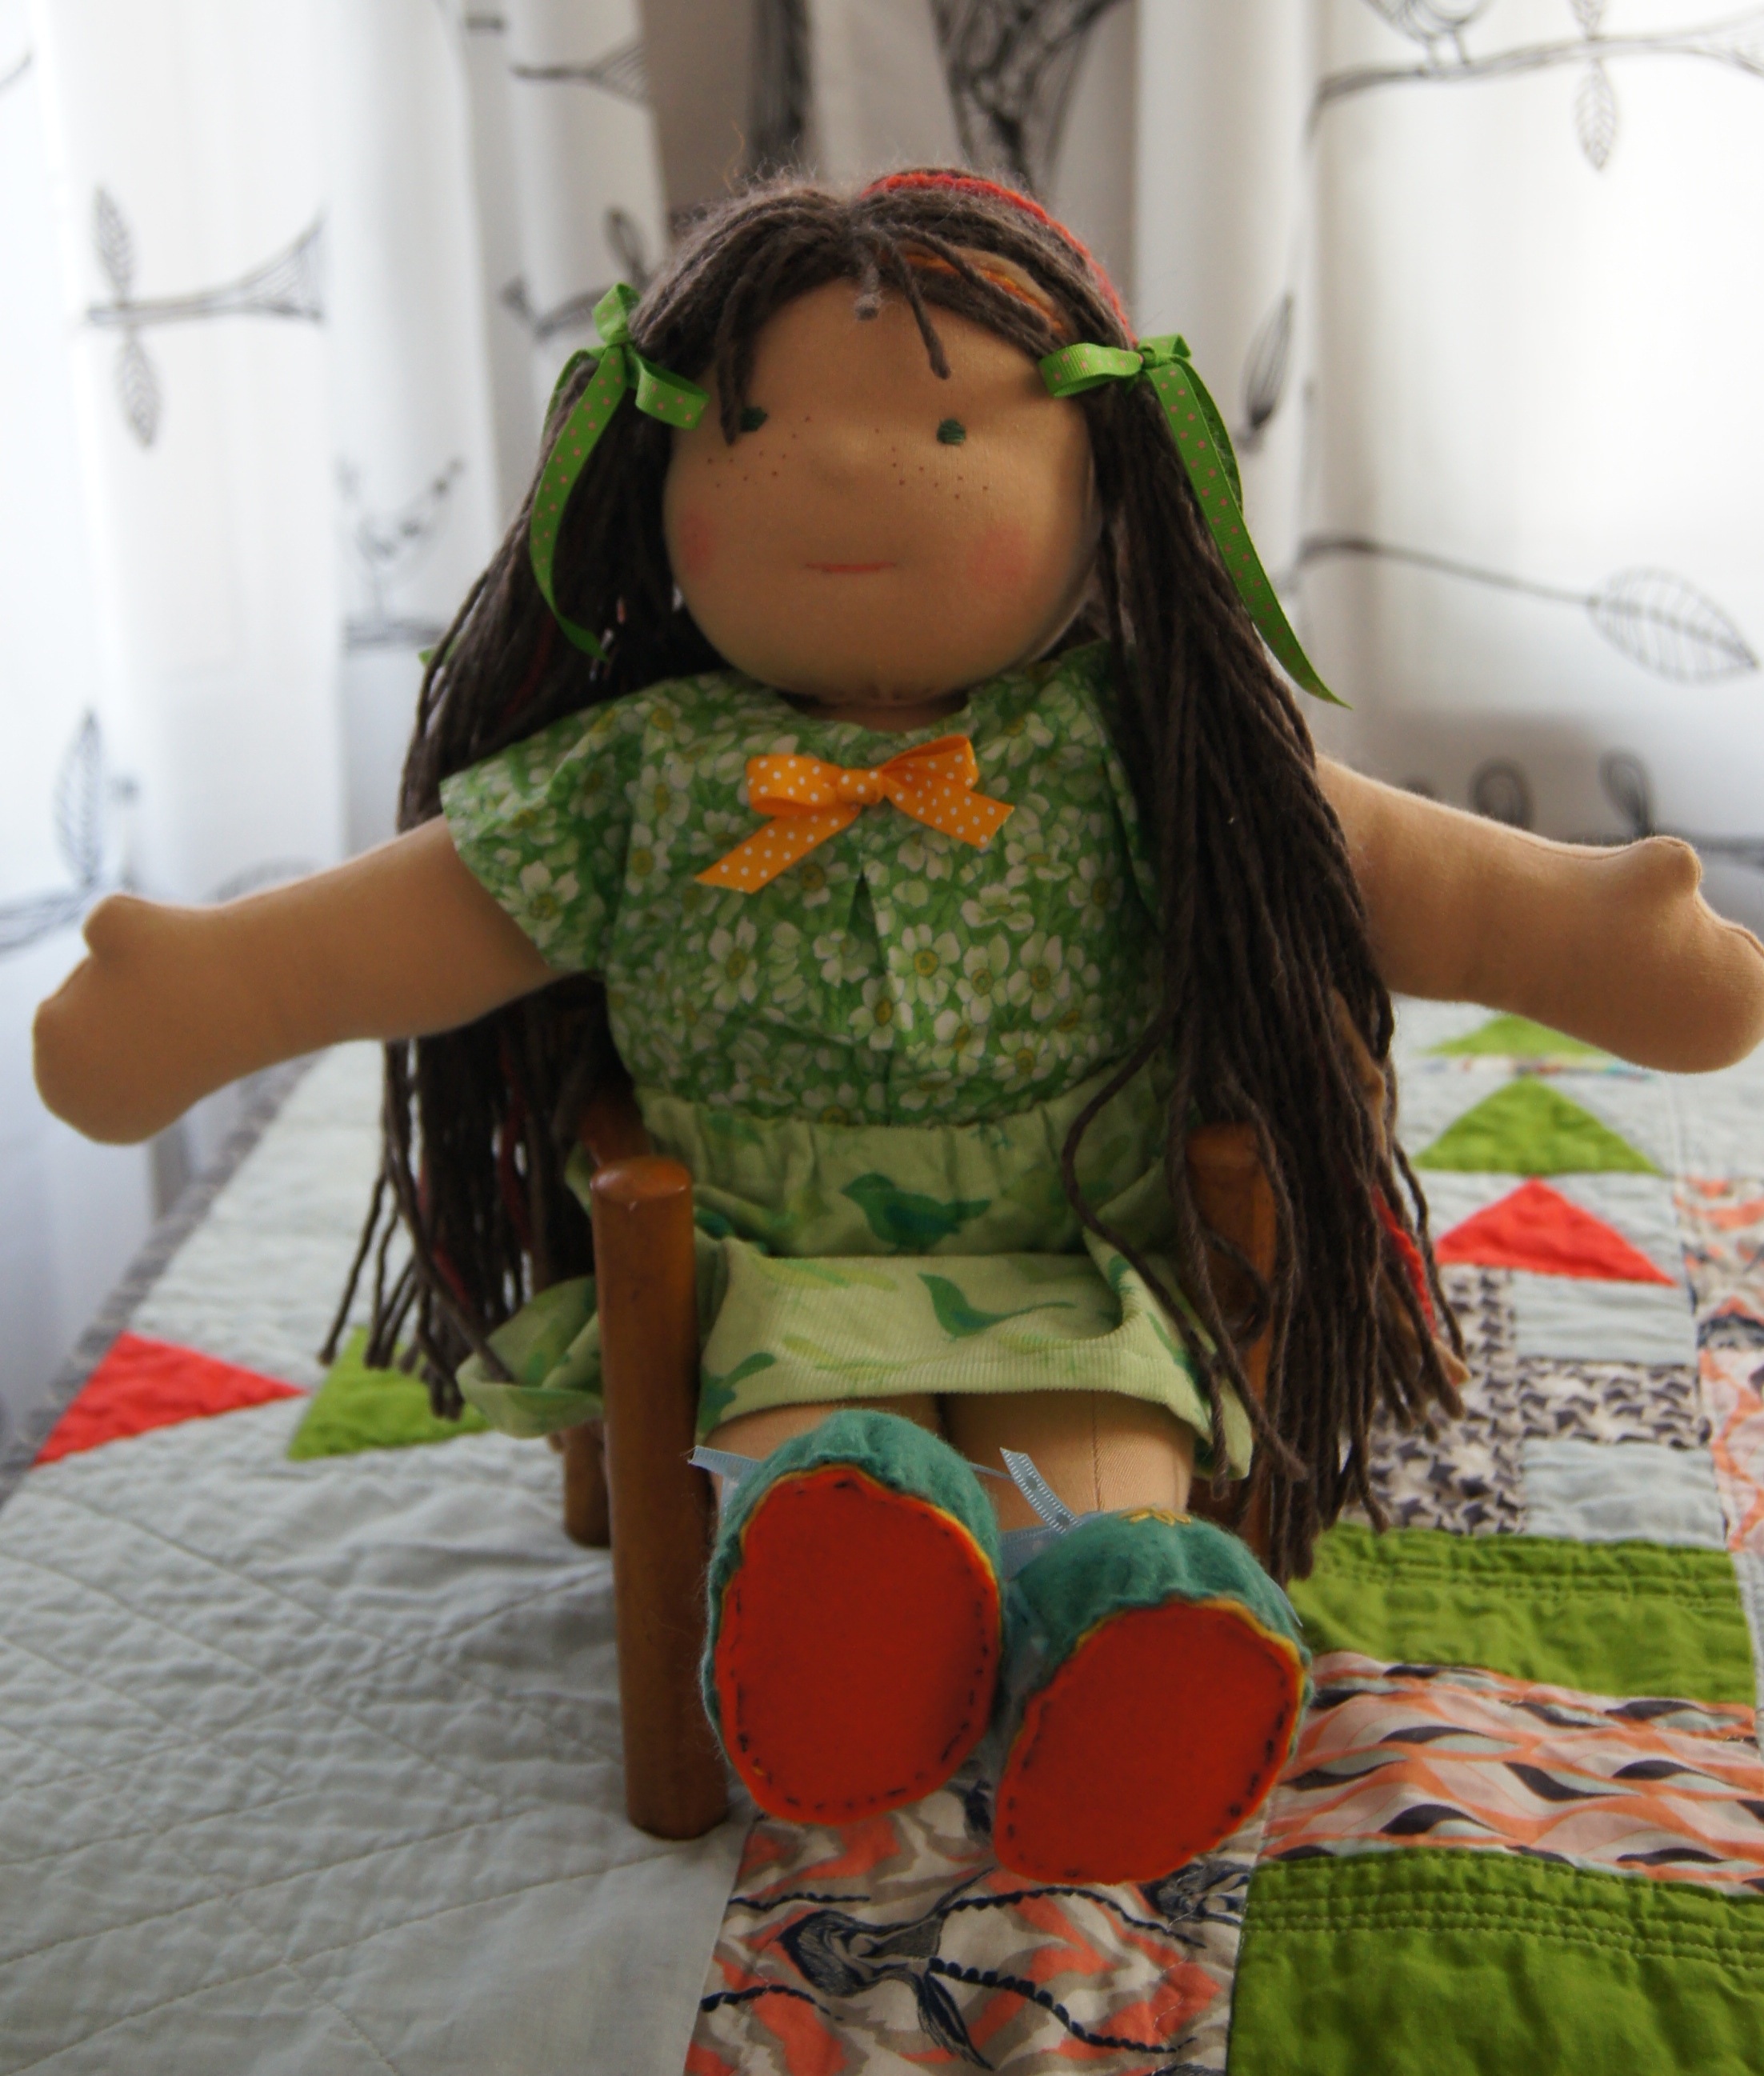
Sometime in January I was doing handwork on a quilt and listening to one of Abby Glassenberg's WhileSheNaps.com podcasts. The January 19, 2015 Episode #41 was with Christina Platt, the owner of Bamboletta.com. When it was over, I went straight to my computer to see the Bamboletta dolls.
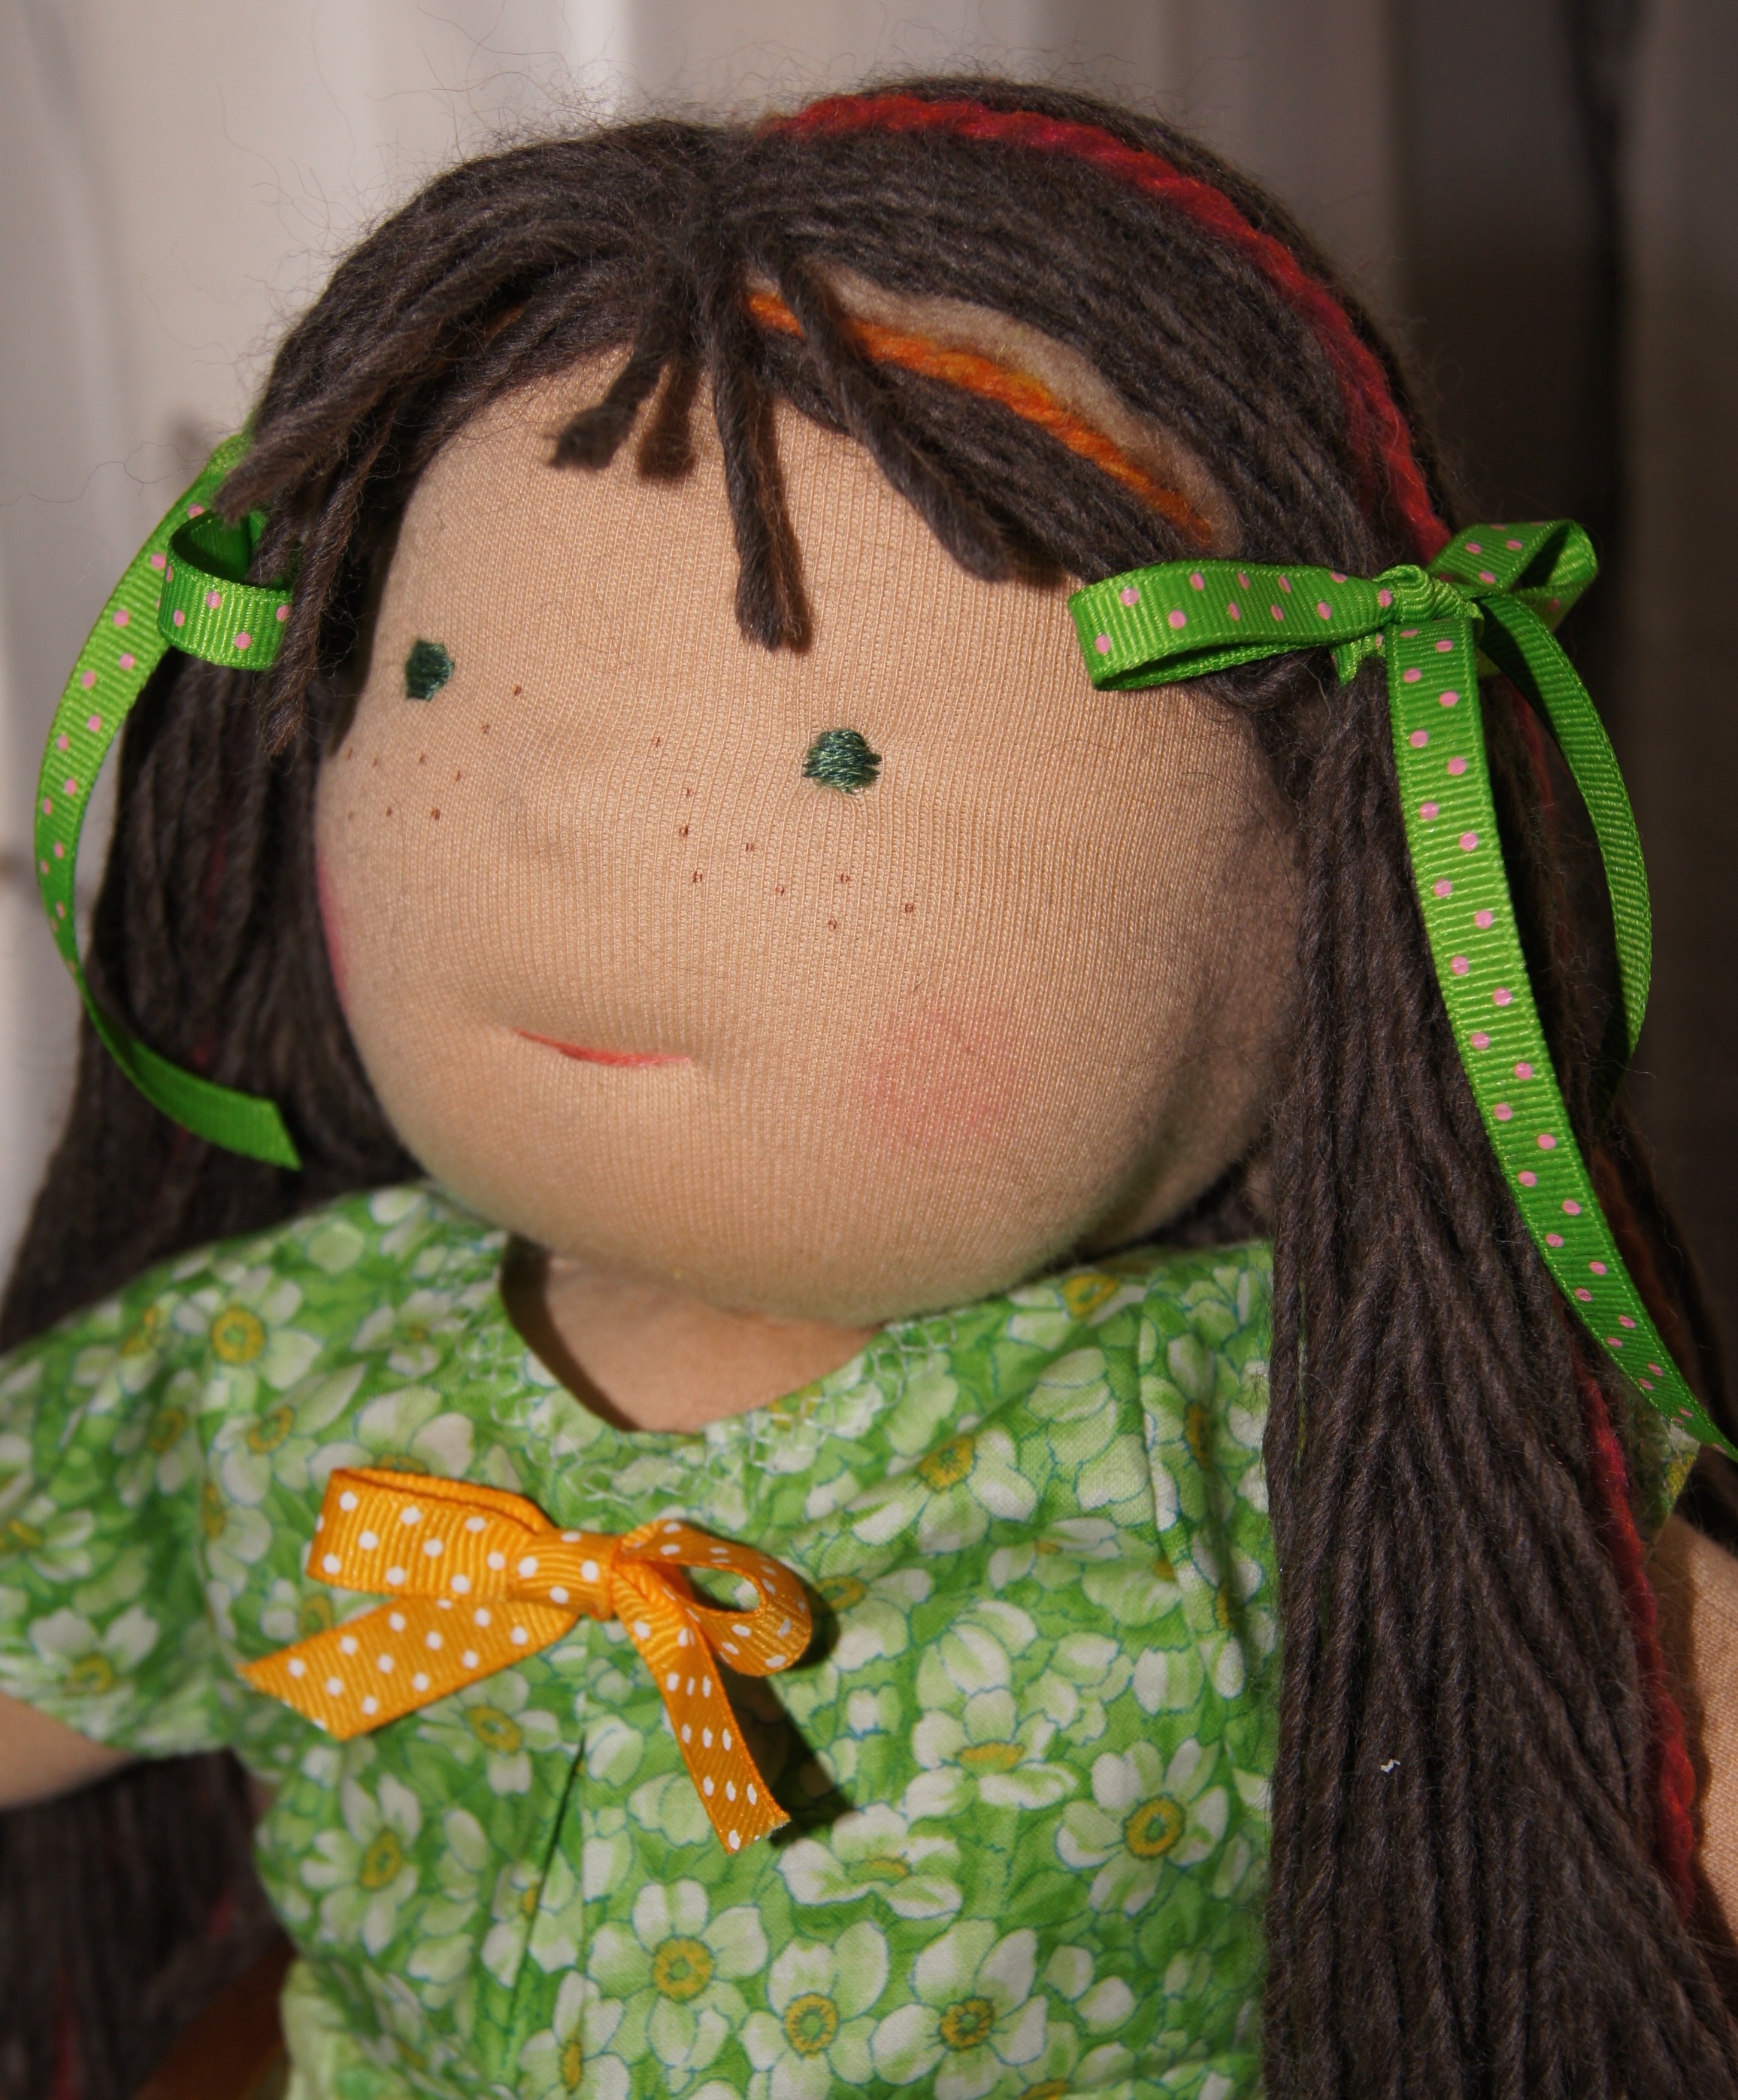
These were the dolls I had always wanted when I was a little girl. They have realistic faces with cotton knit bodies and wool stuffing. Christina's initial doll was based on a Waldorf (Steiner) type of doll. She has since created her own patterns and her dolls have smiles, Christina said in the podcast that she no longer thinks of them as Waldorf style dolls*. Bamboletta is a small company, really a cottage industry, in Canada. These folks make beautiful dolls. That first day I must have spent at least a half an hour looking at all the dolls they had for sale on their website. I kept going back and forth looking at each face. Christina embroiders all the faces herself, and each really is unique. I finally purchased a Sitting Friend girl with red dreadlocks for hair. Much later I realized that the doll I got is one of the dolls posted with the information on WhileSheNaps.com about the podcast. Go take a look!
*Waldorf type dolls are used in Waldorf schools. The dolls are all natural, usually made with cotton knit bodies, washed wool roving for stuffing and with embroidered faces. The Waldorf dolls are made without much facial expression. This is done intentionally so that the doll can better reflect the feelings of the child playing with it.
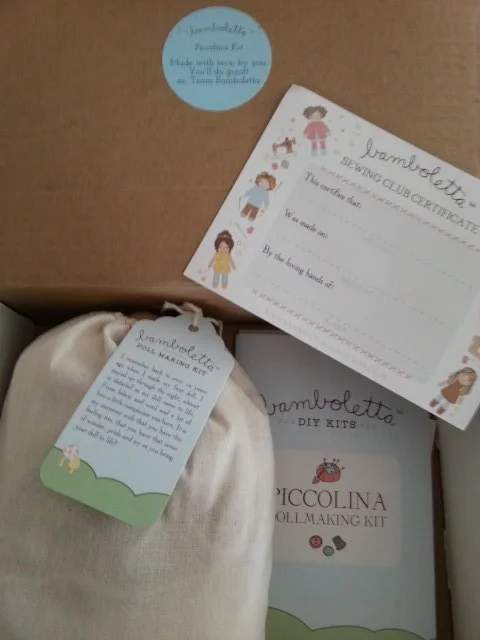
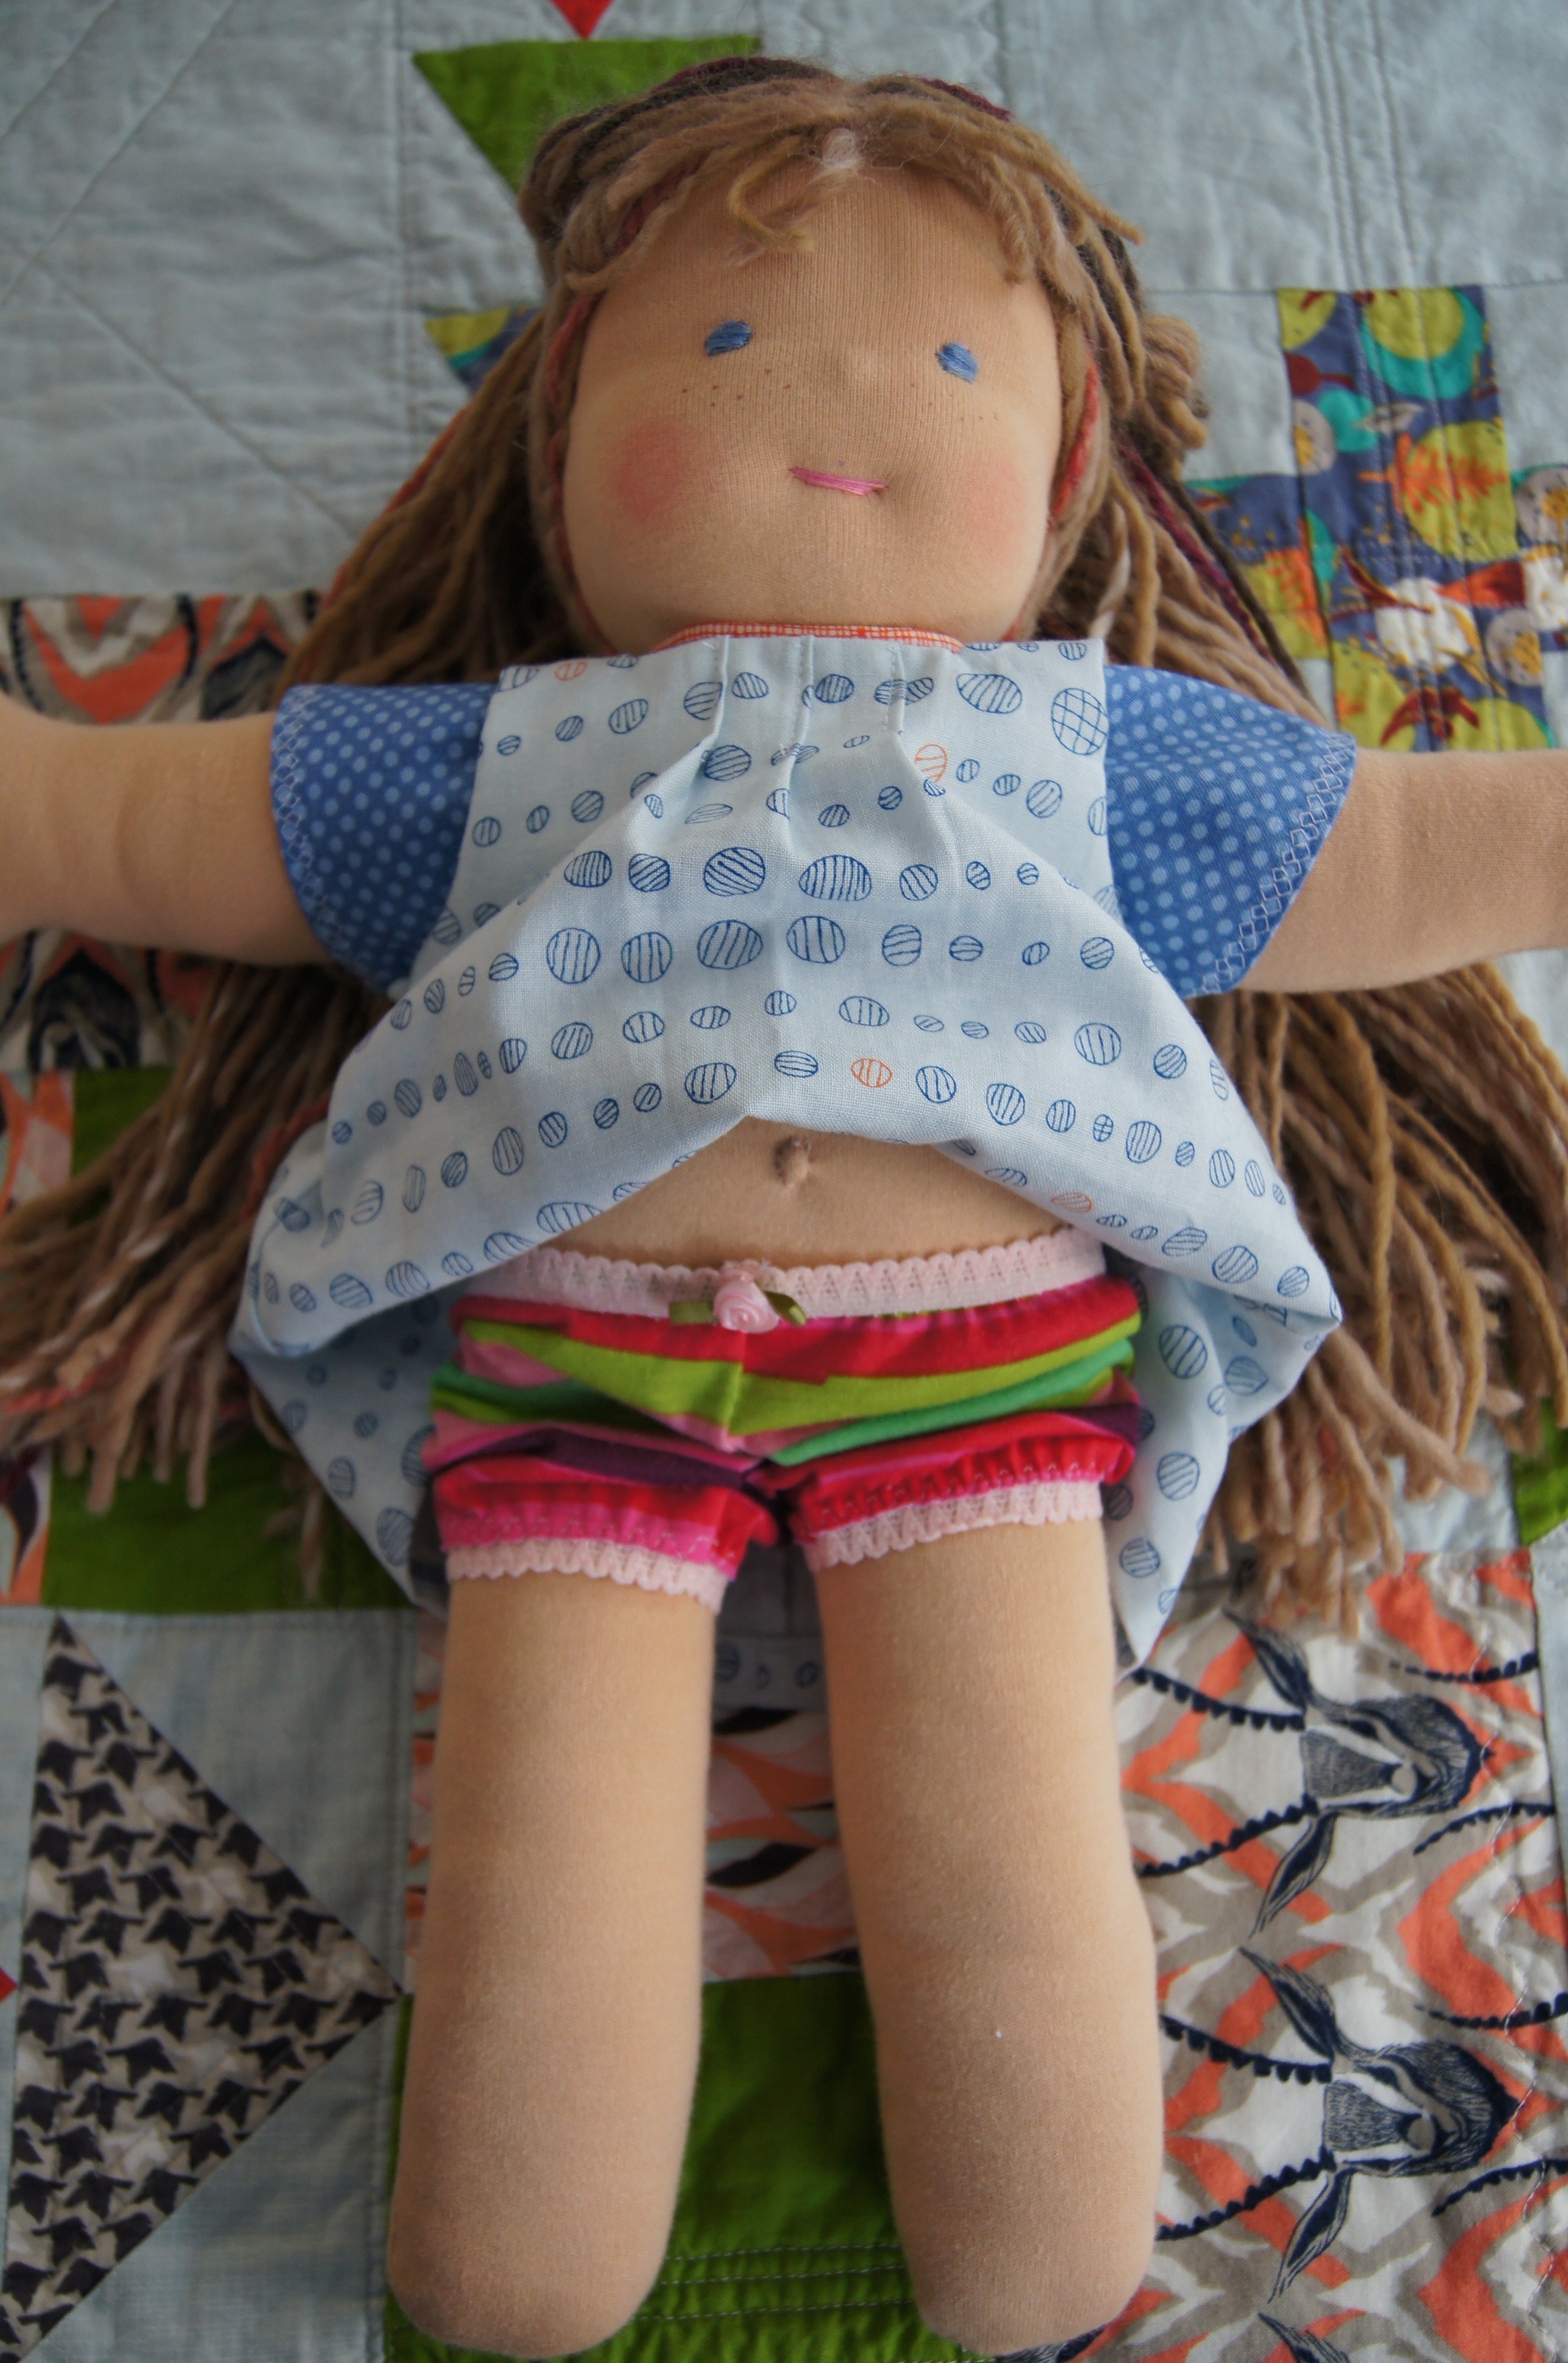
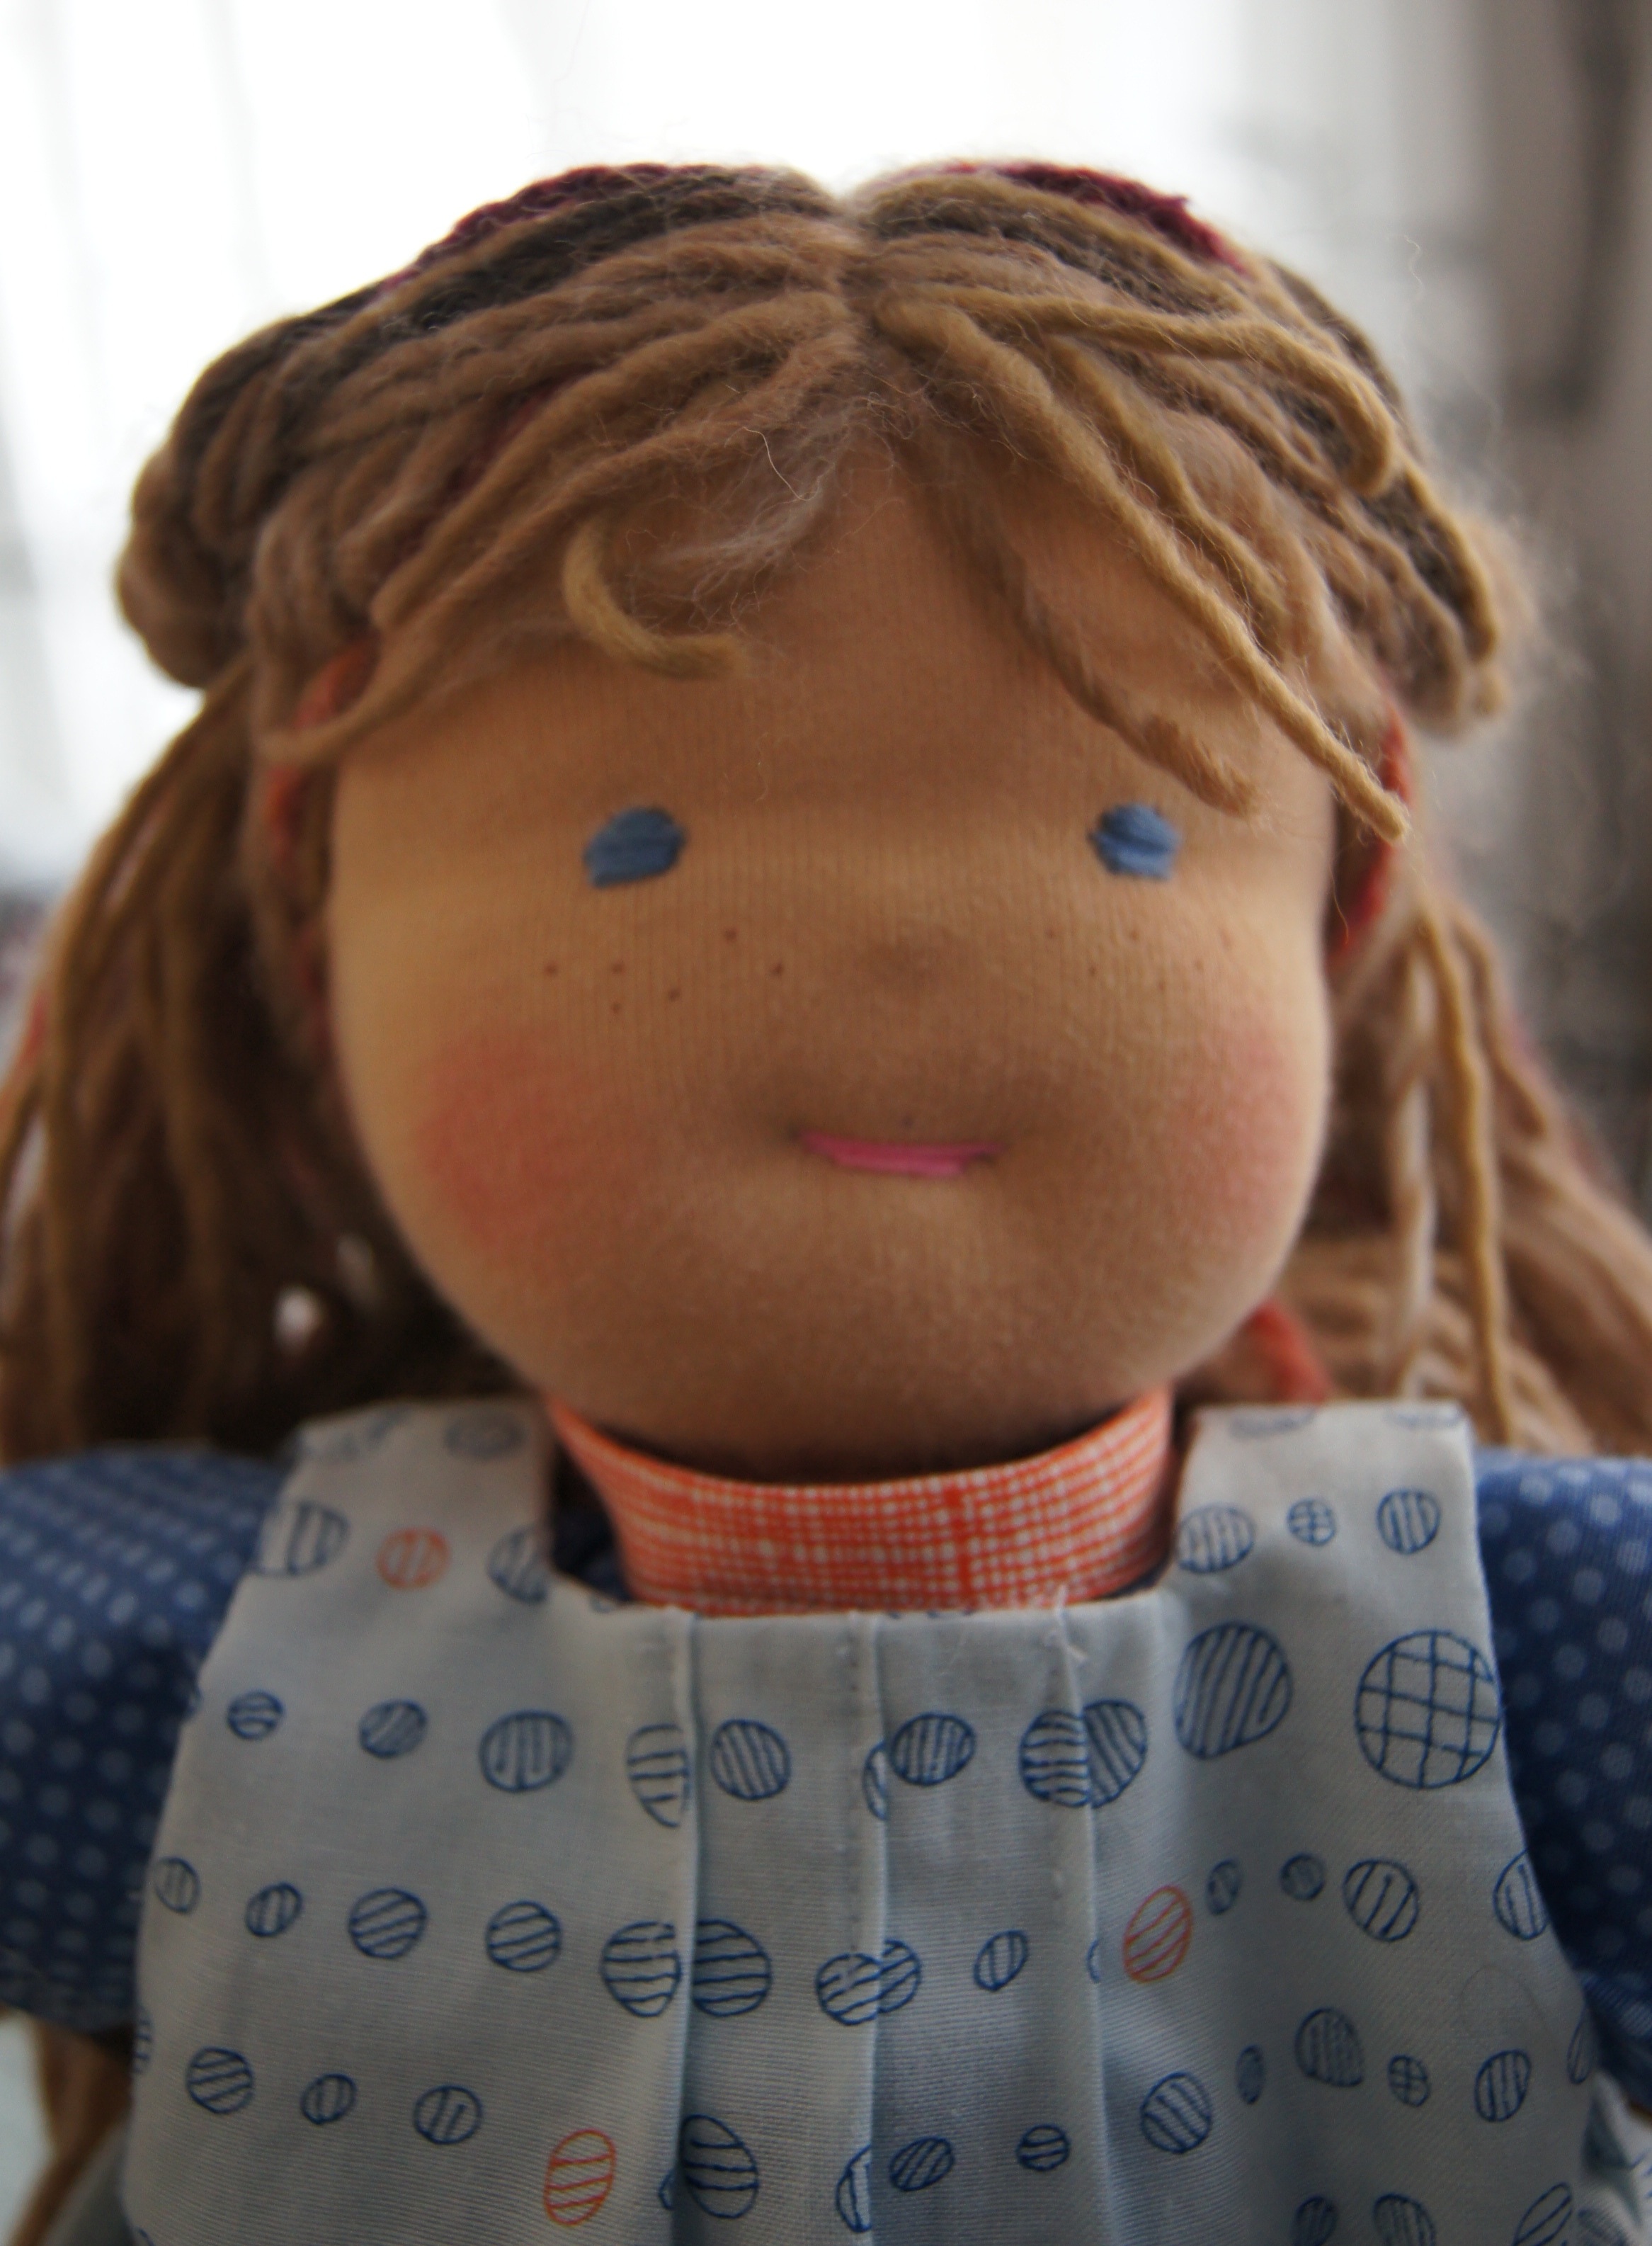
In January this year, Bamboletta started selling kits for their 9 inch Piccolina dolls. I purchased a kit for a Girl Doll at the beginning of February. They ship kits once a month--it's due to arrive this week. Christina says the kits are for the "crafty, not crafty type of person!" The doll in the kit comes with pre-sewn body and clothes. It doesn't include a pattern for the doll. You get to embroider the face, add the hair and attach the head to the doll.
Back in the 1970s and 80s when I was making dolls I'd wanted to try making a doll which was really 3 dimensional. Somehow I never found out about Waldorf dolls. There was no internet back then.... But looking at Waldorf doll resources on-line recently, I realized I'd had a copy of The Childrens' Year by Stephanie Cooper, Christine Fynes-Clinton and Marye Rowling (the 1986 edition) on my bookshelf. This book has directions for making a Waldorf doll. I don't know if I just missed it or if I thought I wouldn't be able to find the supplies to make the doll. (Remember, no internet)!
I just spent a couple weeks collecting books, patterns, perusing Pinterest and watching YouTube videos. I even watched some with Russian narration! It didn't matter, just watching was informative! I week ago I sat down to make my own Waldorf-type doll. I wanted to do this before my Bamboletta kit arrived, before I had to chance to look inside a doll to see how the pros put one together. I wanted to be able to make a doll that was mine, not a copy.
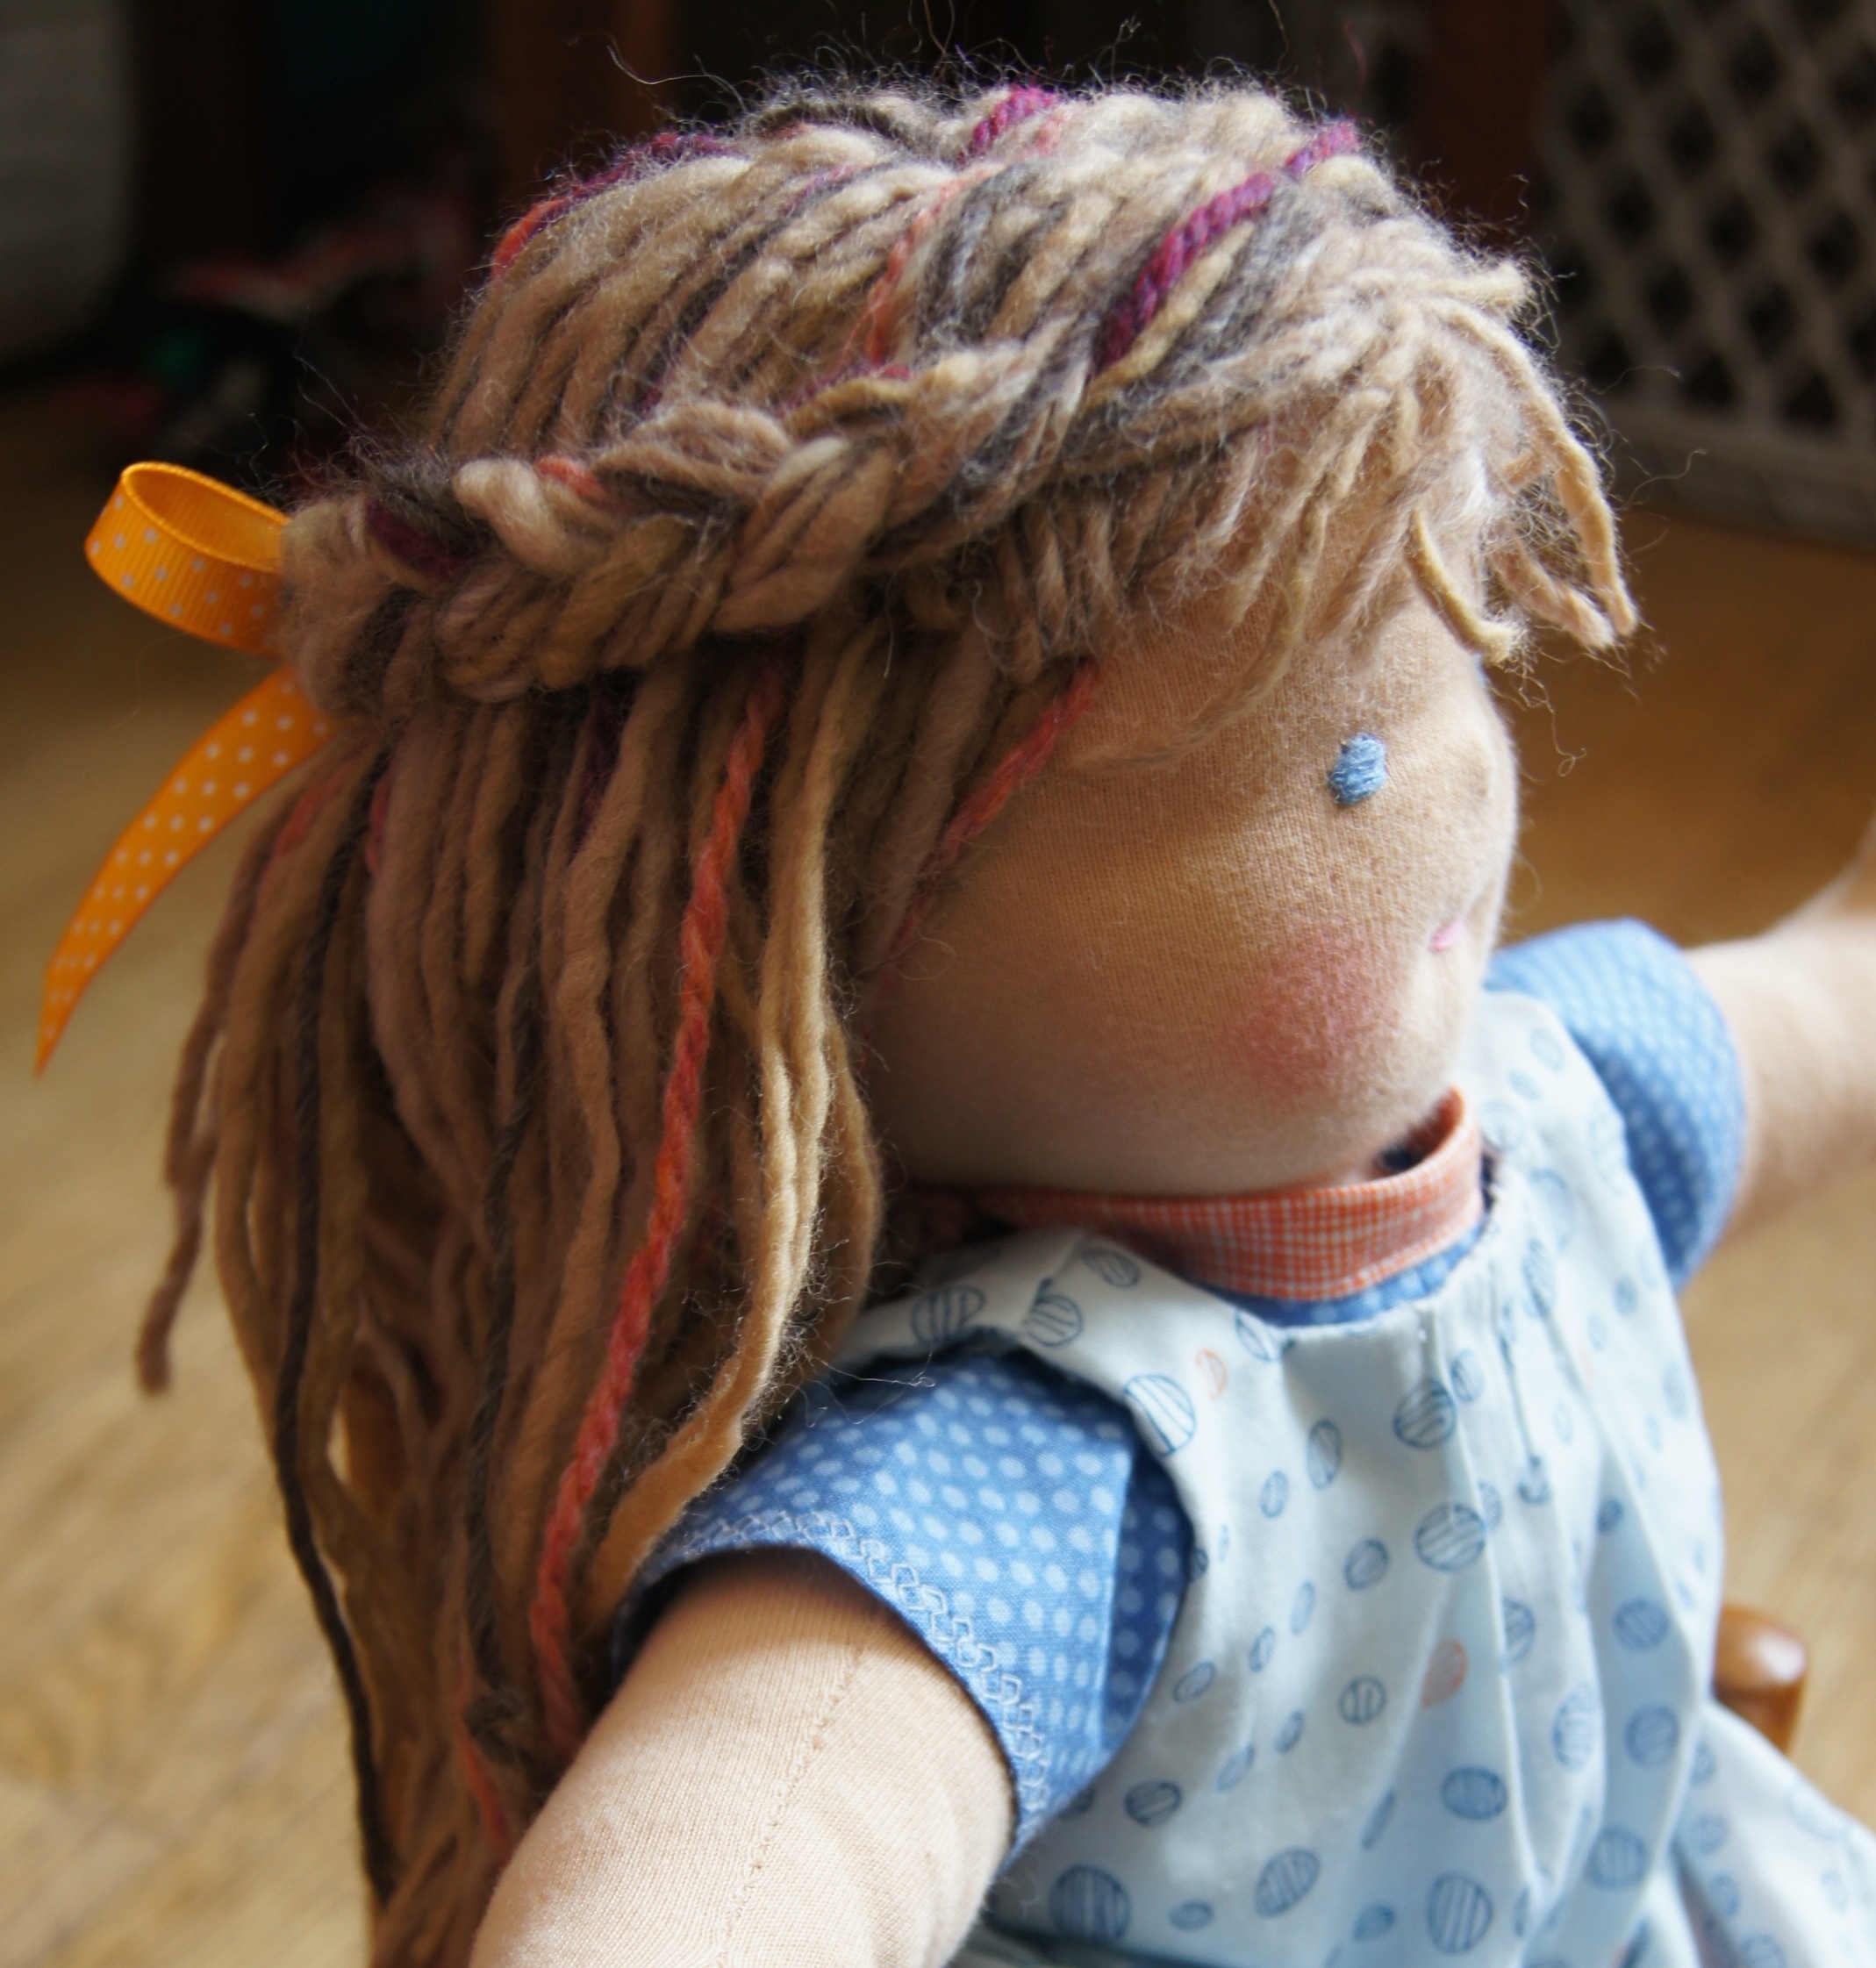
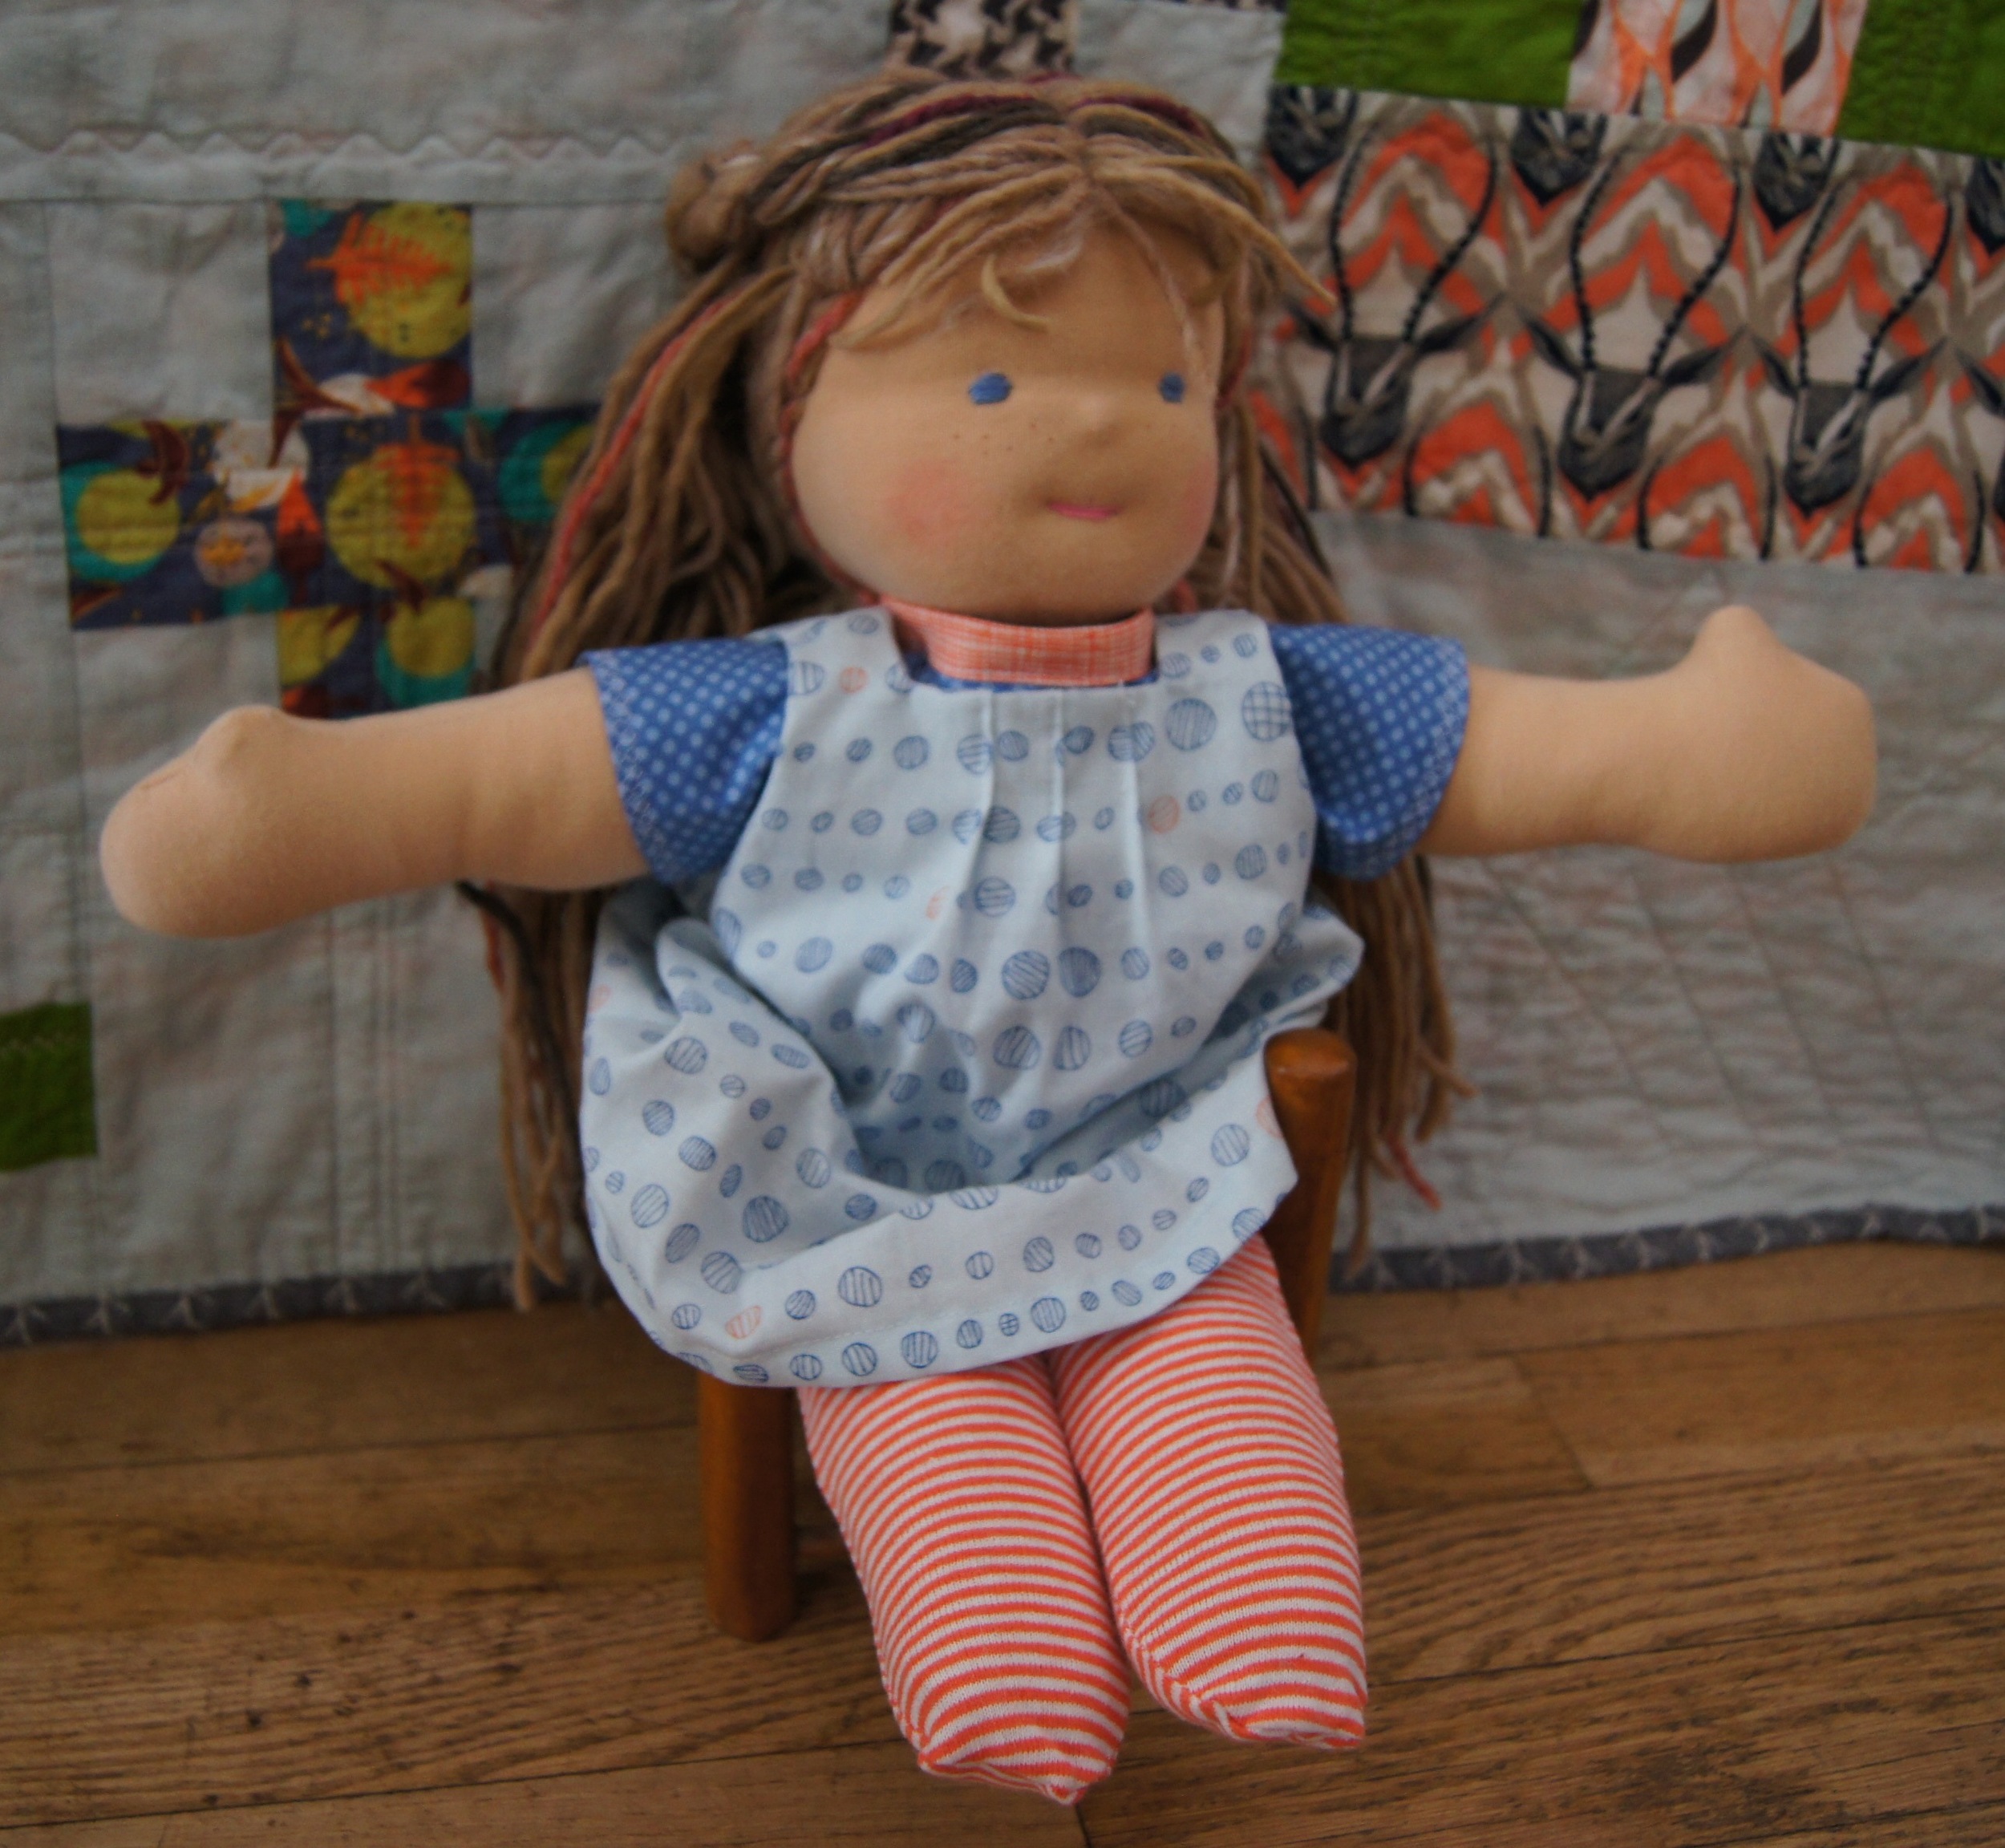
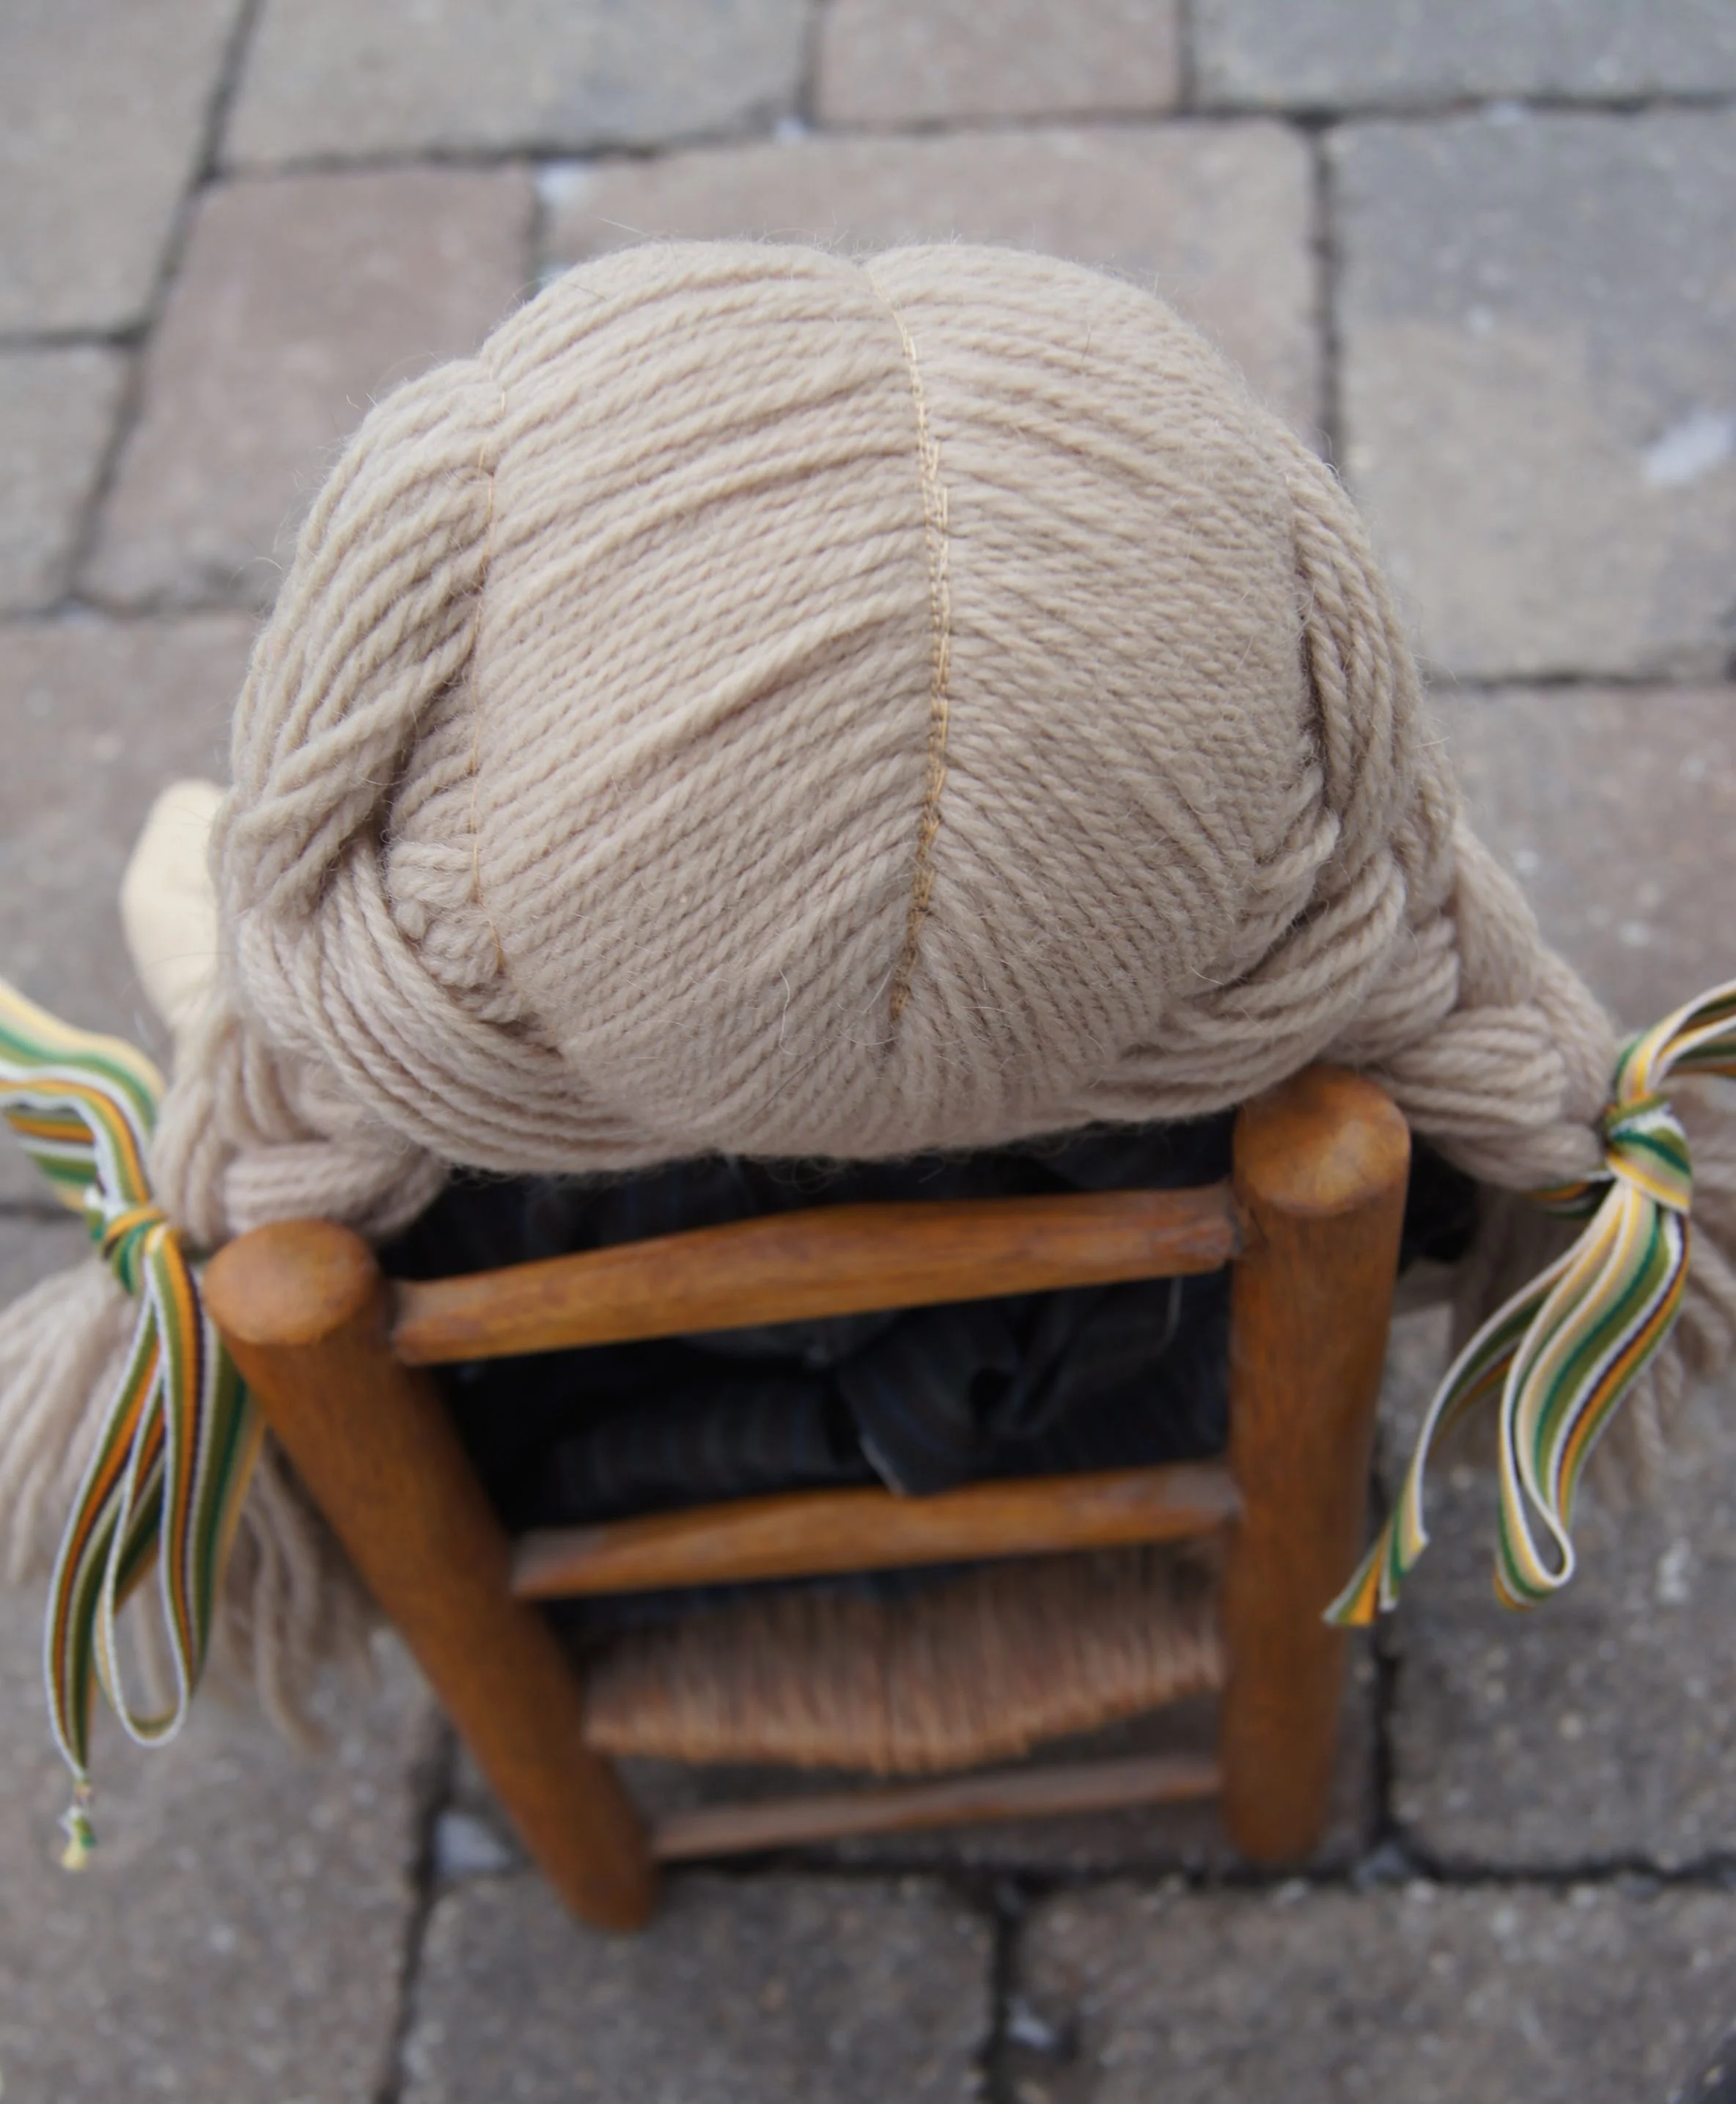
I purchased the supplies to make the doll's body from Etsy shop Reggiesdolls. The hair for this doll came from my great local quilt/knitting store JP Knit & Stitch, with the colored strands of wool from Peace Fleece.
I had 4 books and 2 patterns as resources: The Children's Year noted above, Growing Up sew liberated by Meg McElwee, Toymaking with Children by Freya Jaffke, Making Waldorf Dolls by Maricristin Sealey, a pattern for the 16 in Play doll from the Etsy shop TimbleGarden and Silver Penny's tutorial and pattern "Making a Waldorf-Style Doll: Tips and Techniques on Craftsy.com.
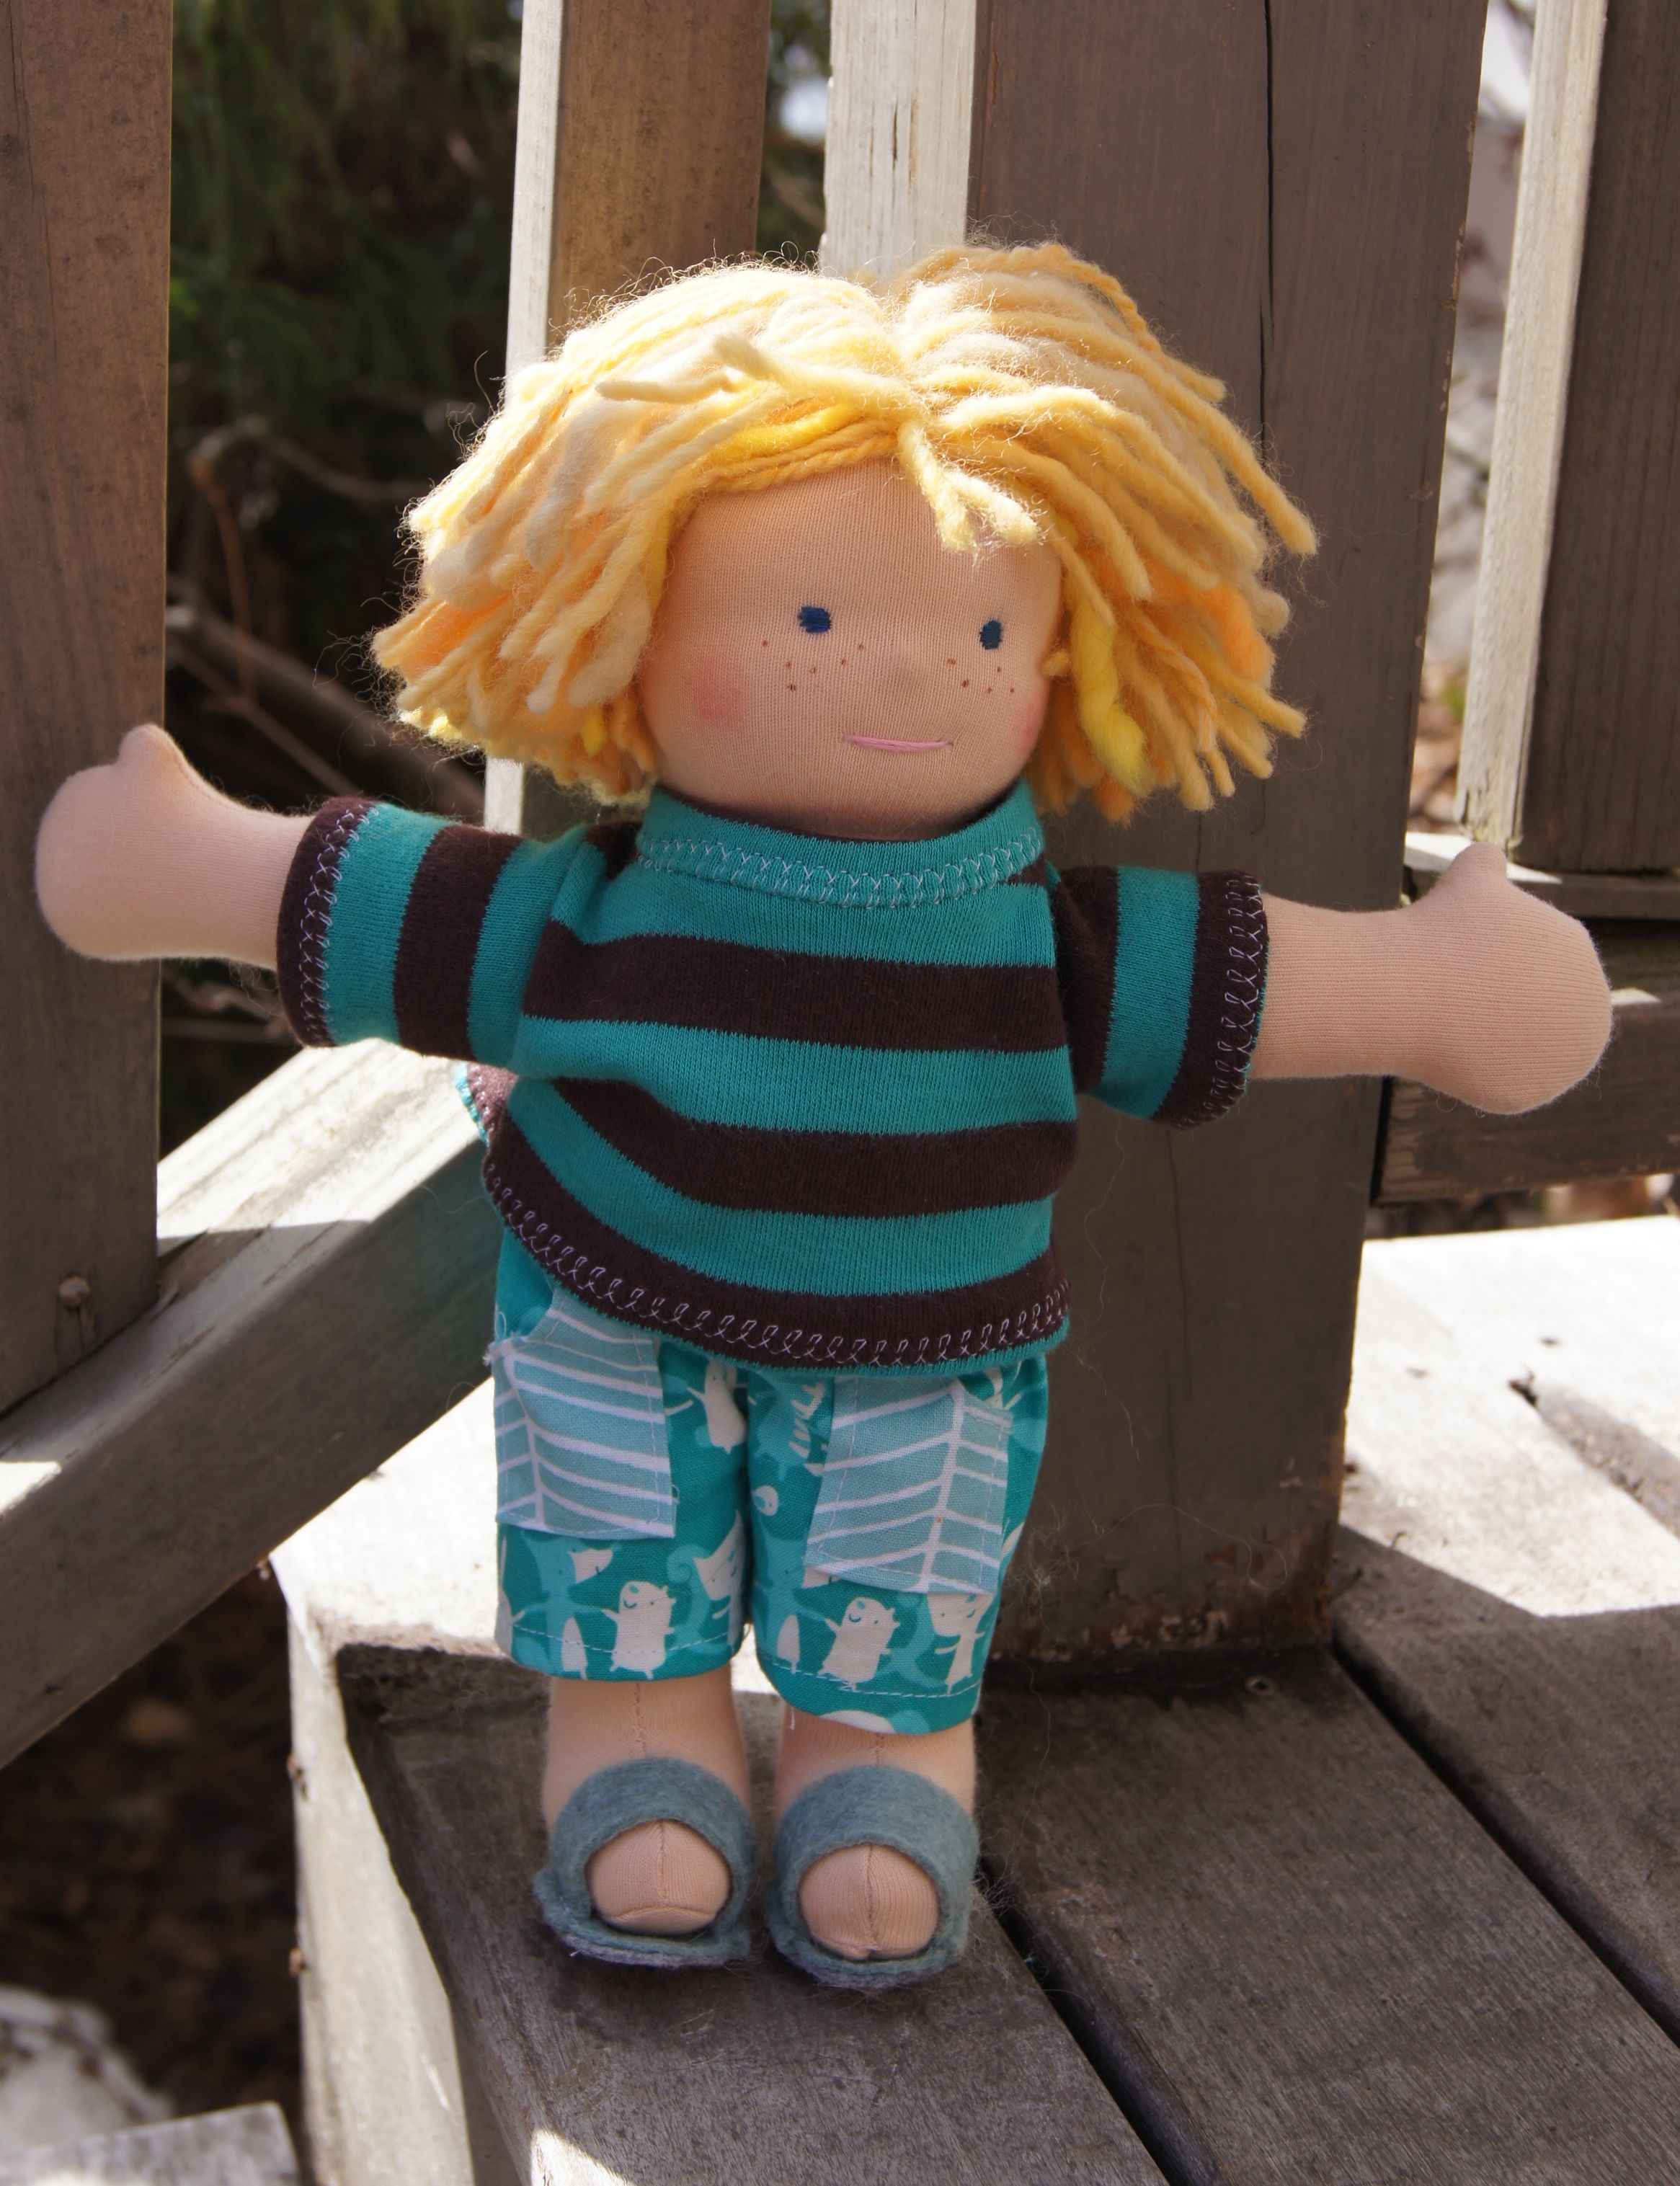
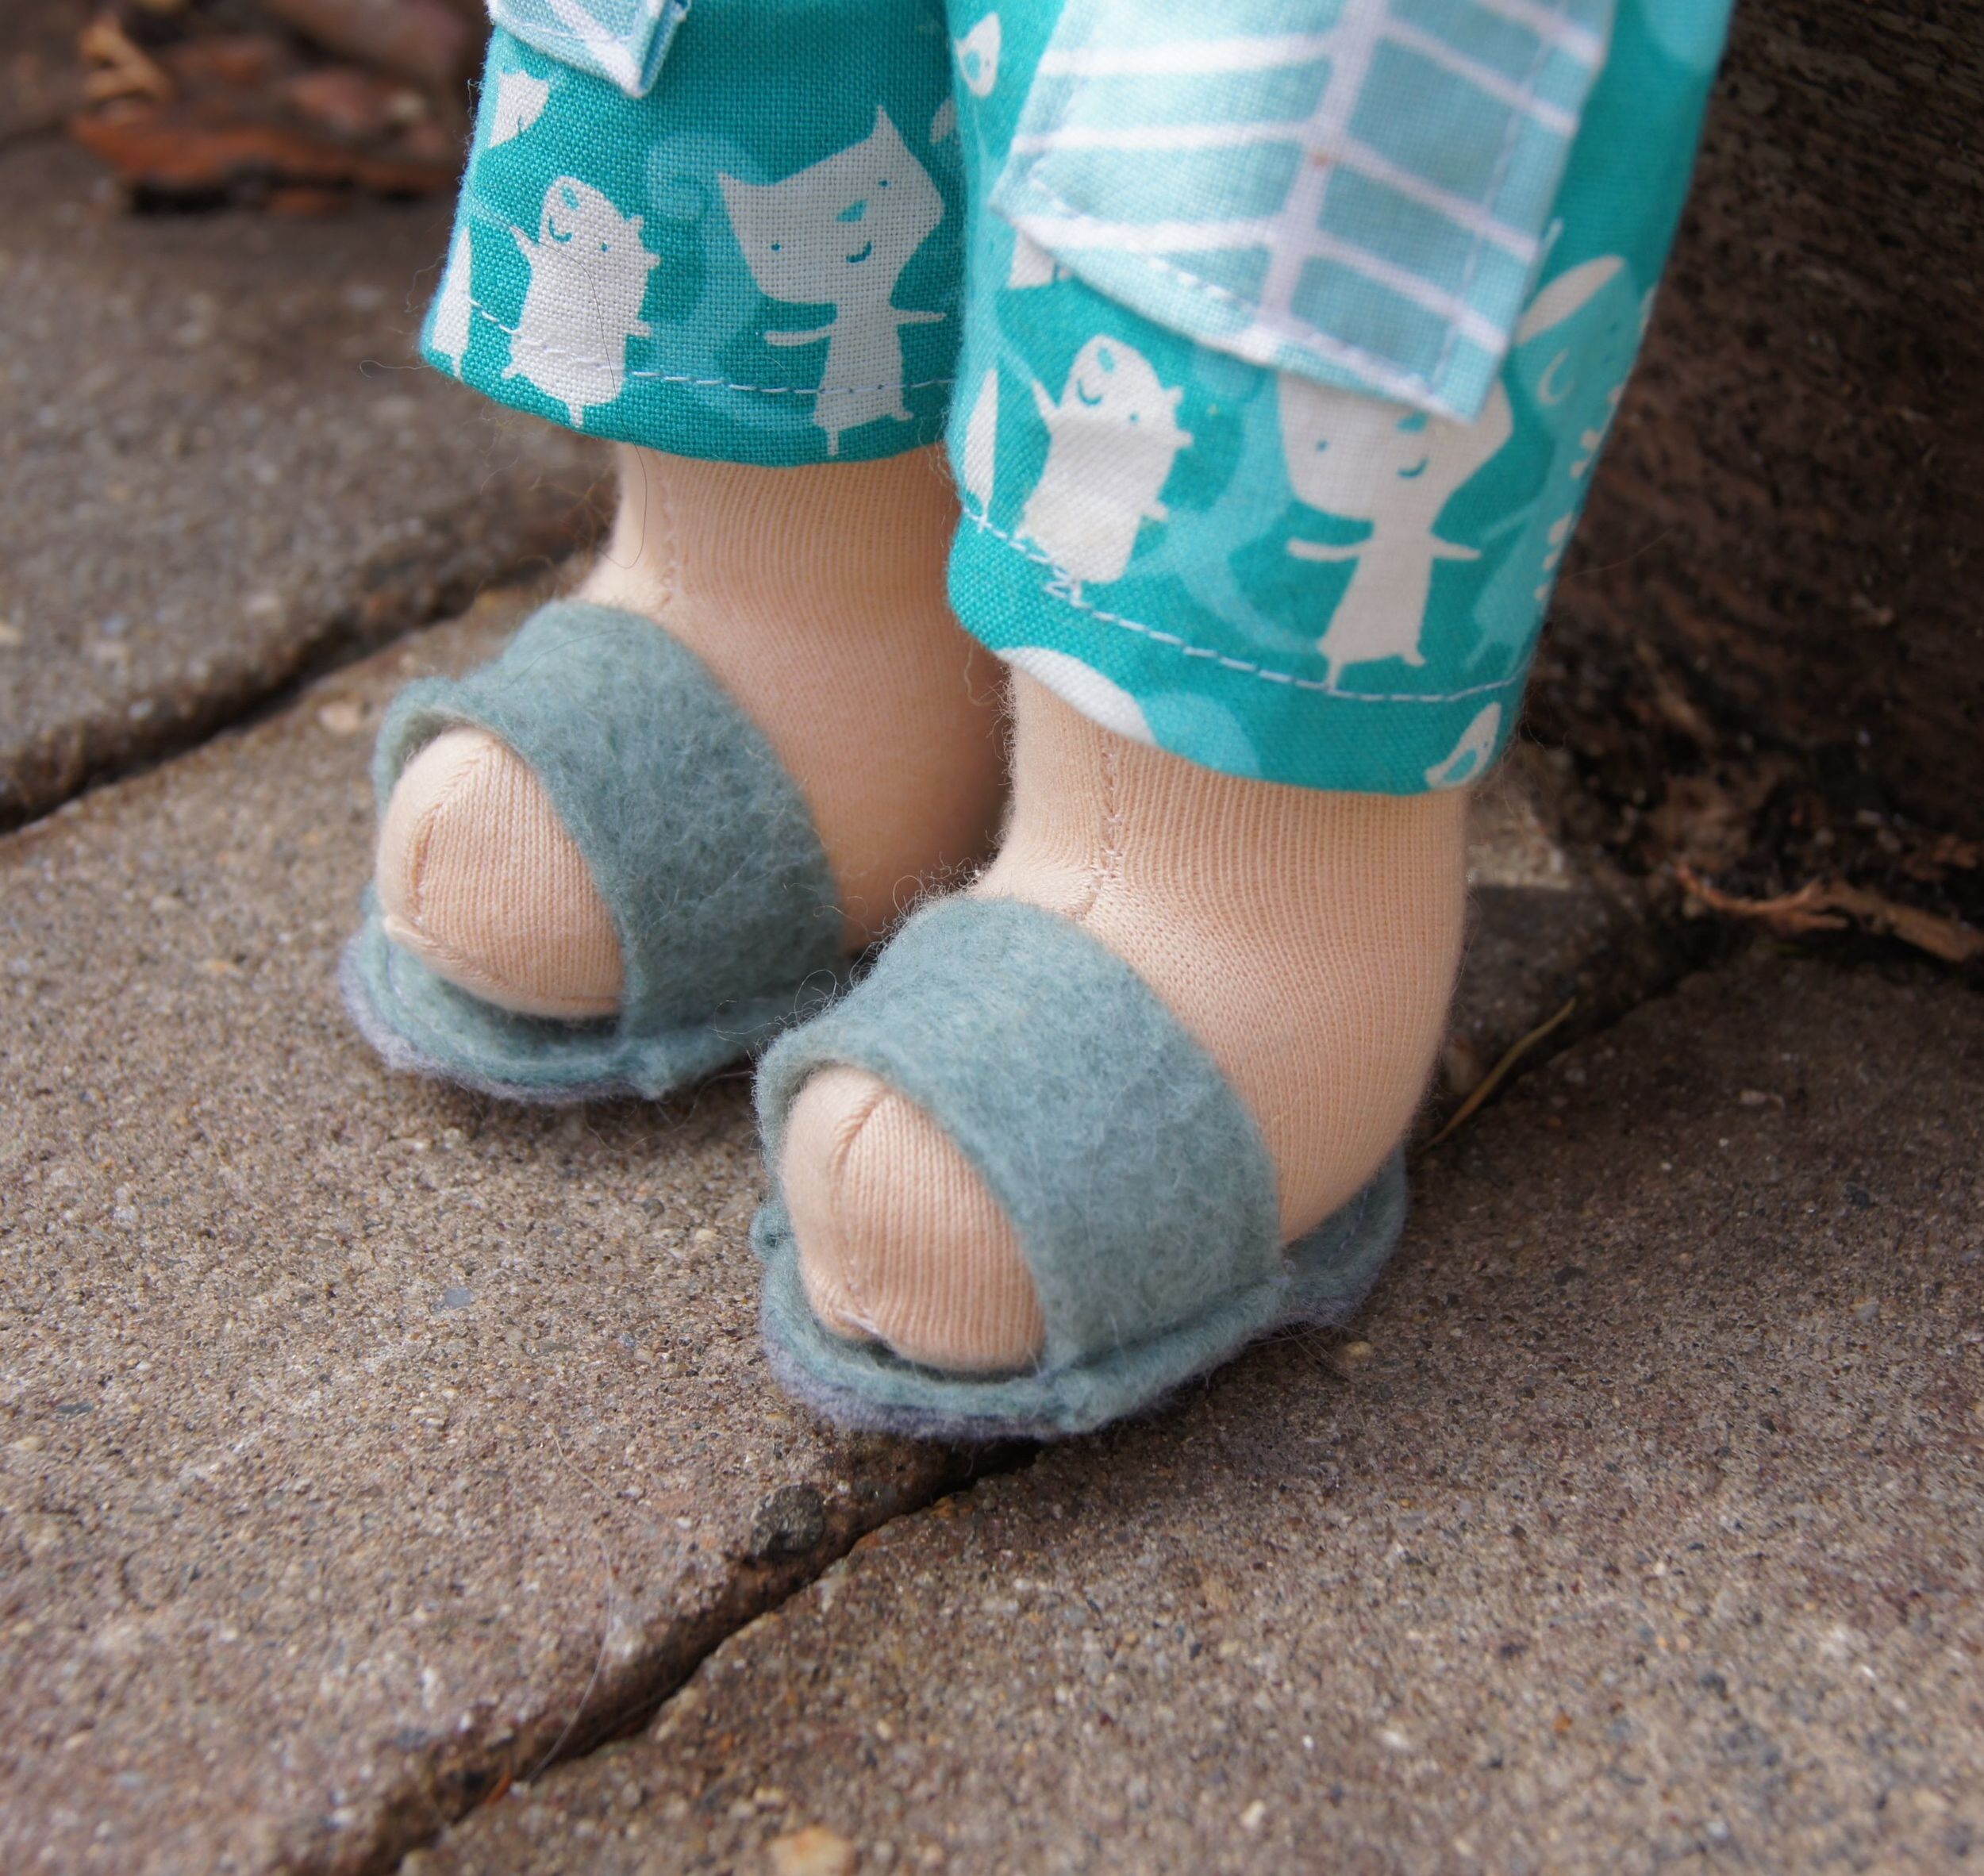
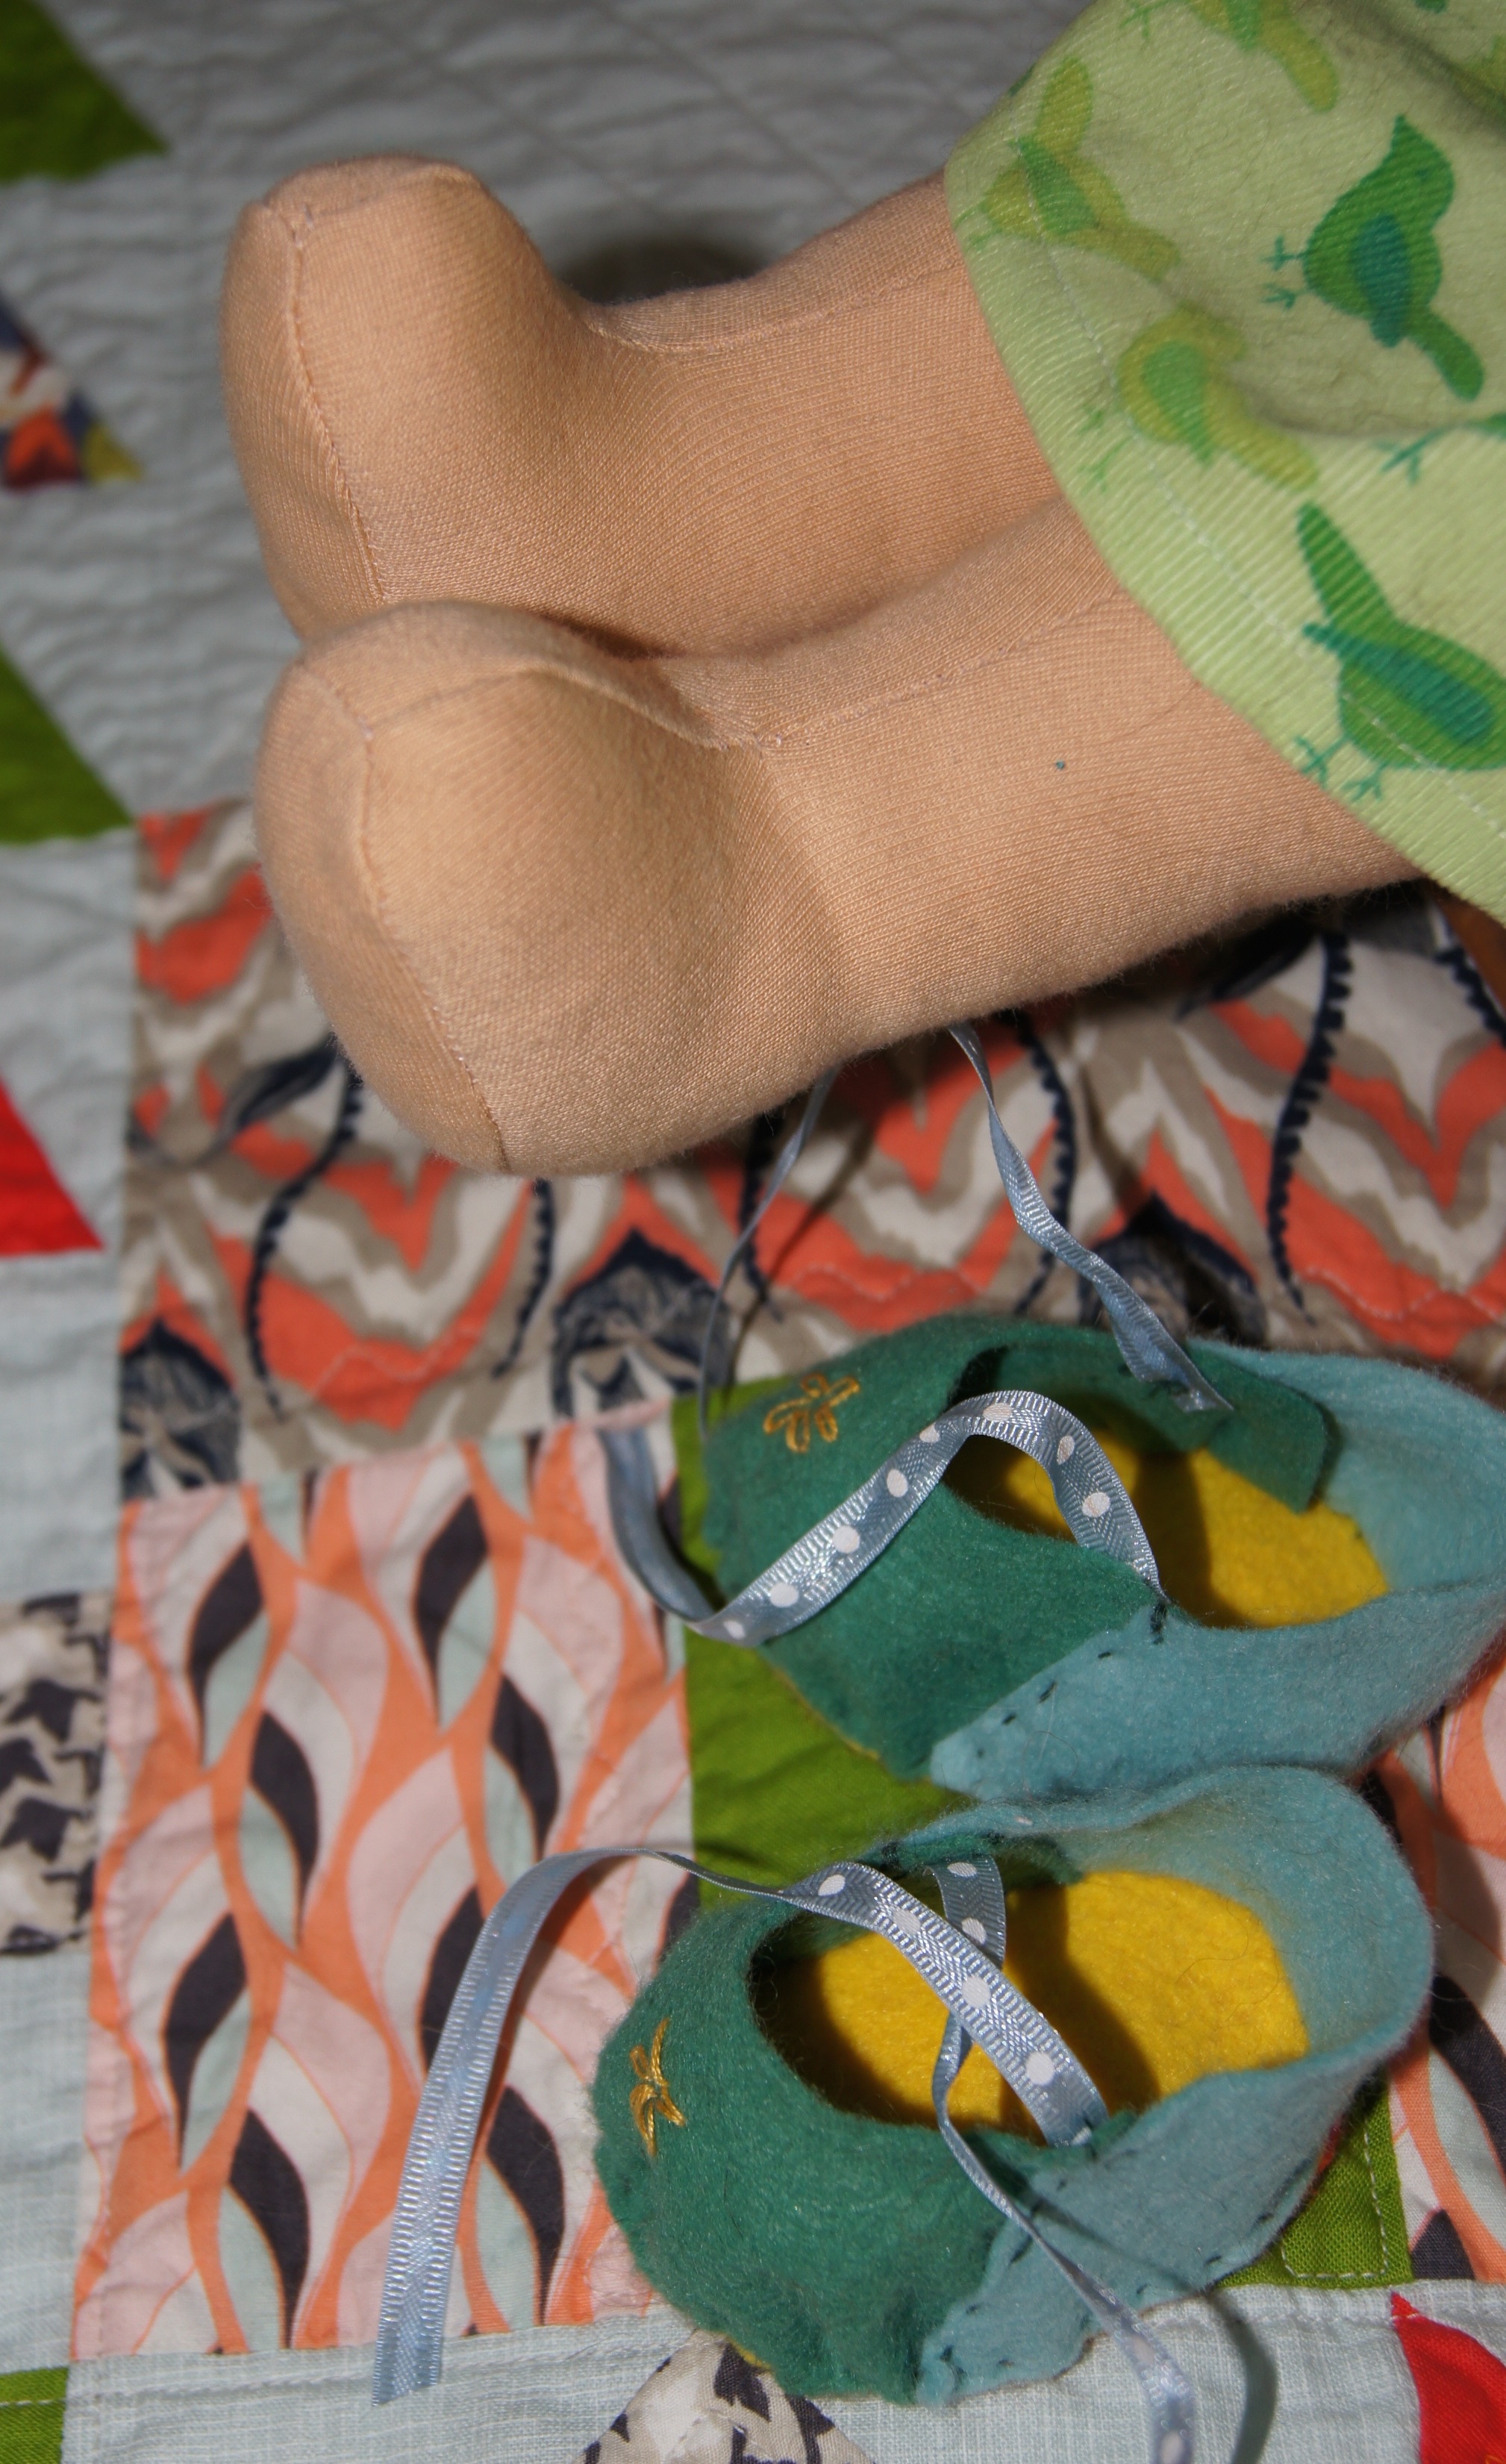
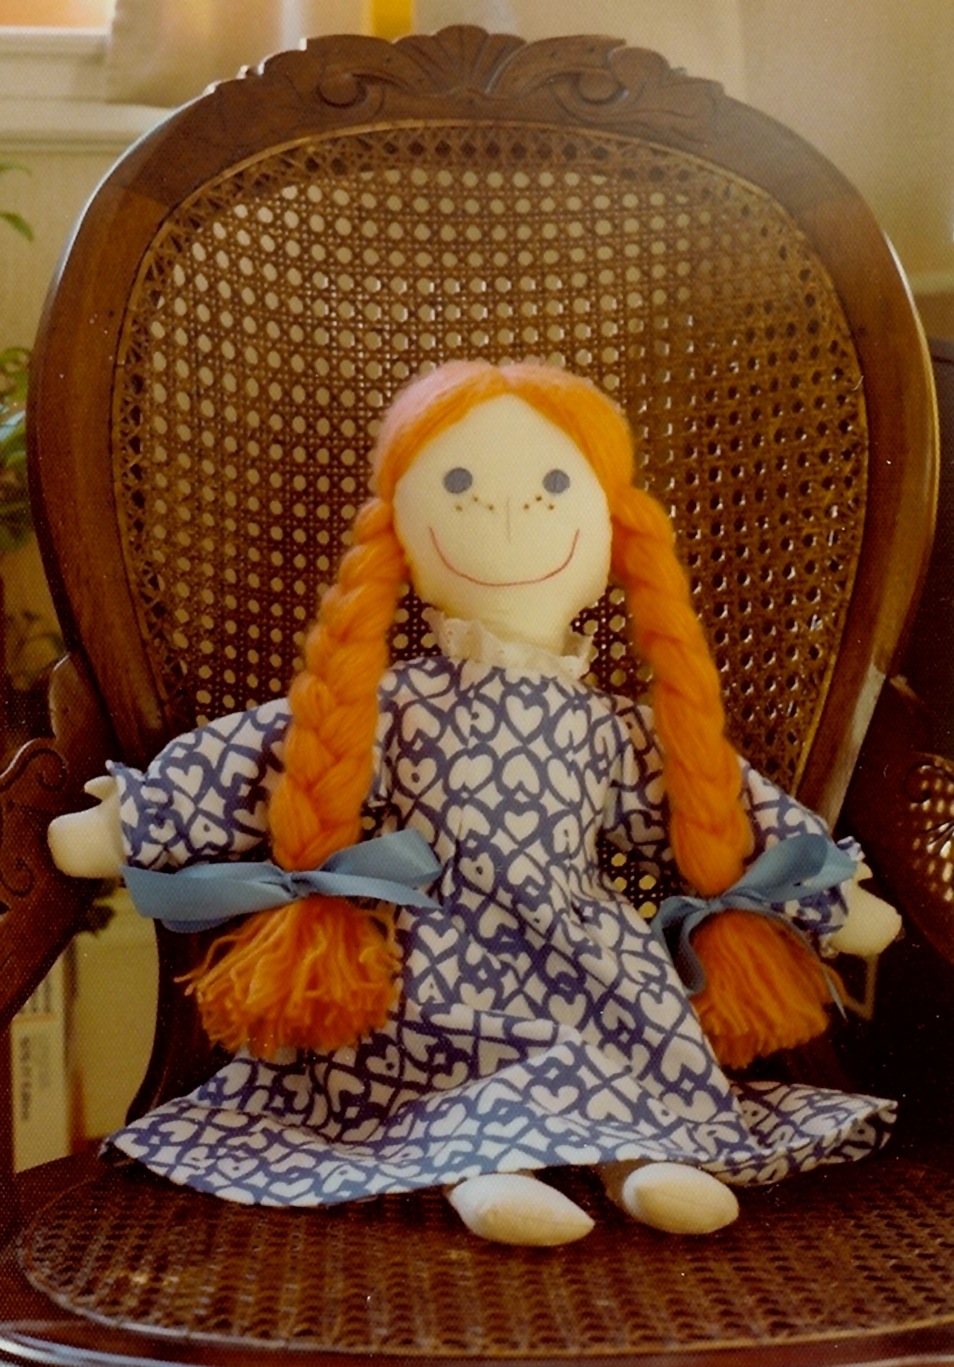
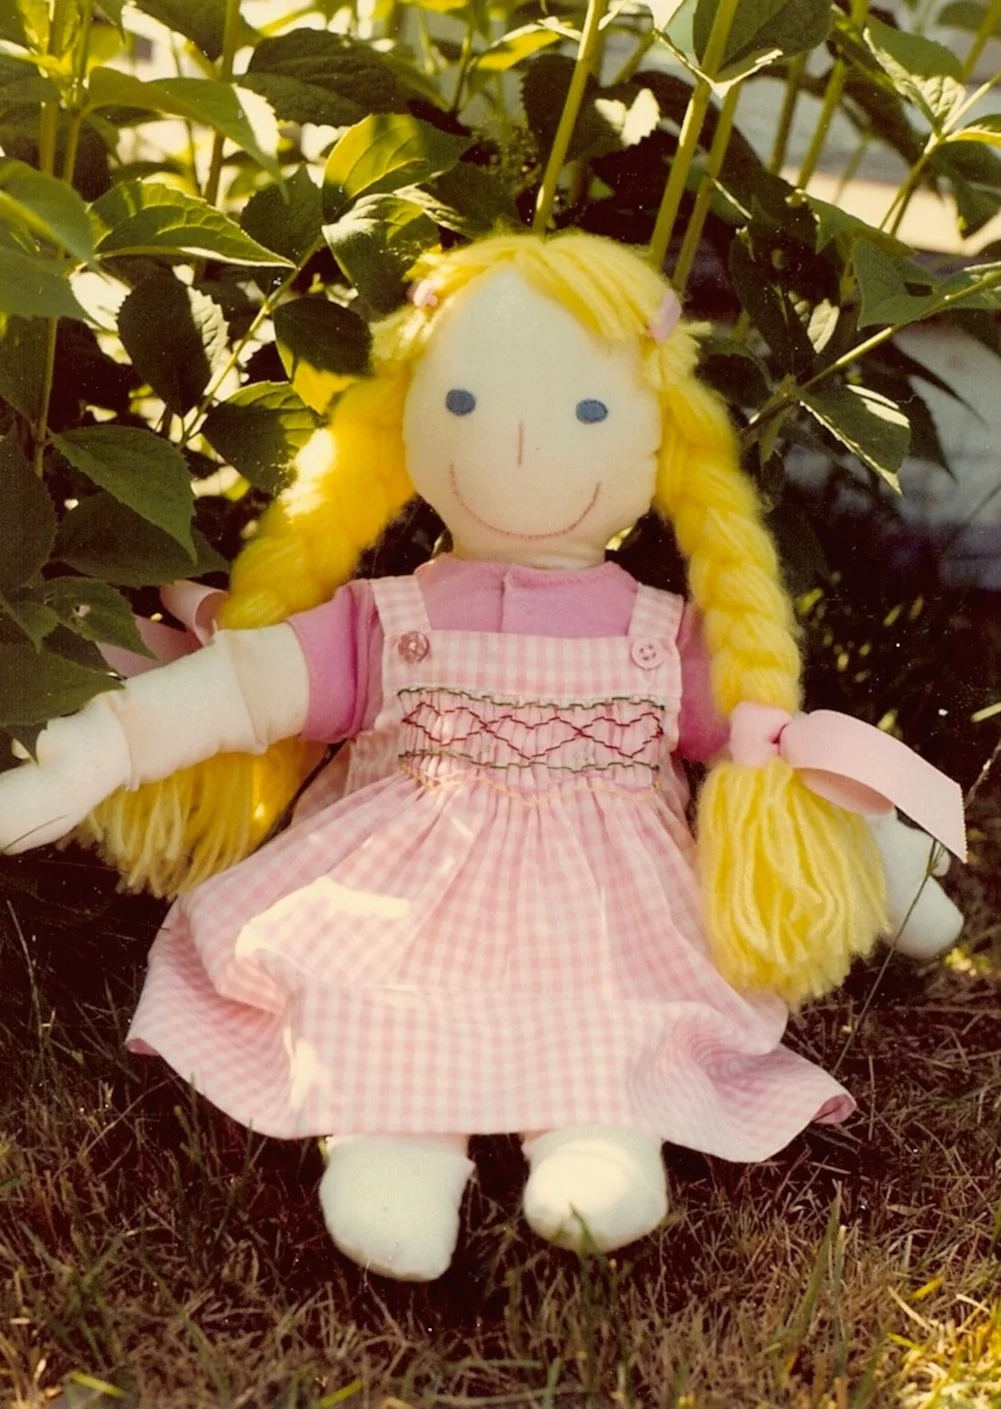
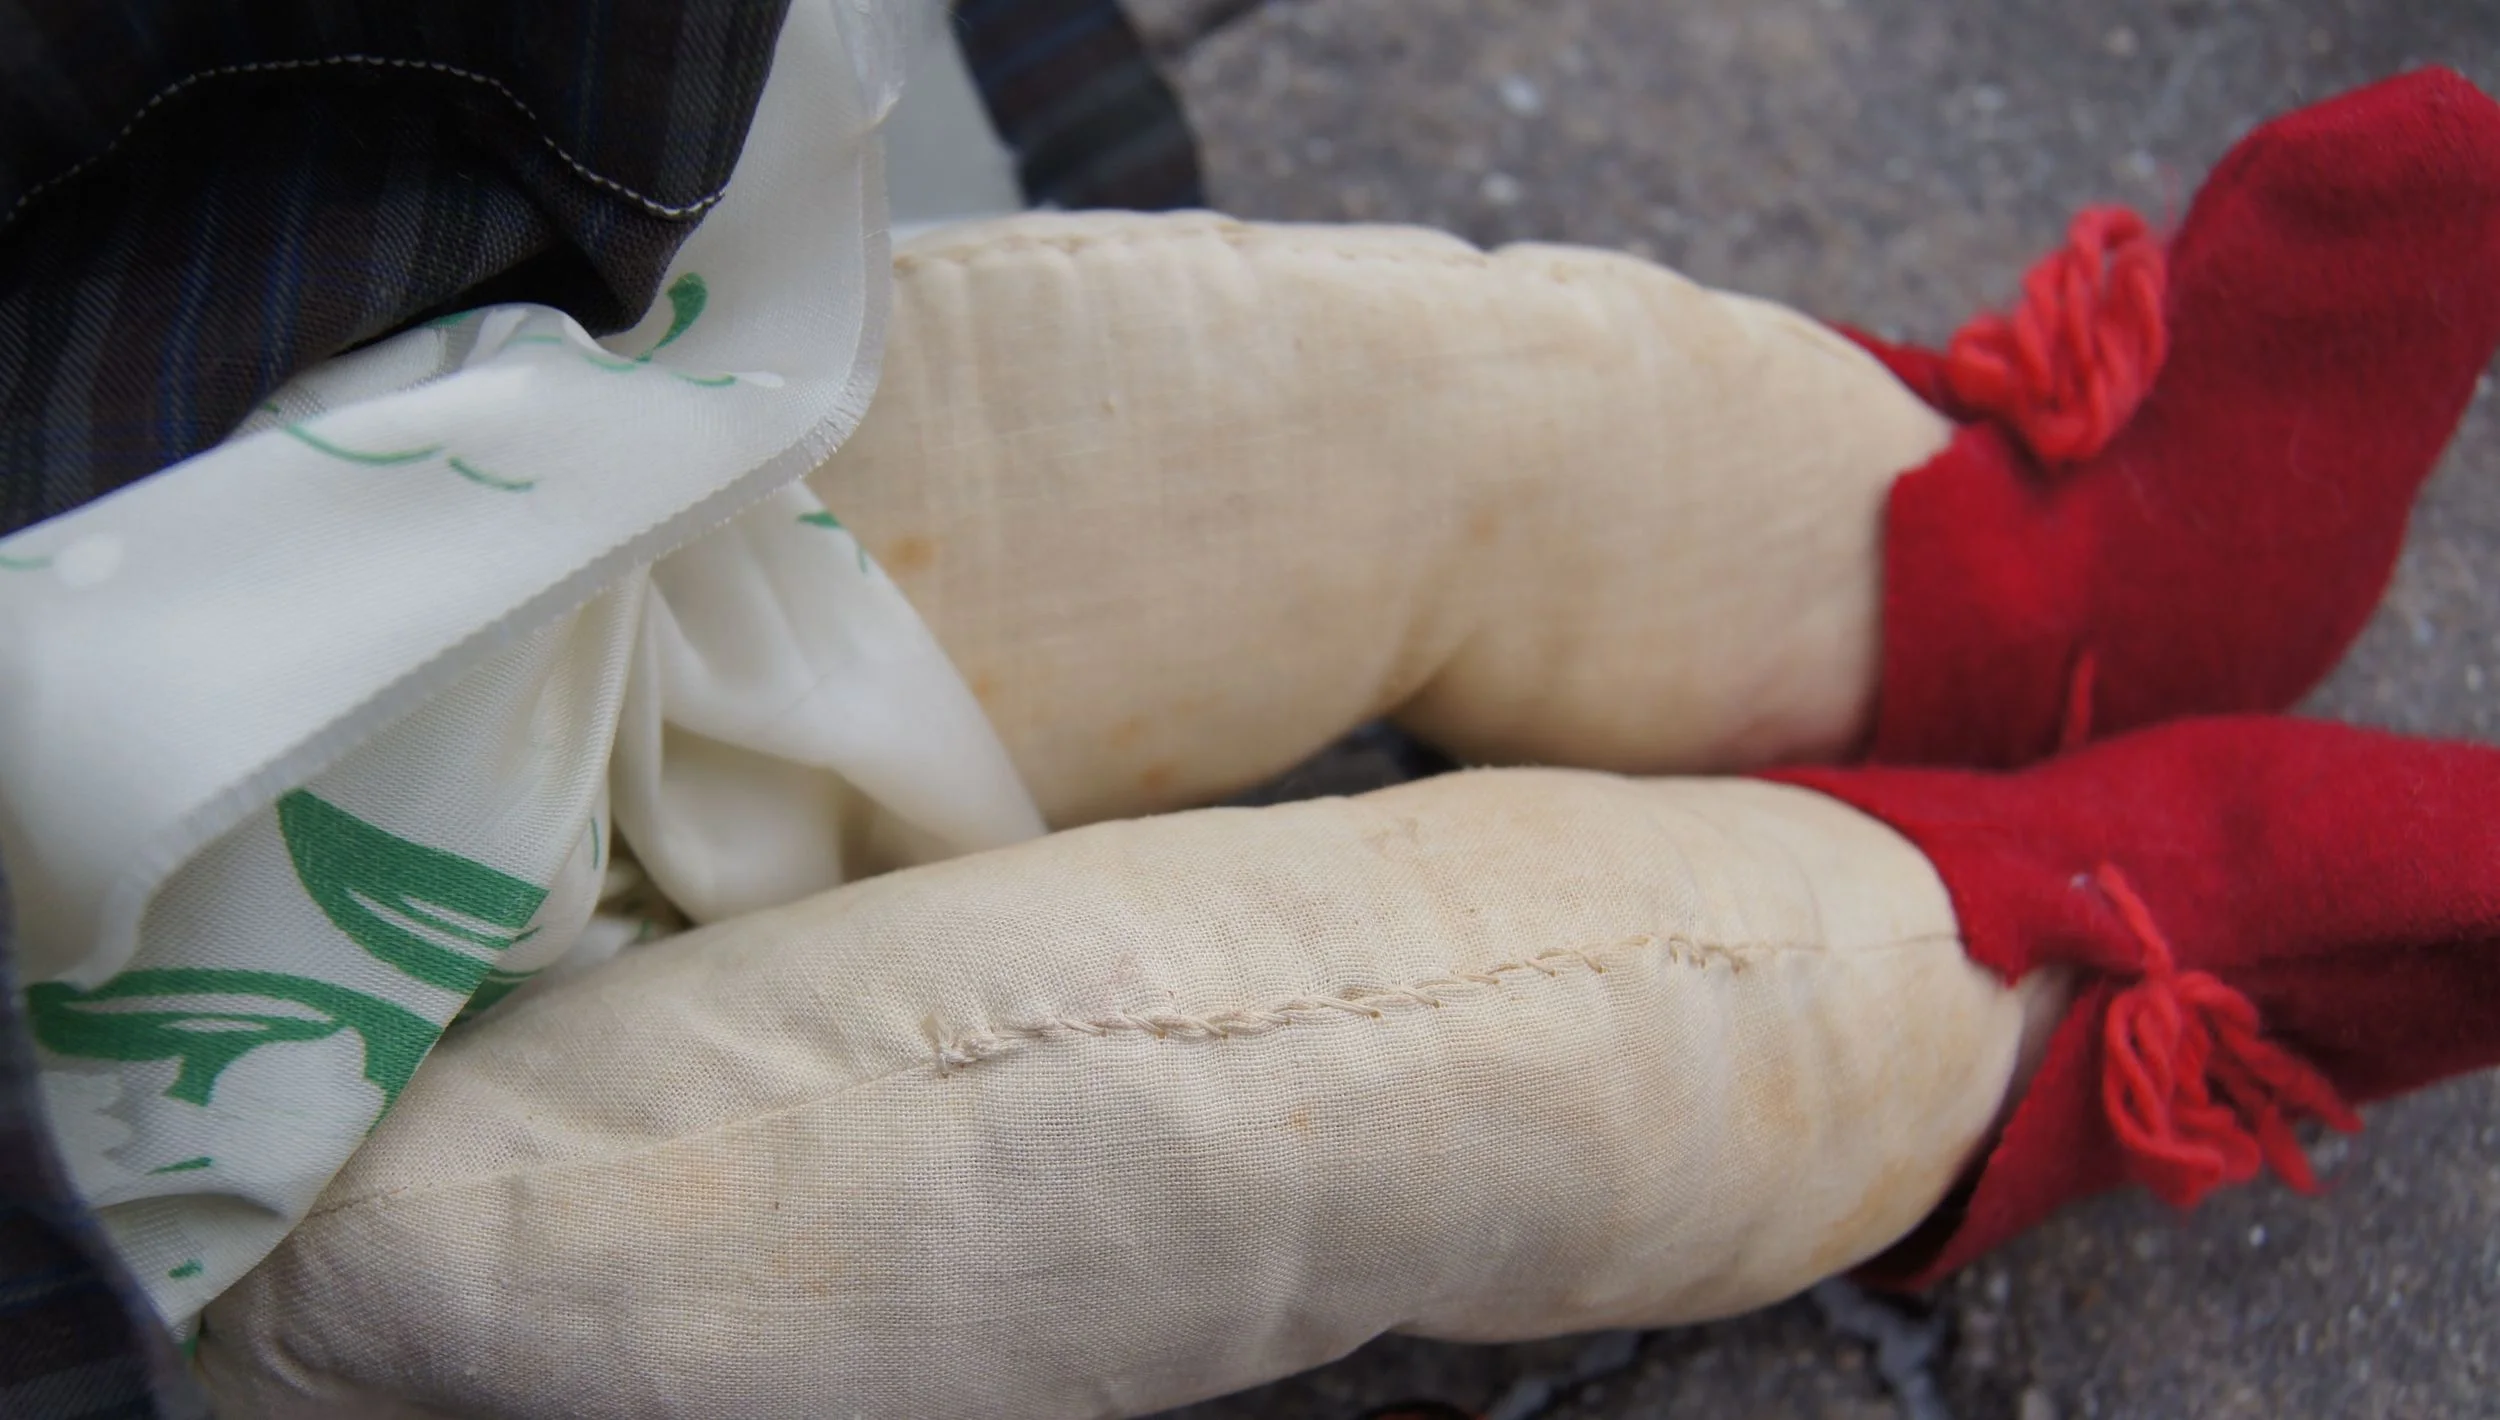
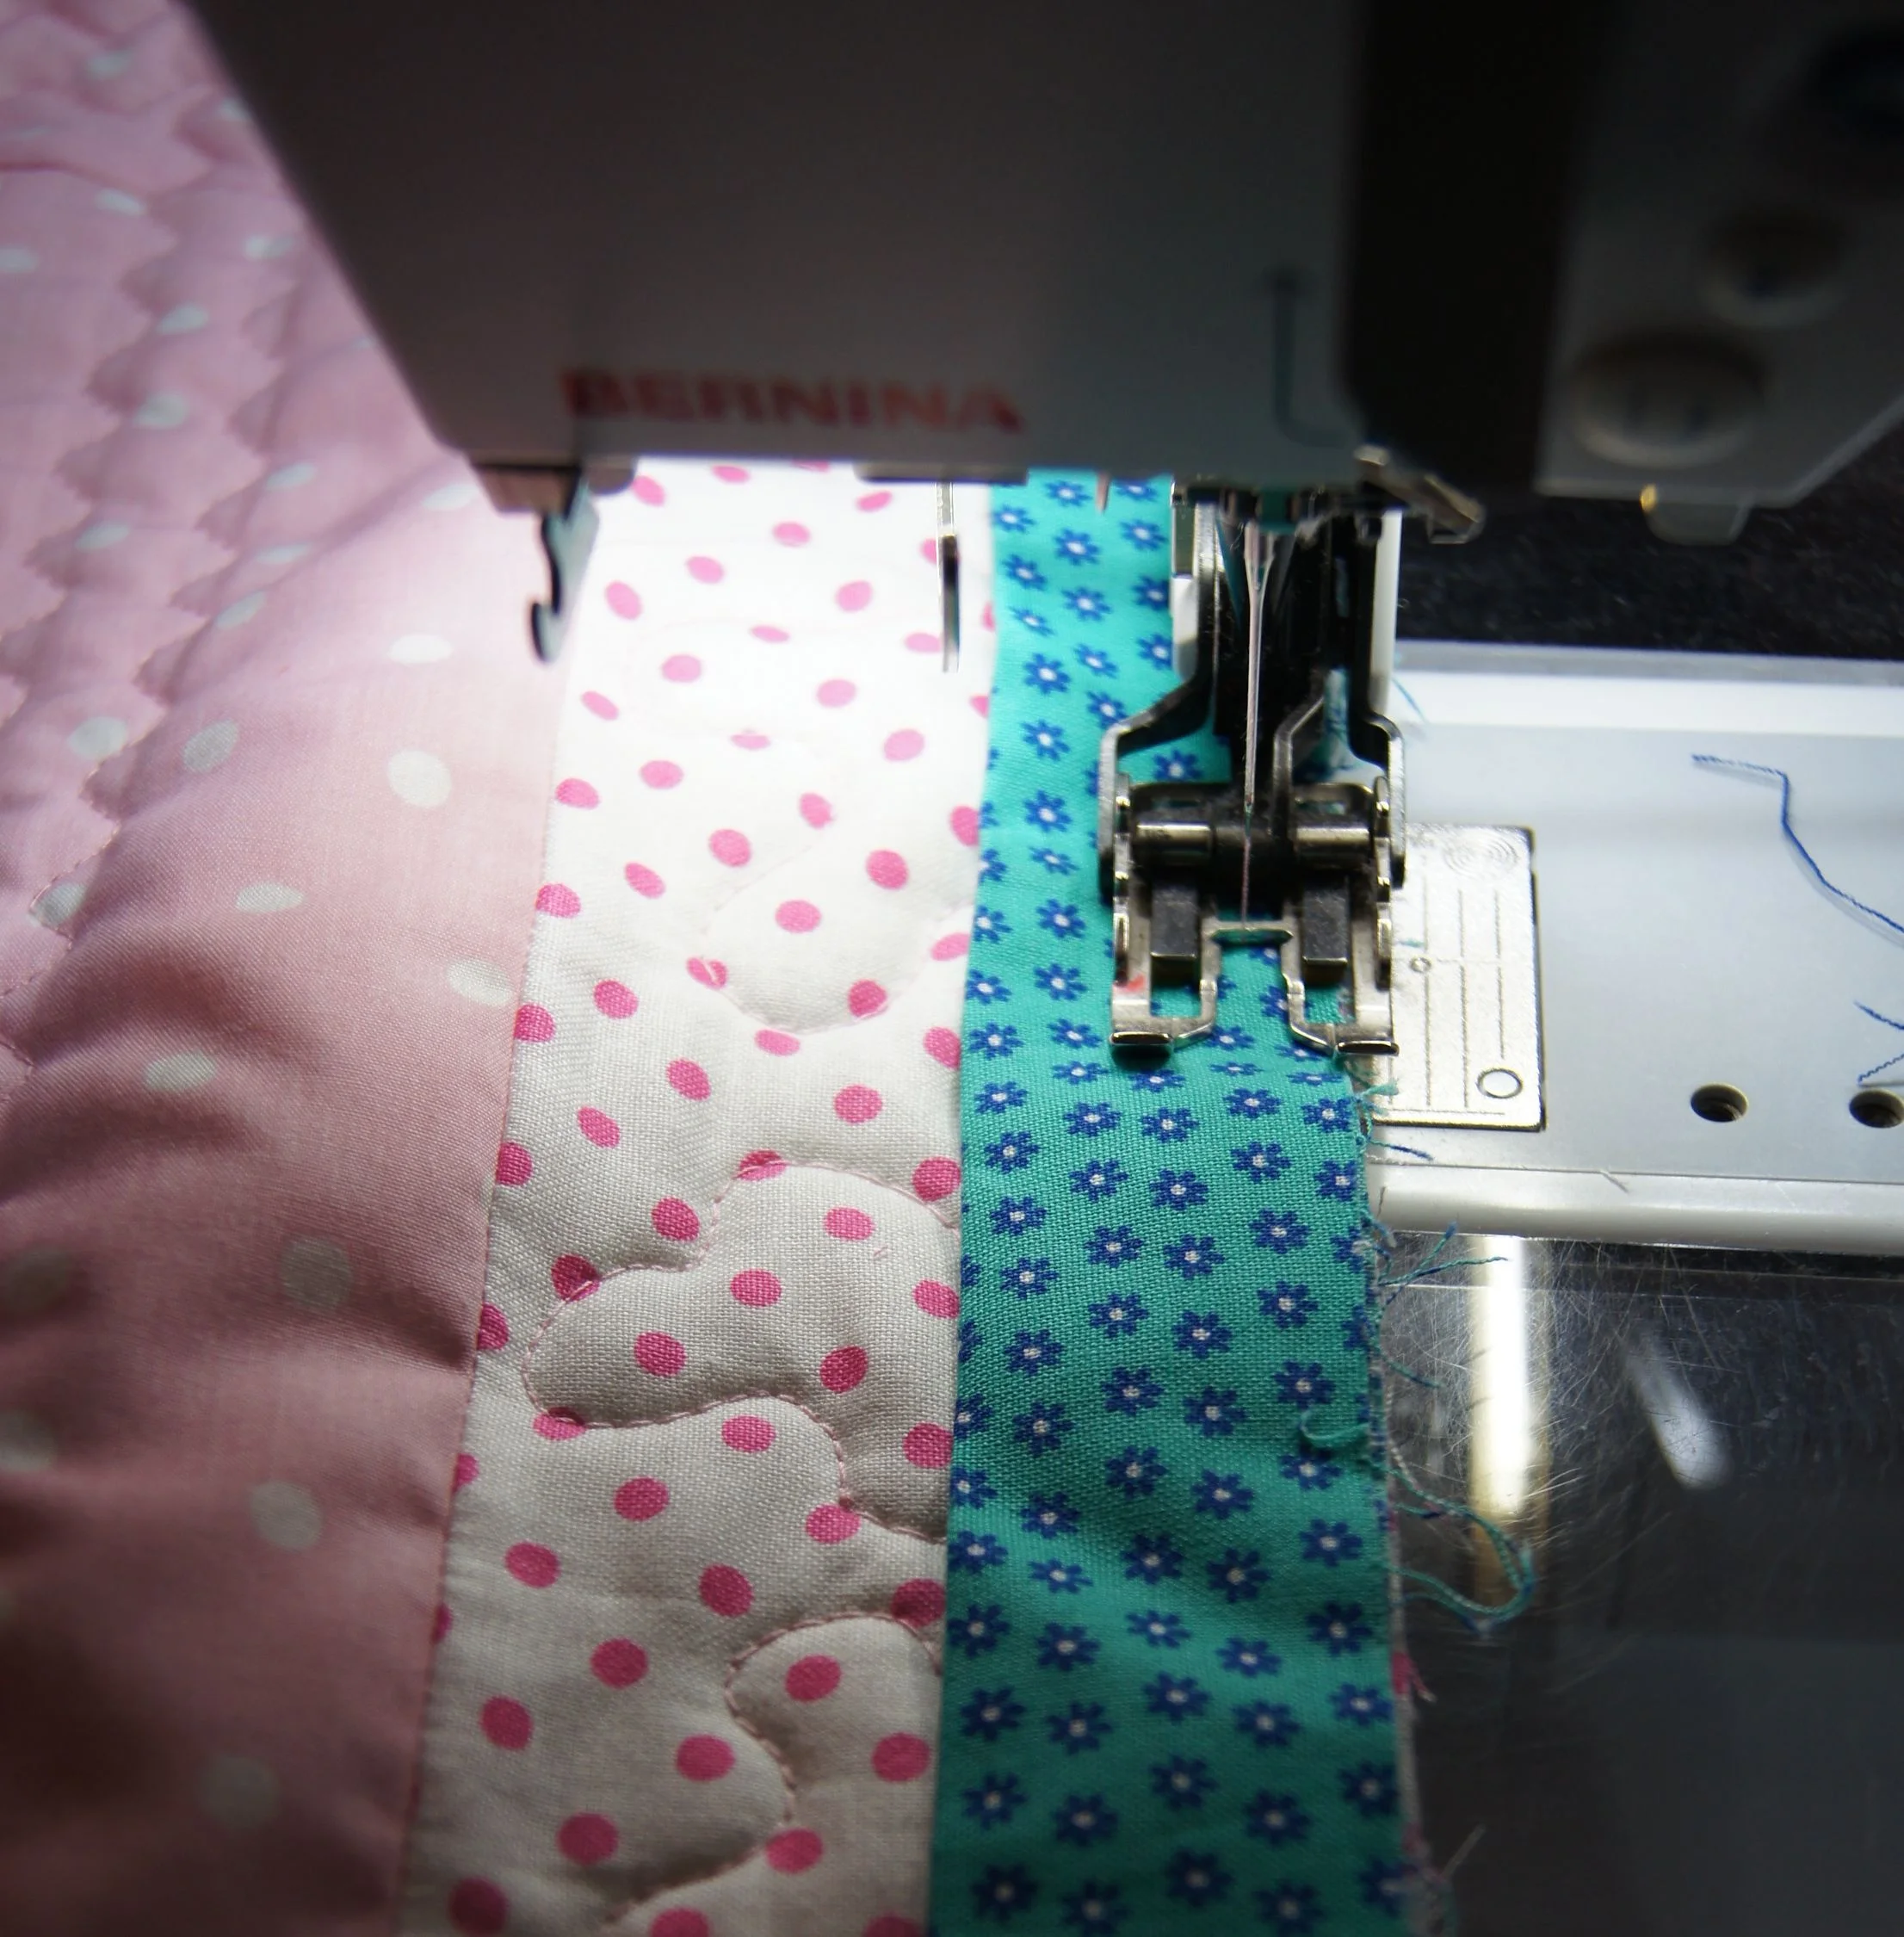
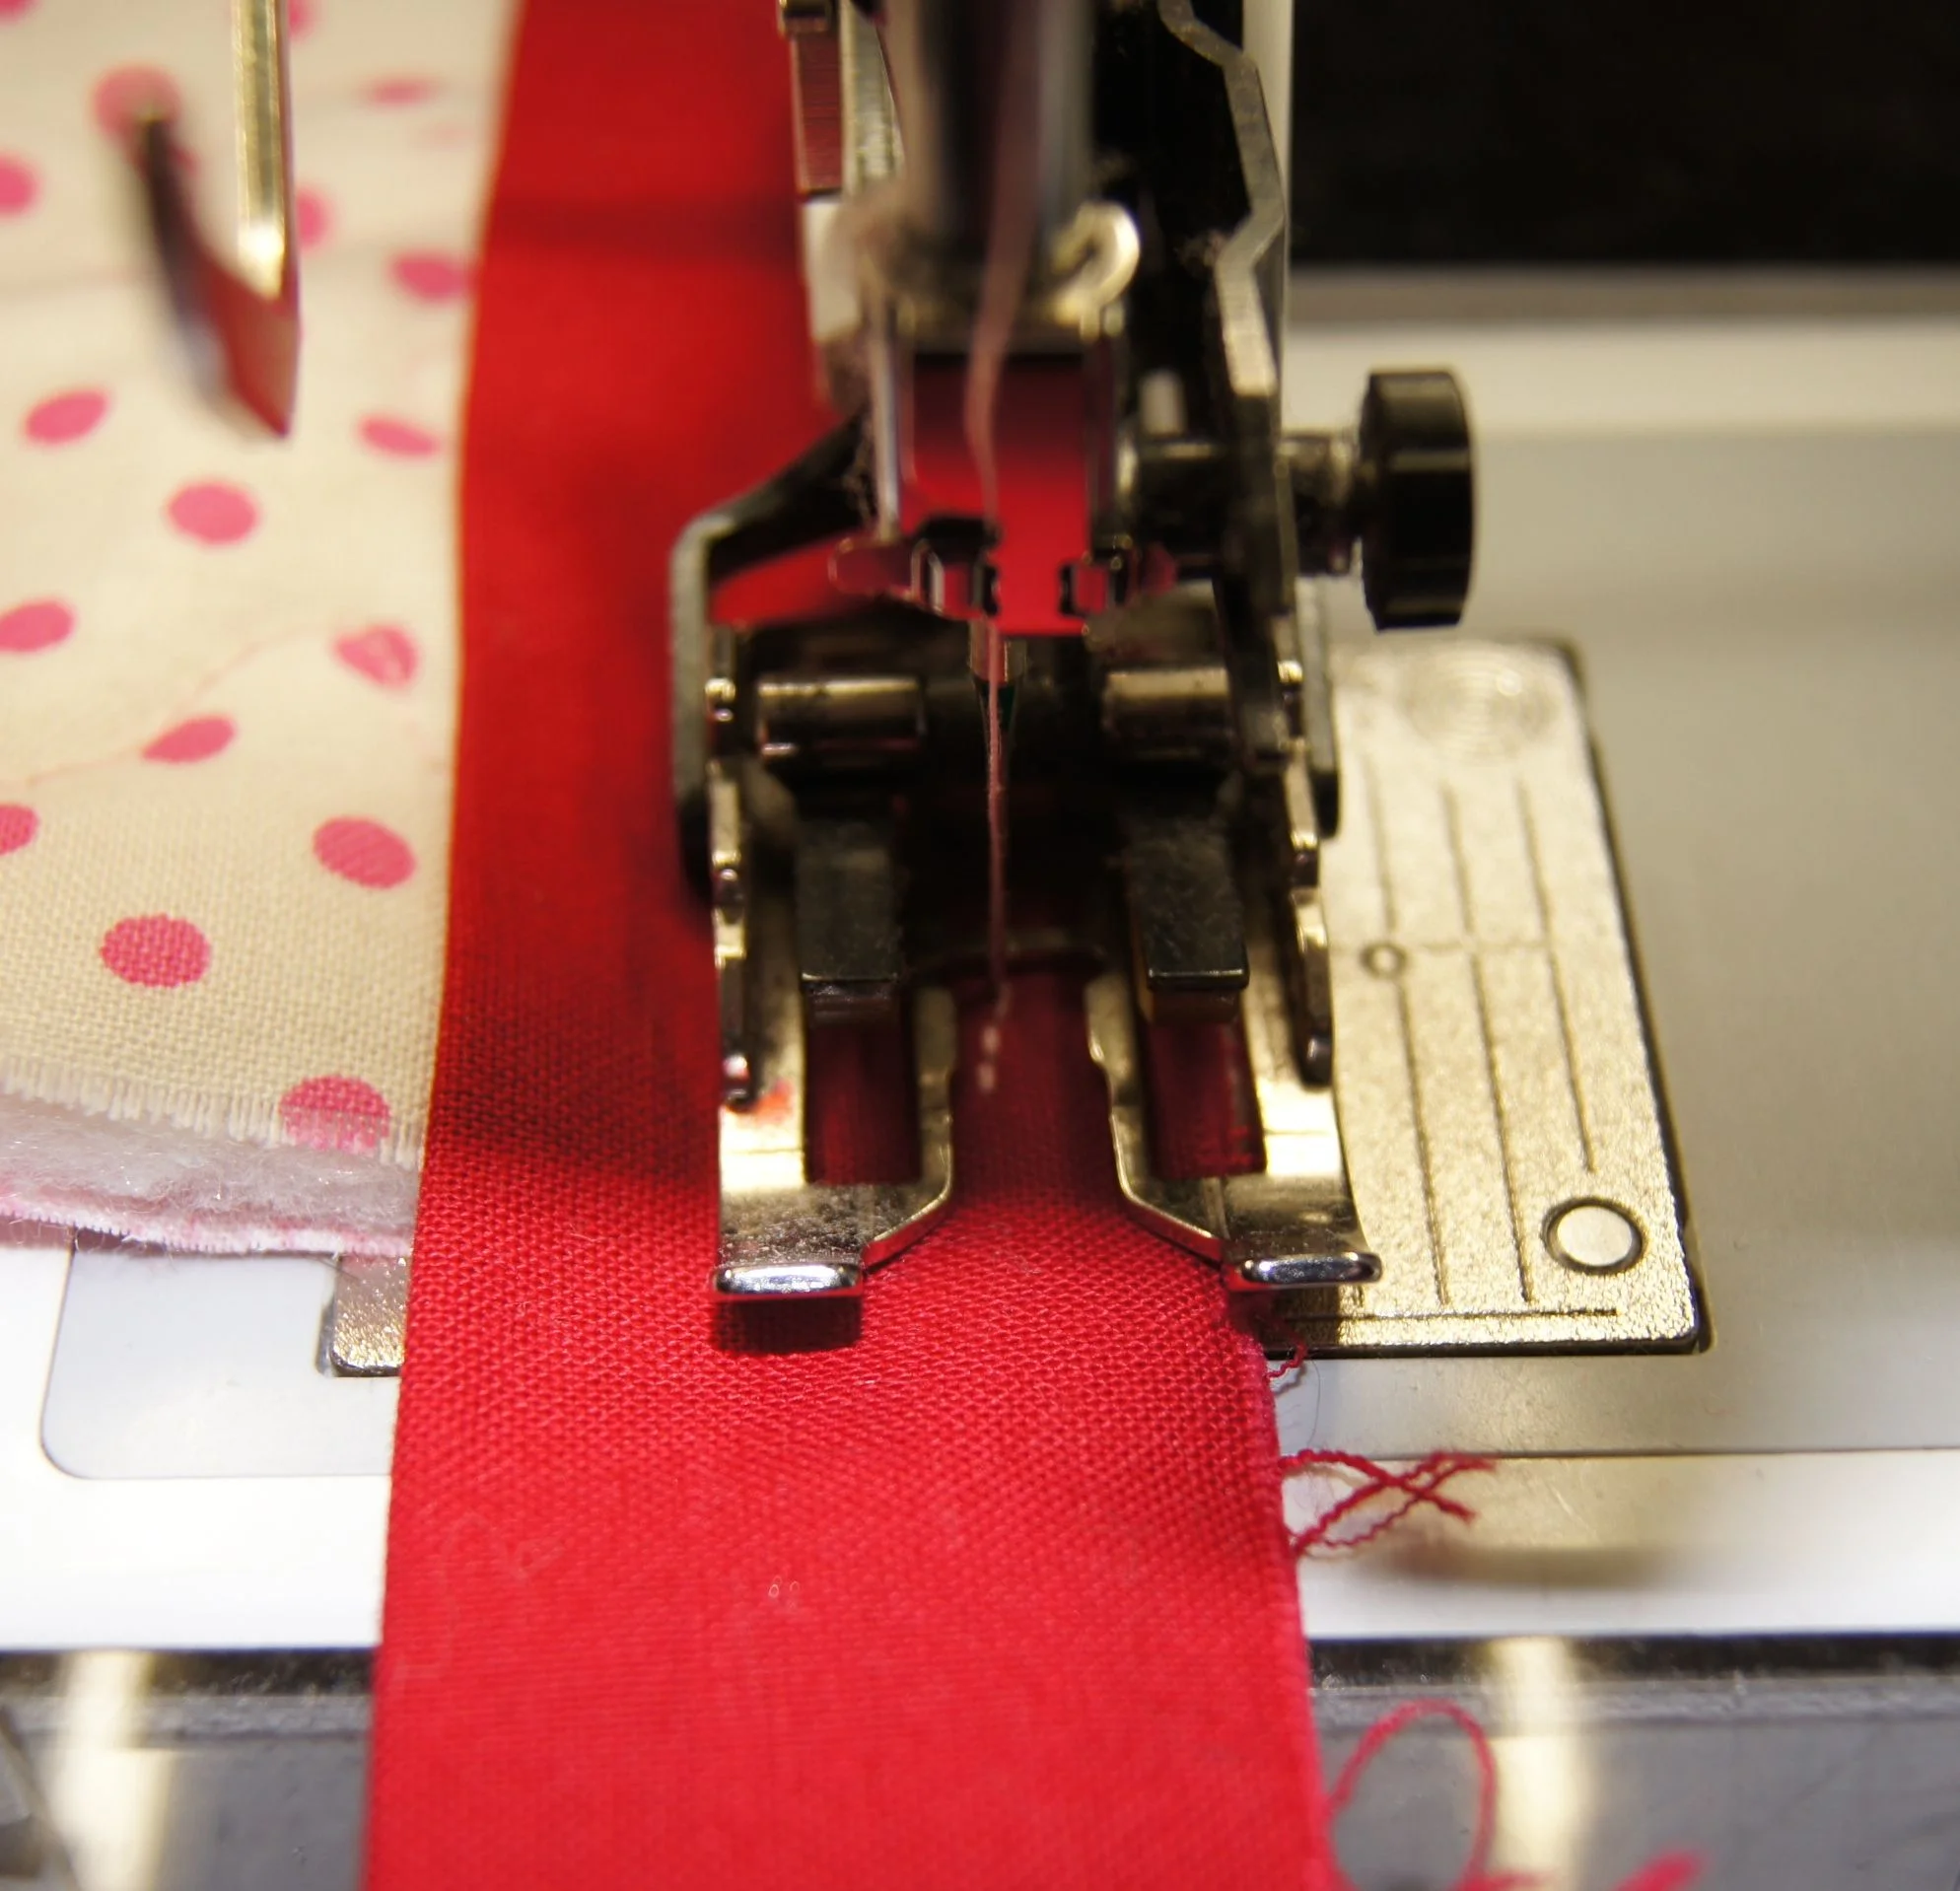
I culled ideas and techniques from all my sources but decided to use the pattern and great illustrated directions for the "little amigo cloth doll" in Growing Up sew liberated. Because my clothes patterns were mostly for 15 inch dolls, I made the doll slightly shorter than the pattern and made the torso straight rather than curved. Here is the result: "Blue-eye Becky".