Winter/Christmas Waldorf Birthday Ring
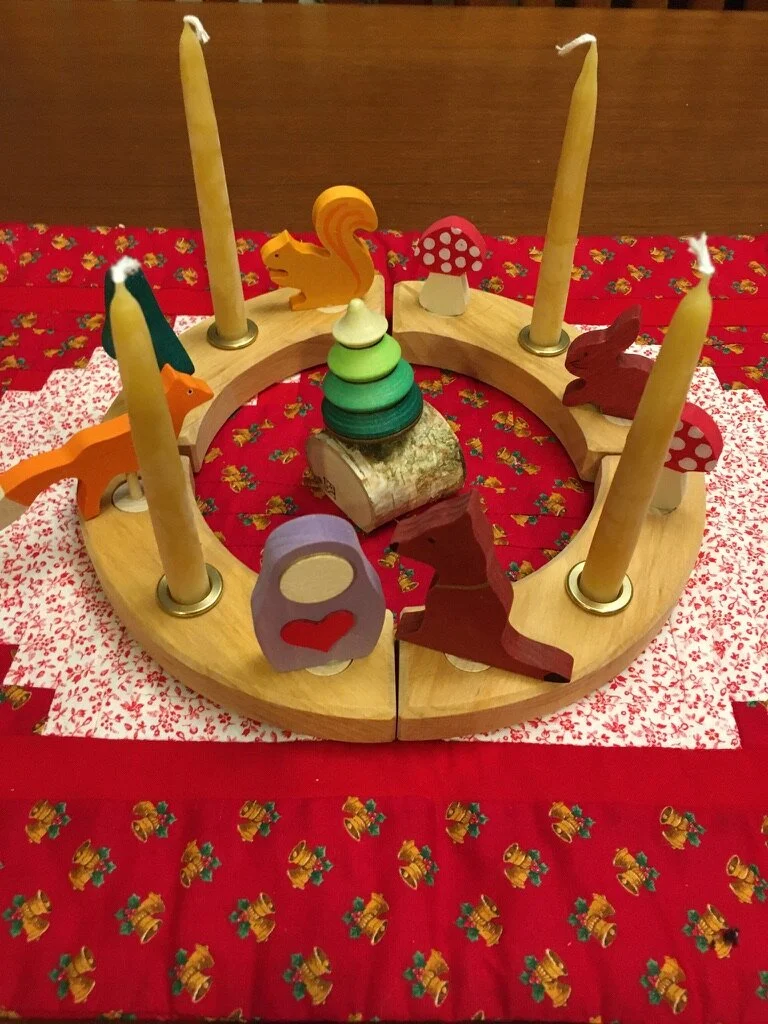
I recently purchased Waldorf Birthday Ring from TheWoodenWagon.com. I’ve been admiring birthday rings for while. I’m using mine as a seasonal decoration. I purchased a fox, a dog, a squirrel, a rabbit, 2 mushrooms, a pine tree and a Matryoshka doll for my Christmas ring.
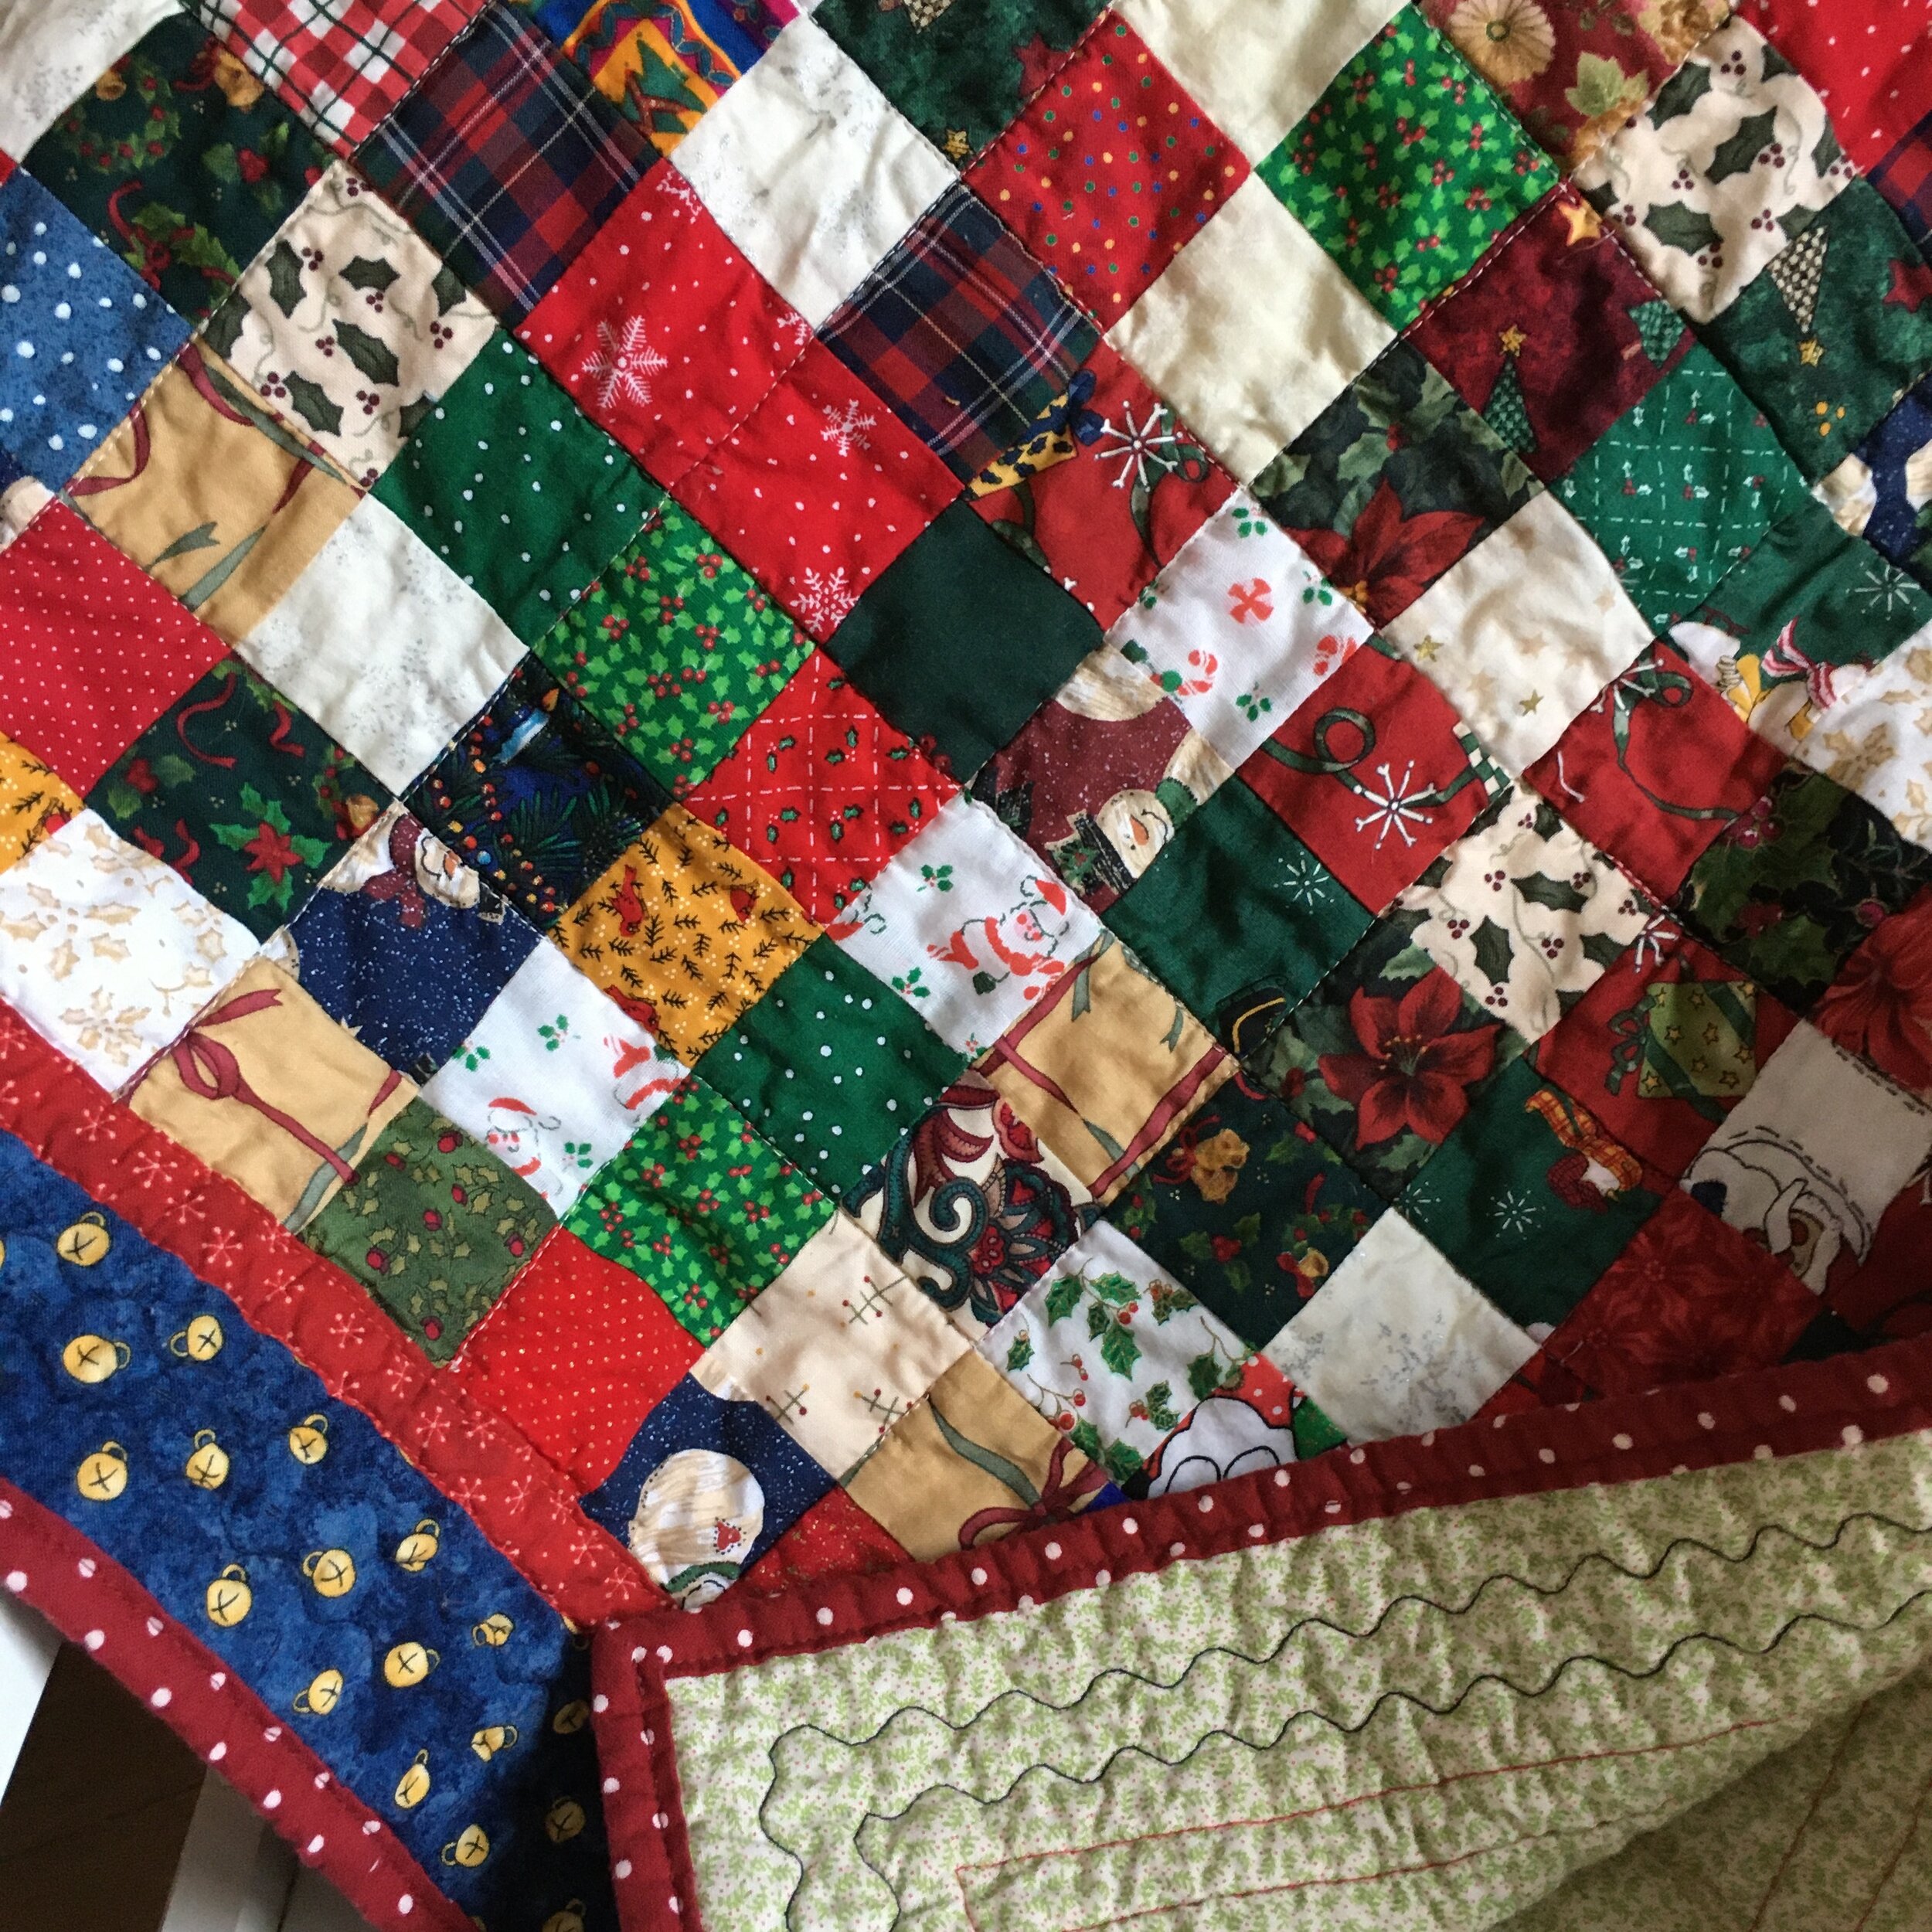
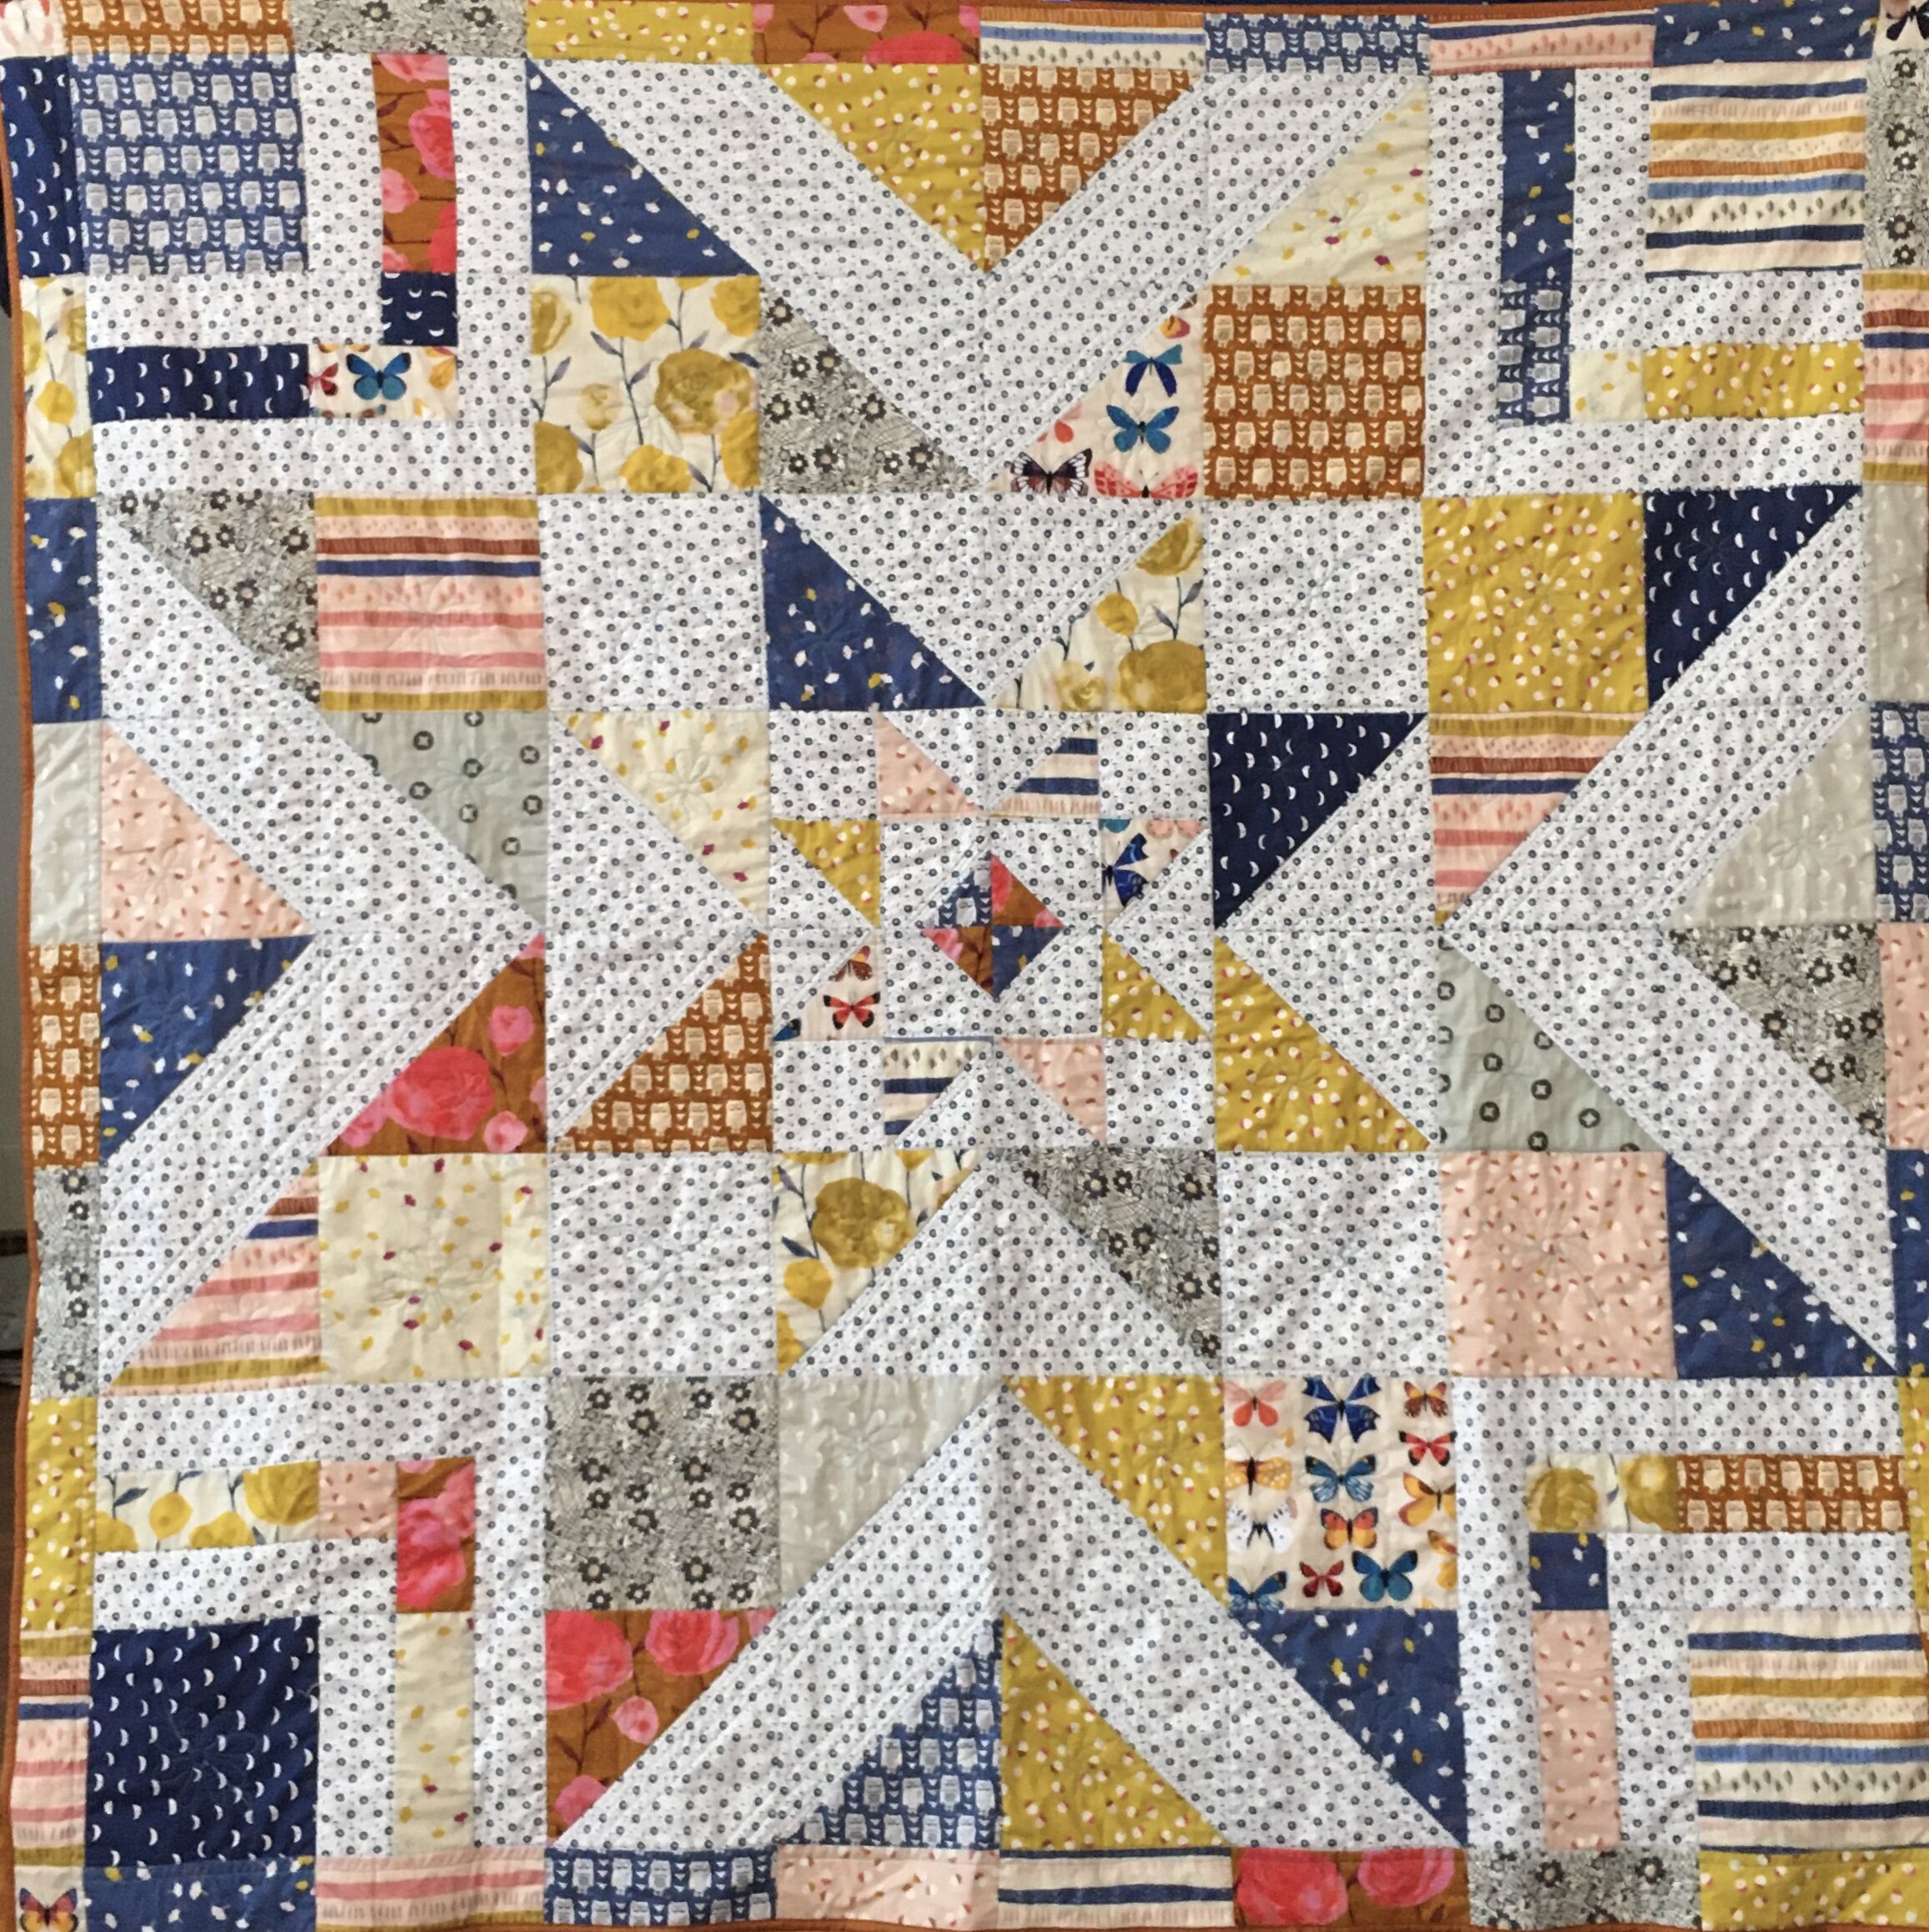
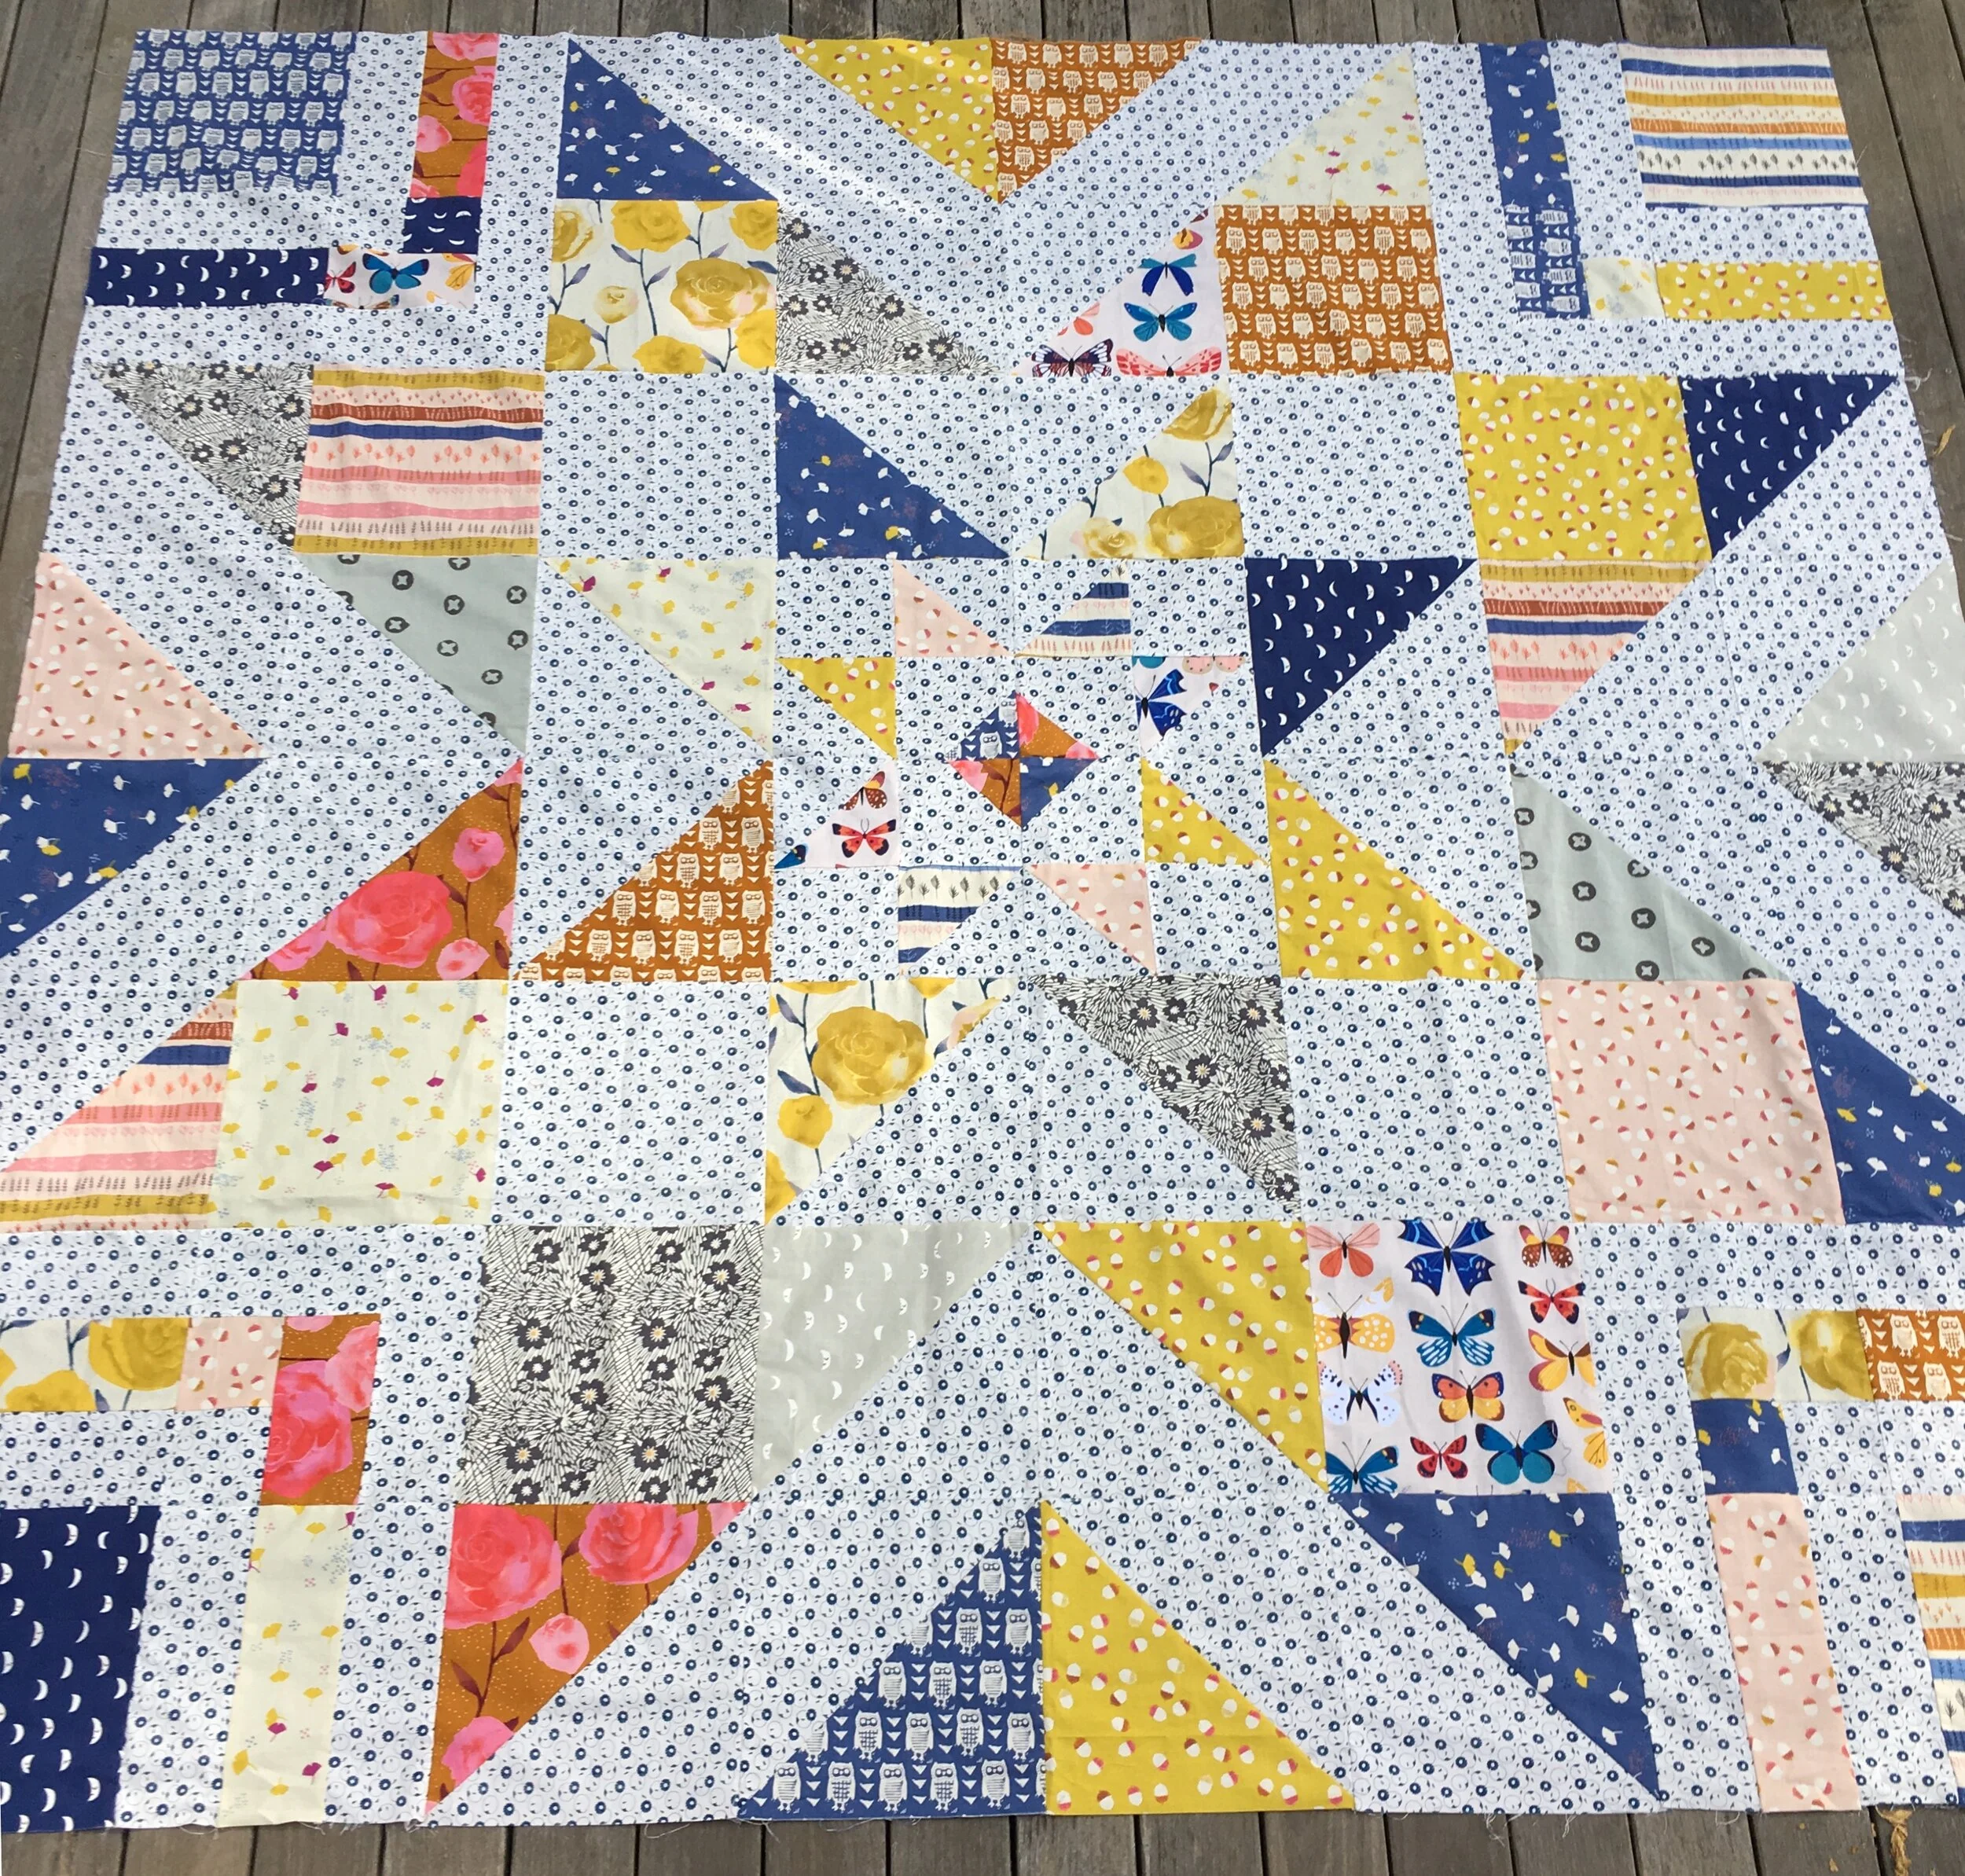
The four tiered pine tree in the center is a spinning top resting in a log which also came from The Wooden Wagon online shop. I set the ring on a quilted log cabin table runner made for me by a friend.
If you purchase a ring and wish to use candles, make sure to also buy the brass (or other metal) inserts. The holes for the peg figures are too large to hold the beeswax candles. (The candles aren’t lit in my pictures because I have 3 intermittently bouncy dogs).
As I understand it, when this is used as a birthday ring, the number of candles in the ring match the age of the child. The candles are lit one by one, with the family telling the birthday child about the events of each year of their life I love that.
My family would have lit the first candle and told me again how my mother, who was in labor with me, had to make jello for my older brother’s after-school snack before she could go the hospital! My brother was just here with me for a visit. I asked him if he remembered what flavor the jello had been. Alas, that detail has dissolved into the fabric of time!
I’m so enjoying my ring. I’m looking forward to adding to my collection of birthday ring ornaments! So far, 2 sheep and a couple tulips are awaiting Spring!
Notice: This blog is not monetized: I do not use affiliate links. When there are links in a post, they are to give credit to another creative person, because I like or have used a product, or to help the reader easily find supplies for a project.
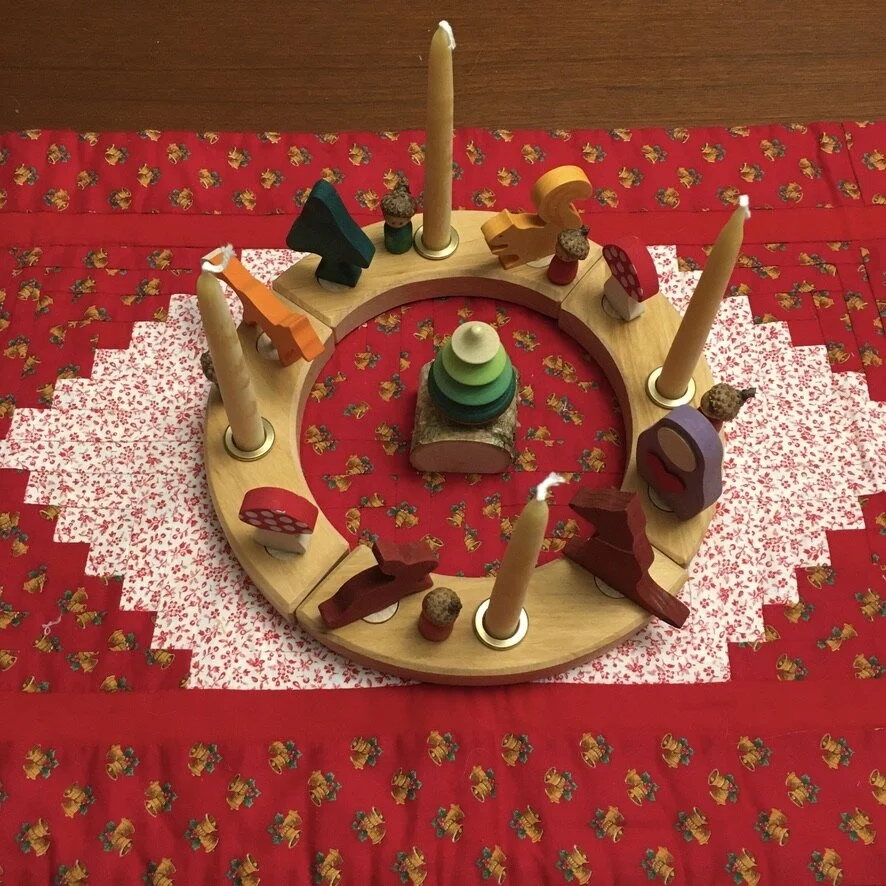
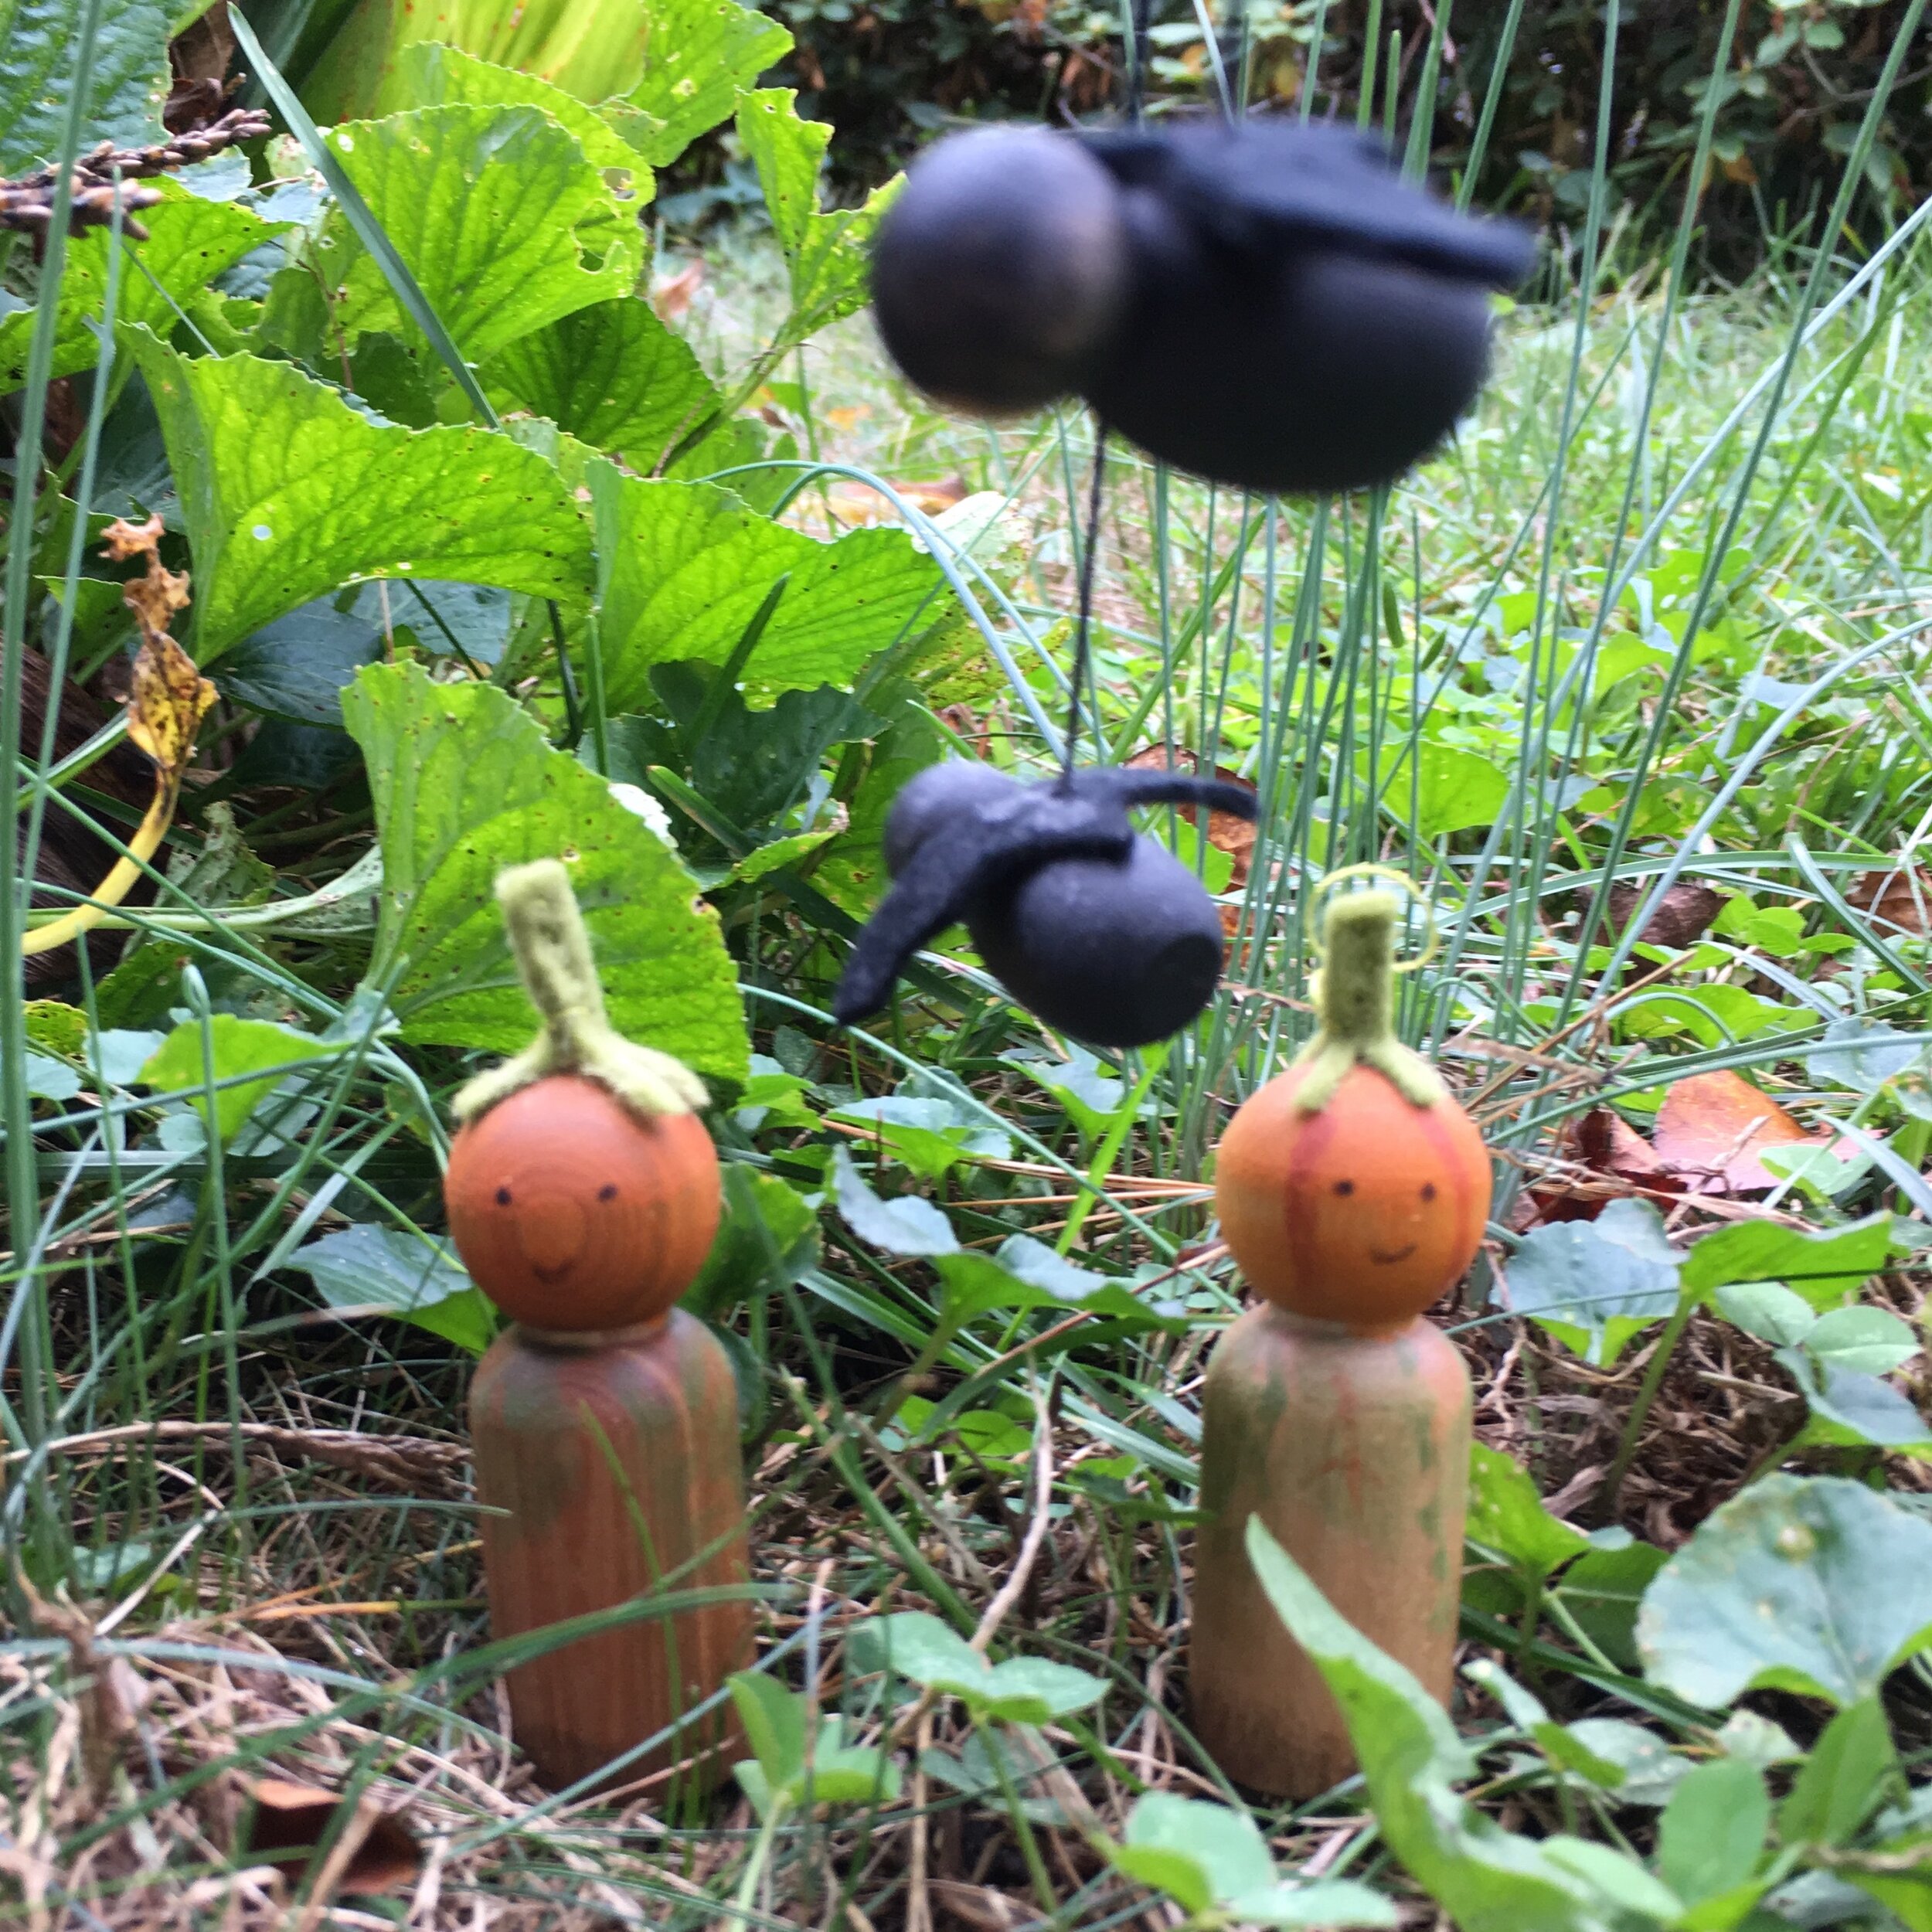
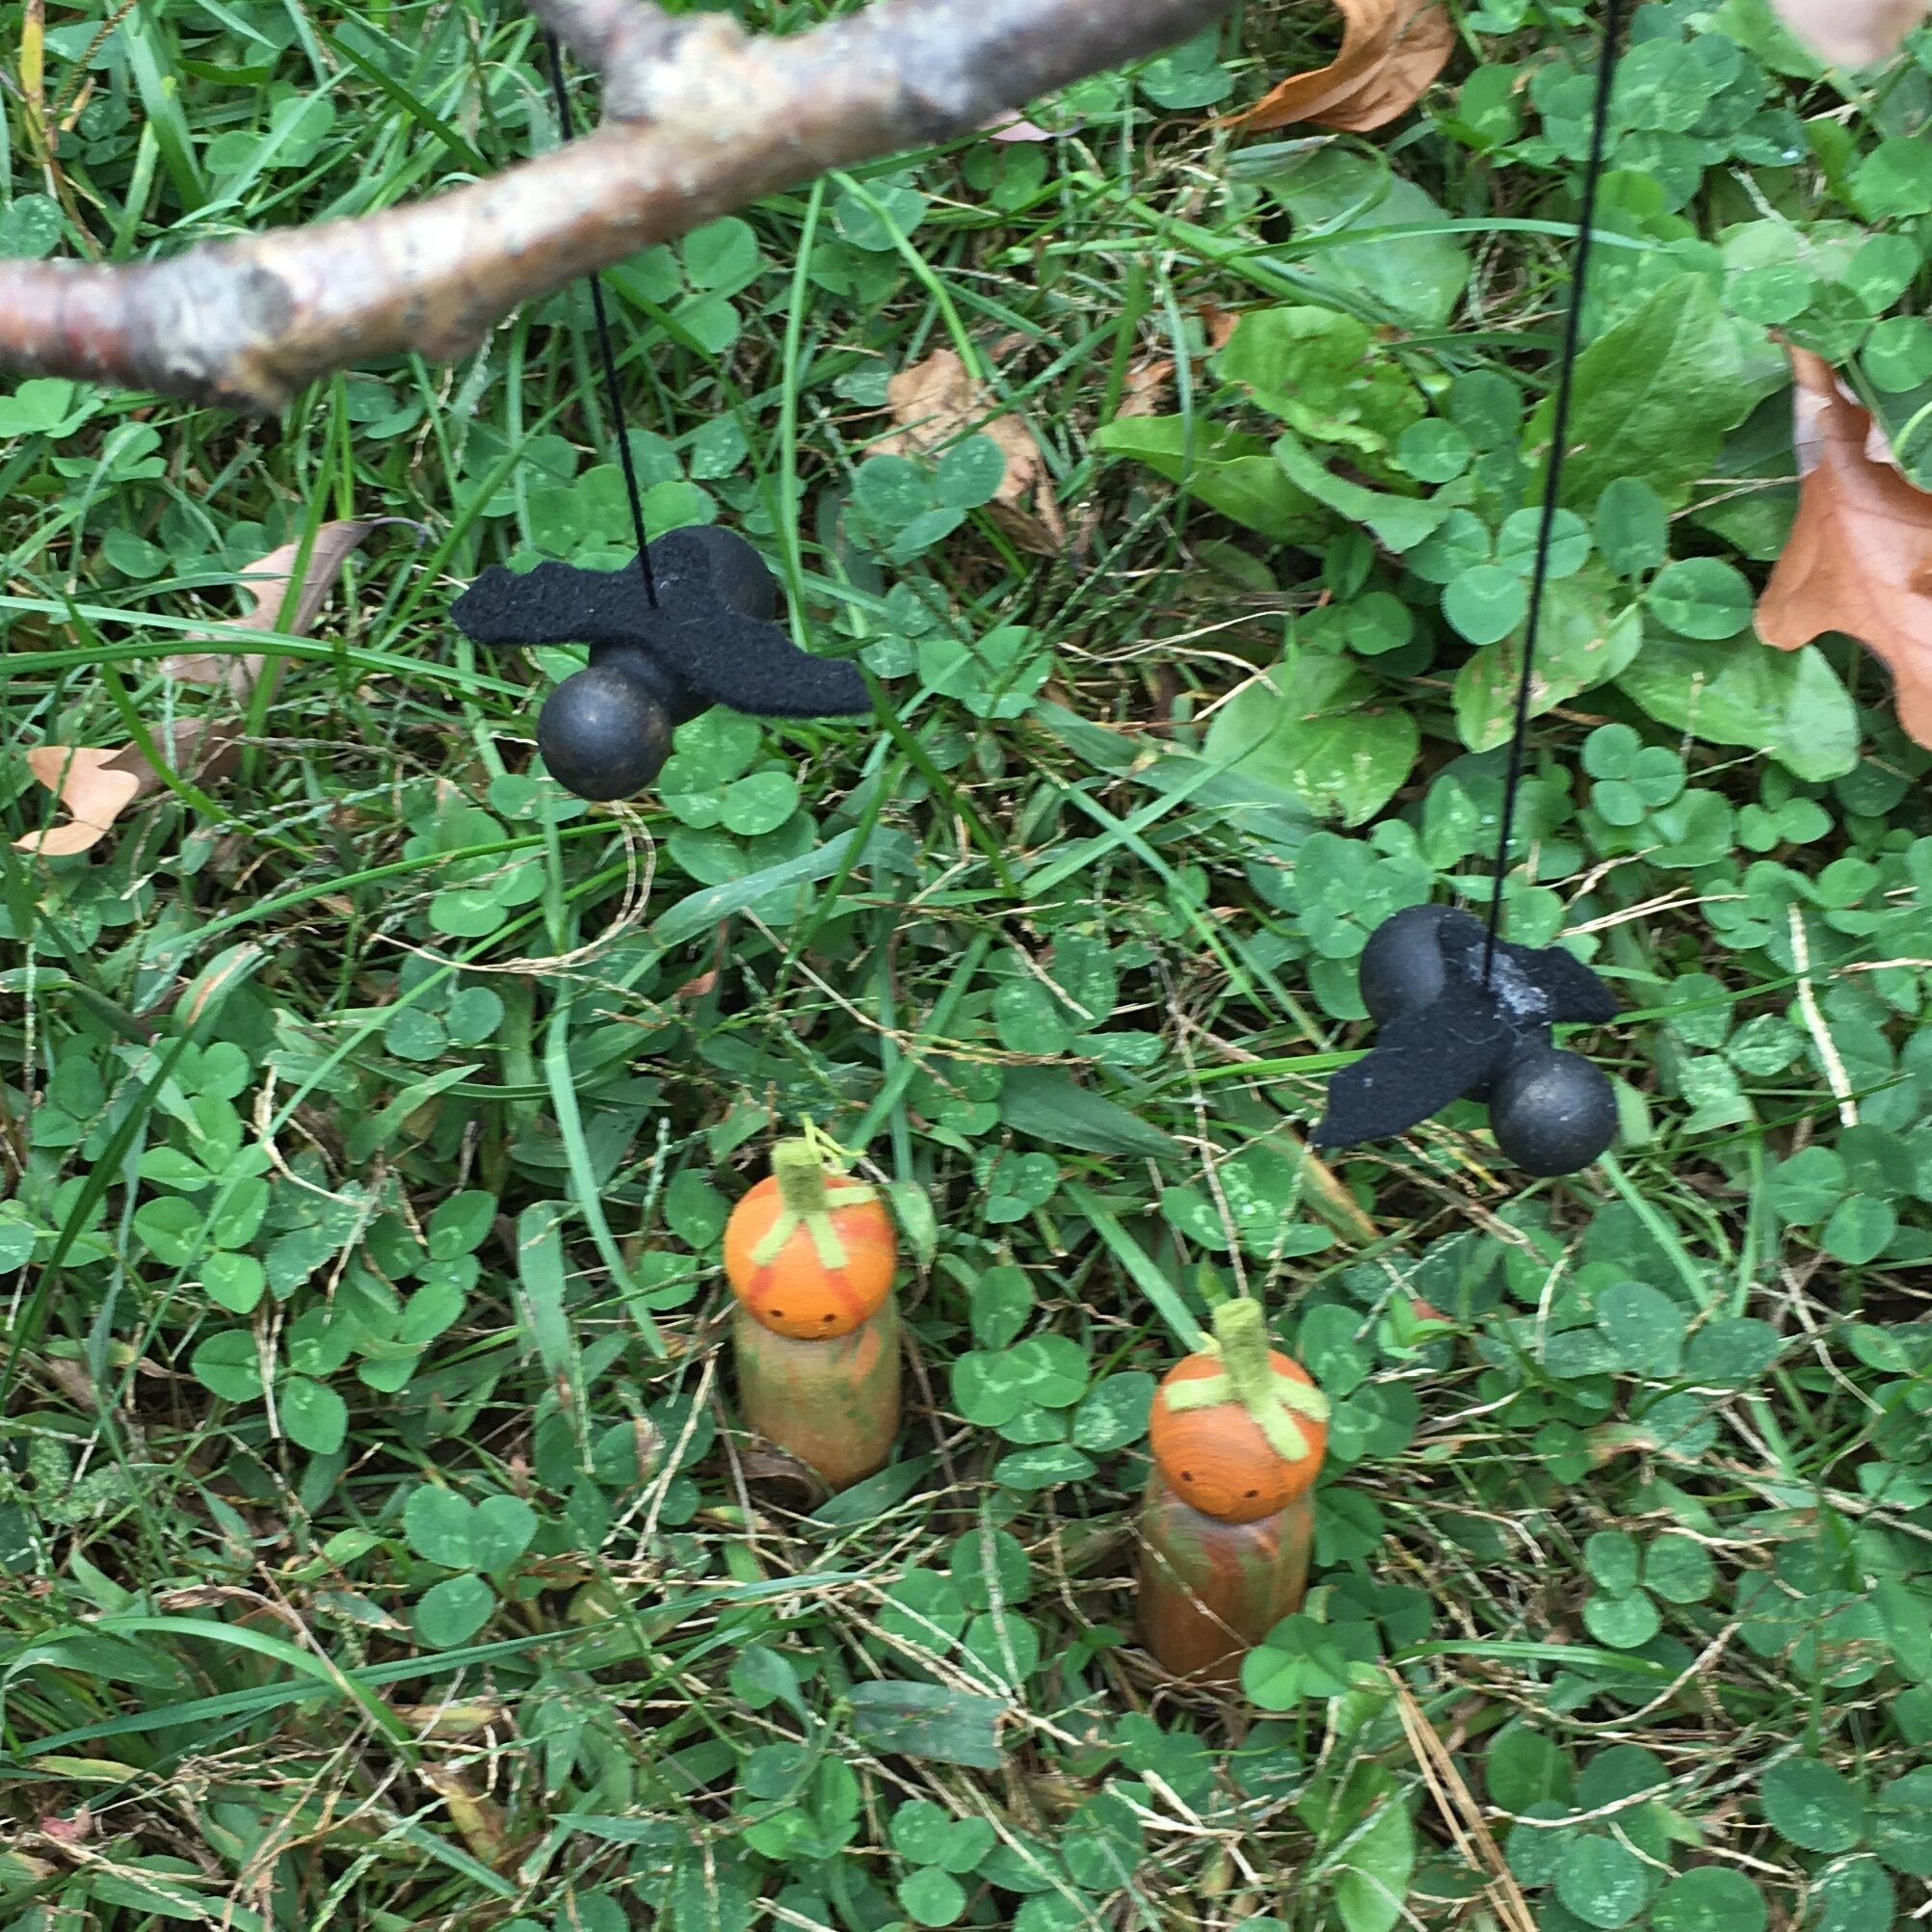
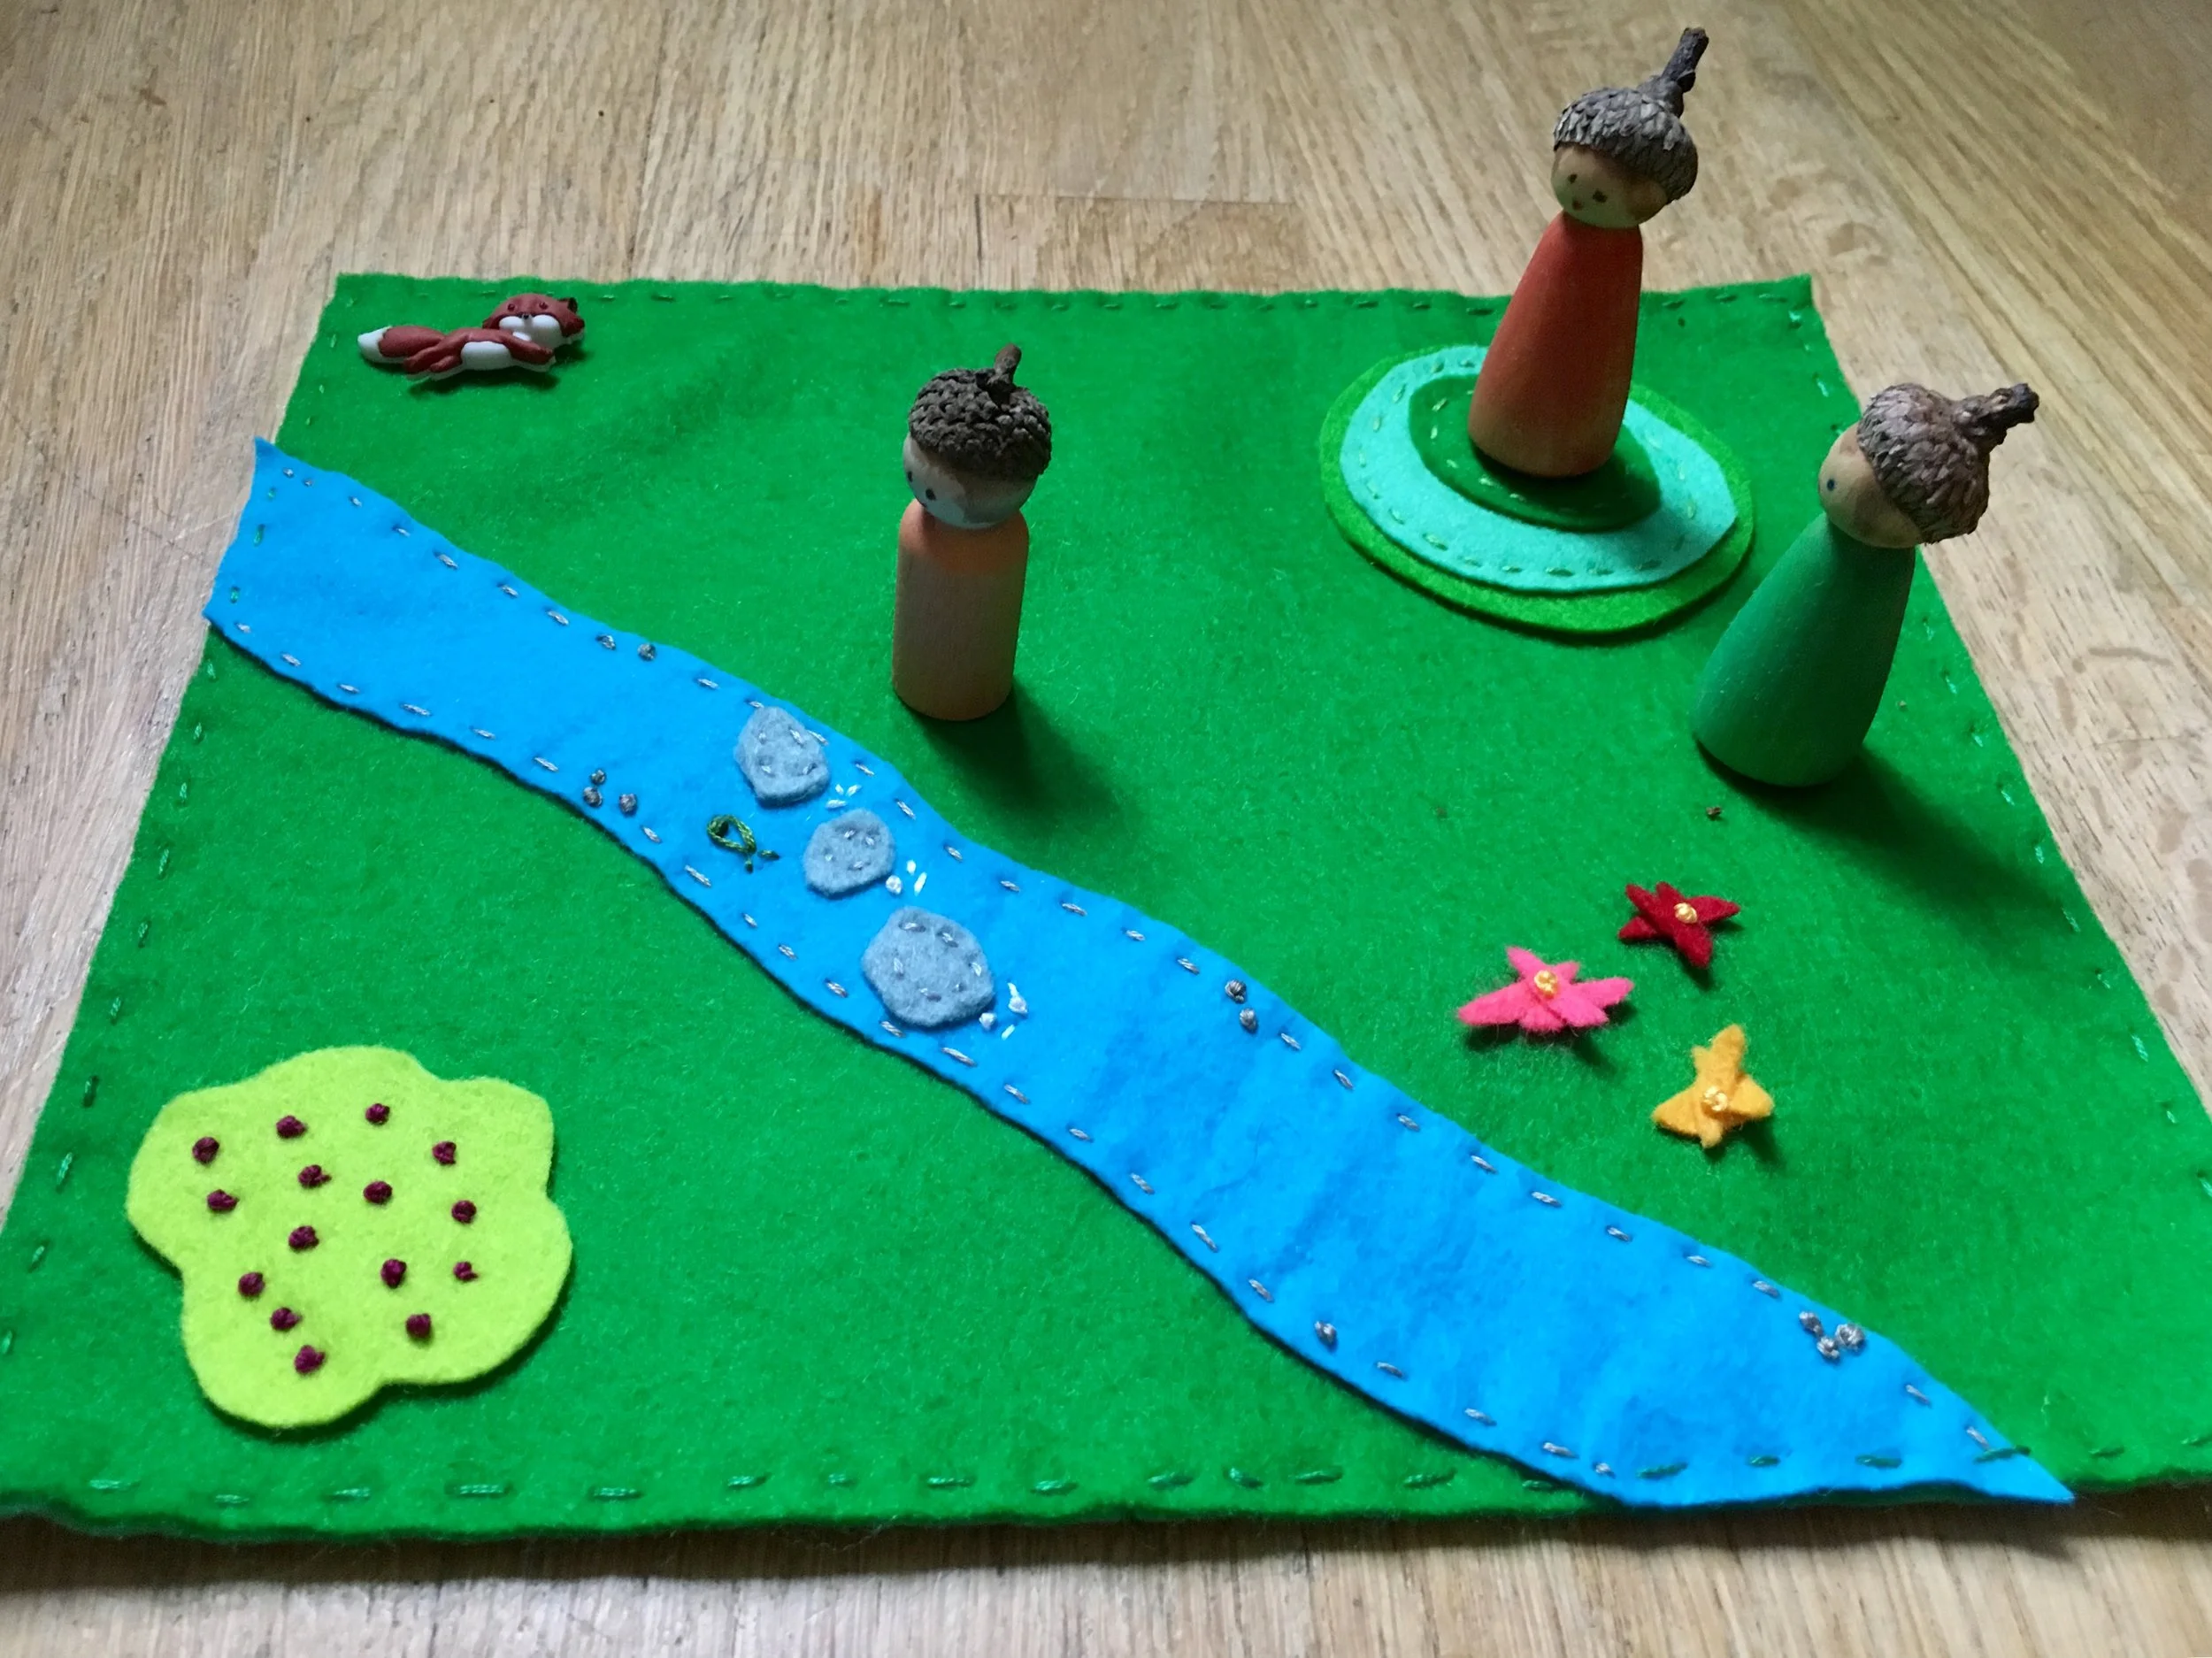
Bird’s Eye View of my Waldorf Birthday Ring. A couple of acorn peg dolls are standing on the ring in this photo!