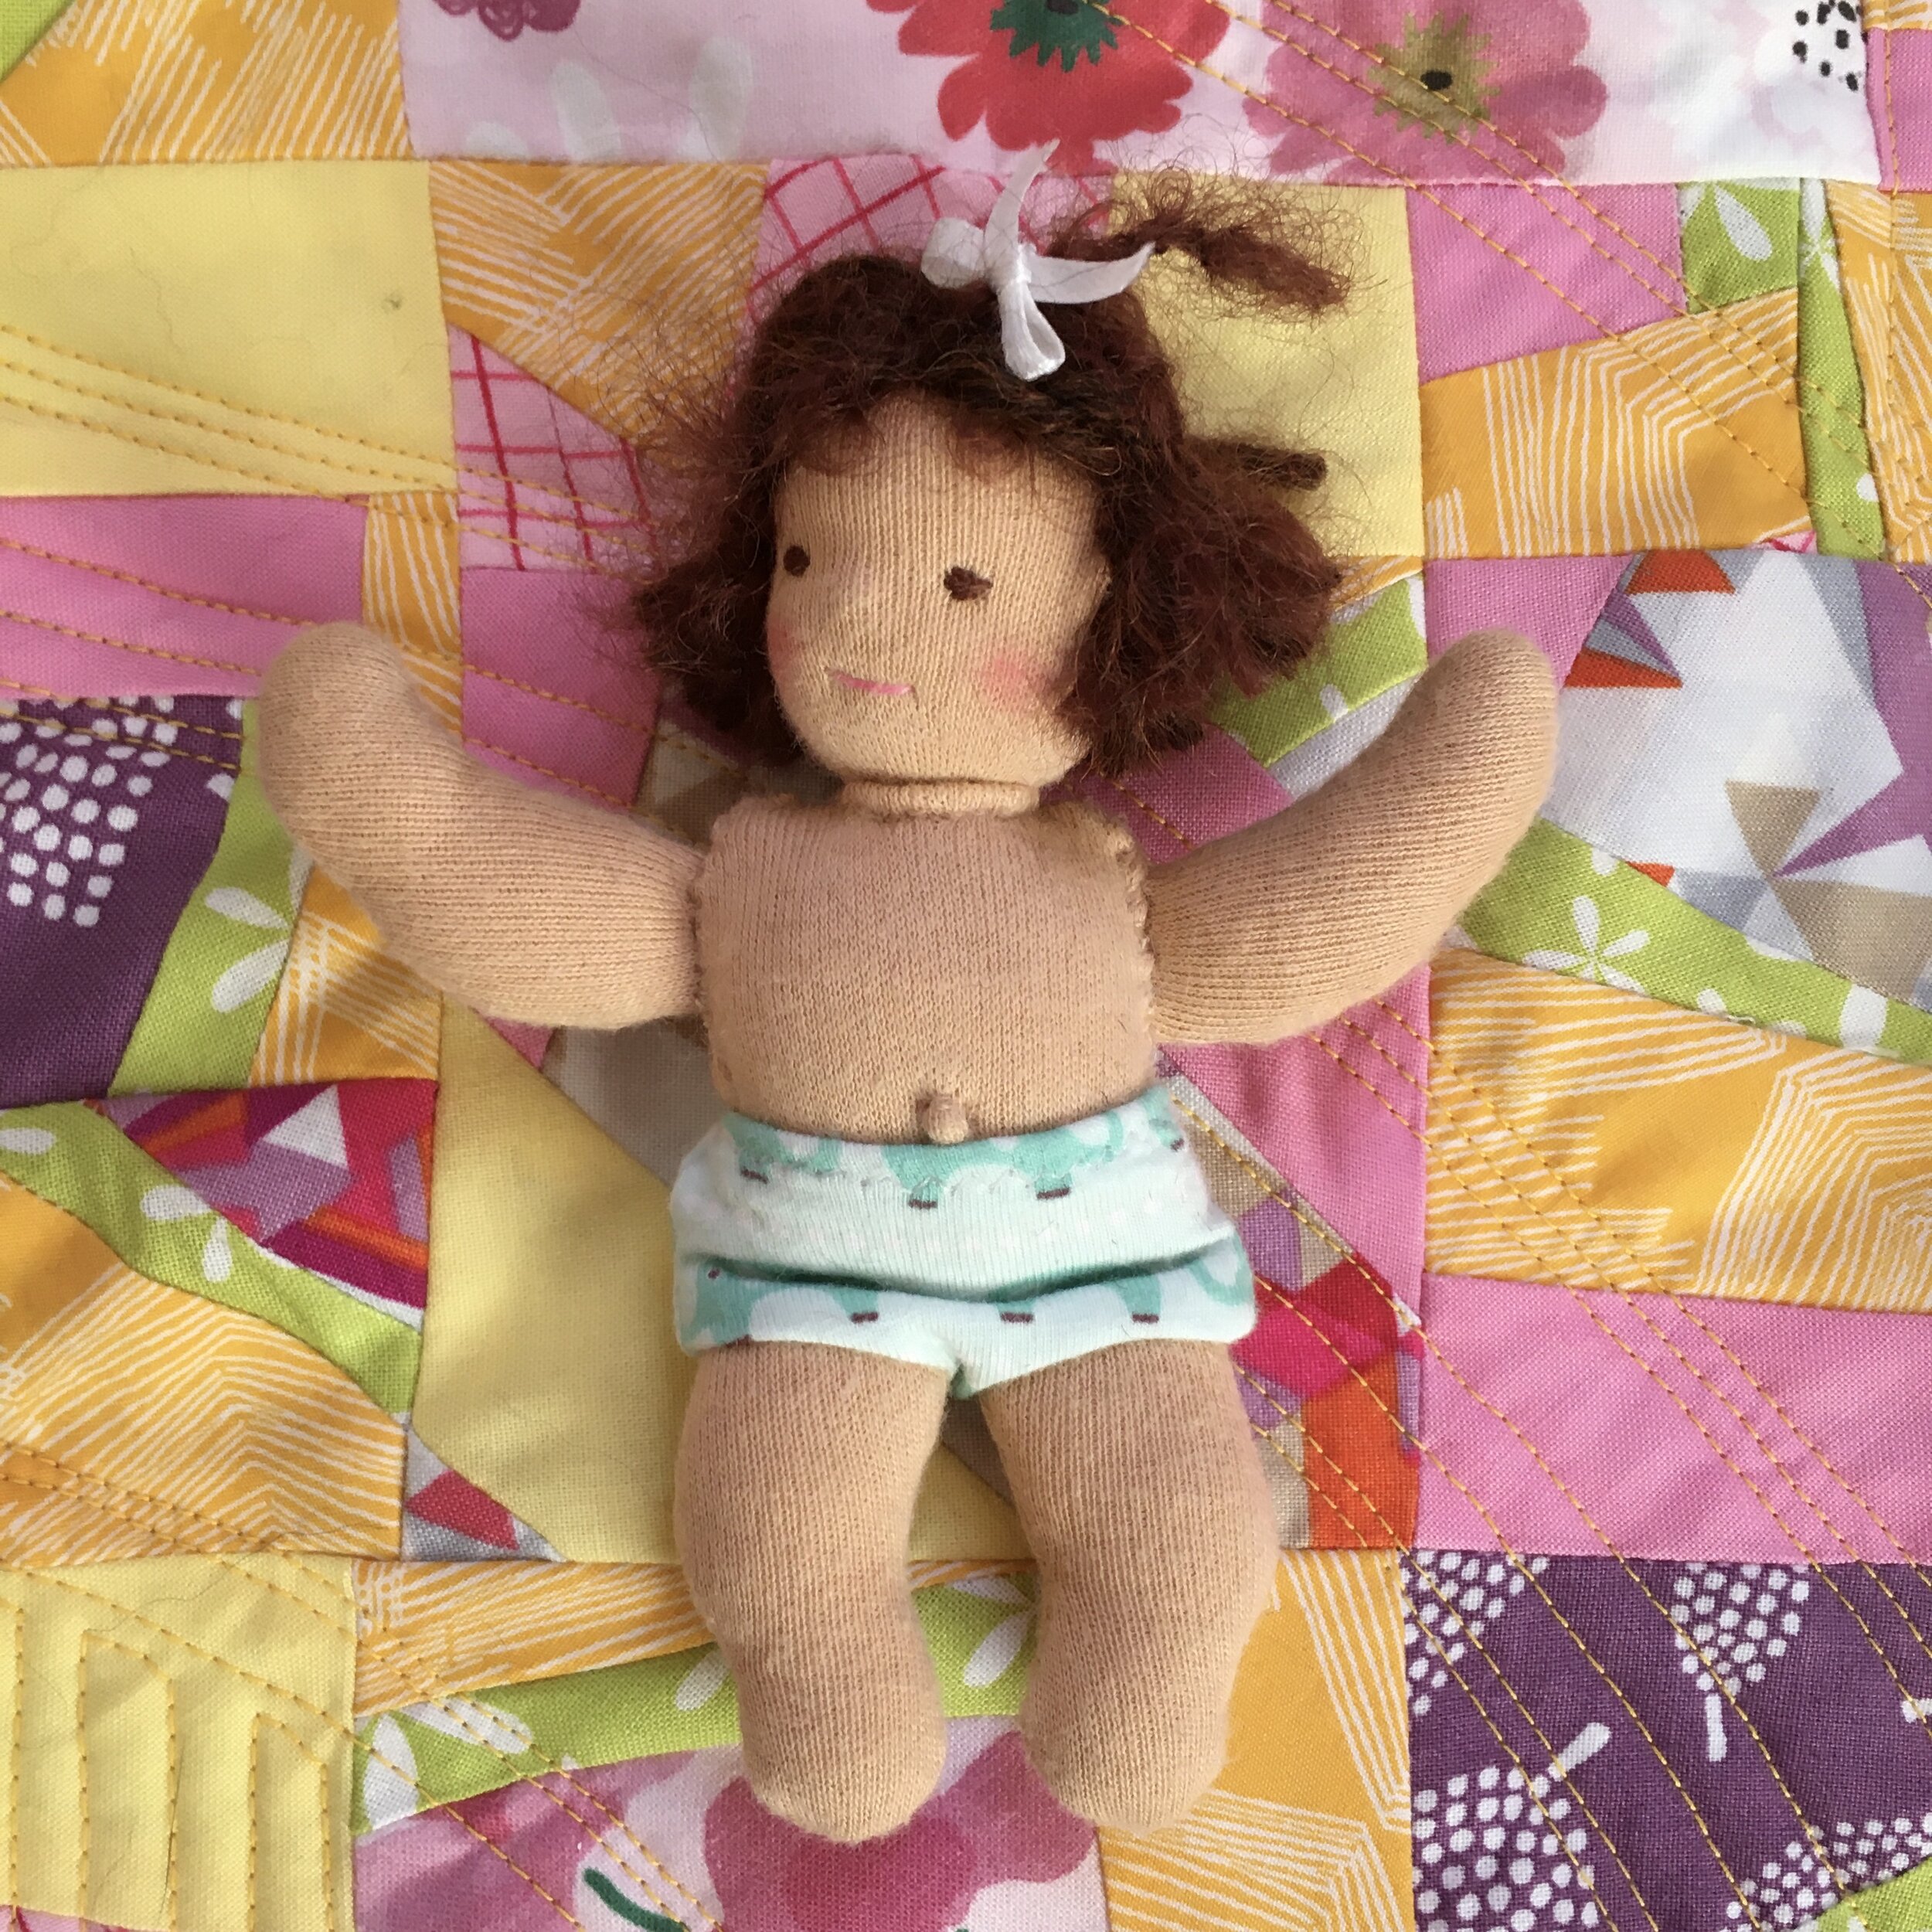
Newborn size baby doll (20 1/2 inches) and Tiny baby doll (5 inches)
Here are two dolls that I made in the past week. They are the largest and smallest Waldorf-type dolls that I’ve ever made. They are both baby dolls.
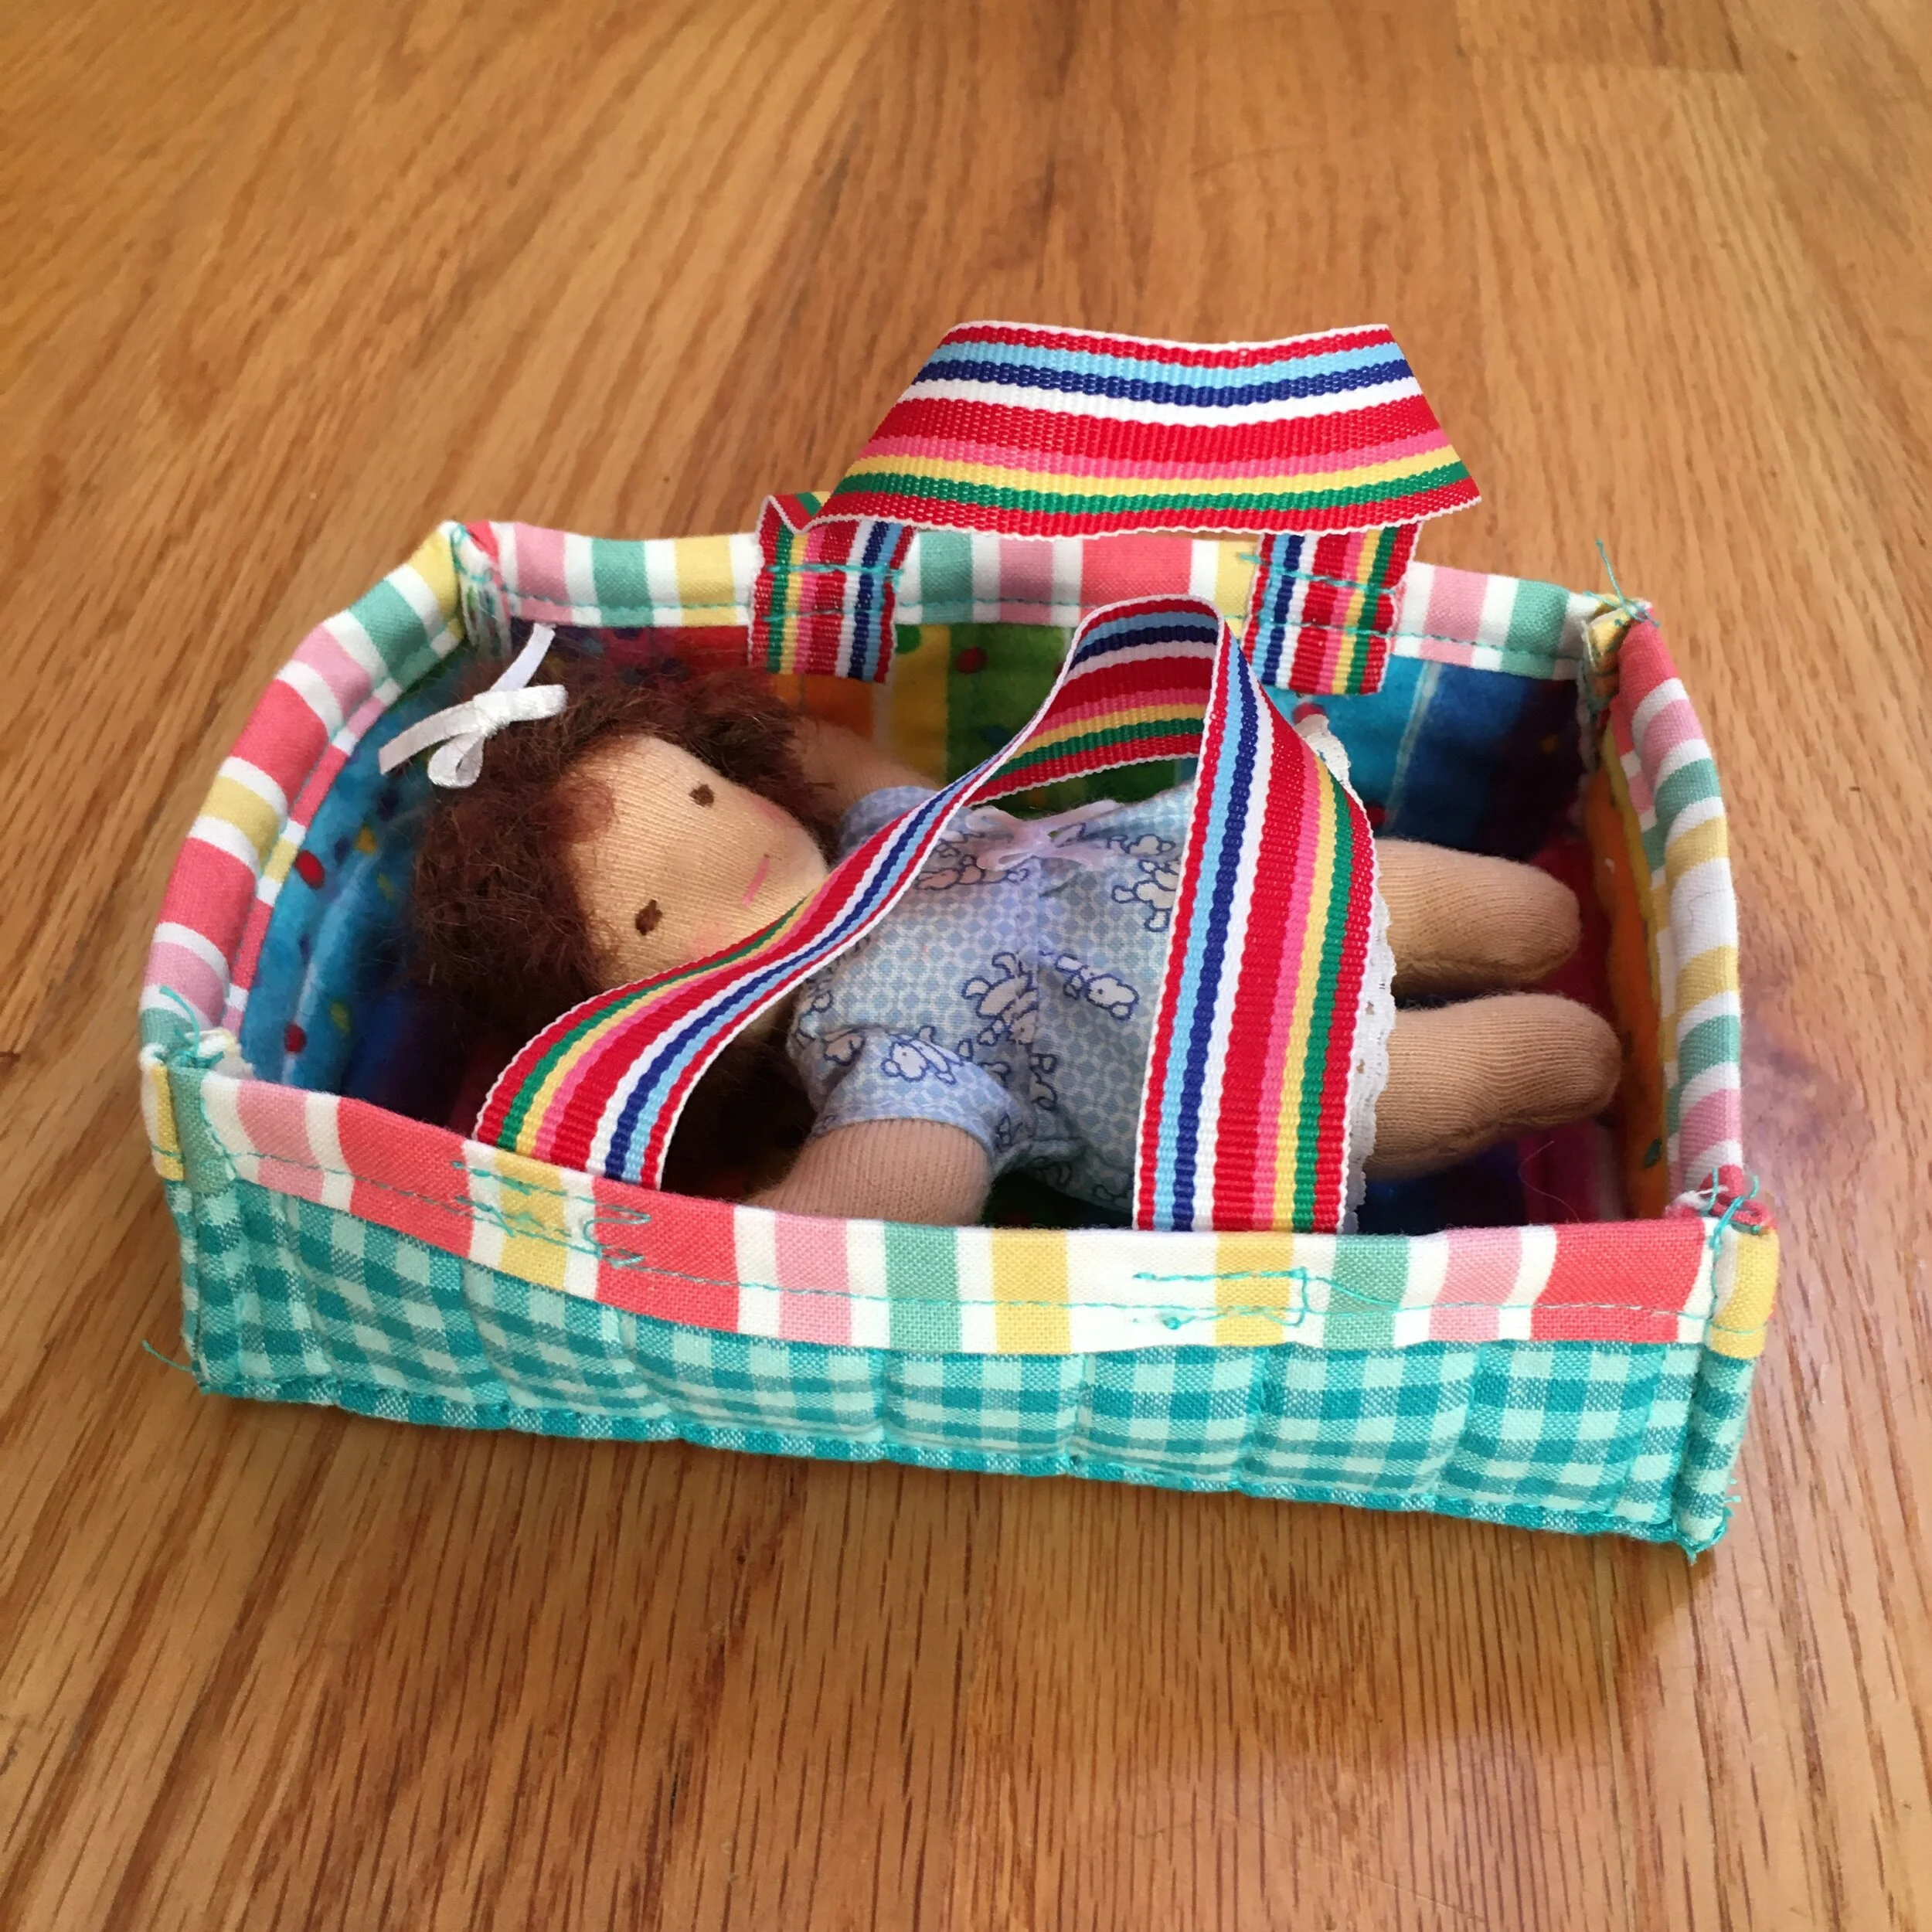
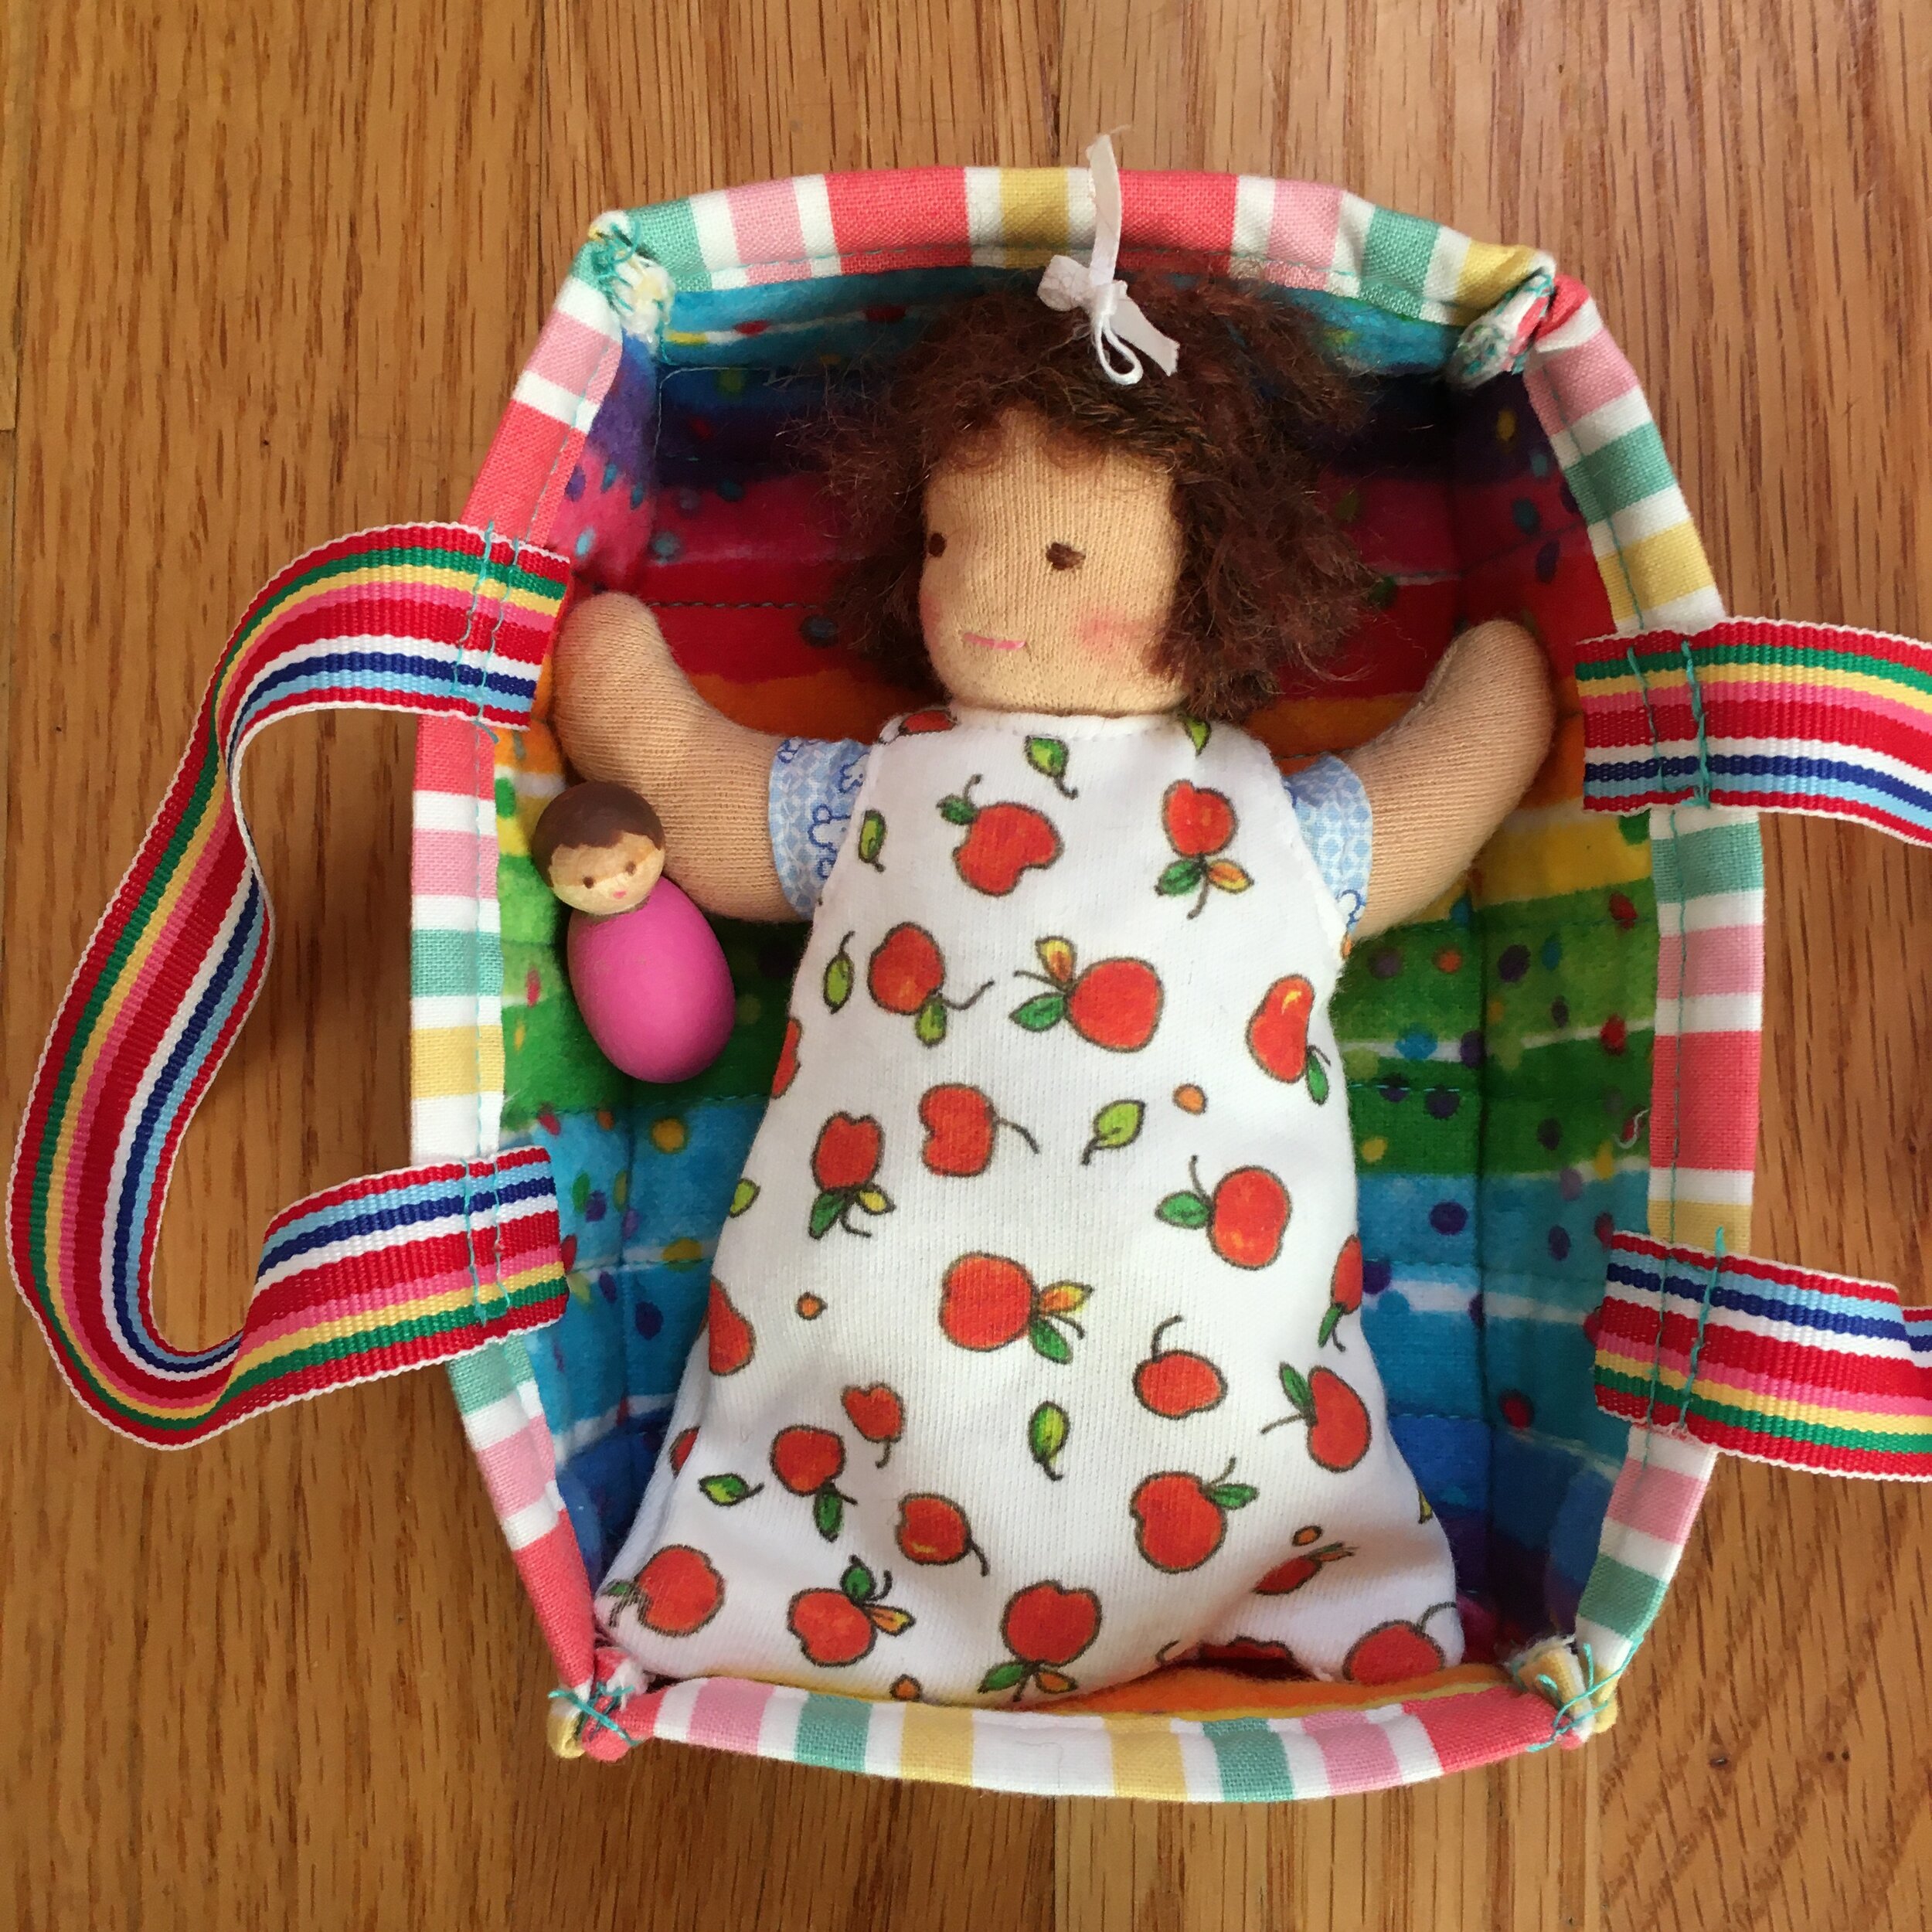
The tiny baby is 5 inches tall. You can read more about tiny babies in my February 6 post. The doll pictured above is the second tiny baby I’ve made. I got some mohair doll hair yarn and knit a wig for her. (More about that in my next post).
I remember saying a year ago that I’d never make a life size Waldorf doll. But when I found a great pattern in a book that was already on my shelf, I figured it would be fun to try. The pattern “Olga and Ollie” can be found in Sewing Dolls by Karin Neuschutz.
My doll is the size of an average newborn,. She is 20 1/2 inches long with a head circumference of 14 1/2 inches. I used glass doll beads to weight her and she weighs in about 3 lbs.
I did alter the pattern in the book so that purchased baby clothes will fit her. Here’s what I changed.
I lengthened the torso of of the doll pattern one inch so that a purchased one piece snap play-suit will fit perfectly.
I lengthened her foot by an inch so that she can fit into newborn size socks and shoes
I lengthened her arms 3/4 inch
I trimmed a bit off the width of both the thigh and the upper arm. The pattern made a doll that was just a bit too chubby for a newborn.
As you can guess, half the fun of having life size baby is being able to dress her! She is just about a perfect NB size. Though maybe her legs could be 1/2 inch shorter!
Despite saying I’d never make a doll this large, I had so much fun doing it! Here’s another photo of this doll and a picture of the first newborn size doll I made a couple weeks ago.

Checking out the snowdrops

The first life size Waldorf baby doll I made