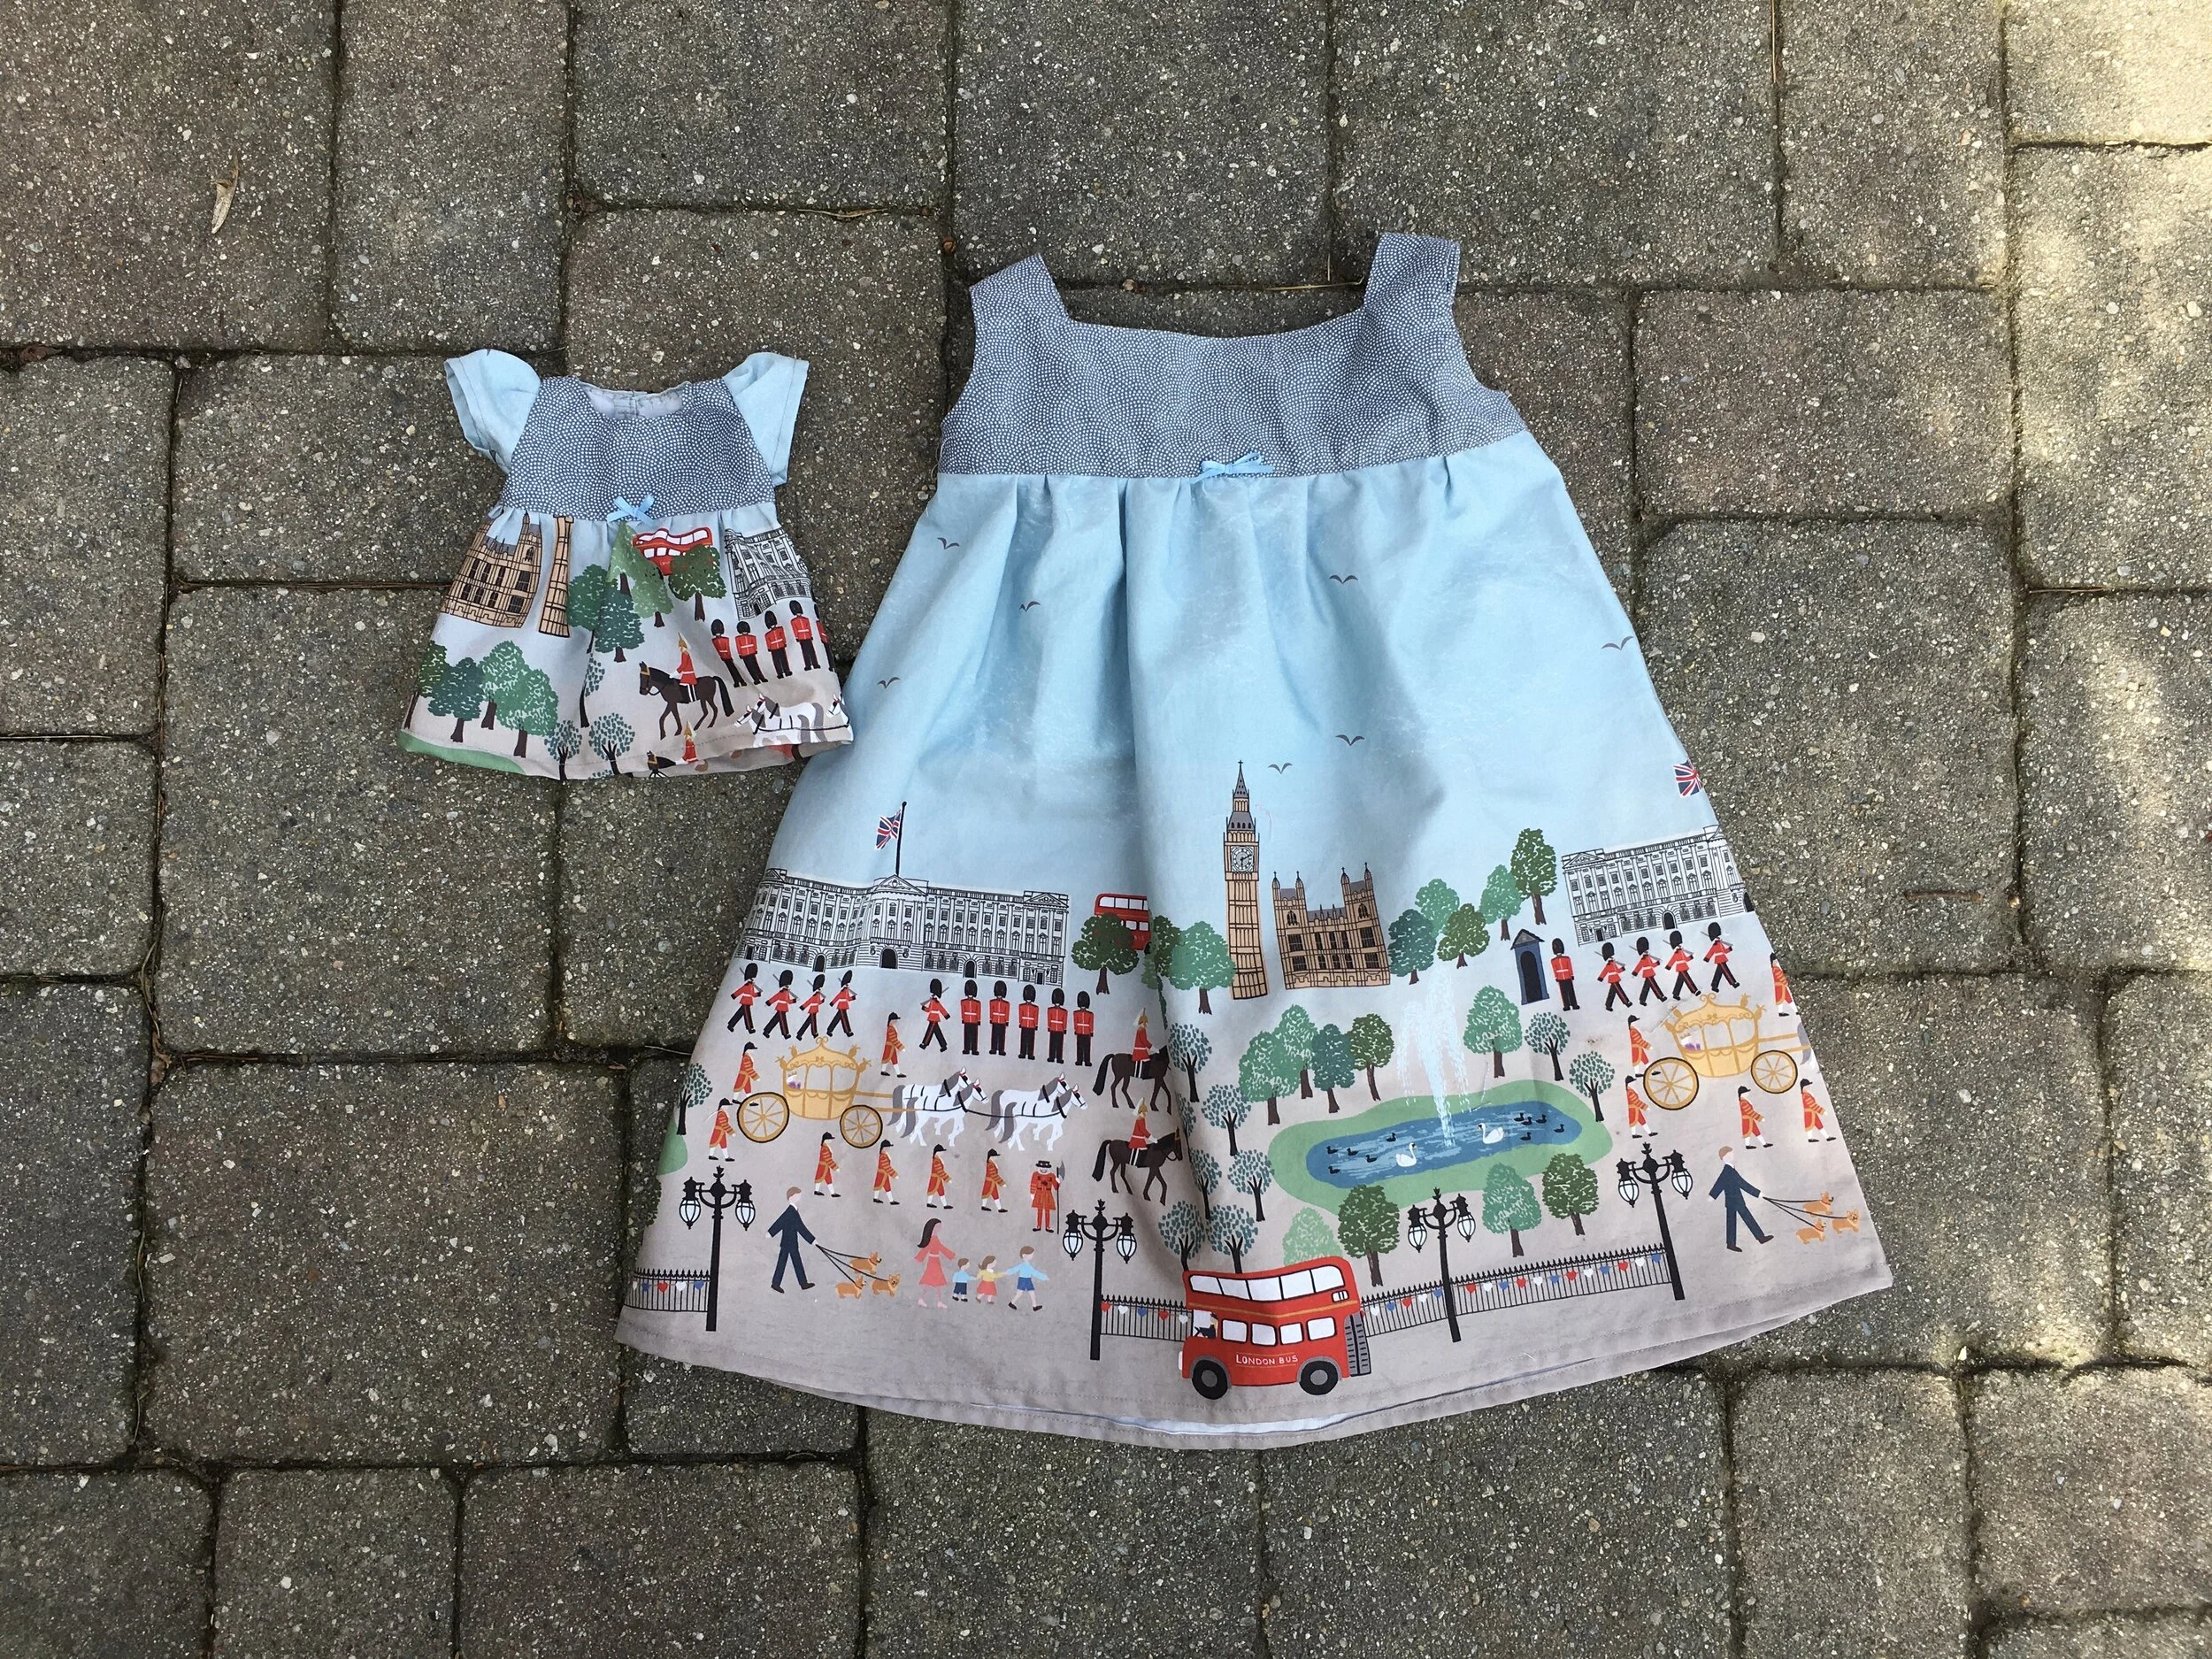
Dress for a 13 Waldorf Type Doll and Size 4T “Springtime top” altered to be a a dress
I friend sent me this fabric showing a London scene, hoping I could make this border print fabric “Britannia” into a dress for her daughter. I had exactly 1 yard—less actually a little less because once it was washed and sized, I lost about a inch getting the grain of the fabric straight.
I really like the “Springtime Top” pattern in the book Little One-Yard Wonders by Rebecca Yaker and Patricia Hoskins. But this child likes dresses NOT tops and pants. So I needed to make this a dress.
For size 4T I cut across the two skirt pattern pieces at about the mid-point and added 4 inches to the length using a piece of paper. The pattern pieces won’t all line up with the added section, so line up the sloping side of the 2 cut pattern pieces. Using a ruler, draw a line to connect the sloped side of the pattern. You’ll need to add another piece of paper to pattern to redraw the straight “Cut of fold” line for the now wider bottom half of the pattern.
I then added 2 inches of width to both the front and back skirt patterns to make the dress a bit fuller. I did that by pinning my pattern piece 1 inch away from the fold before I cut it. You could also add a 1 inch strip of paper to the pattern on the “cut on fold’ side before you pin the pattern on the fabric.
I didn’t need to make any changes to the bodice of the pattern.
It just took two simple alterations to make this top into a super cute summer dress.