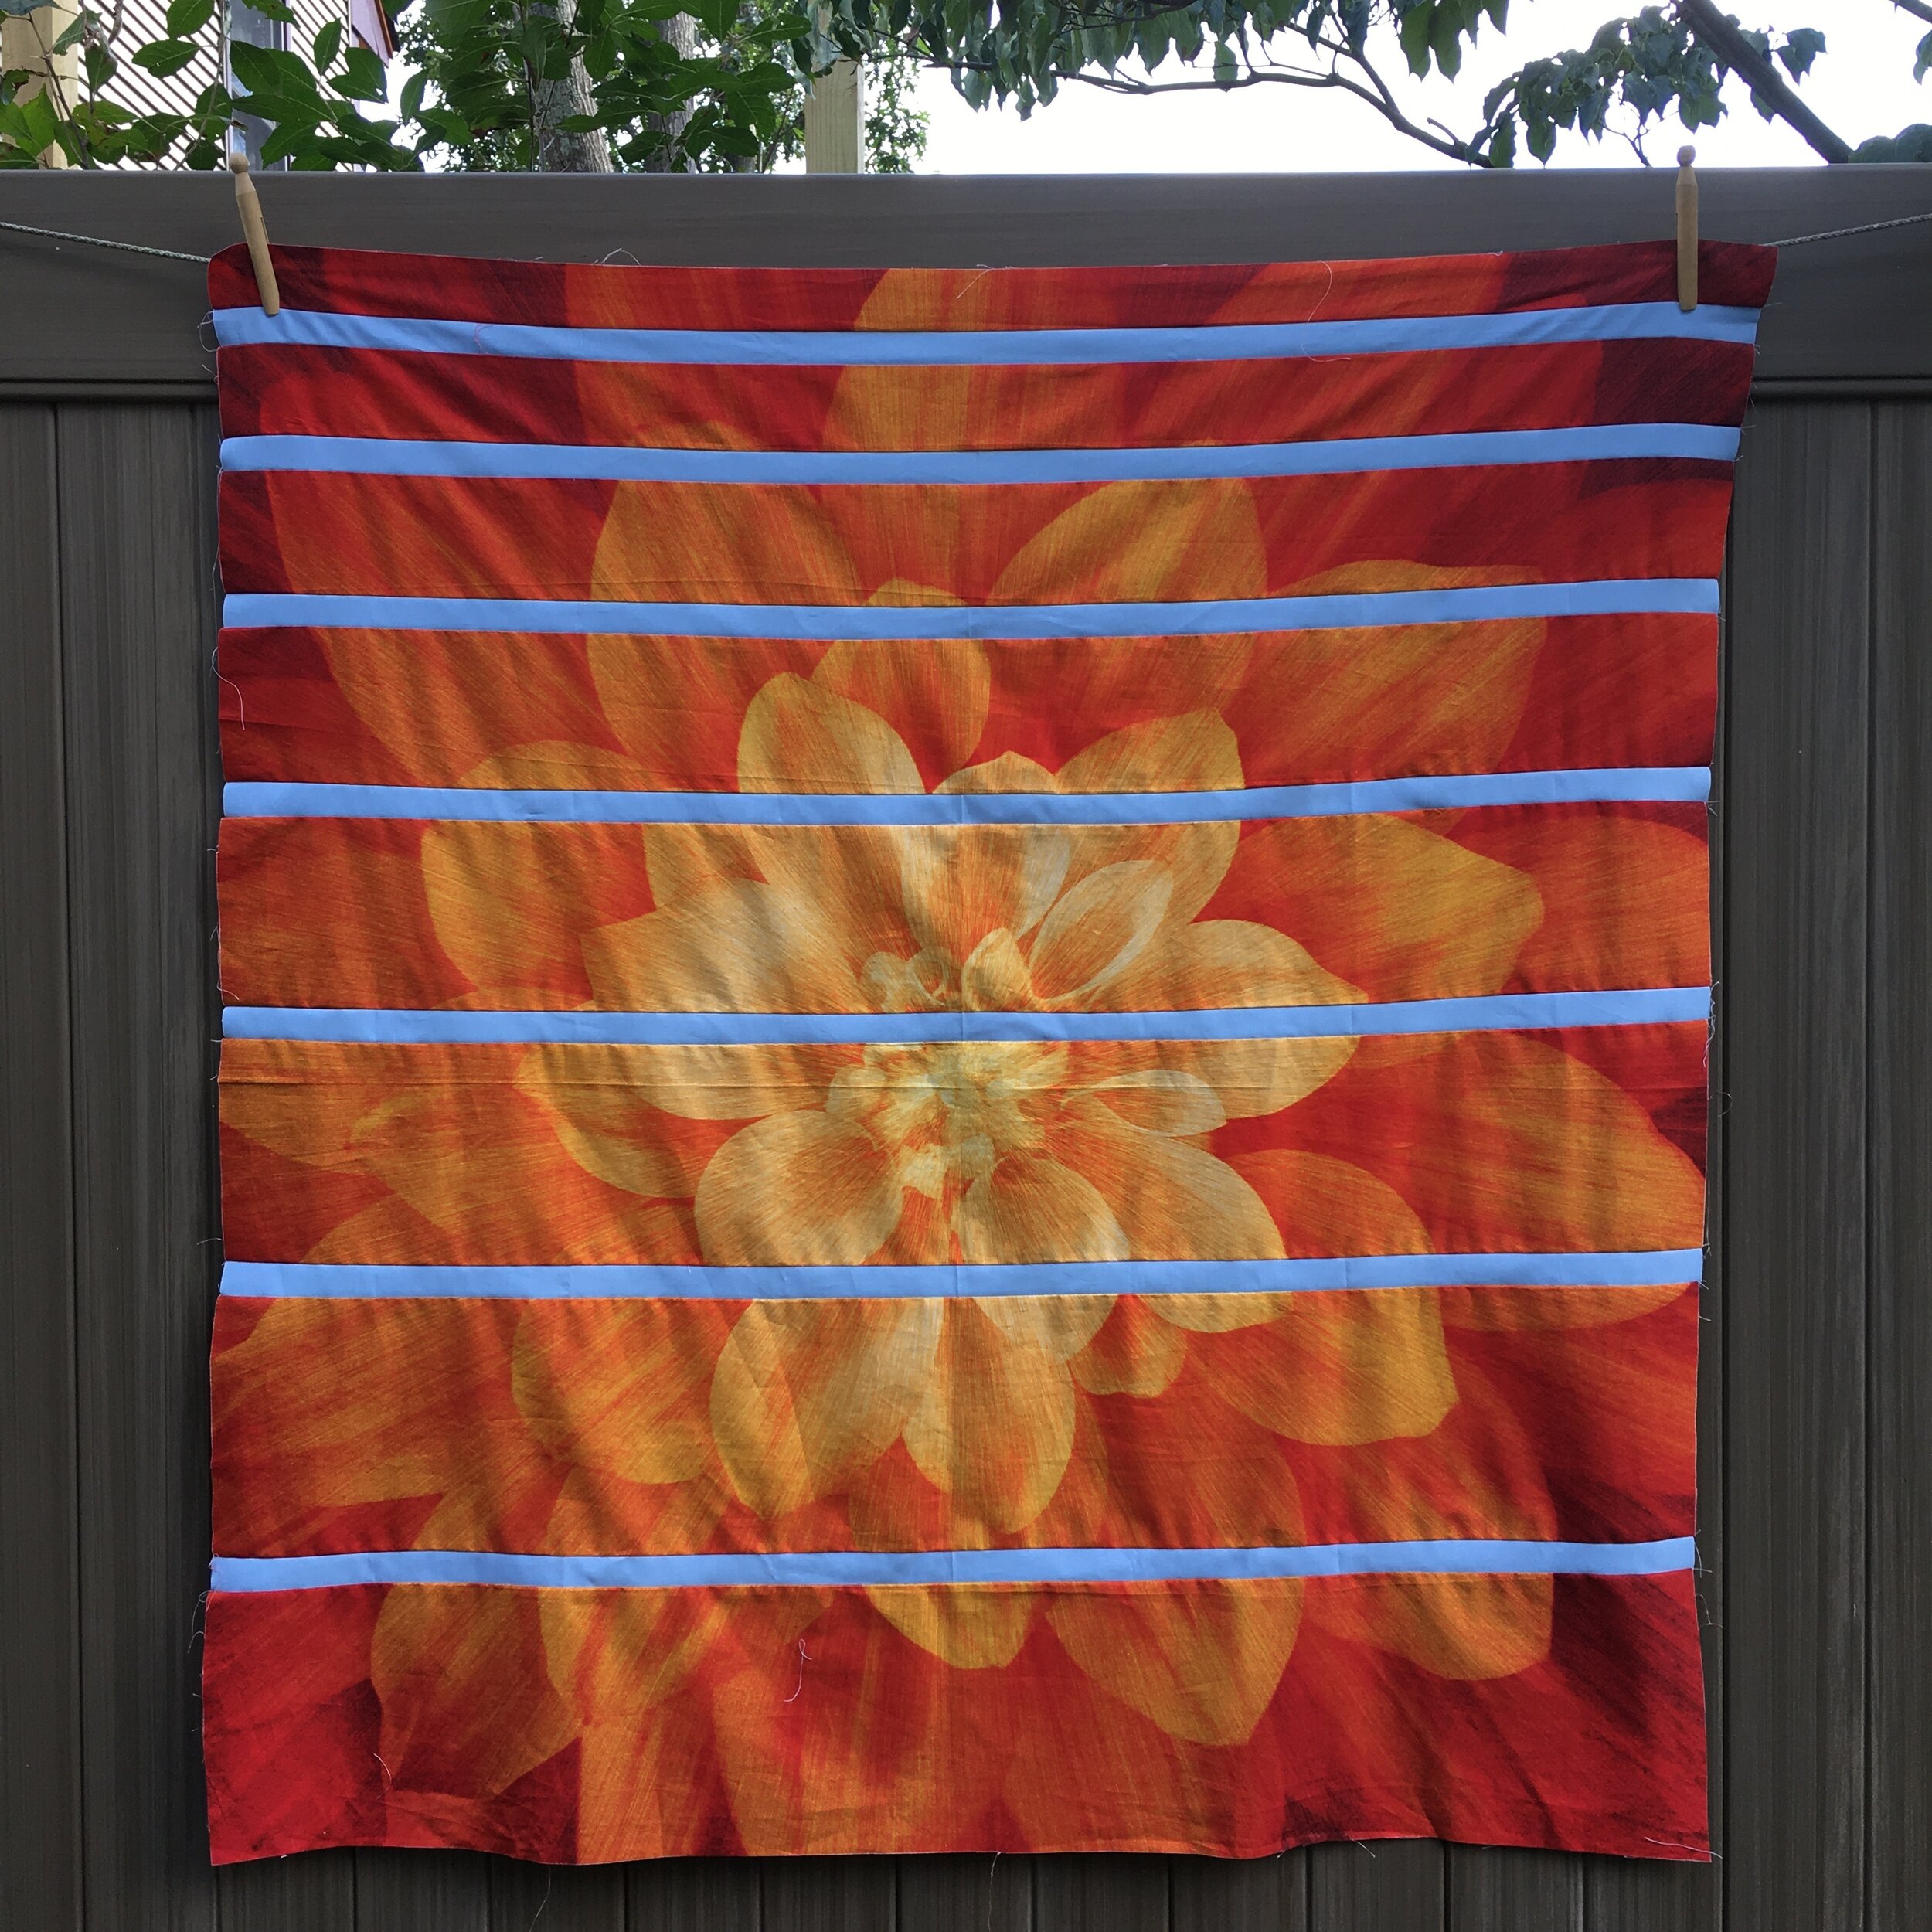
Advent Calendar from a fabric panel 23 x 23 1/2 inches
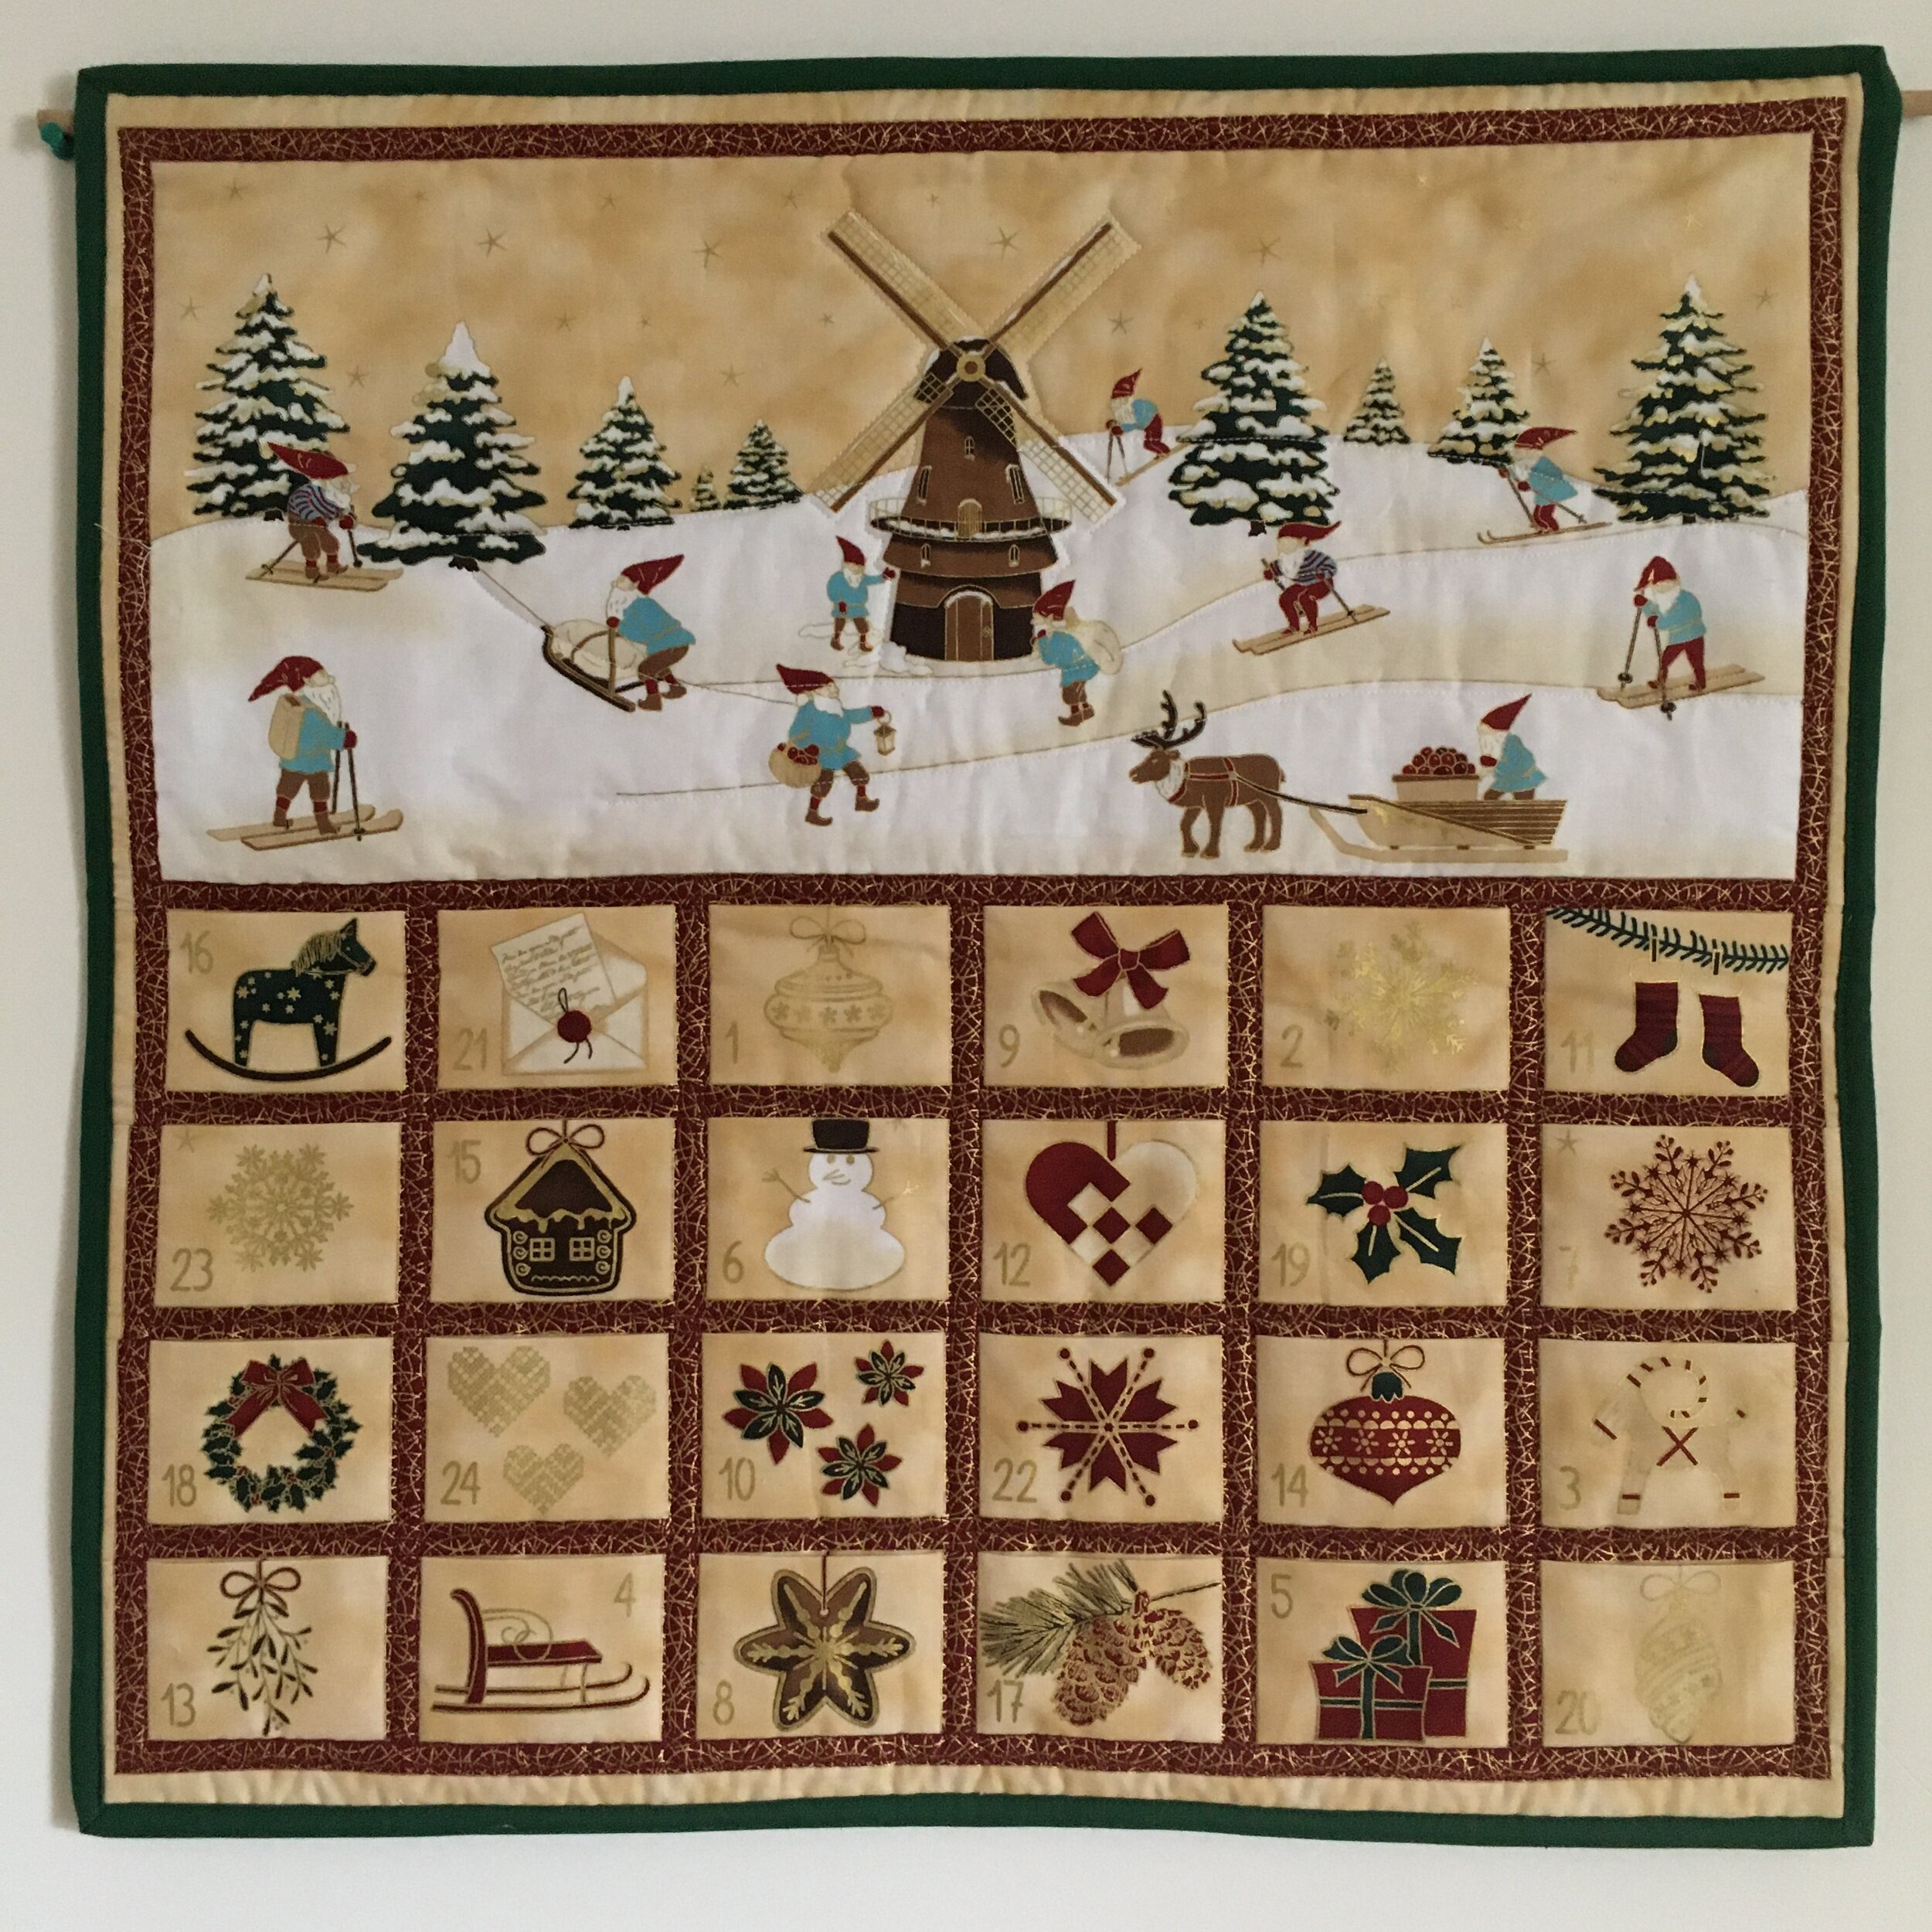
This has to be one of my favorite fabric panel projects of the year. These two advent calendars were both simple fabric panels. When the lower half is folded along the lines marked on the fabric, the folds create numbered pockets.
The panel above is “Christmas Wonders” by stofffabrics.com. It is a Danish design. I love how the number on the calendar are all jumbled, just like the numbers on the European paper advent calendars.
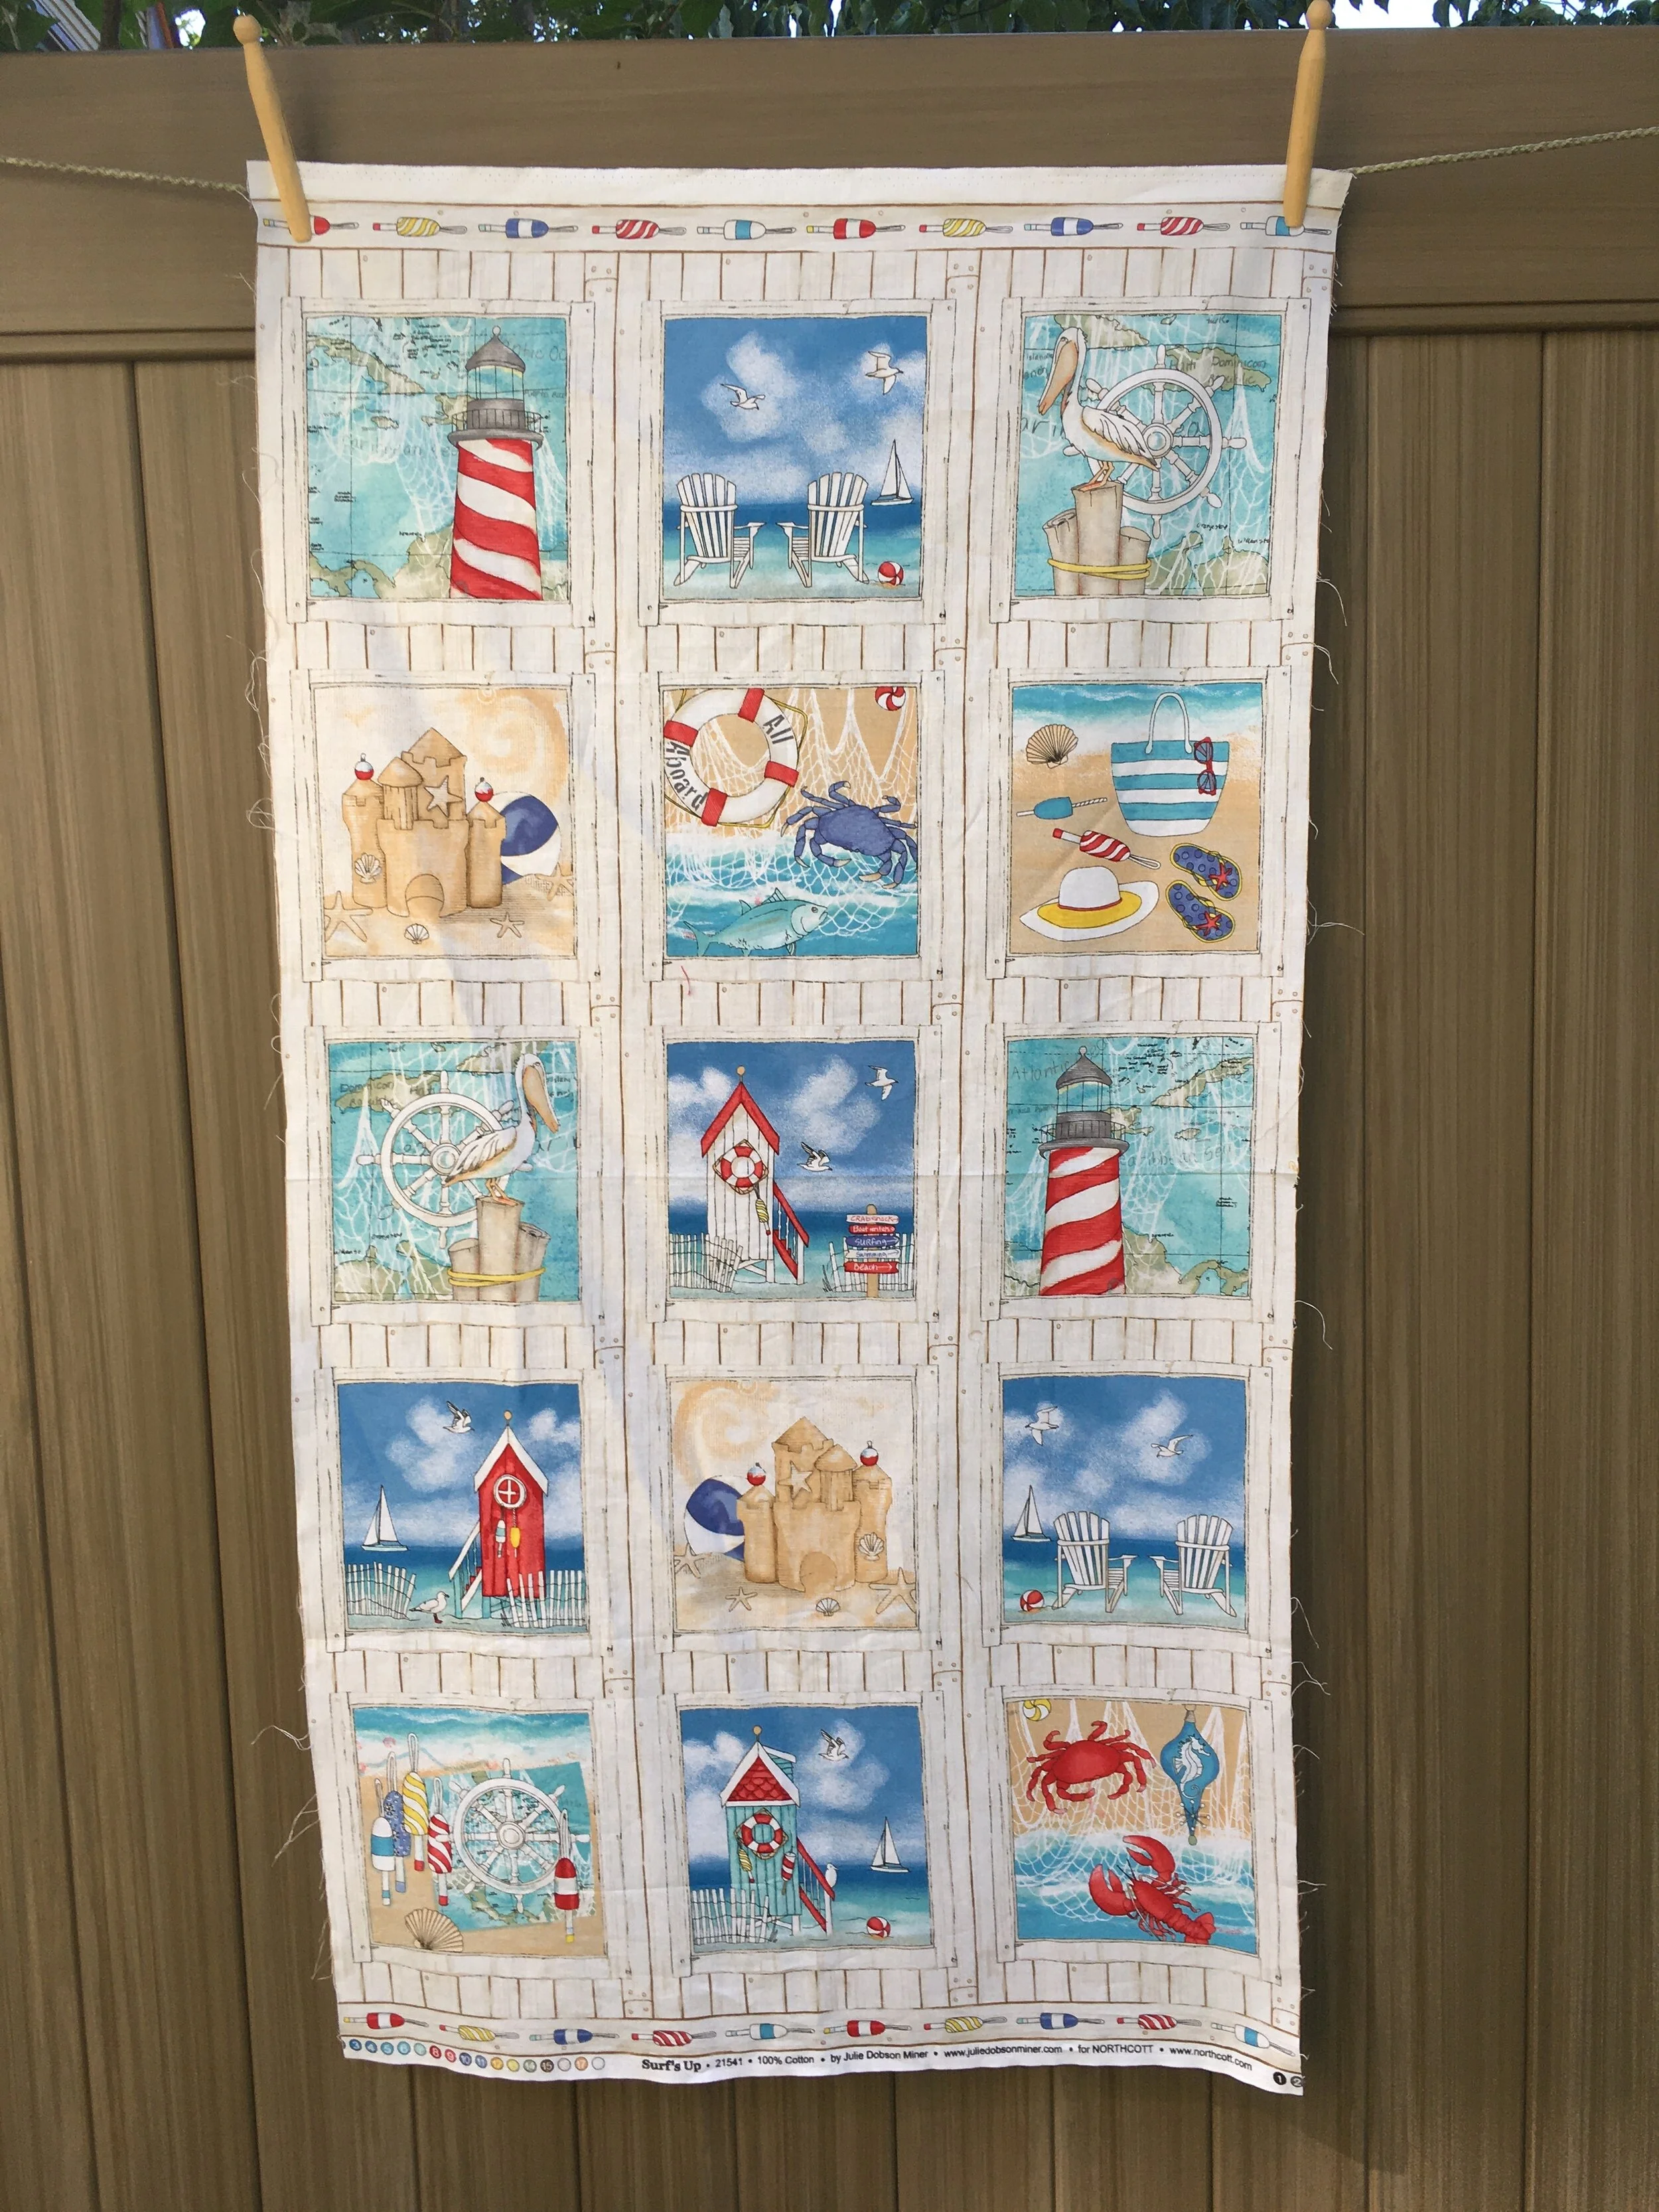
Here is the other panel I used. “Winterland” by Antoana Oreski for Northcott Fabrics. If you click the link you can see the panel before it was folded. (I was so excited, I forget to snap a photo before I got to work)!

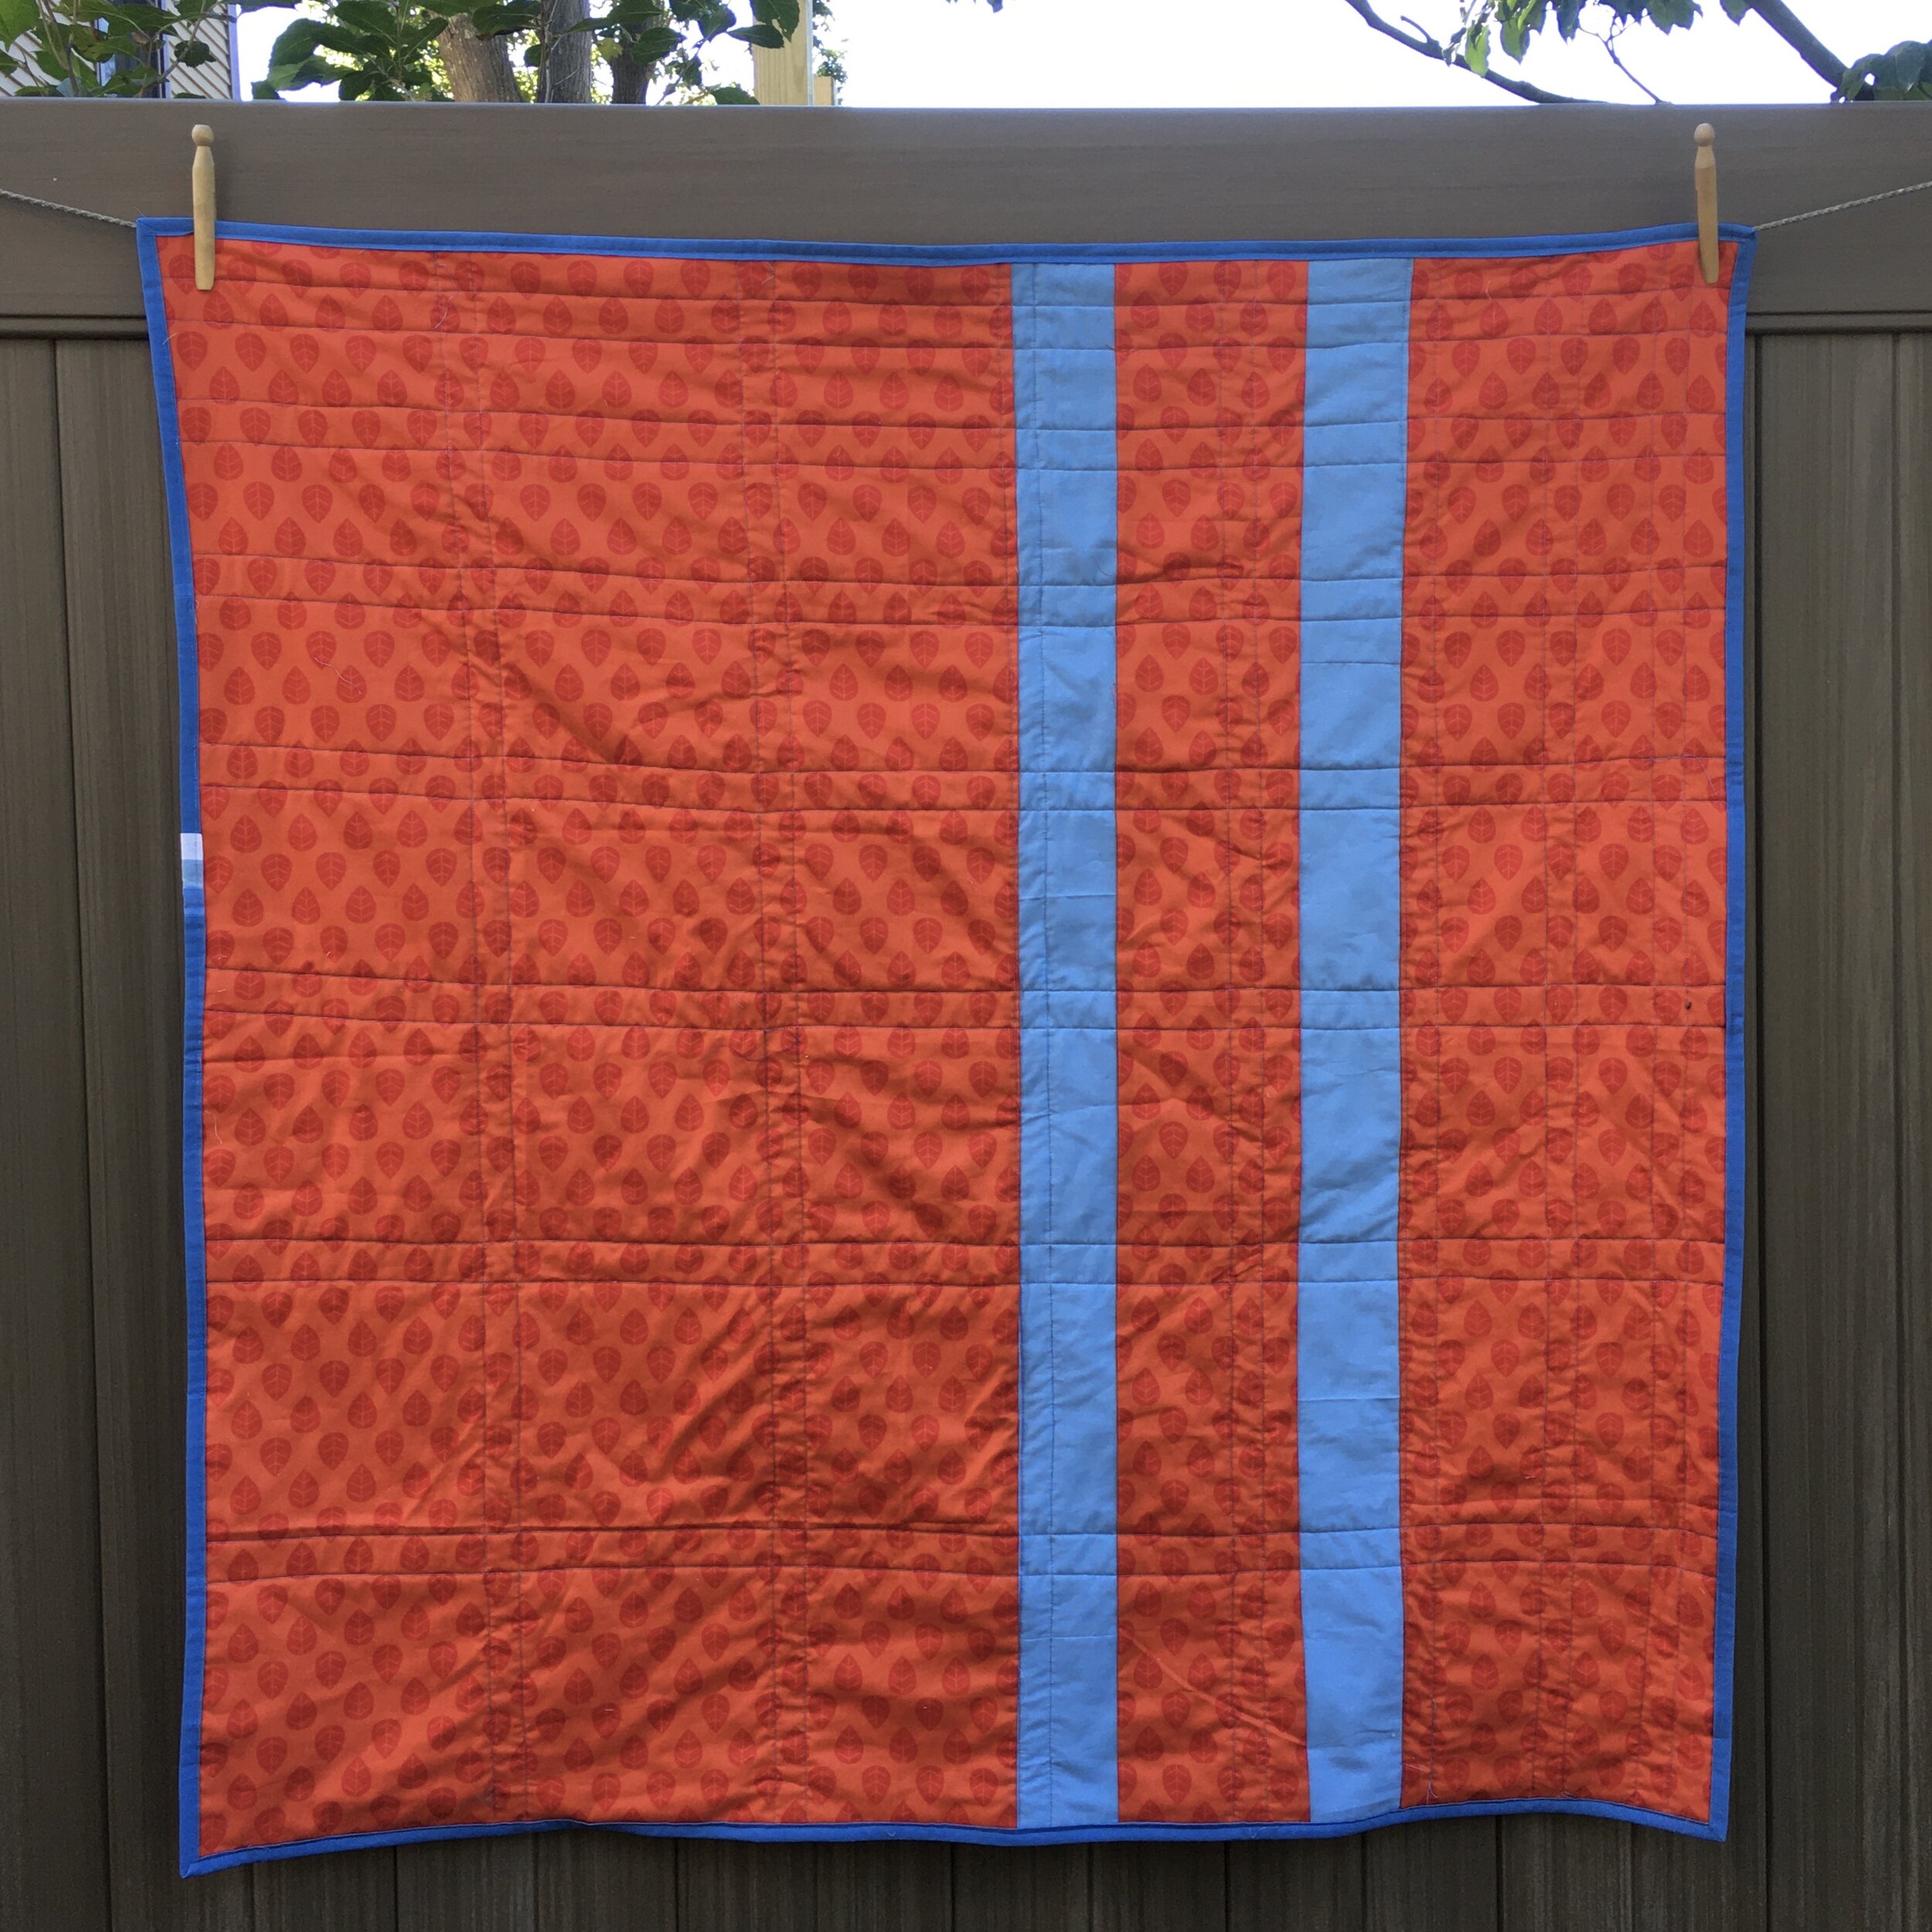
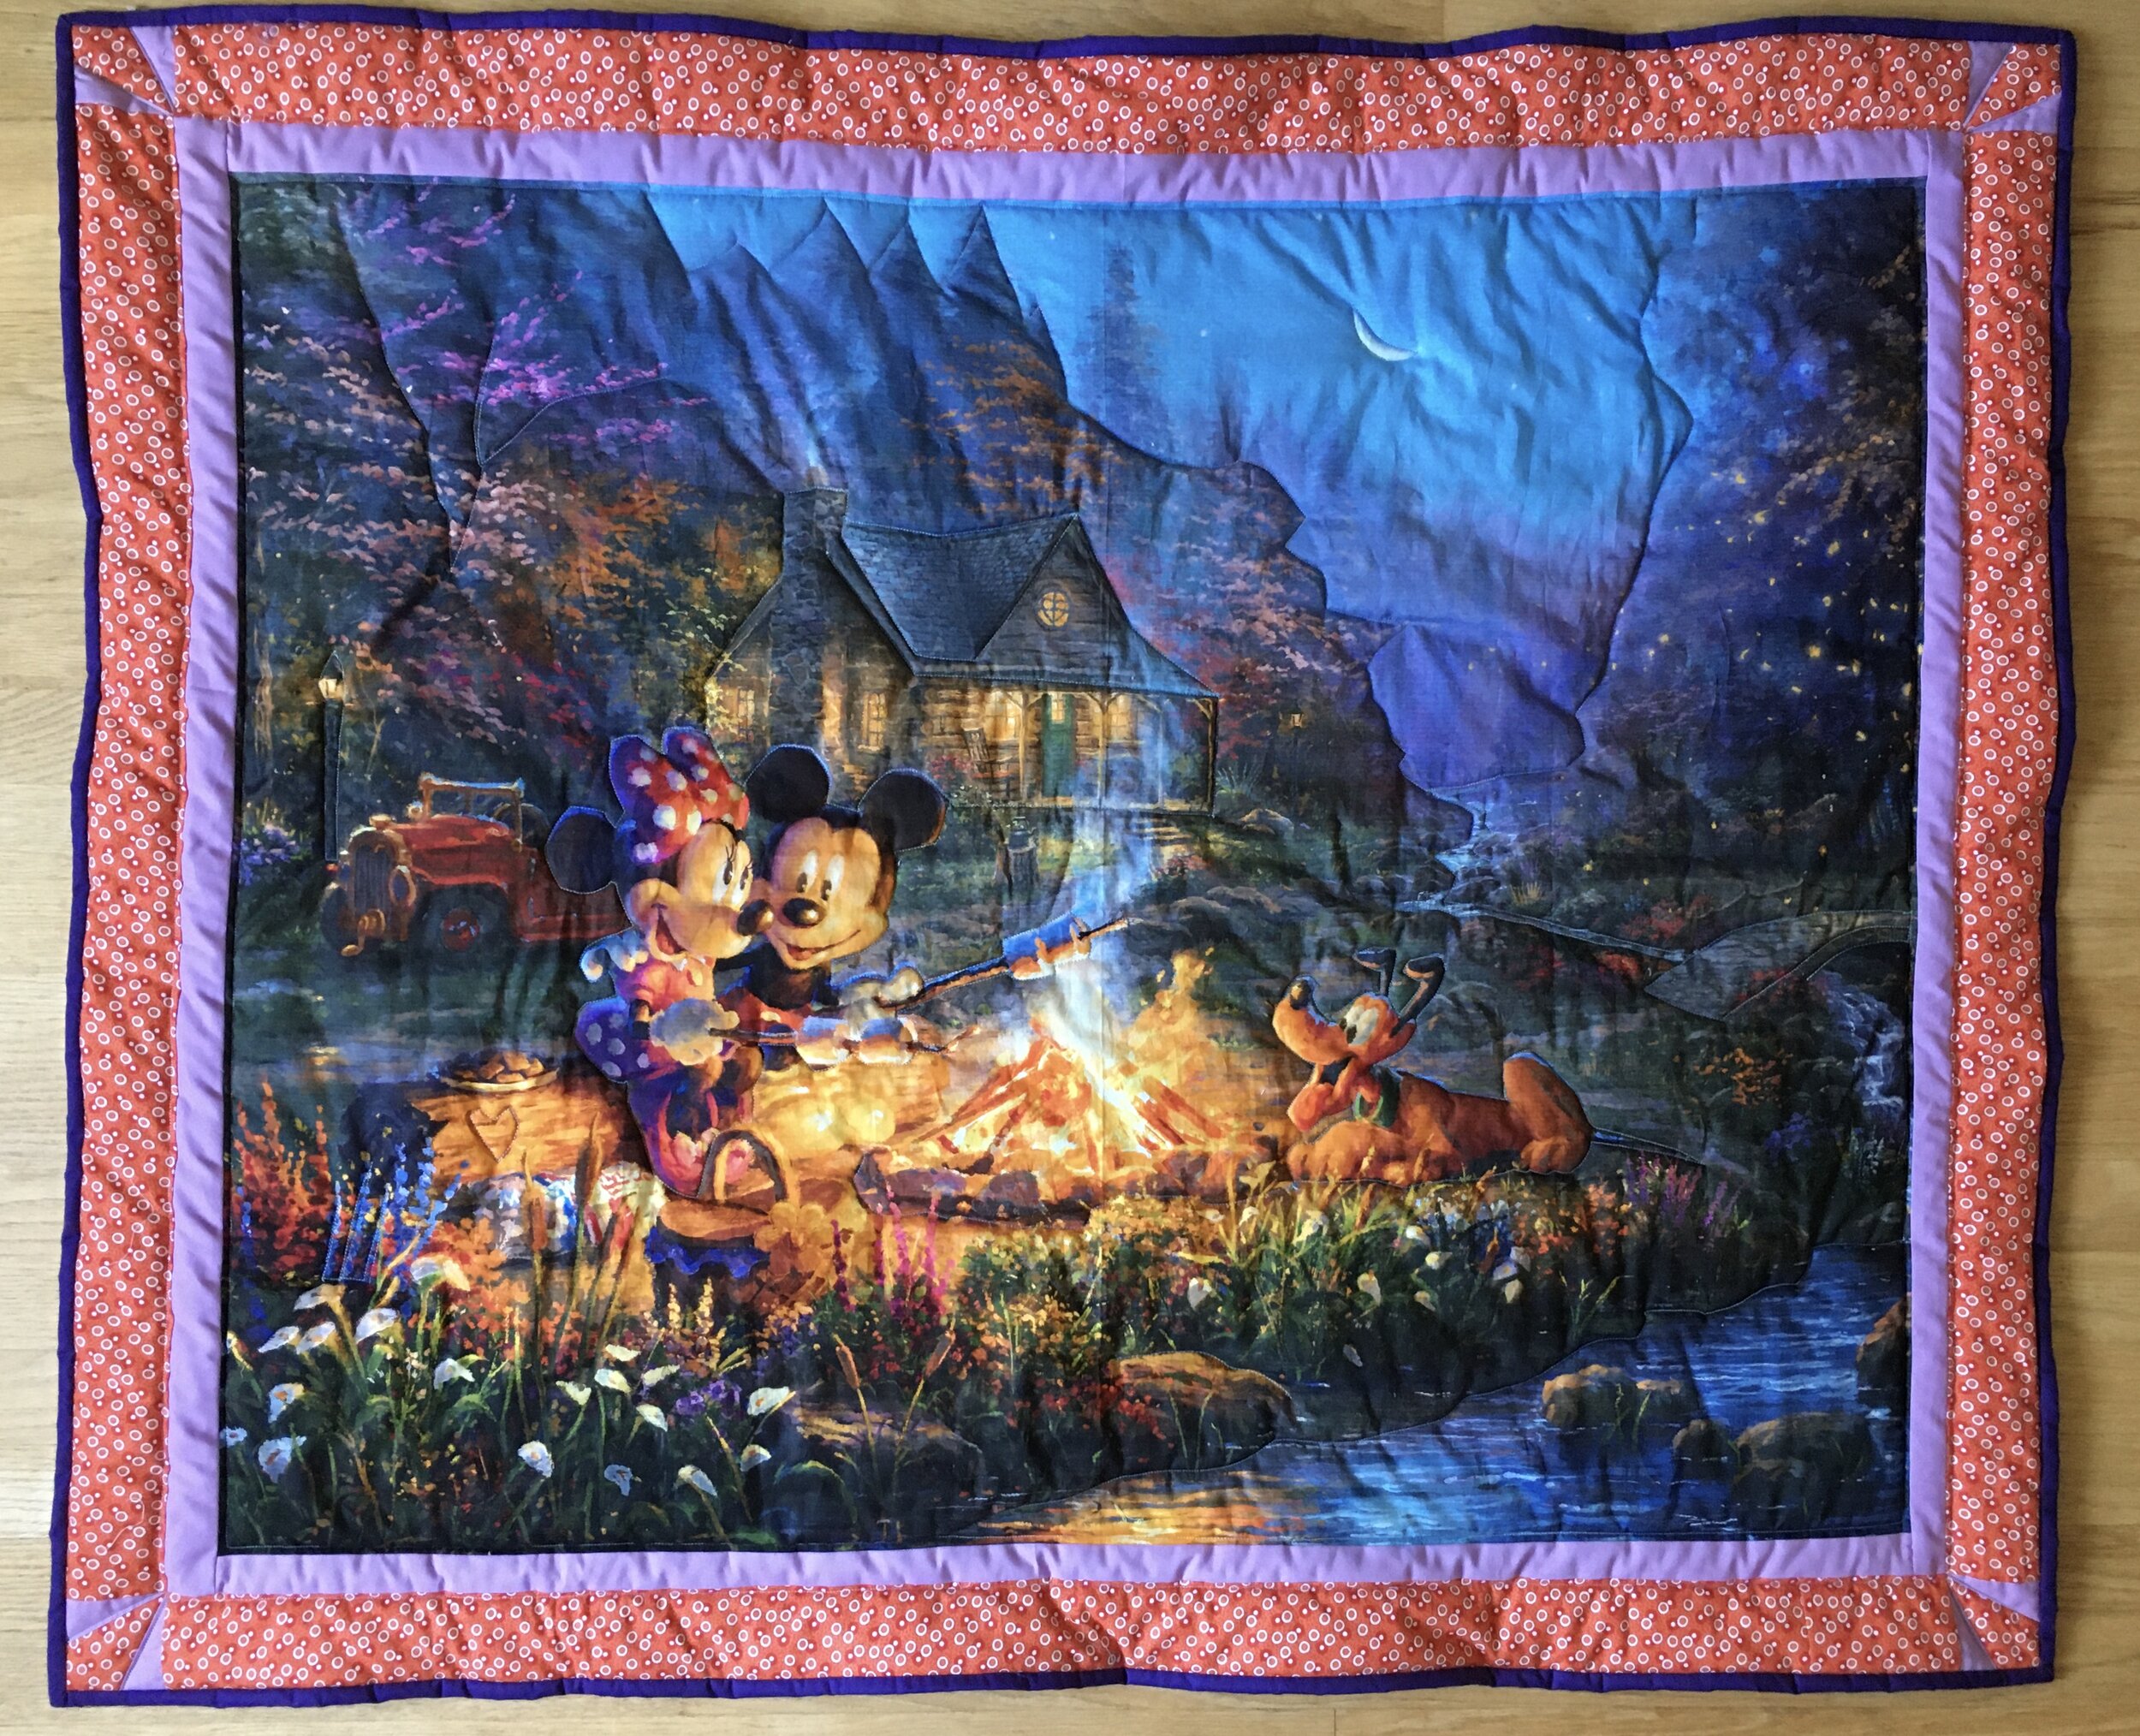
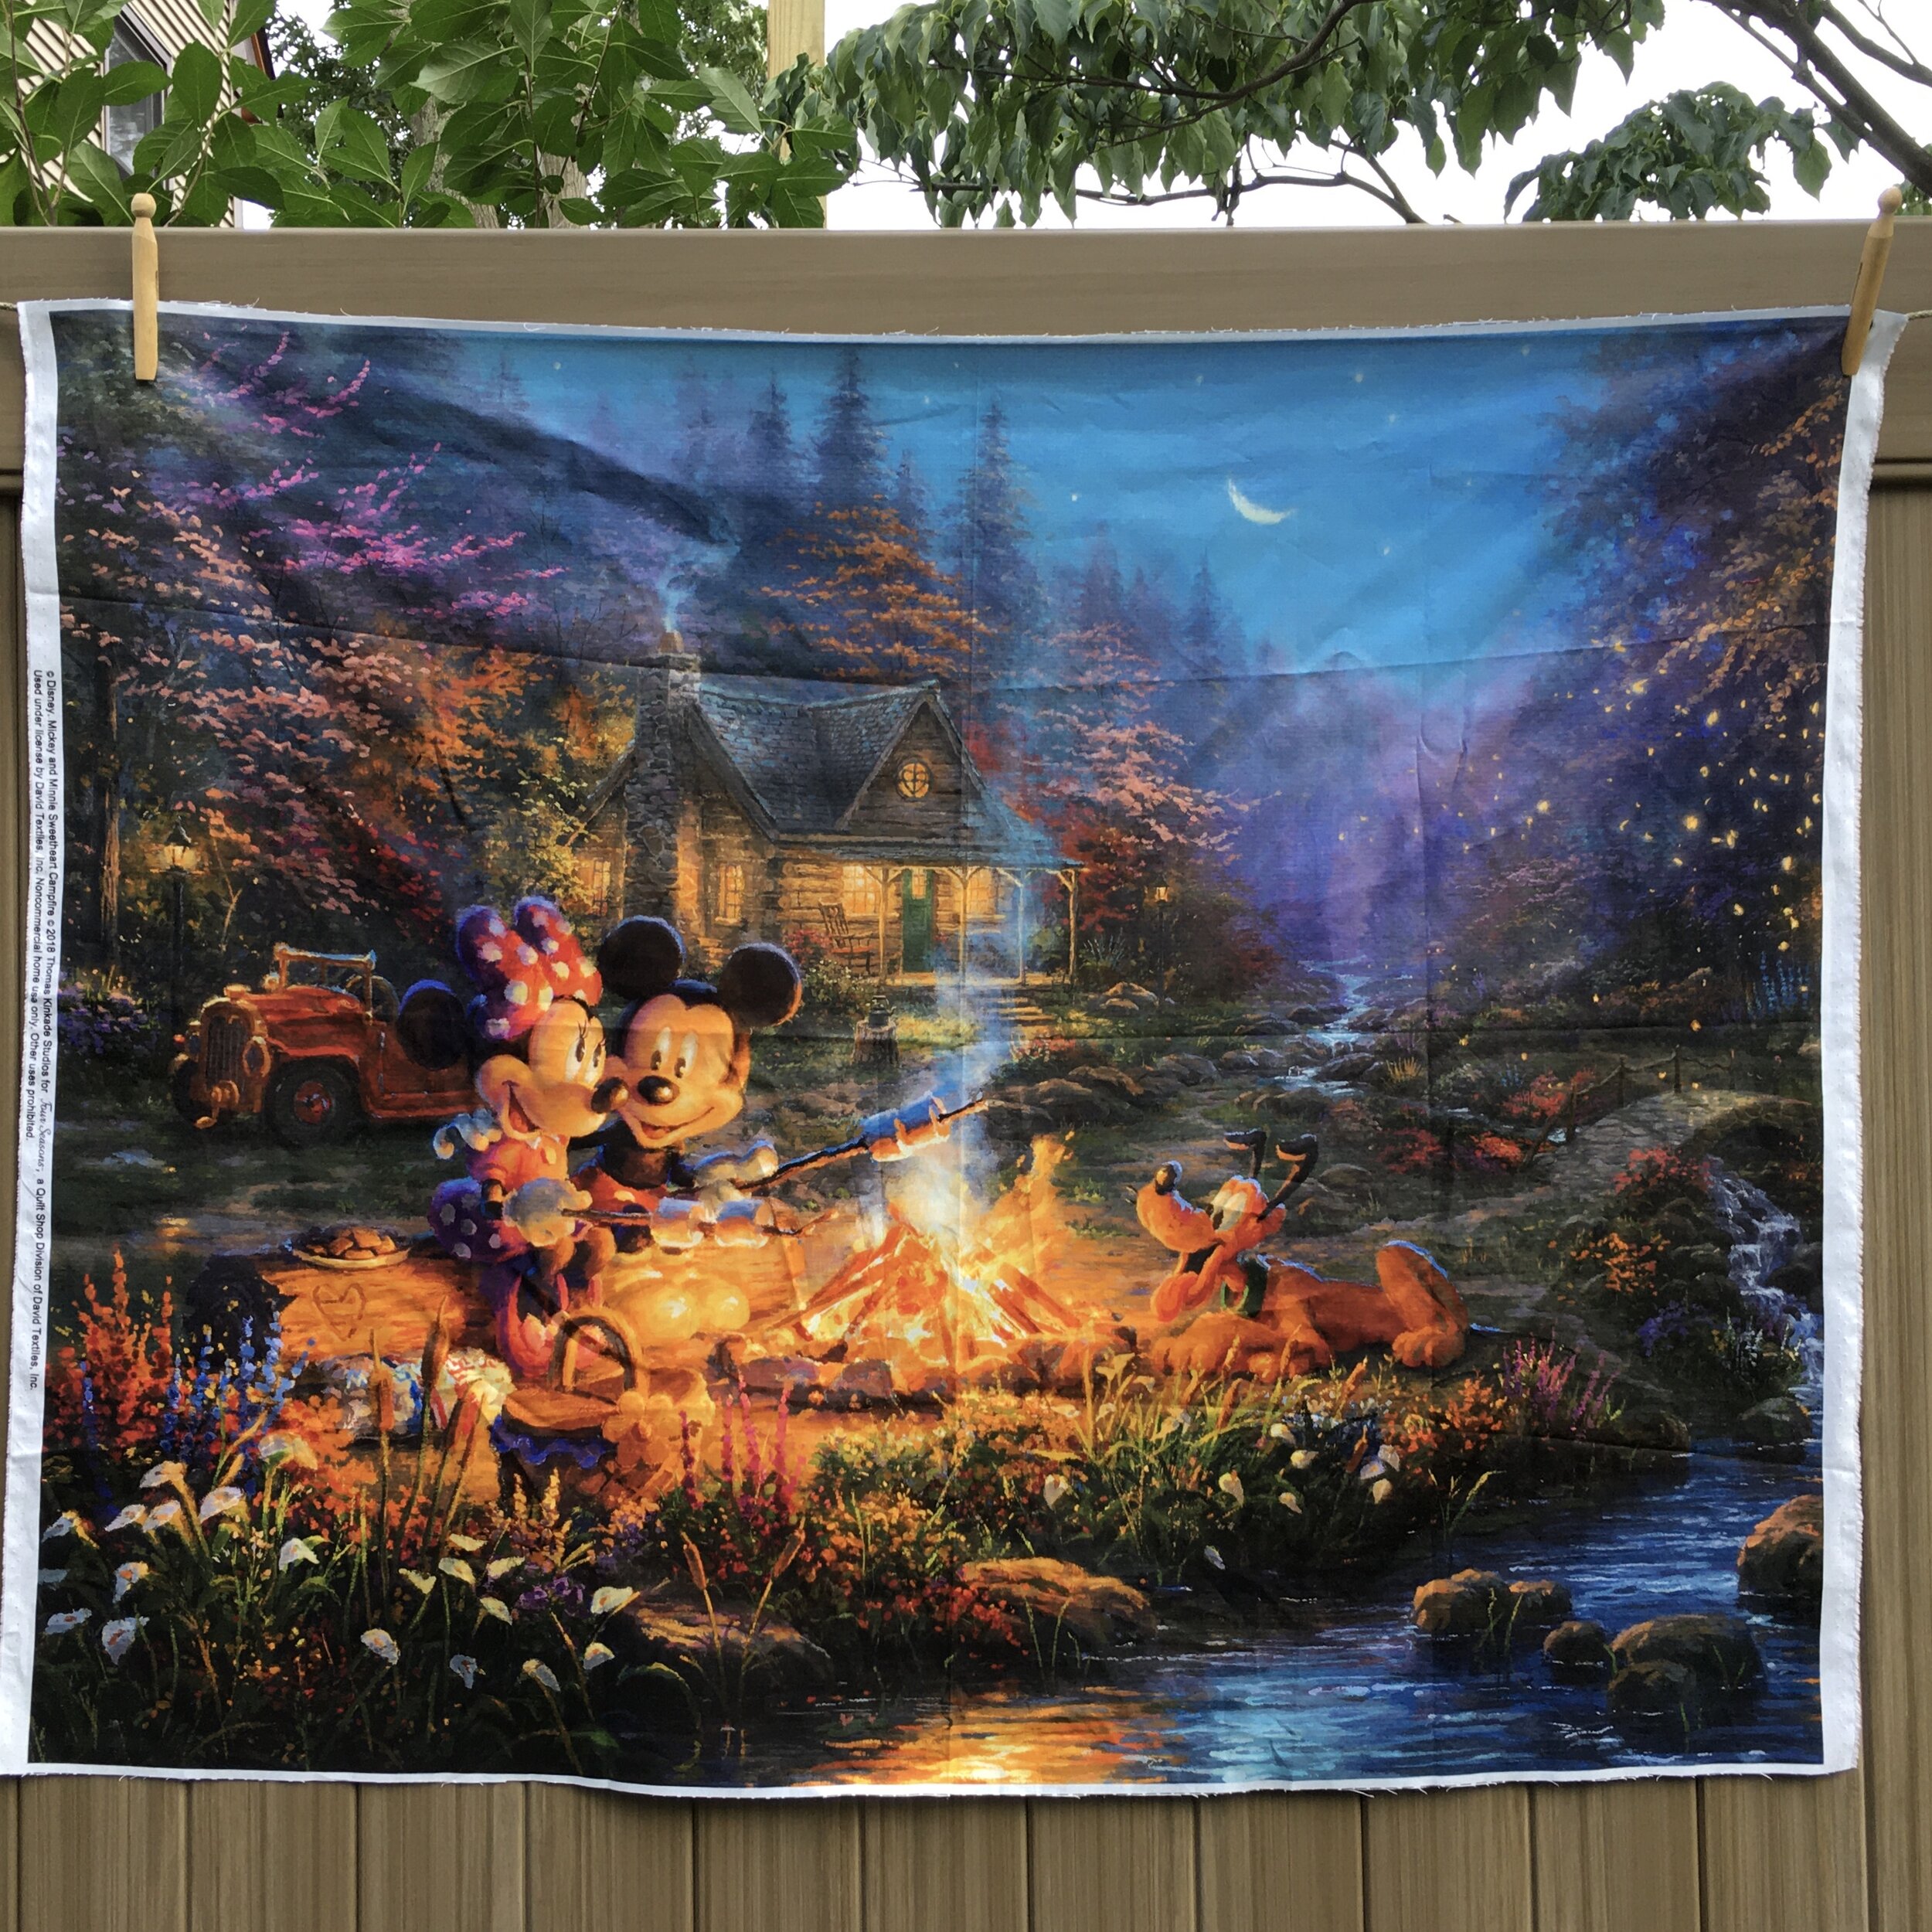
Fabric Panel Advent Calendar 21 1/4 x 22 1/4 inches
This calendar has the number on the pockets all in order!
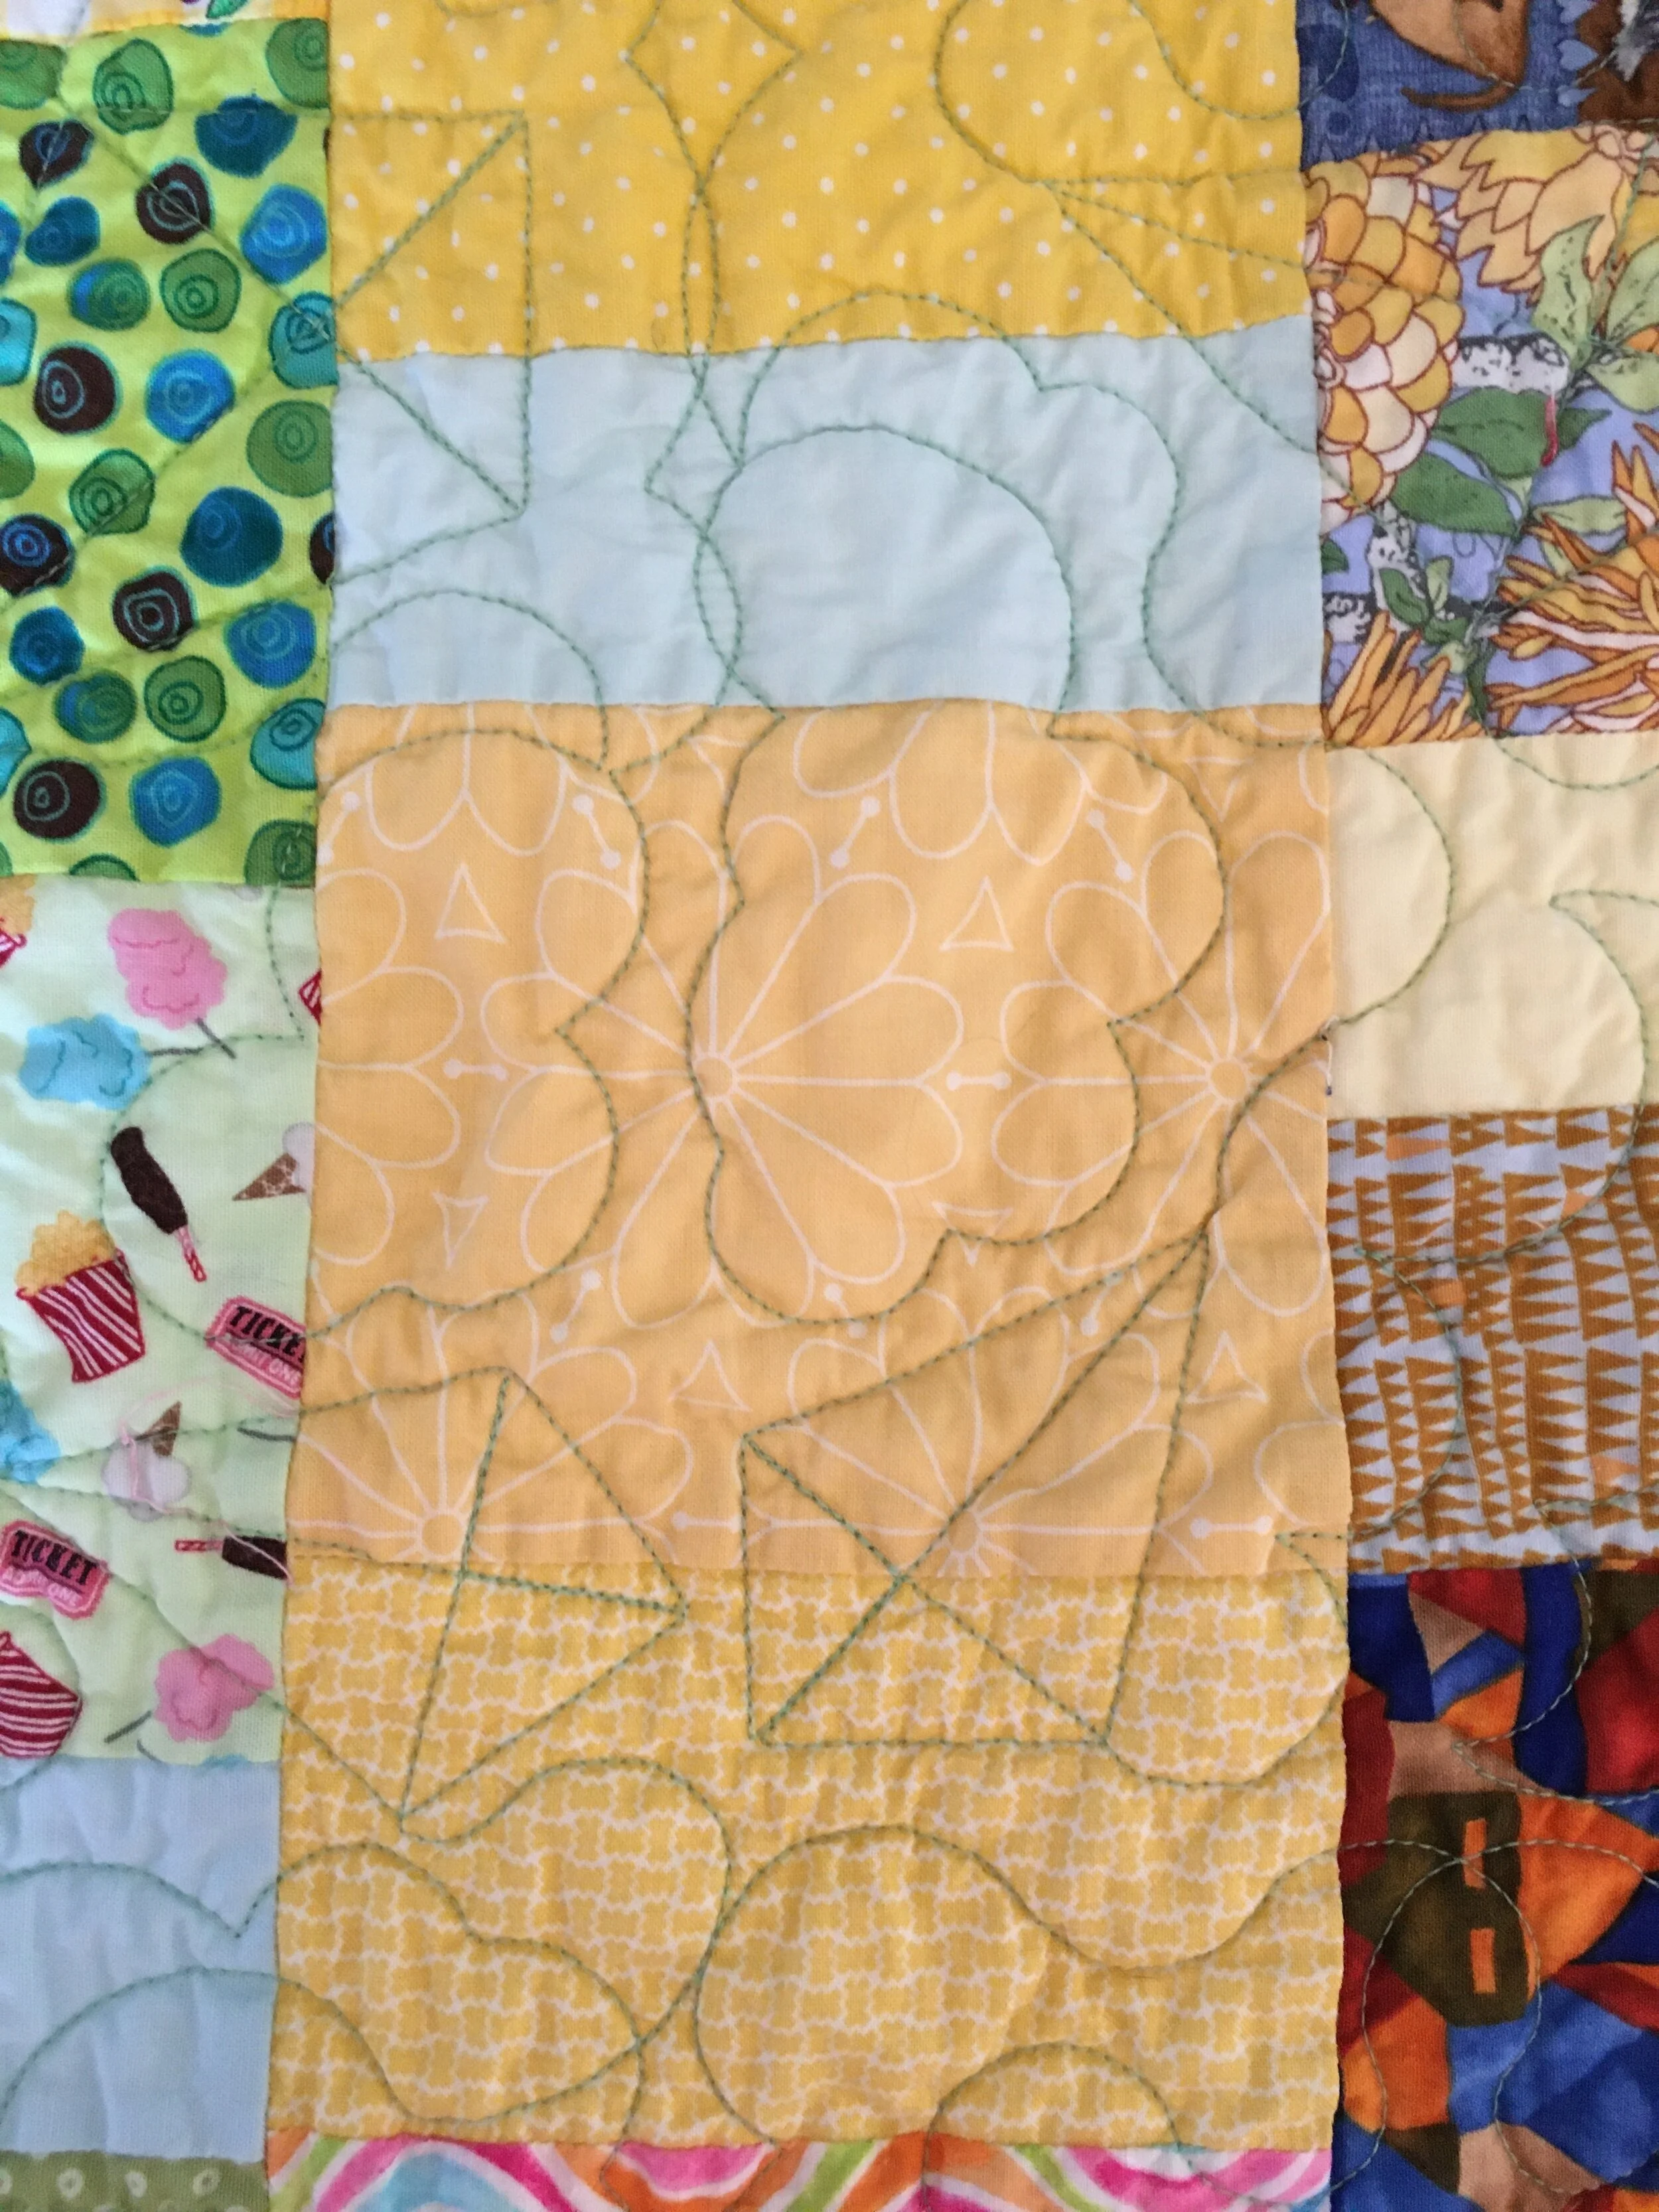
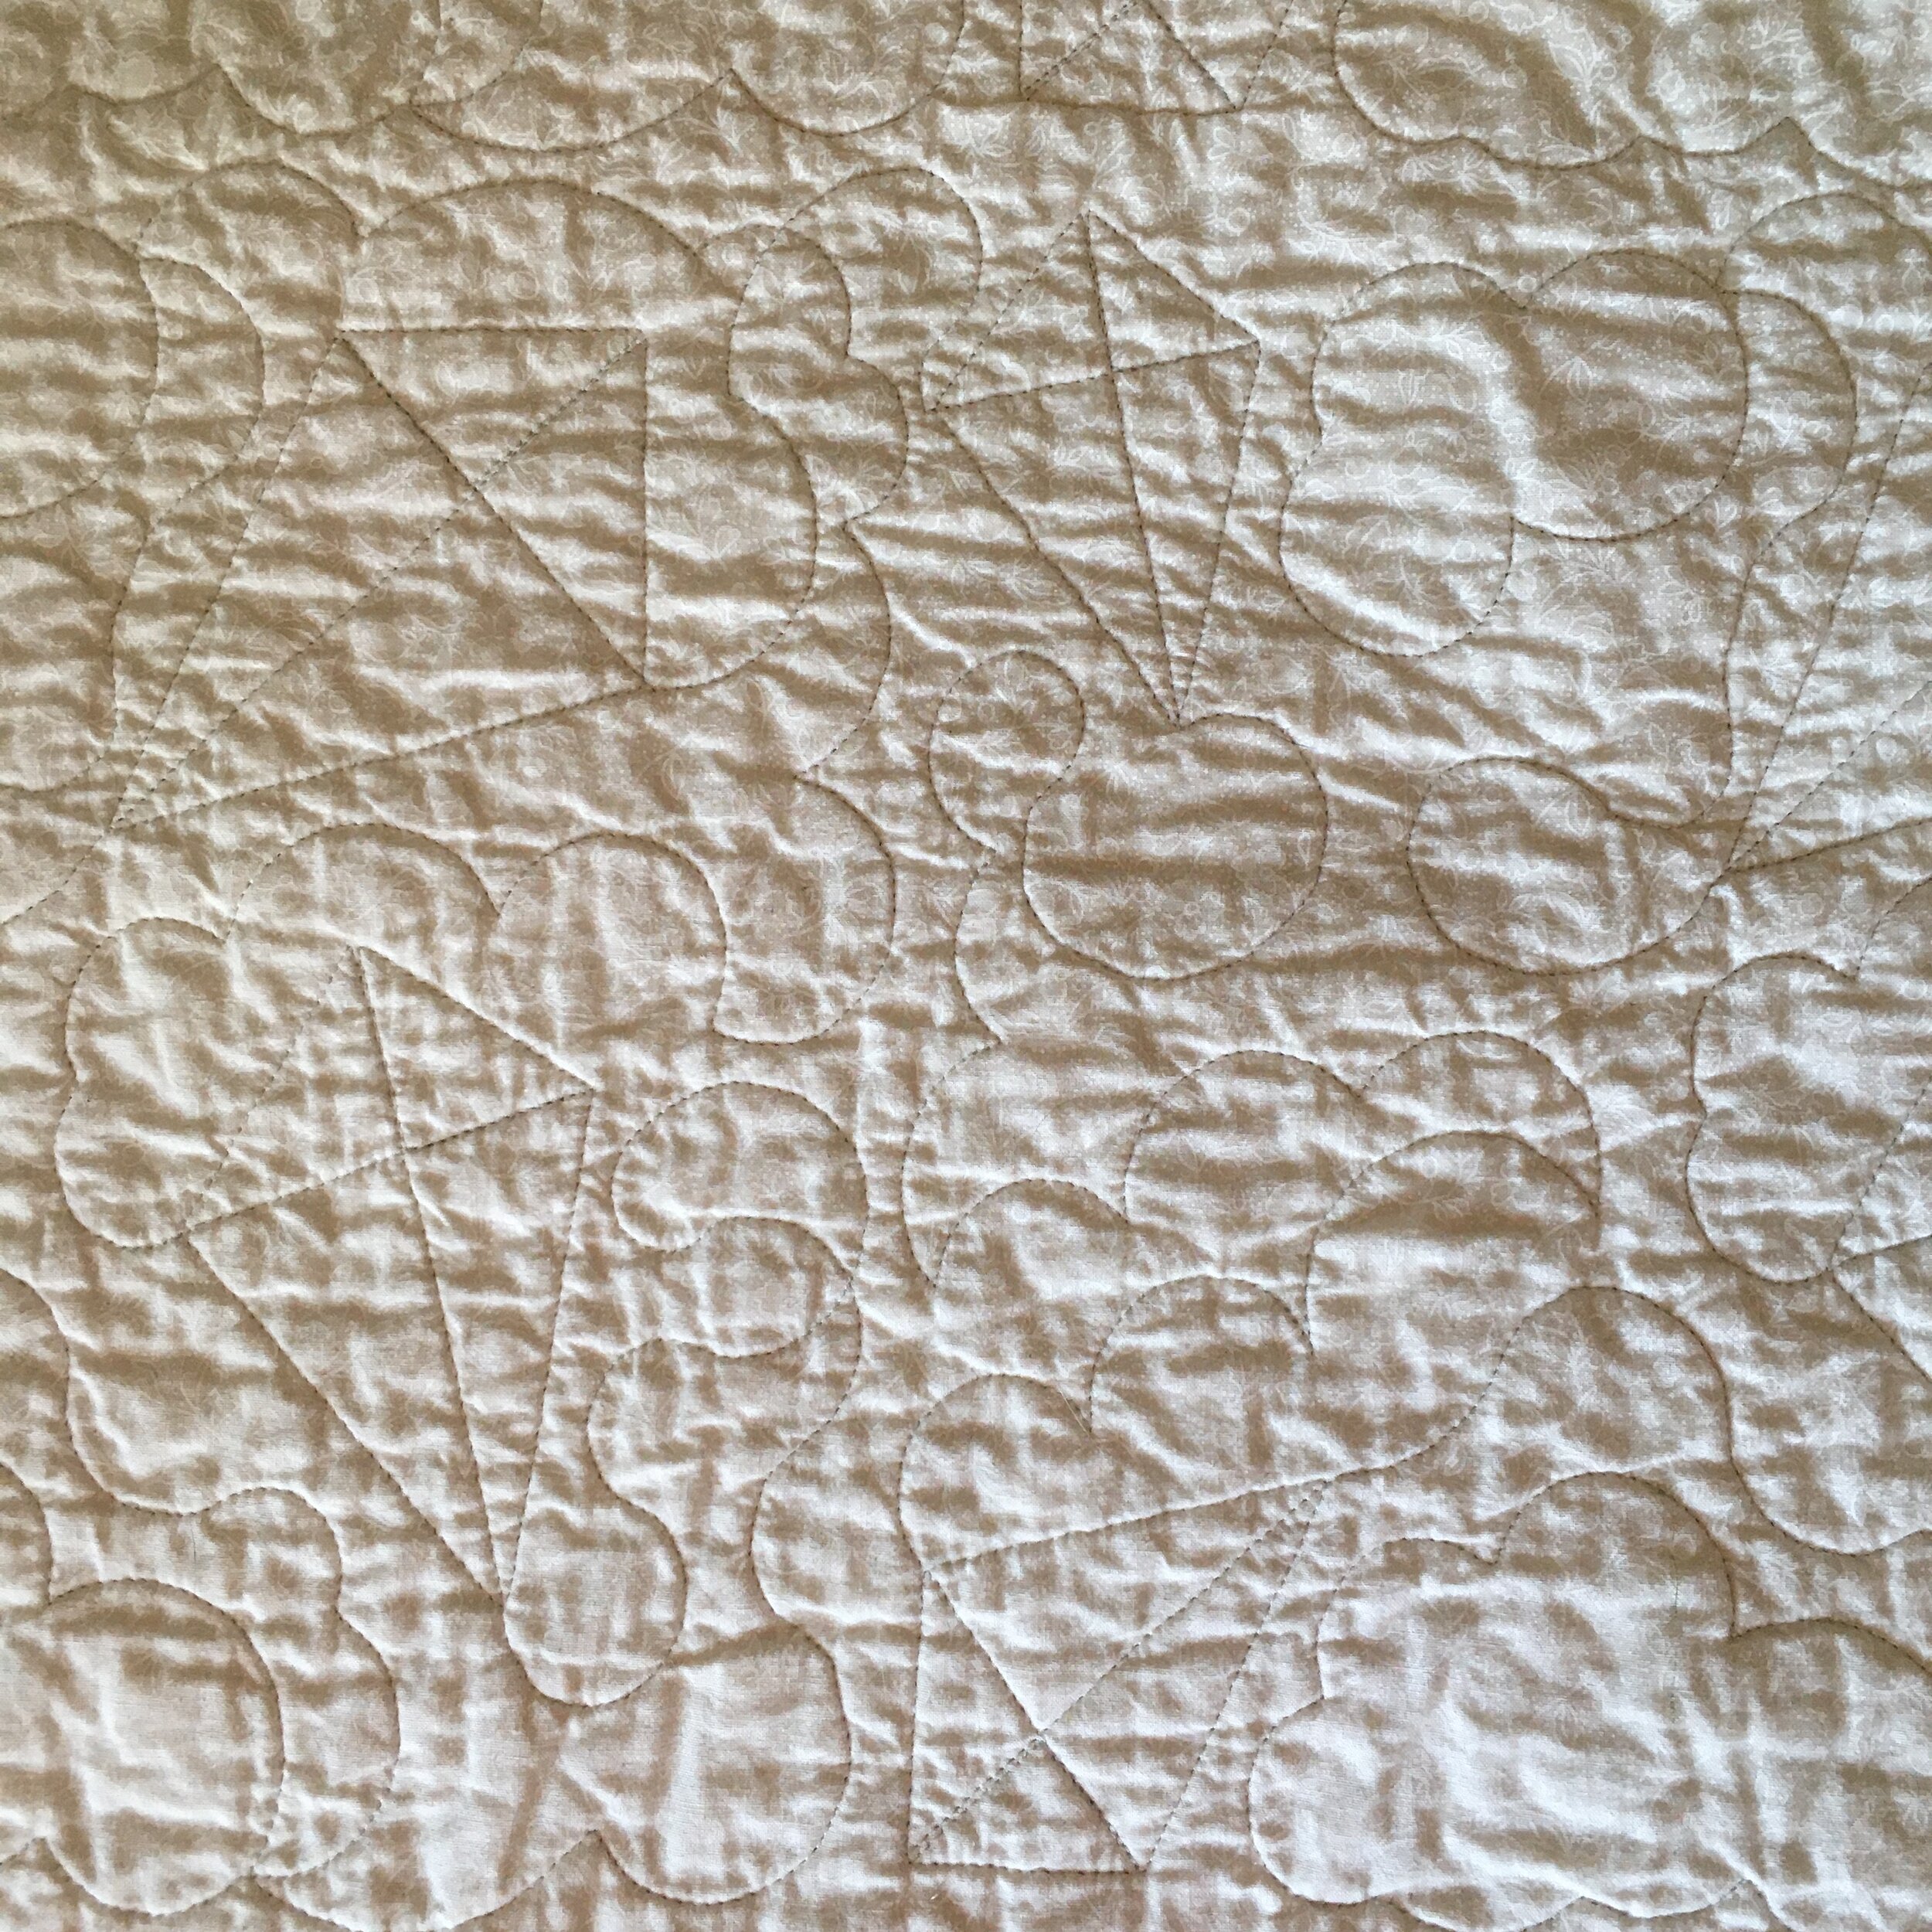
I machine quilted between the pockets and hand quilted the scenes at the top of each calendar.
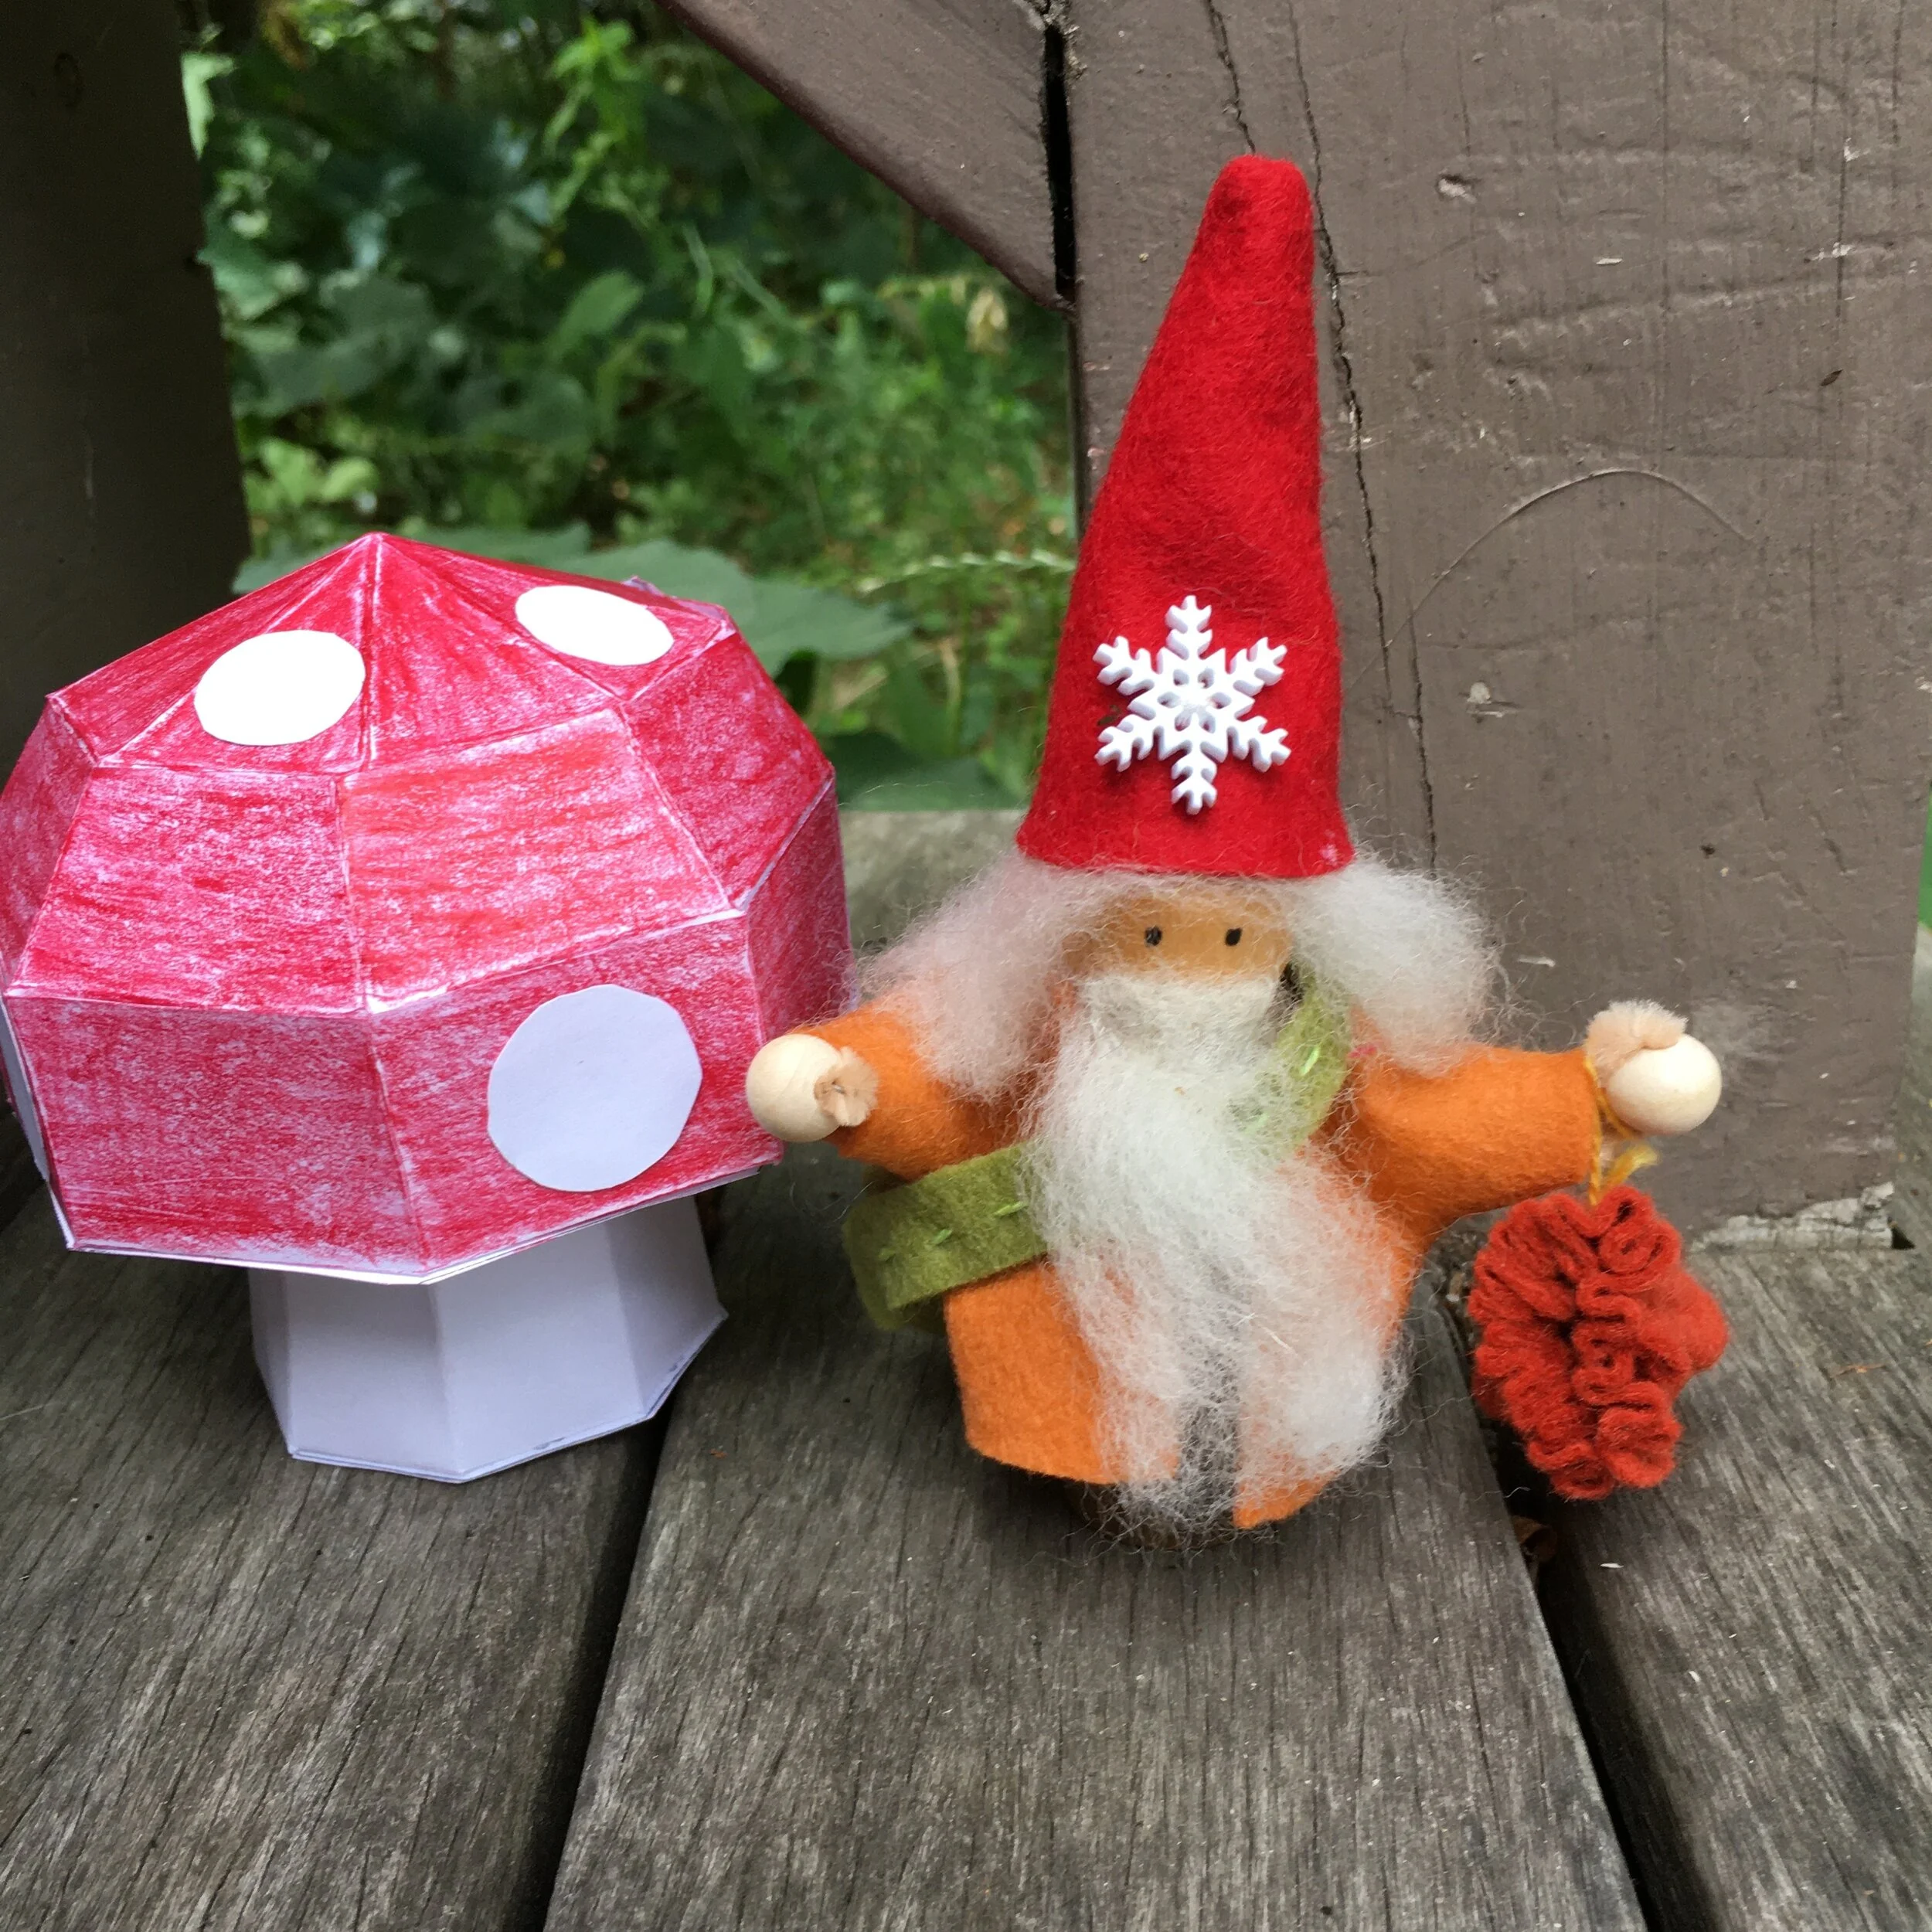
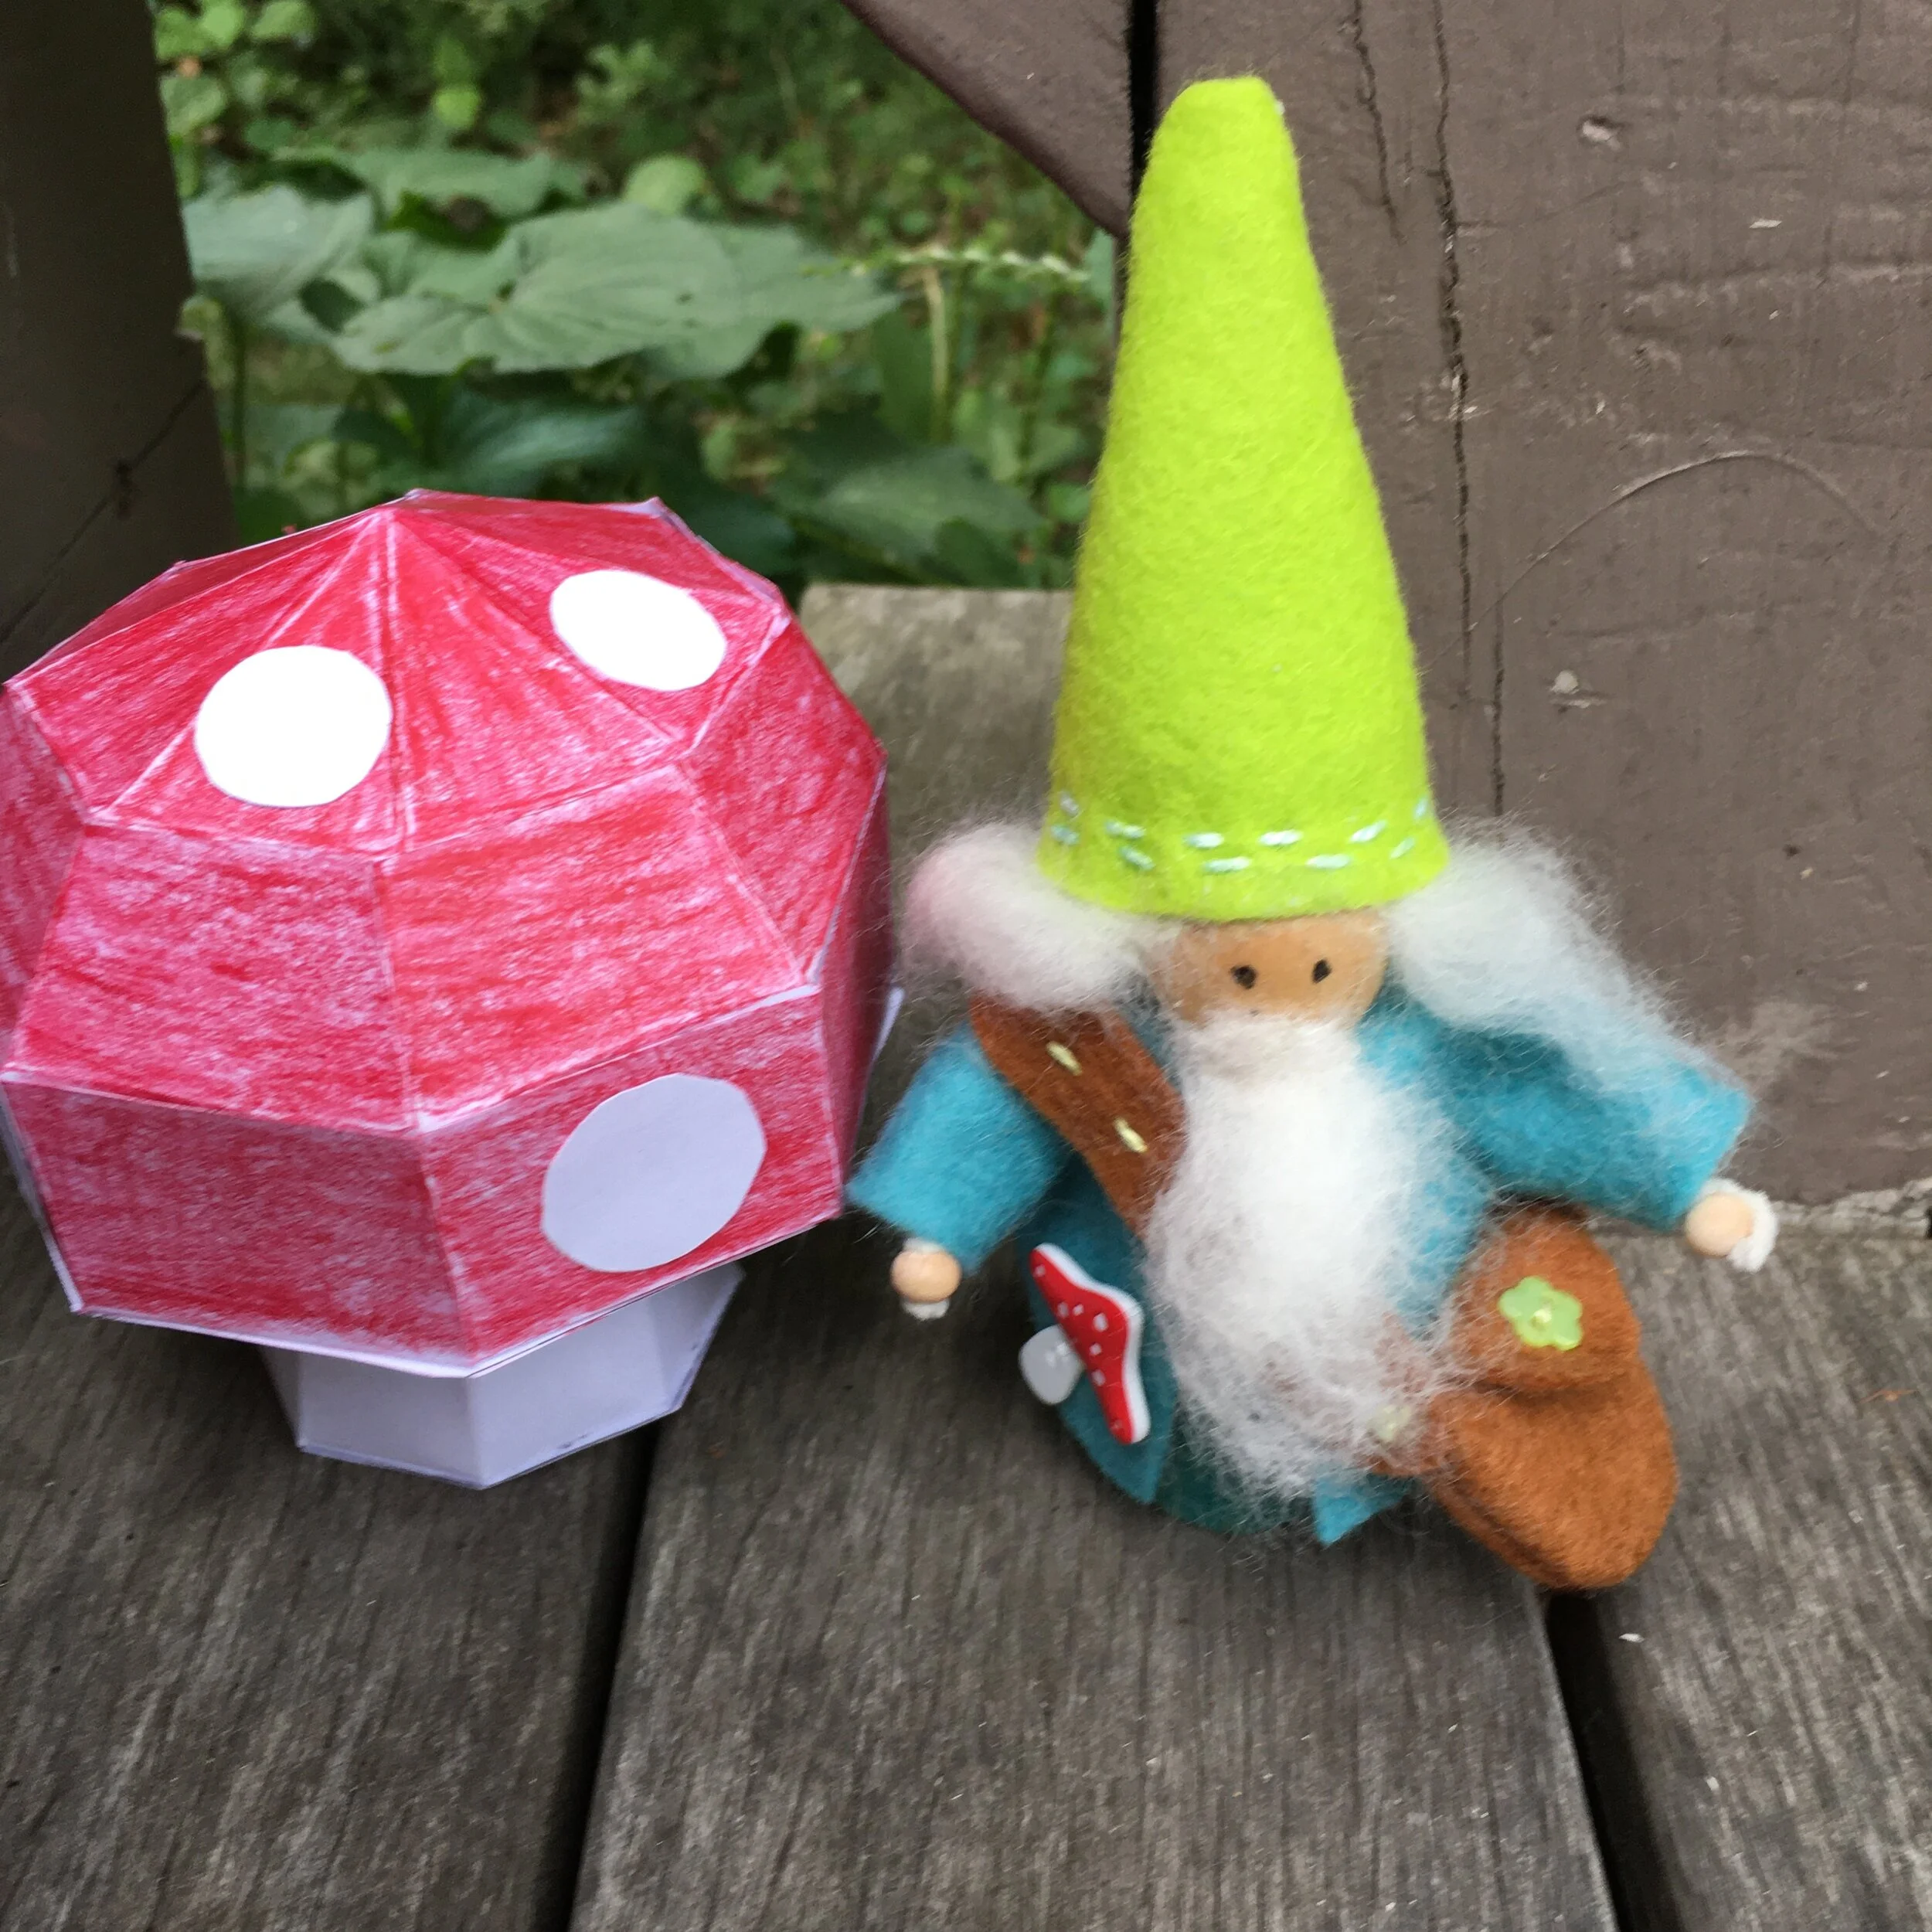
I’ve been thinking about what could be put in the Advent calendar pockets. The pockets are a good size (2 1/2 x 3 inches on the upper one and 2 1/2 x 2 1/2 inches on the bottom one). My favorite idea is a mishmash of things. An occasional piece of candy, a card listing an item to give to a food pantry, instructions for a Christmas craft or a letter or a drawing to send to a family member who isn’t part of your household. I also think it would be fun to add some pre-Christmas “chores” such as decorating the tree, baking Christmas cookies, tidying up the toy shelf and deciding which toys have been outgrown or no longer played with that might be donated, even cleaning the child’s bedroom!
Both these fabric panels are from prior years, but you can probably find them by searching their titles. And there are other panels available which are current.
This is such a fun project and it will become a family heirloom with endless possibilities for what can be tucked in each pocket, counting down the days until Christmas!