
Summer is almost here and I’ve been thinking about Kenneth Grahame”s book Wind in the Willows—the original version with drawings by Ernest Shepherd. (He illustrated the original Winnie the Pooh too). I do really like Mole and Ratty. Toad, who is a free wheeling character (often literally!!), has always made me very anxious. But I think my favorite character is Badger. He is the calm and sensible one.
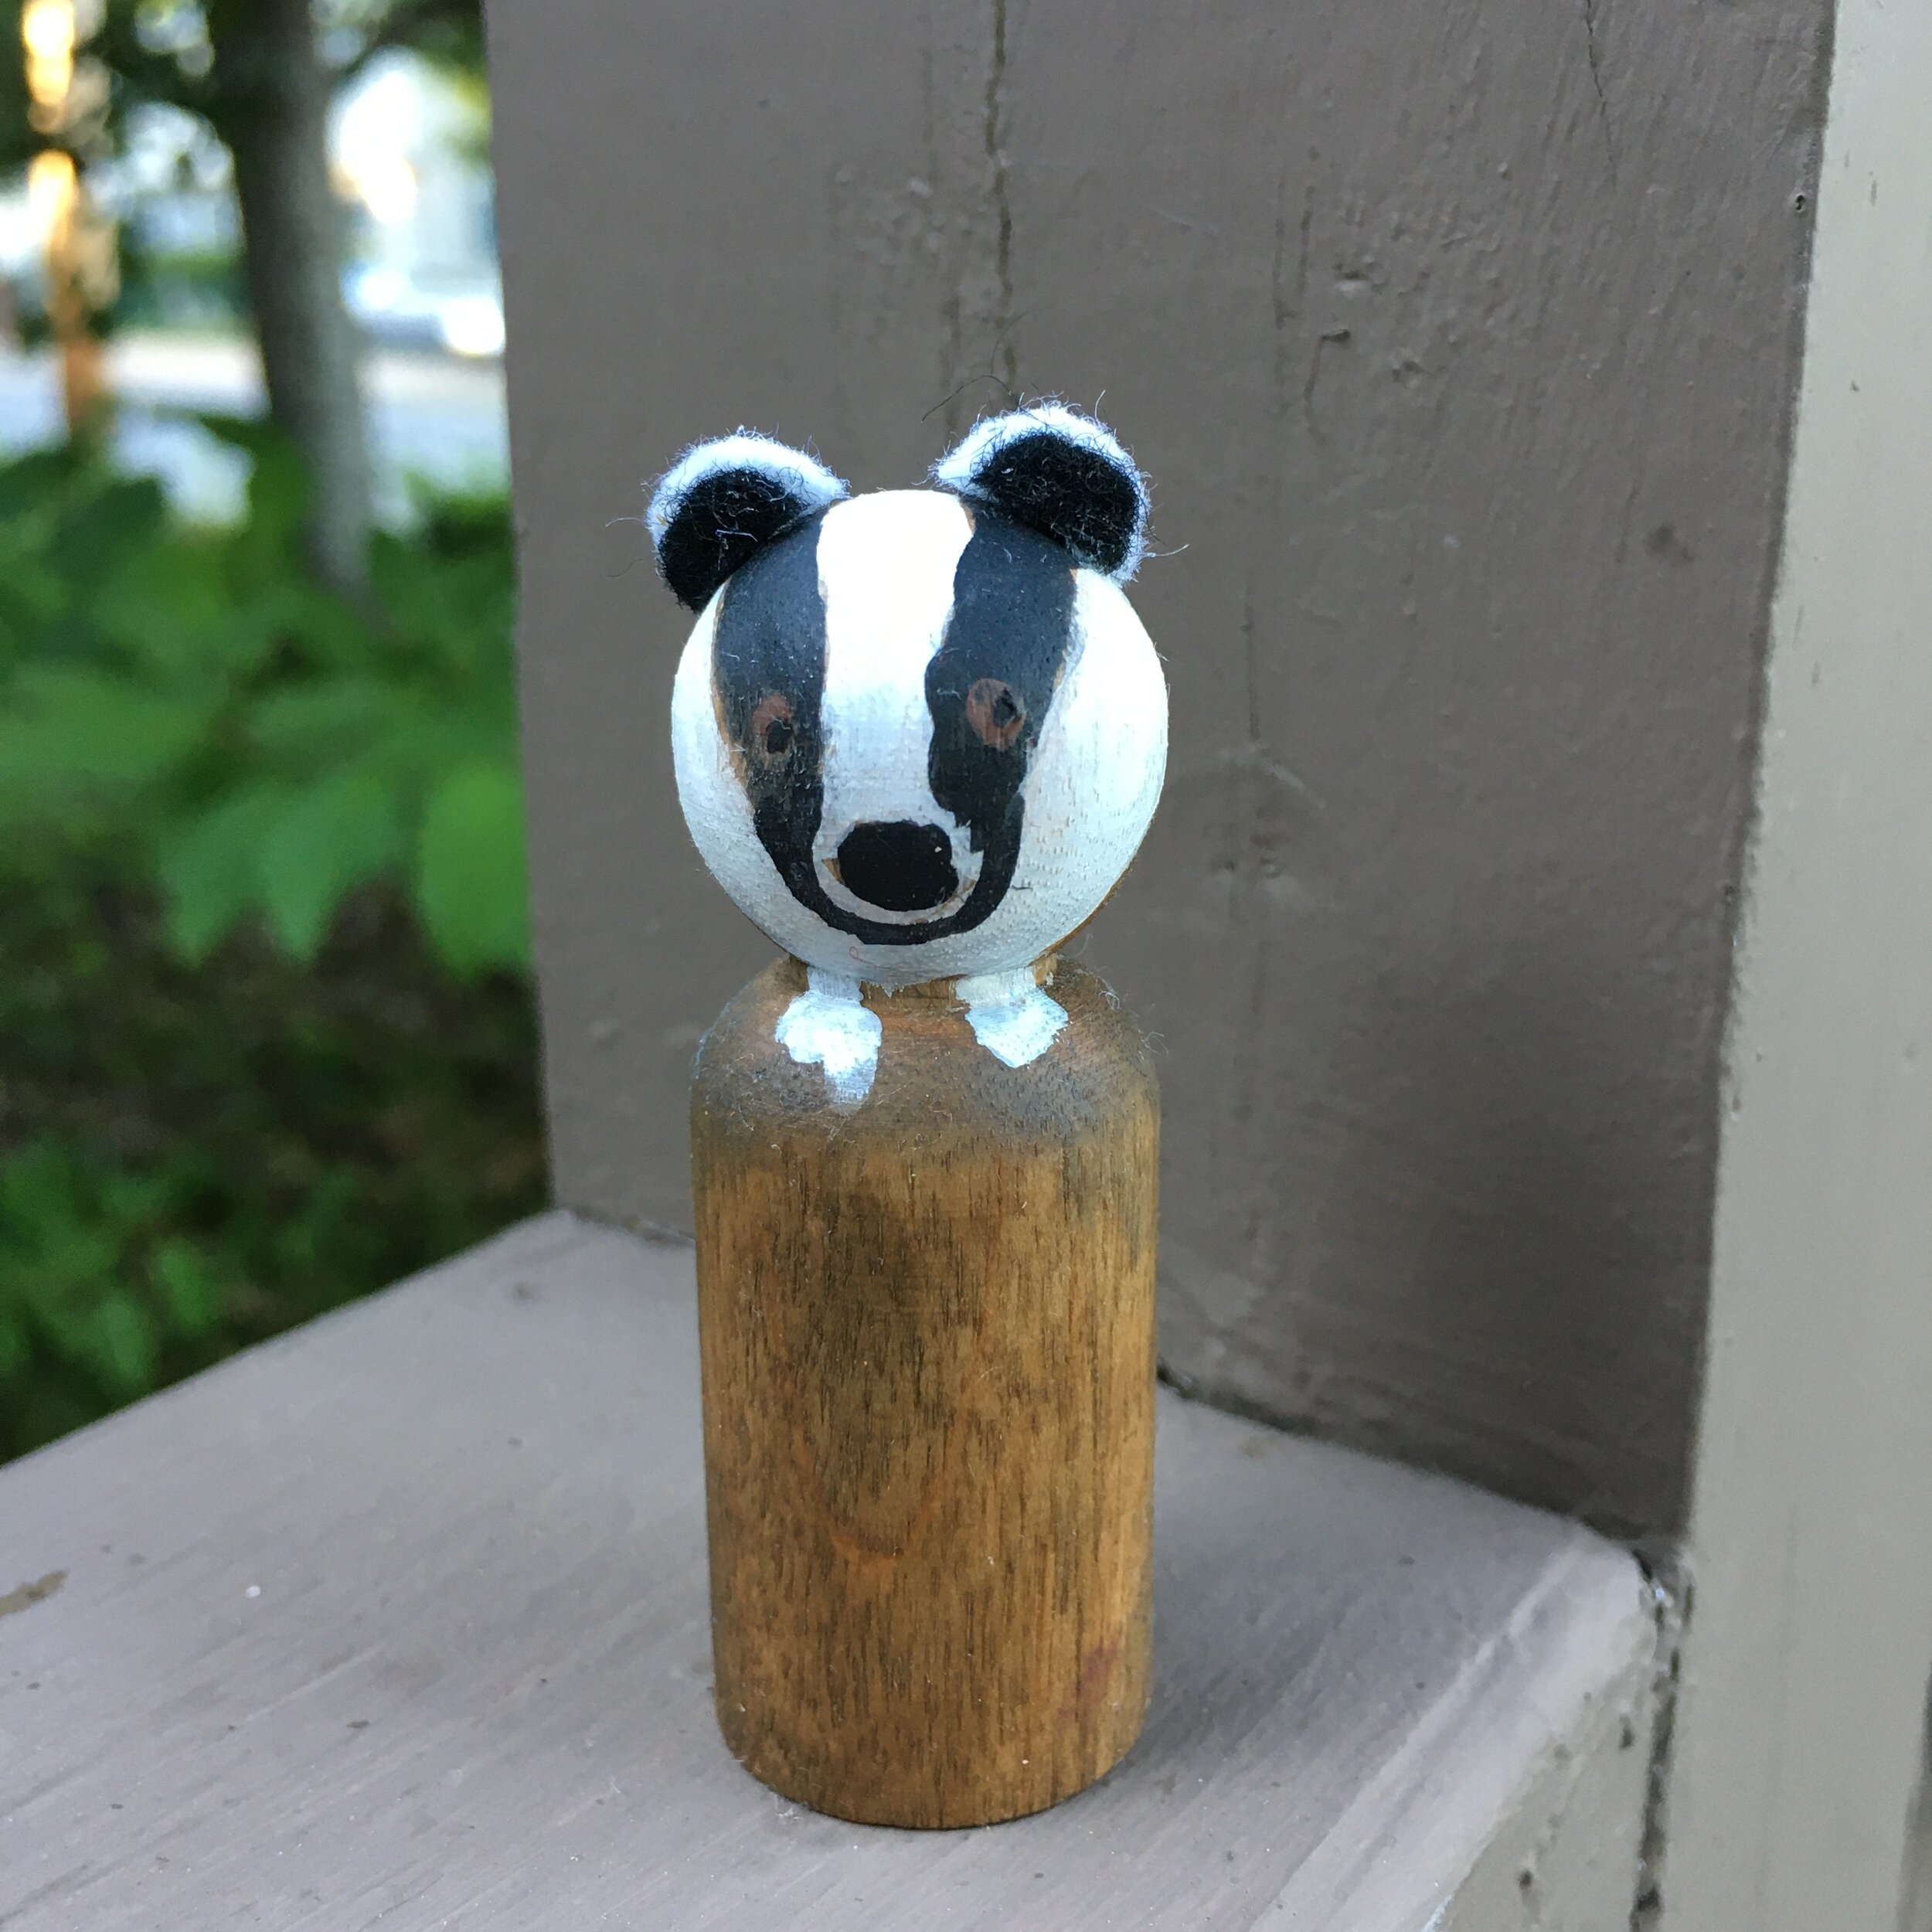
So I decided to make a badger peg doll.
I used the standard 2 3/8 inch boy peg. Here’s how you can make your own badger.
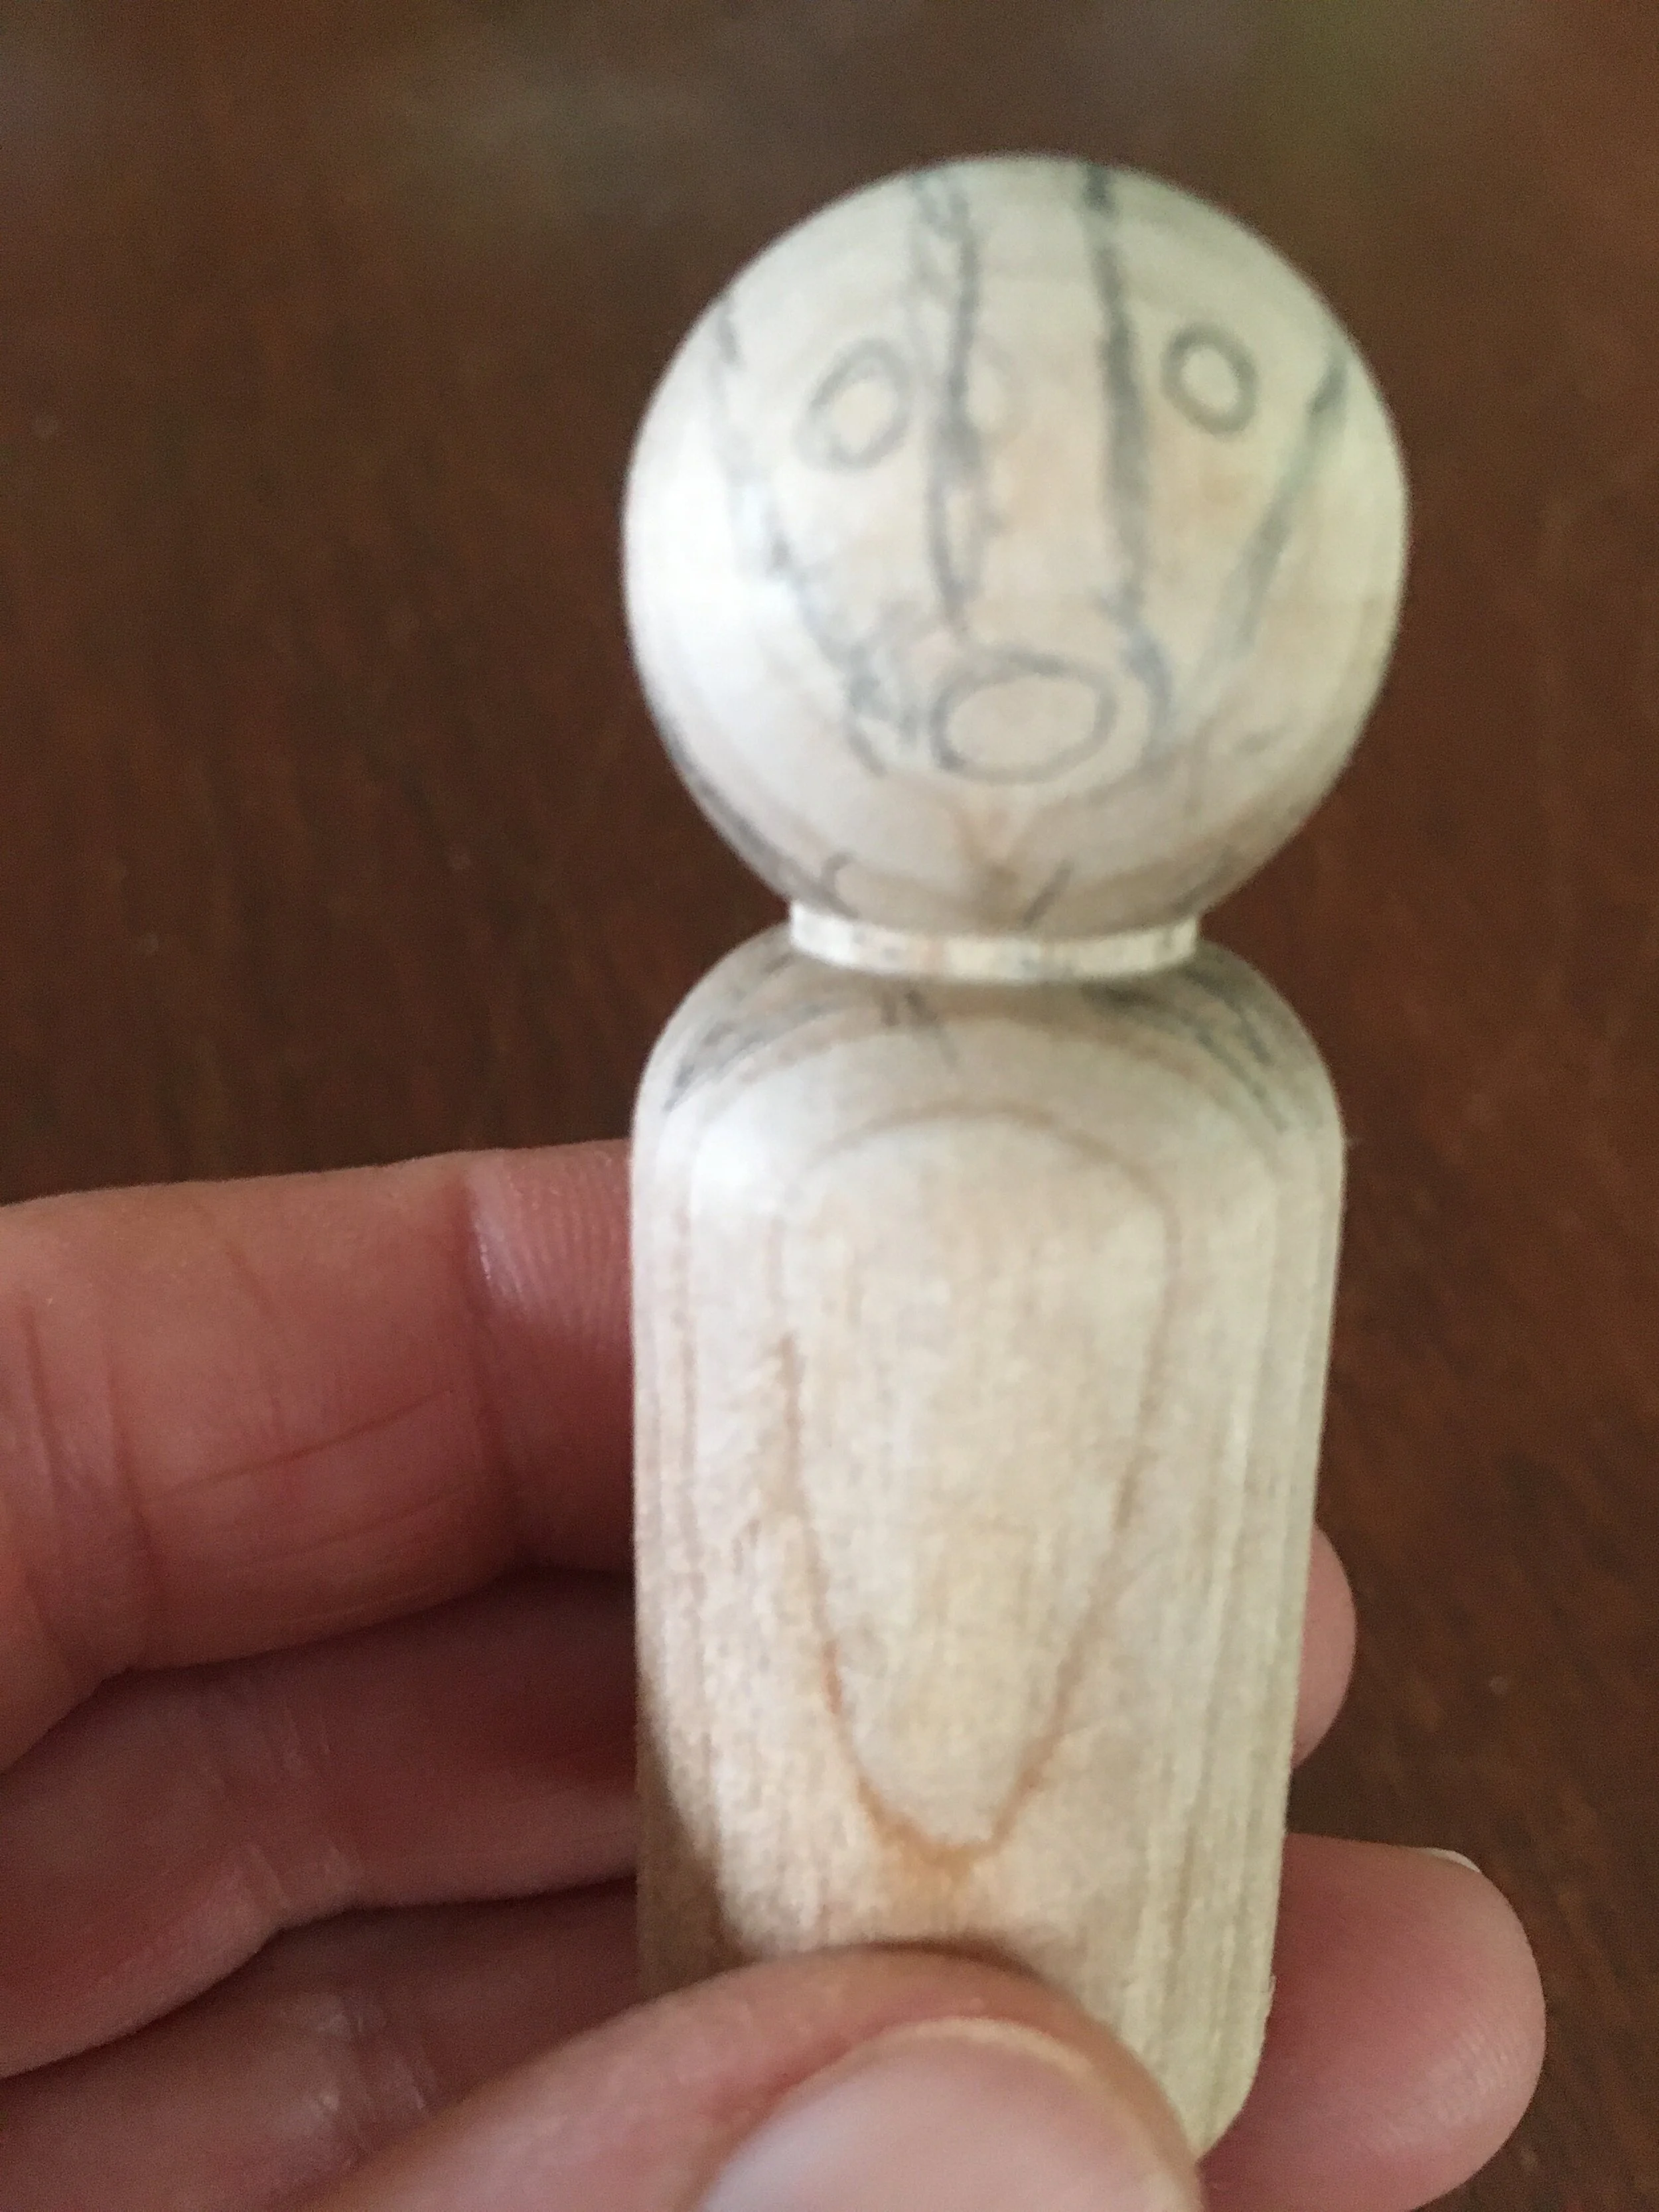
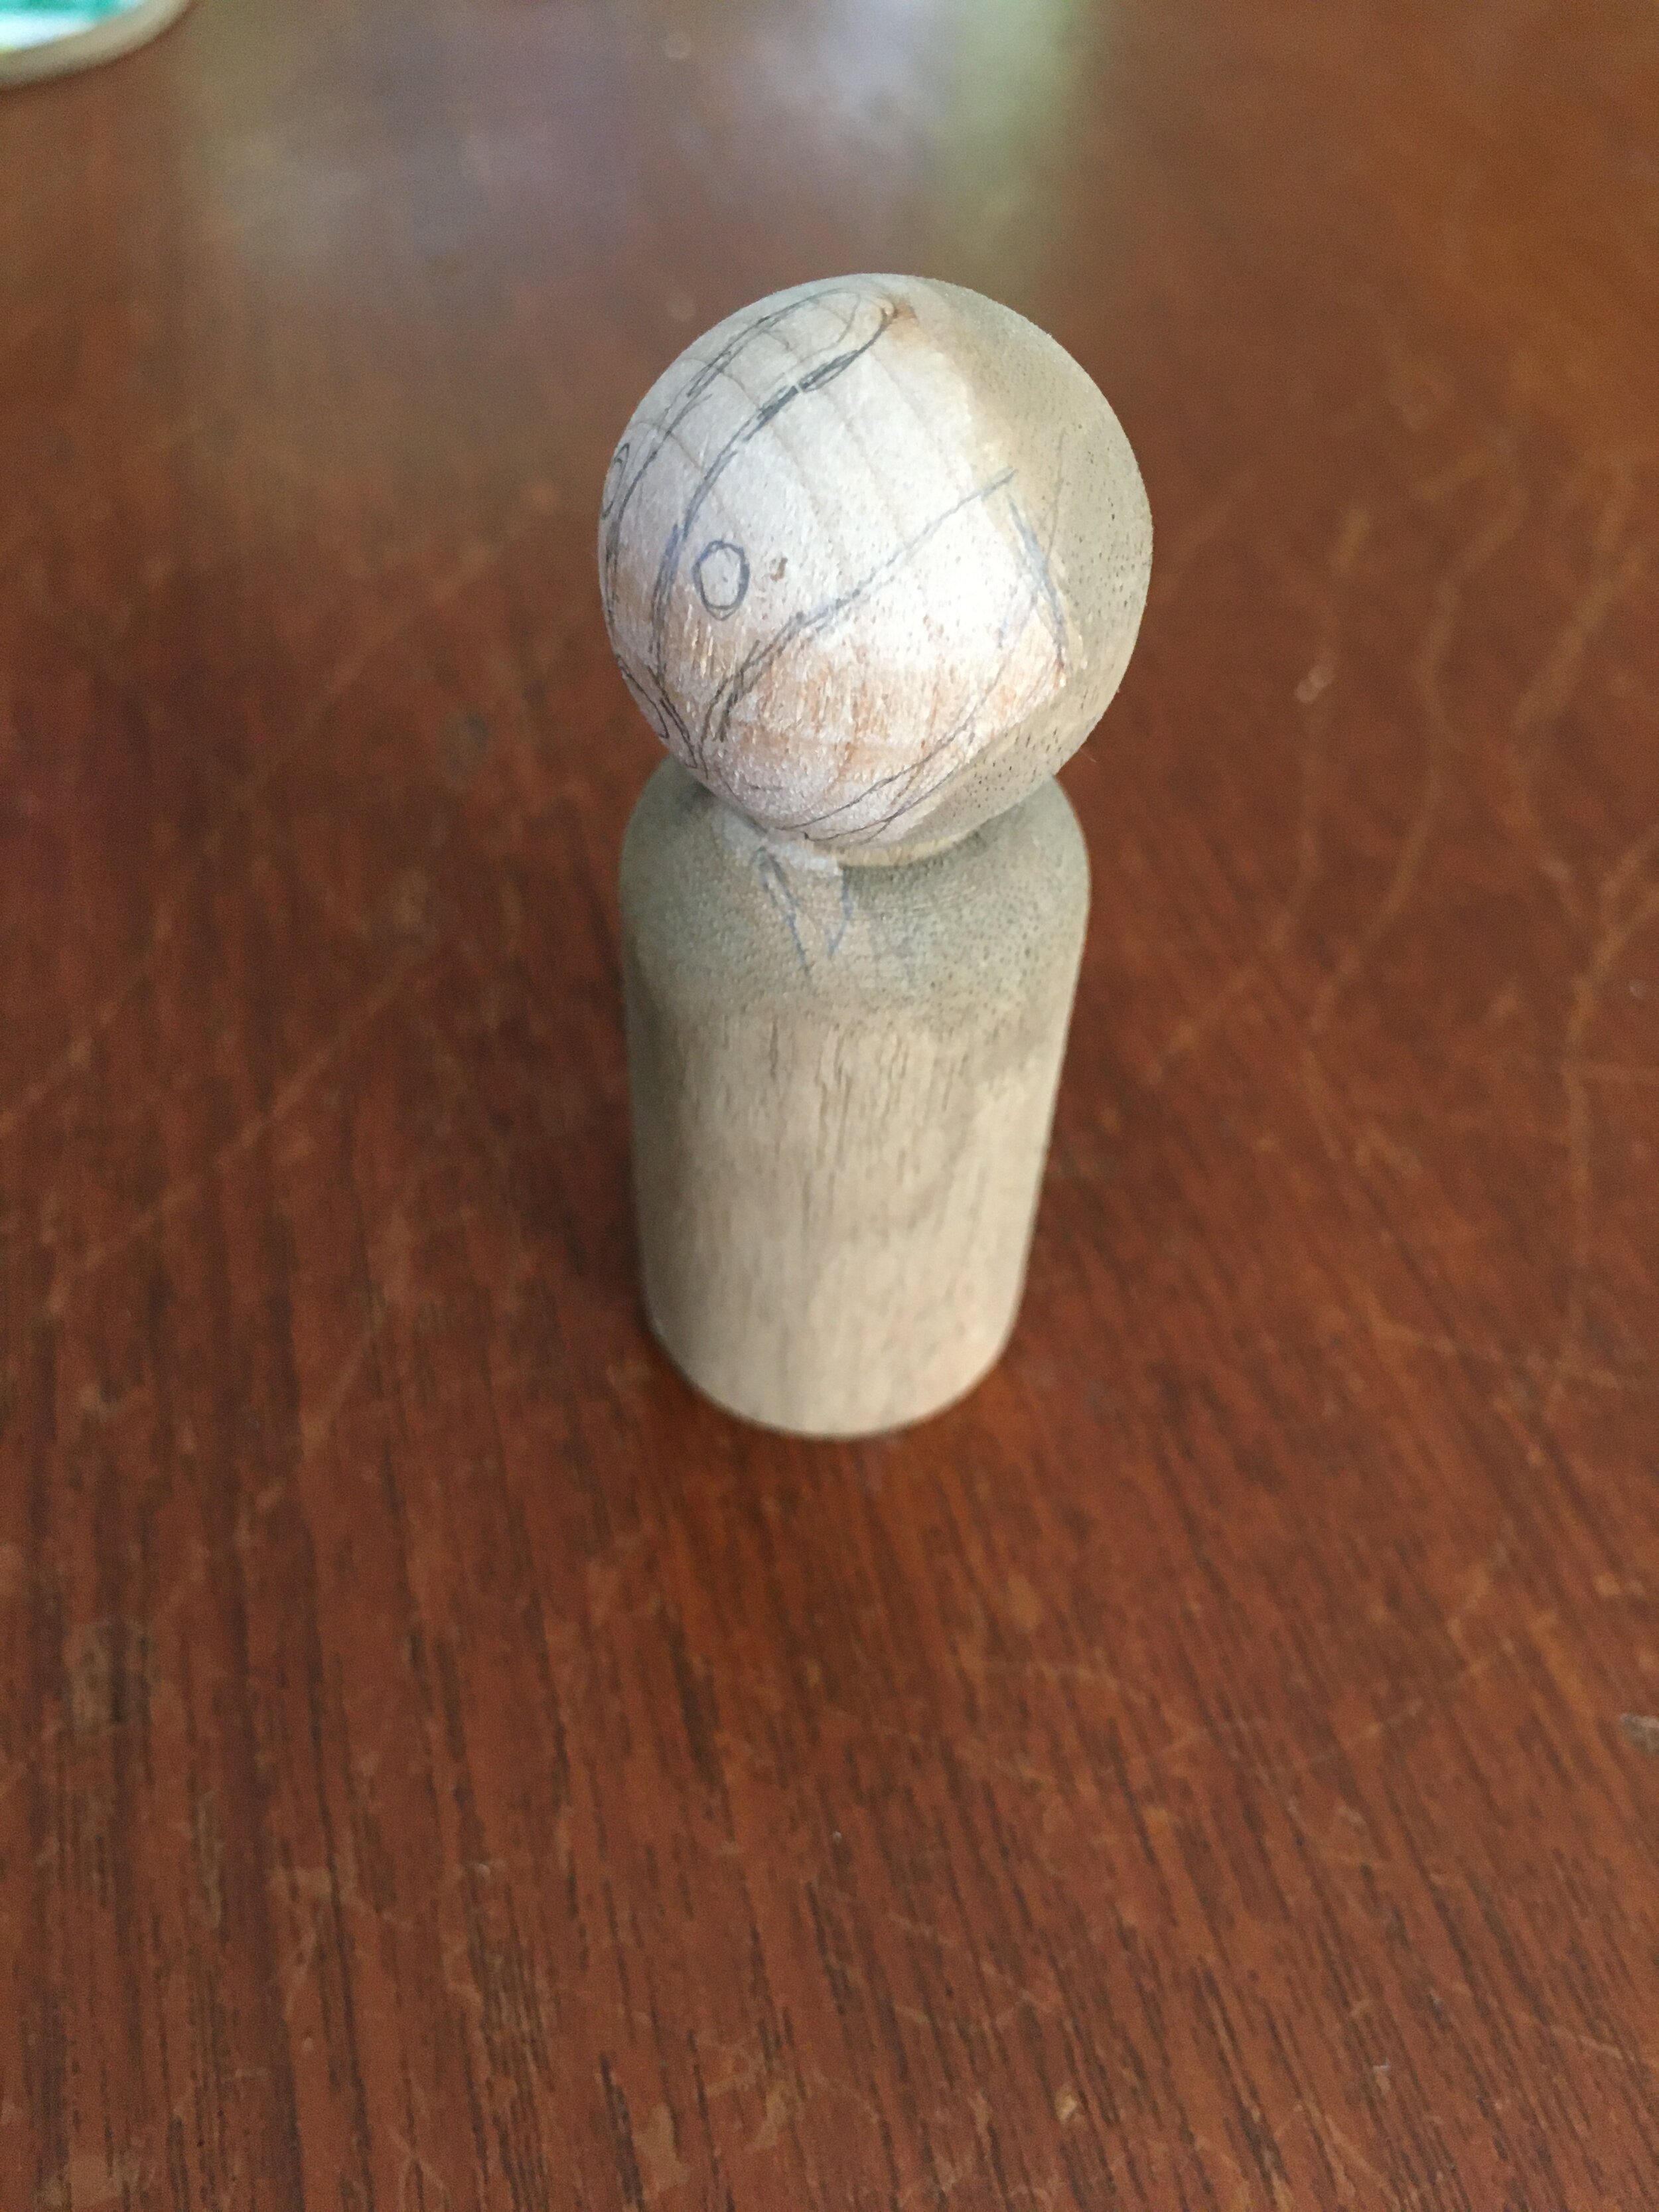
Draw the badger’s face on the peg with a pencil. I used the badger in this photo as my model.
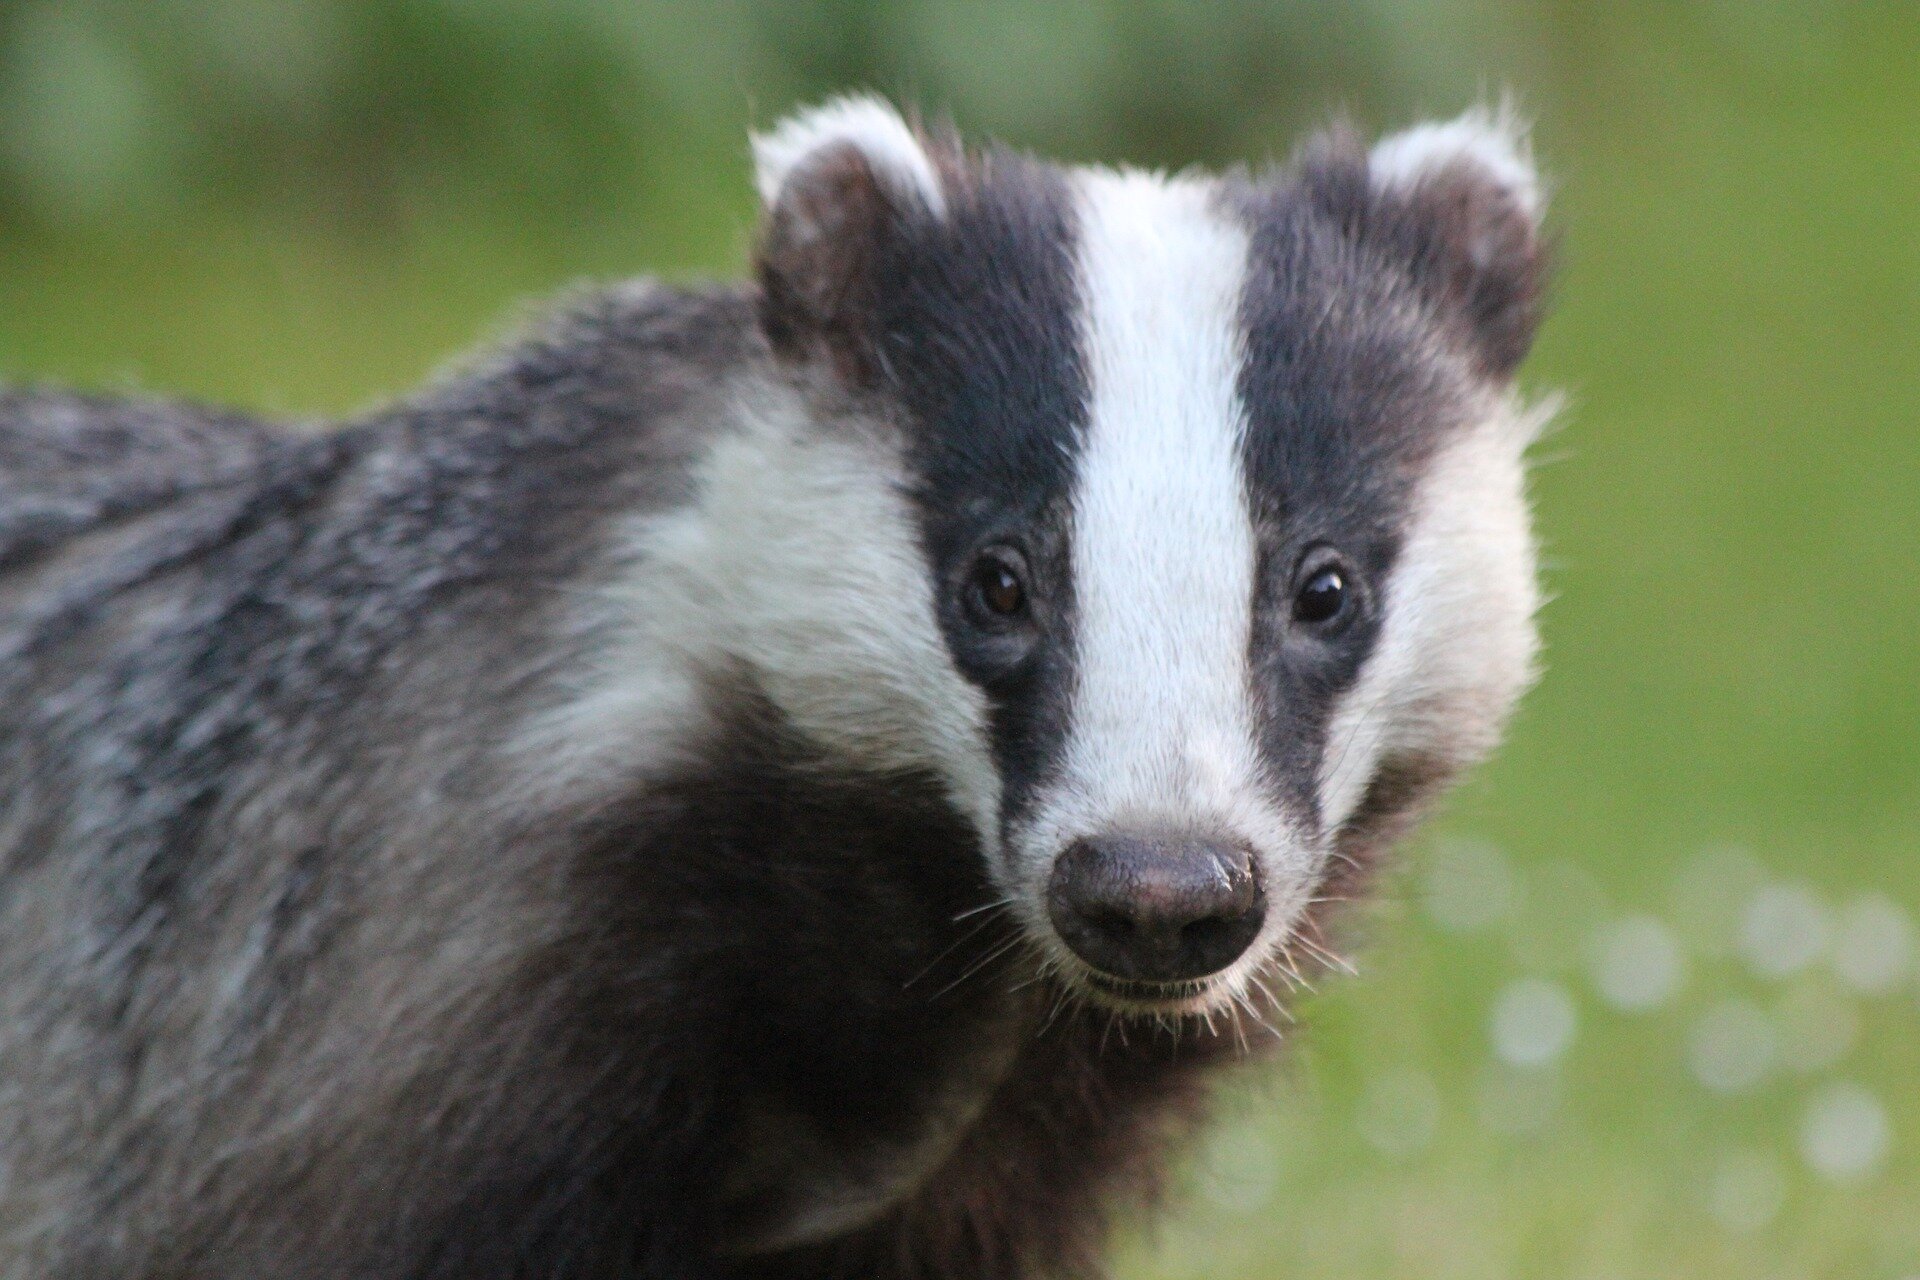
Badger by PBarlowArt, royalty free for commercial use photo from www.Pixabay.com
Using non-toxic watercolor paints, paint the body of the peg and the back of the head. I used a brown watercolor paint and then when it dried, painted over the brown with grey.
Paint the badger face with opaque acrylic paint. Paint the white stripe and cheeks first. Then the back stripes and nose
Allow all the paint to dry. Then seal it with beeswax polish.
Paint tiny brown eyes. Use a fine marker to add black pupils.
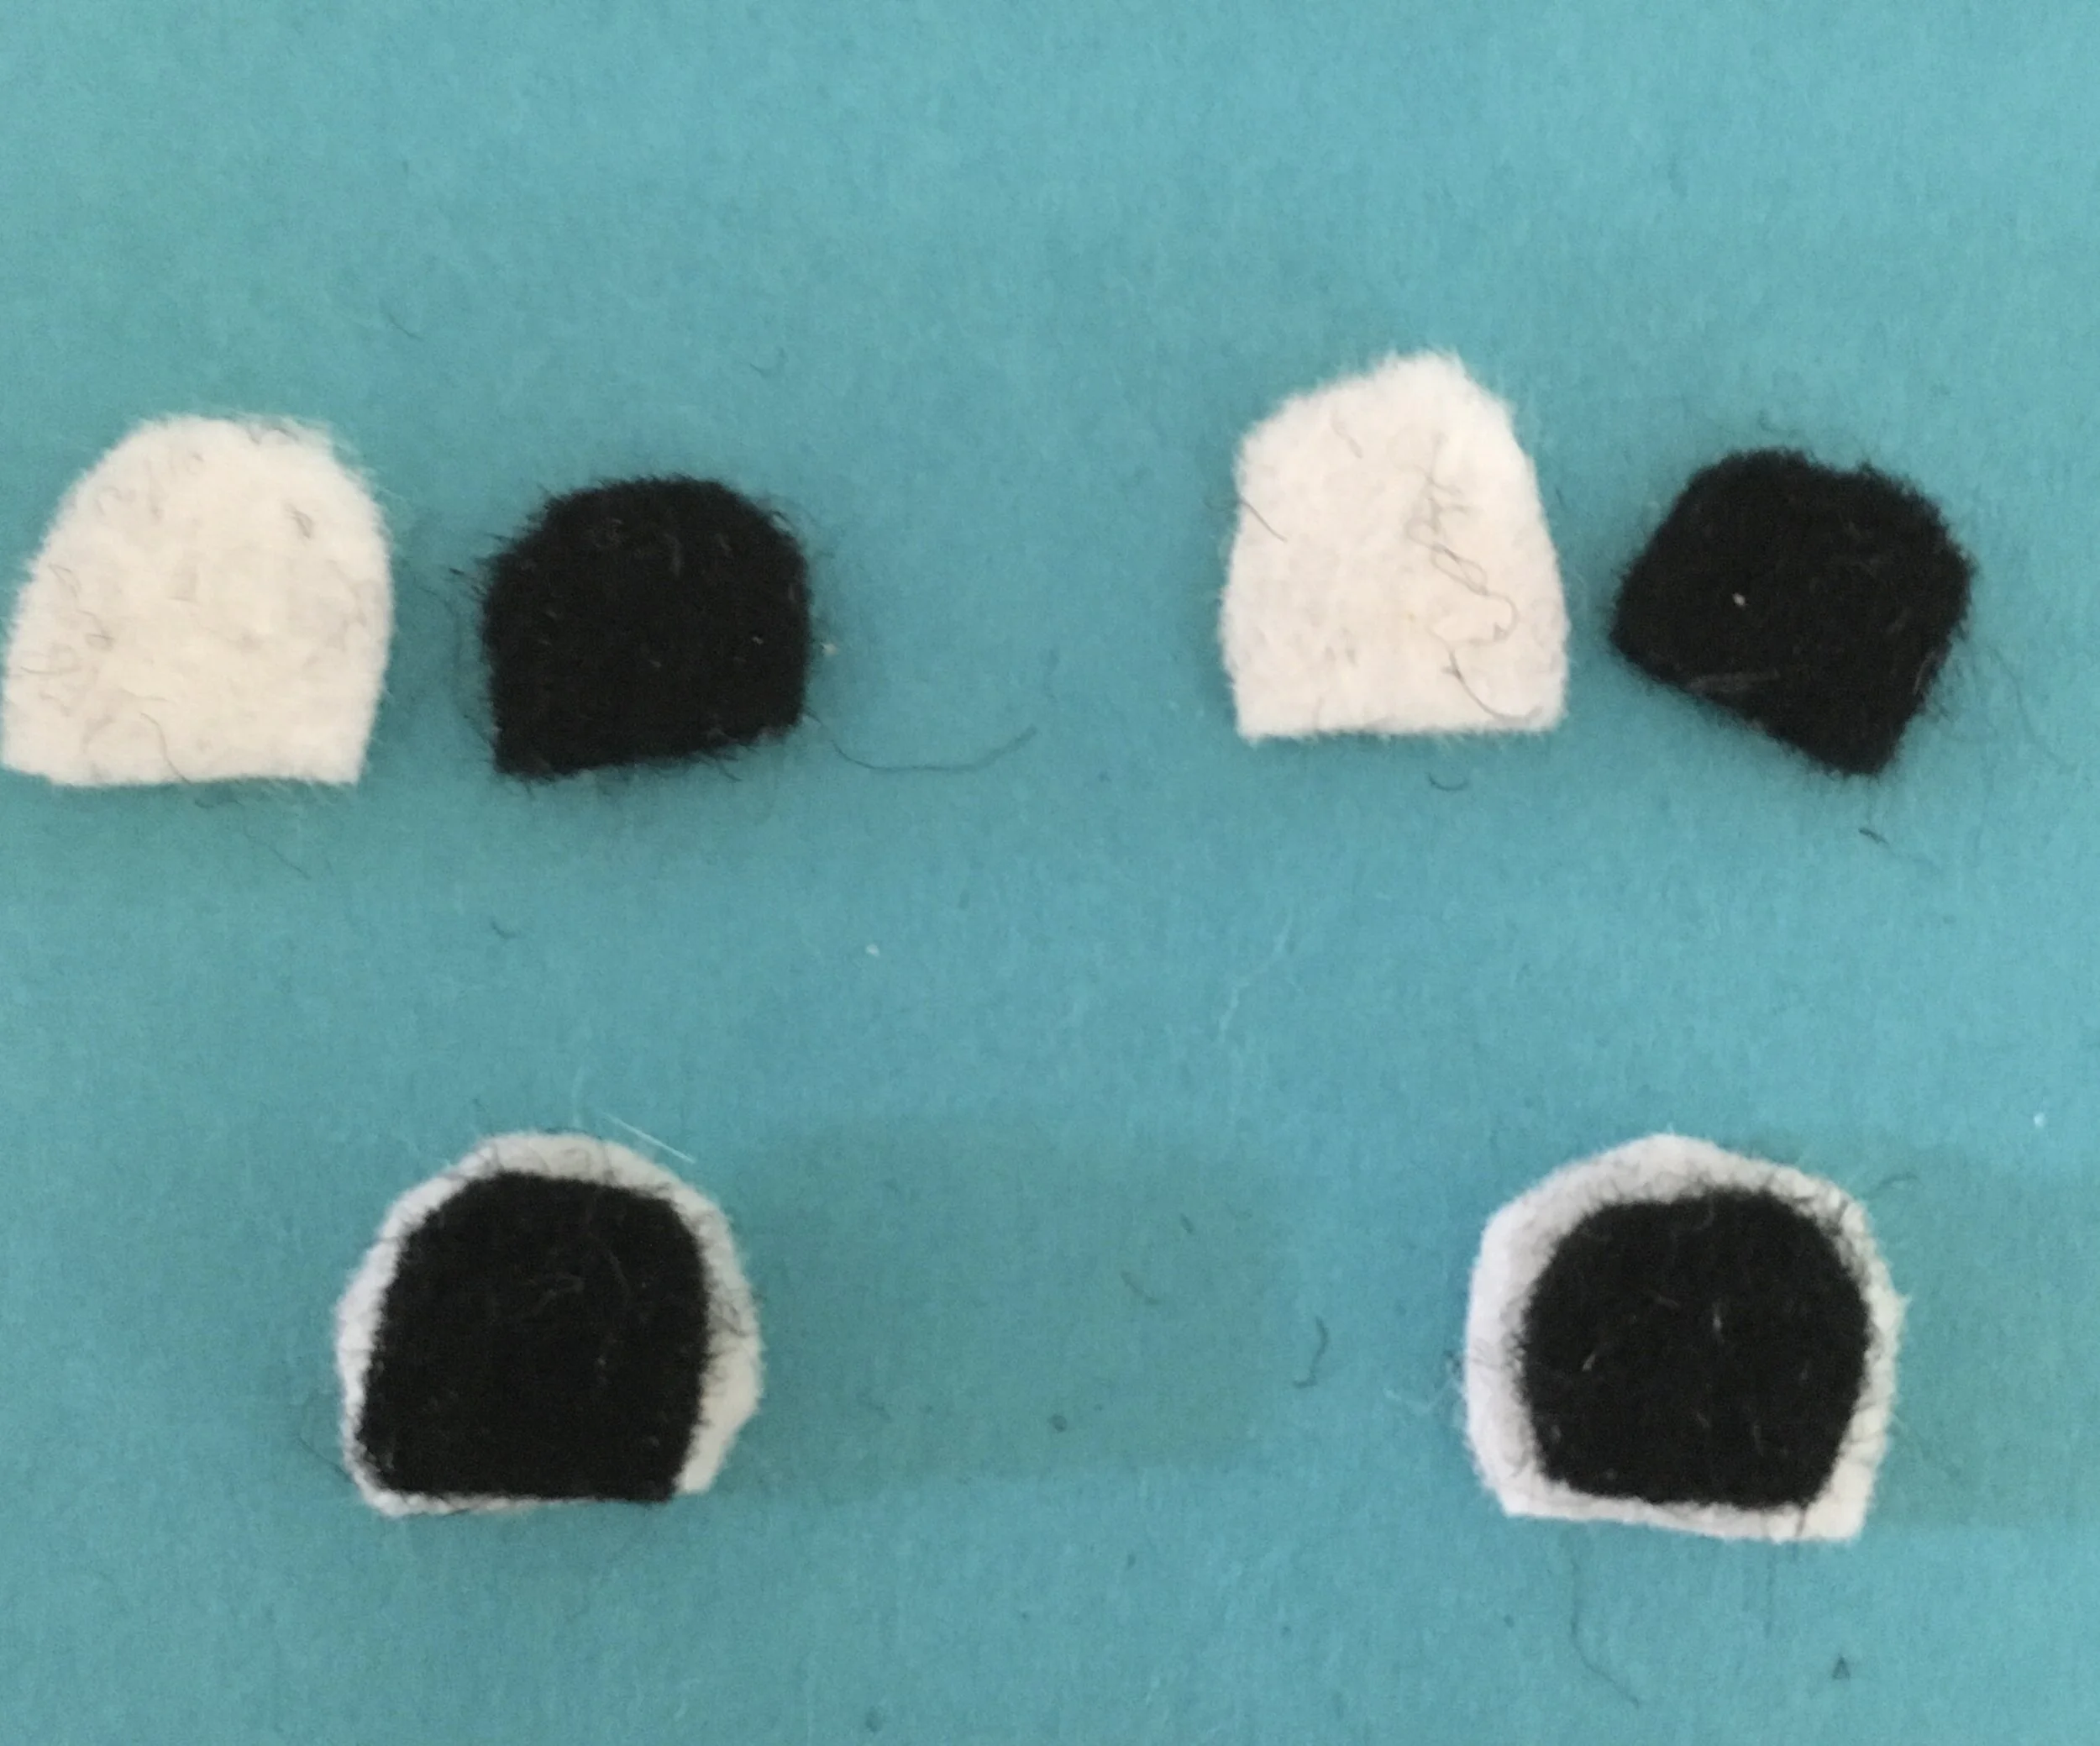
Cut ears from wool felt. Cut a small black semi-circle and a slightly larger white semi-circle. Glue the two pieces together with craft glue.
The finished ears in the photo were too large for badger ears. I cut a little bit off the flat side of the ears so there weren’t too tall.
Glue the ears on the peg doll with craft glue that will dry clear. Be generous with the glue. If you expect the peg to get a lot of play by a young child, it might be better to paint ears on the peg head instead.
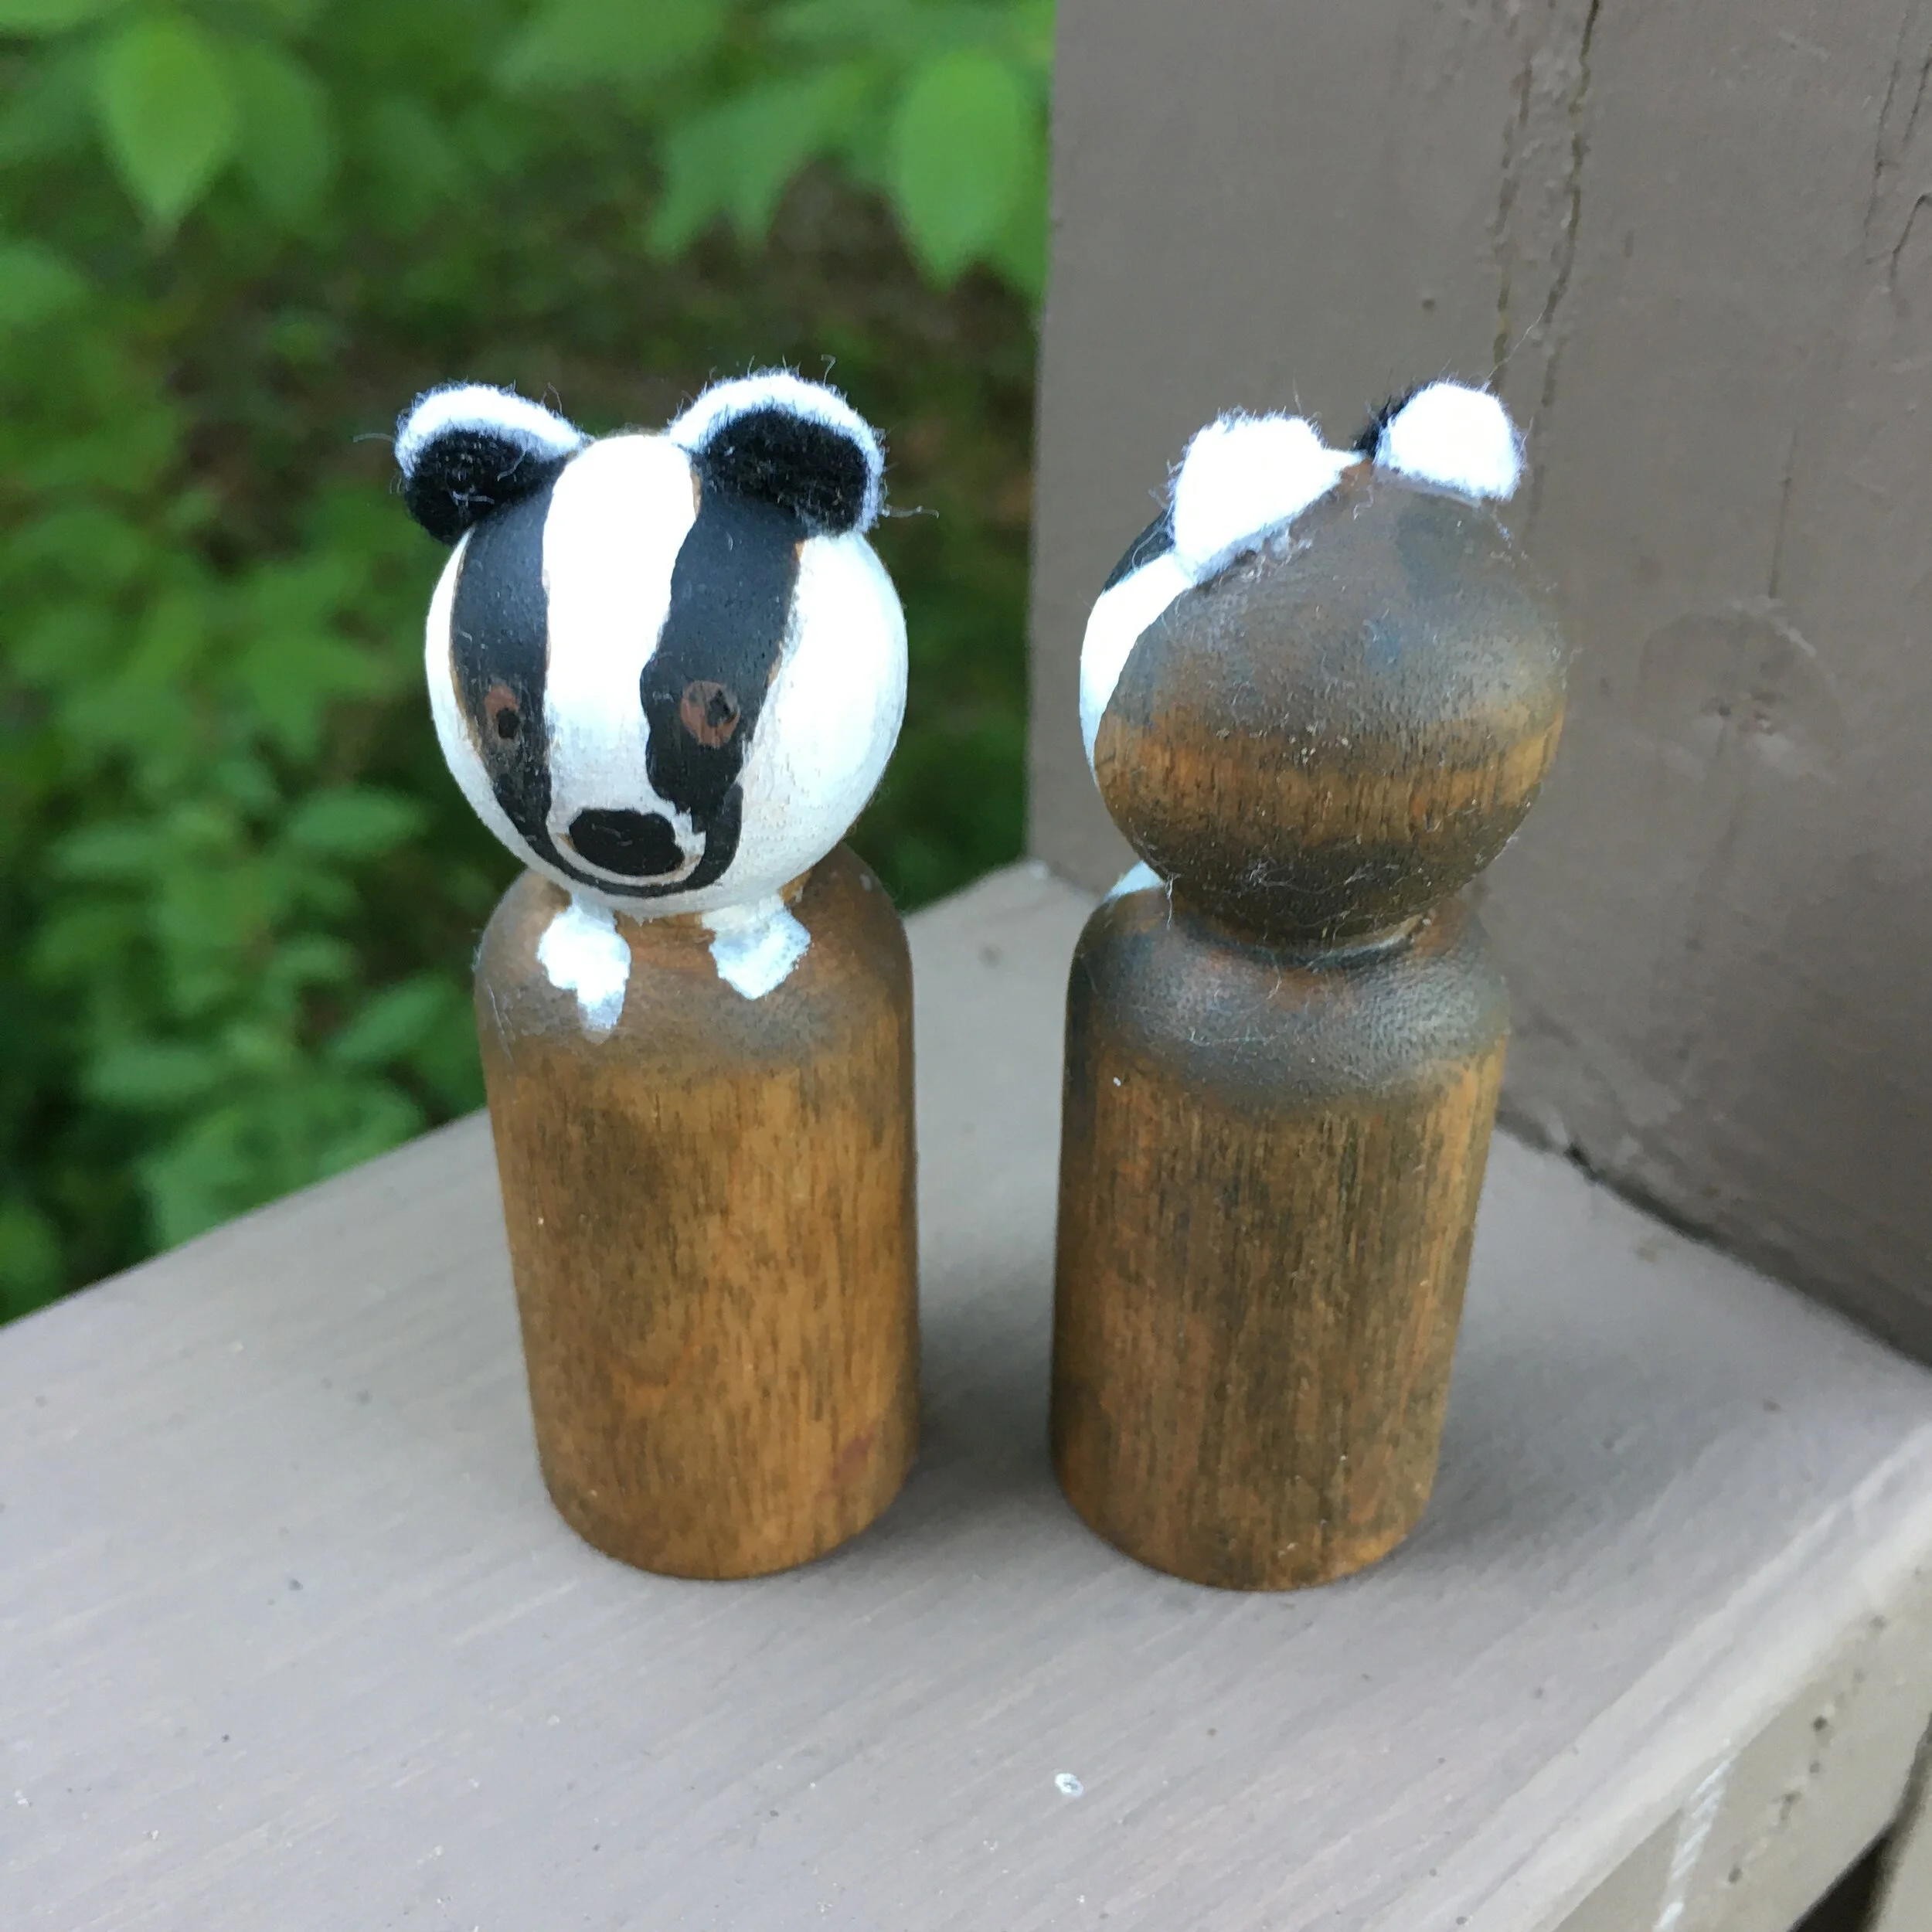
Here are the front and back of the Badger Peg Dolls
The fox peg doll was happy to welcome badger to our forest. Me too!