
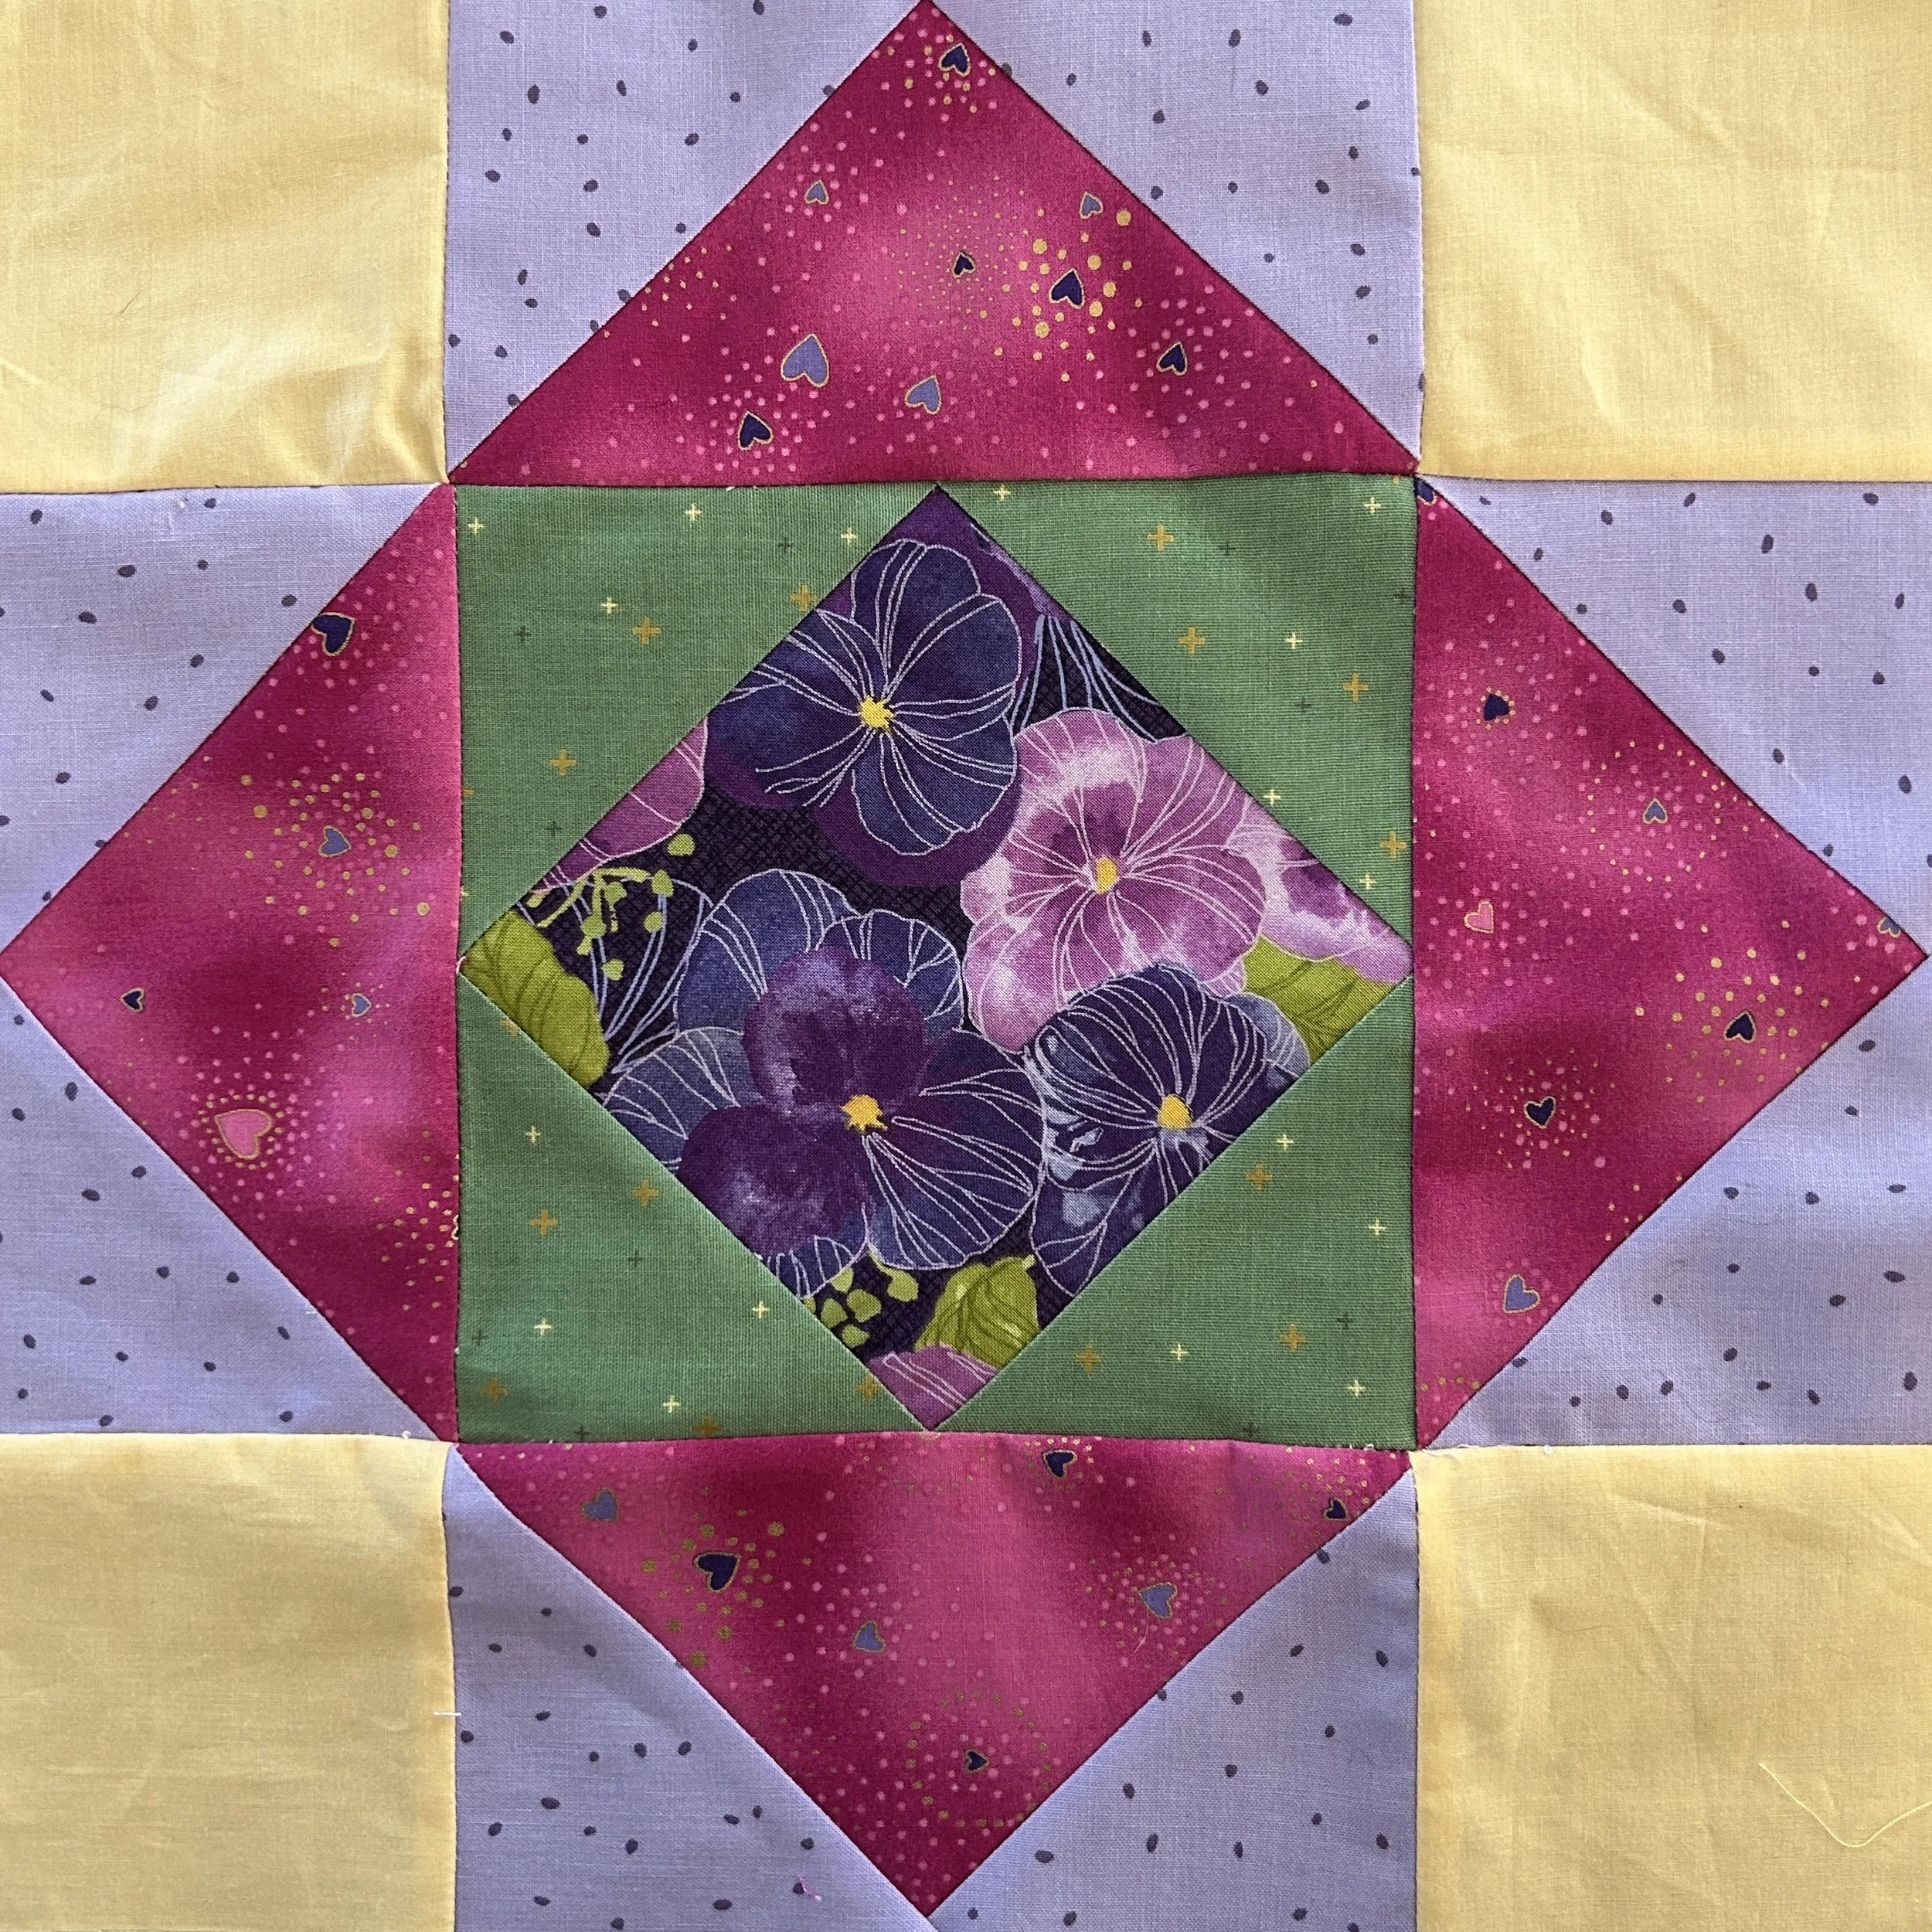
12 inch Square-in-a-Square block using flying geese units with individually cut triangles
I’ve made a lot of quilts using the flying geese block. It’s the unit in the photo above with the magenta central triangle and smaller triangular lavender “wings”. The traditional block is always twice as long as it is wide.
I’m a big fan of flying geese rulers. I wrote a blog post about 3 flying geese rulers in 2014. Essentially none of these rulers are still available for purchase anymore! Nothing wrong with the rulers, the folks who created them have moved on.
There are lots of ways to make flying geese blocks. Cutting the triangles individually works well—that’s what the flying geese rulers made easy. There is a stitch-and-flip method using squares on each end of a rectangular block and sewing diagonally across them, then folding the square back to make the small triangle. There is a 4 at a time method that’s quick but fussy. And if you are perfectionist, paper piecing templates are the way to go.
This week I made blocks using the cut-your-own triangles and a 4 at-a-time oversized method.
The pansy’s were made from the triangles I cut. I really enjoy having a set of blocks I can chain piece without having to get up to press anything until I’m done. It made a good, if not totally perfect block.

12 inch block using the 4 at-a-time method of sewing flying geese
The watermelon block was made using the 4 at-a-time oversized method. I read that the exact cut 4-at-a-time method tends to run a bit skimpy if your sewing isn’t perfect. So I went with a slightly oversized block that needed to be trimmed to size. Sounds easy, but not so much. I thought I had accurately trimmed the flying geese but they needed some finessing to fit in the block. There is a ruler for trimming flying geese blocks but I don’t own it.
I still have two of the rulers I reviewed 11 years ago. (The third, my favorite, wasn’t in the box with all my rulers, but I expect it’s someplace)!! However, I’m going to invest in the Creative Grids® Flying Geese Tool to see how that works. It’s the ruler that is currently most available. And I love the fact that Creative Grids rulers have a no slip back. It makes them easy to work with. I’ll let you know how this Square-in-a-Square block turns out once I get the new ruler.