

"Rolling Stone" block
This week we got the last
lesson. Block 4 is "Rolling Stone." This lesson was focussed on designing a quilt. I wasn't expecting to get a quilt out of 4 blocks, but we did!
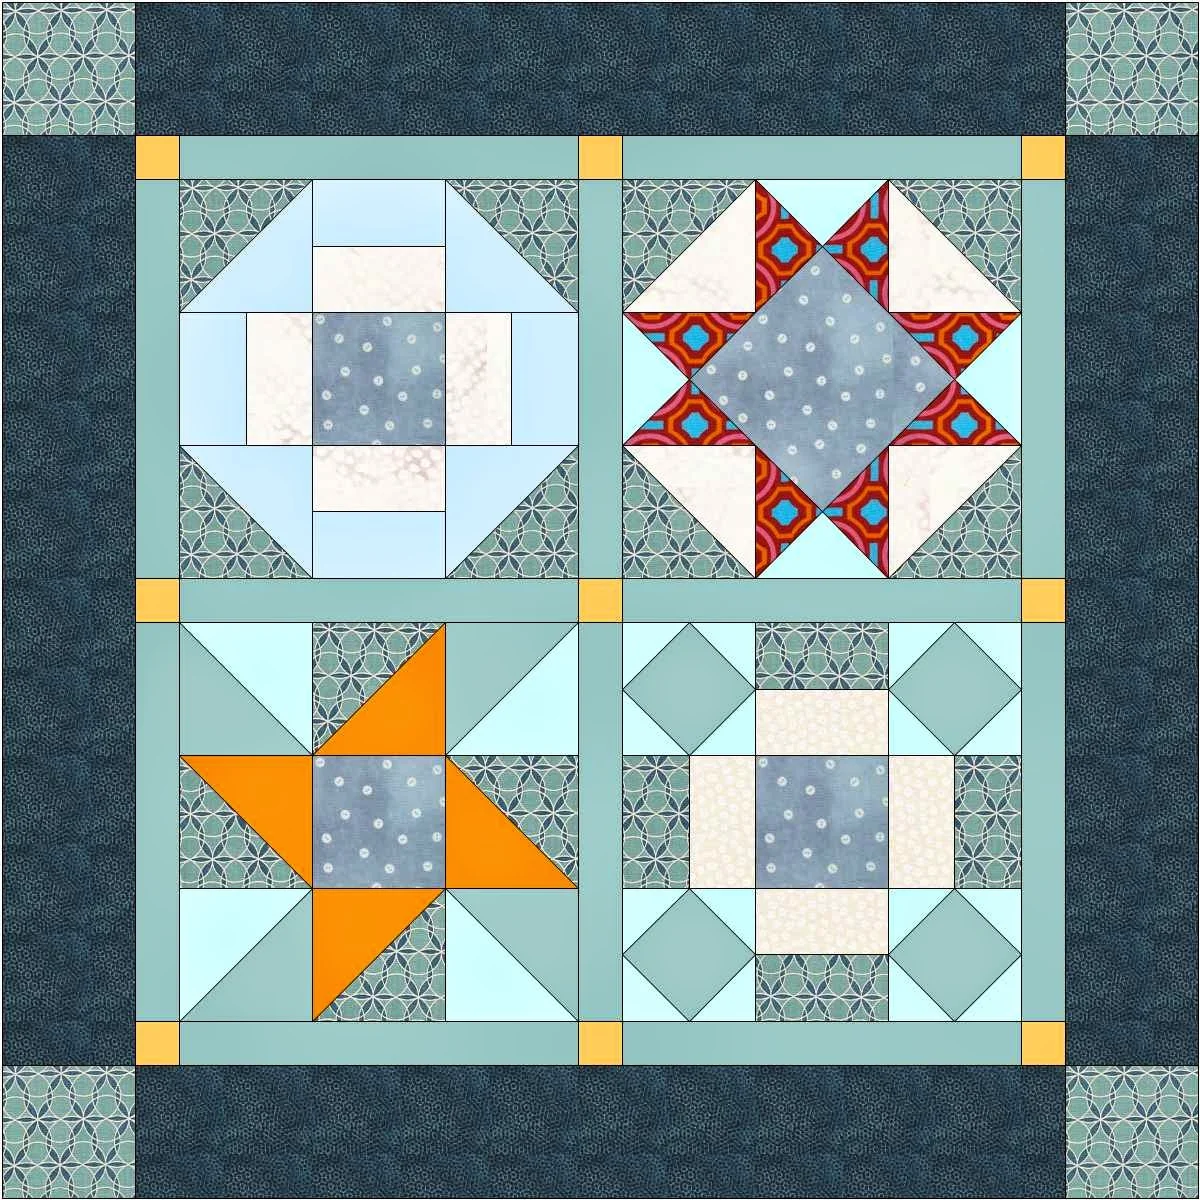
Jenny taught us how to set up an EQ7 grid on the Quilt Worktable for a square quilt with sashings and a border with corner blocks:
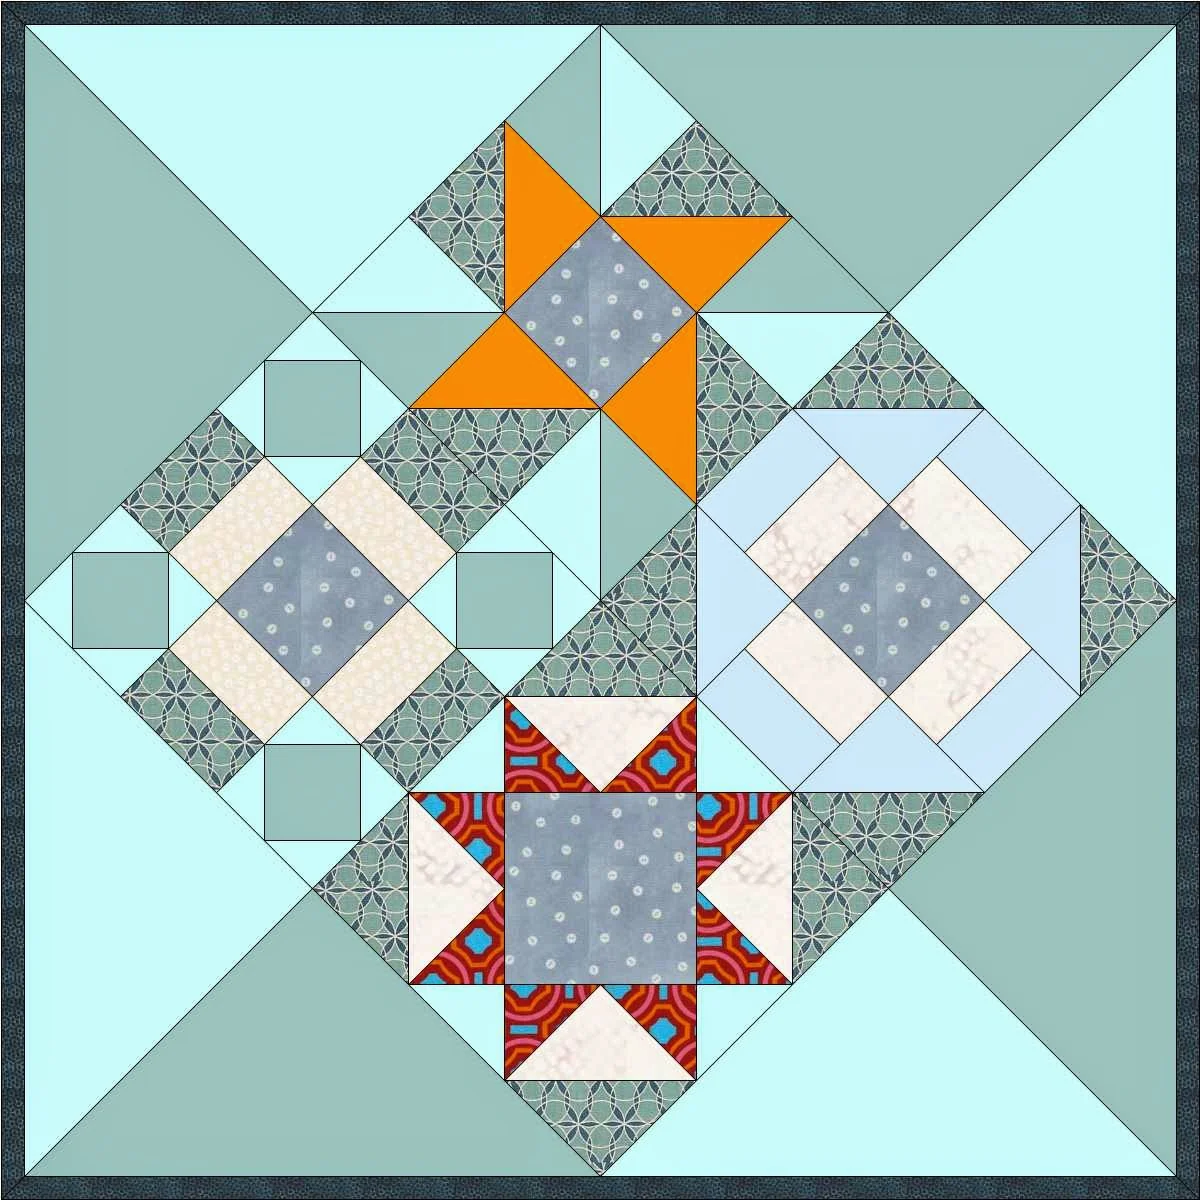
A quilt set on point:
And a Modern Quilt with vertical panels which create negative space.
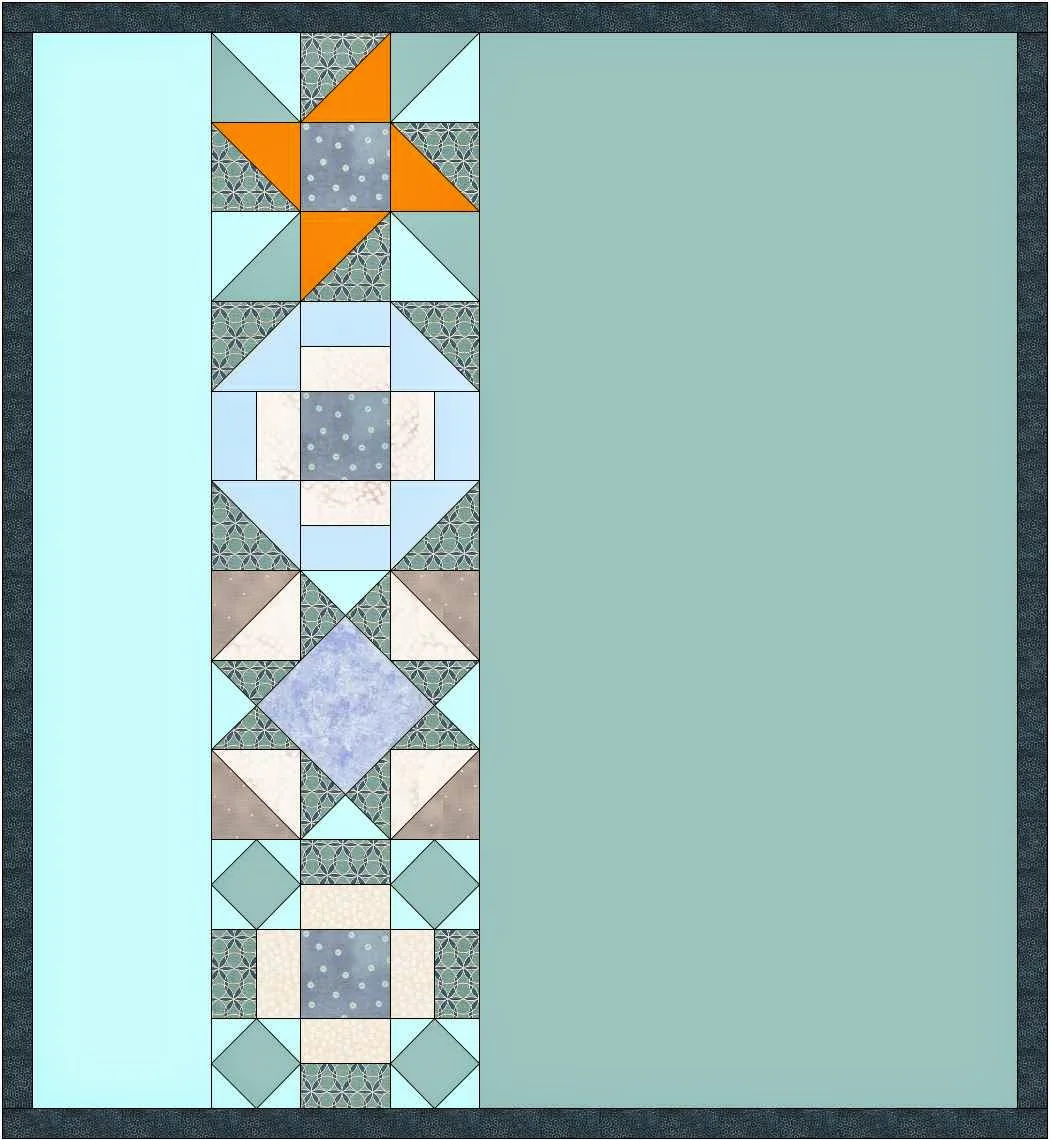
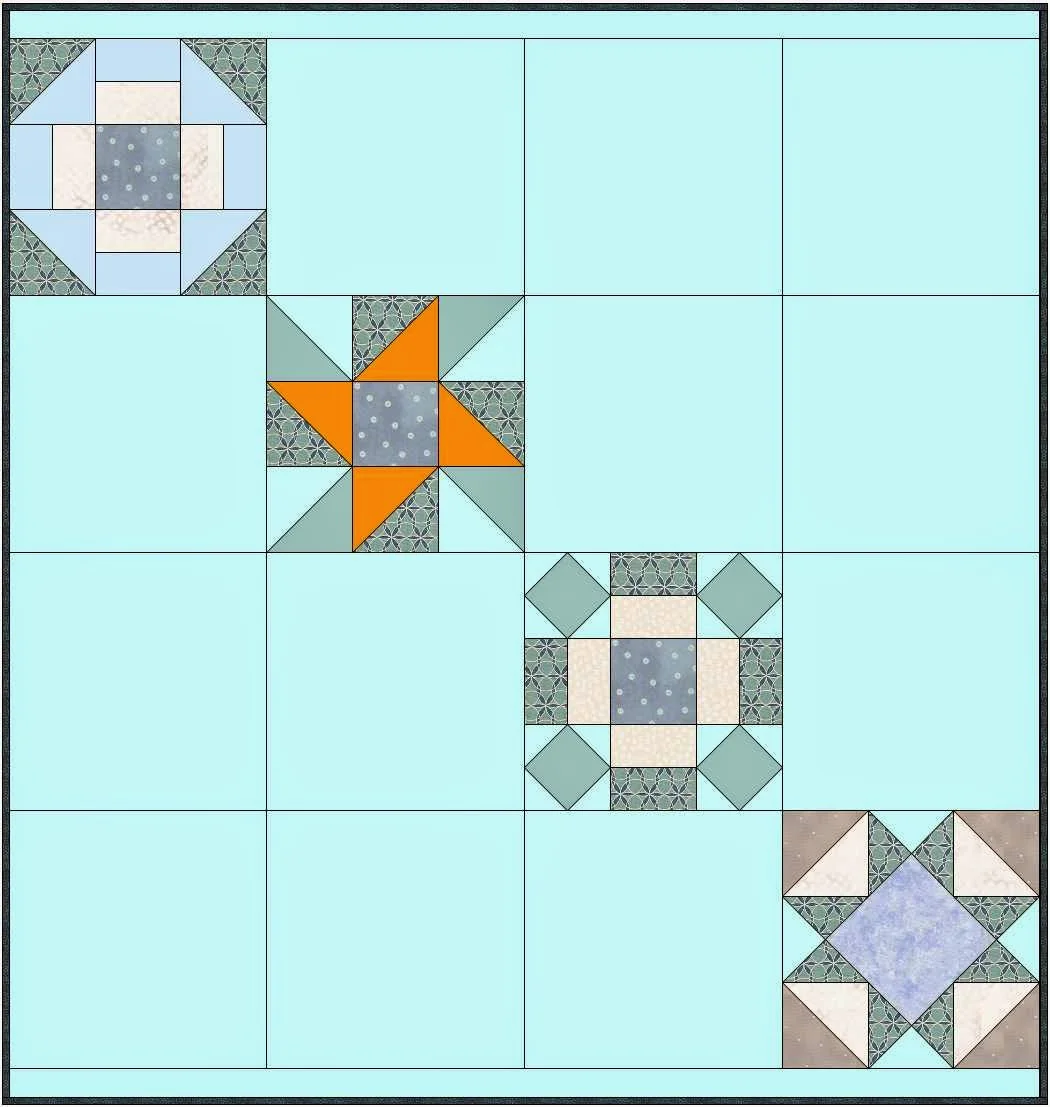
After seeing all these options, I decided I wanted to set the blocks in a diagonal across the quilt. So I also explored setting up the quilt with horizontal panels.
I liked the design but I decided I'd rather quilt the negative space when the blocks were set in with vertical panels. So I went back to the Quilt Worktable and did the finally designing for my quilt.
I wanted the quilt to be large enough for toddler nap quilt. The 4 blocks lined up in a strip was only 36 inches long. I wanted to add another 9 inches. So I increased the number of setting blocks on the EQ7 Quilt Worktable from 4 blocks to 5. But that left me with a blank block at the top or bottom of the row which was not what I wanted.
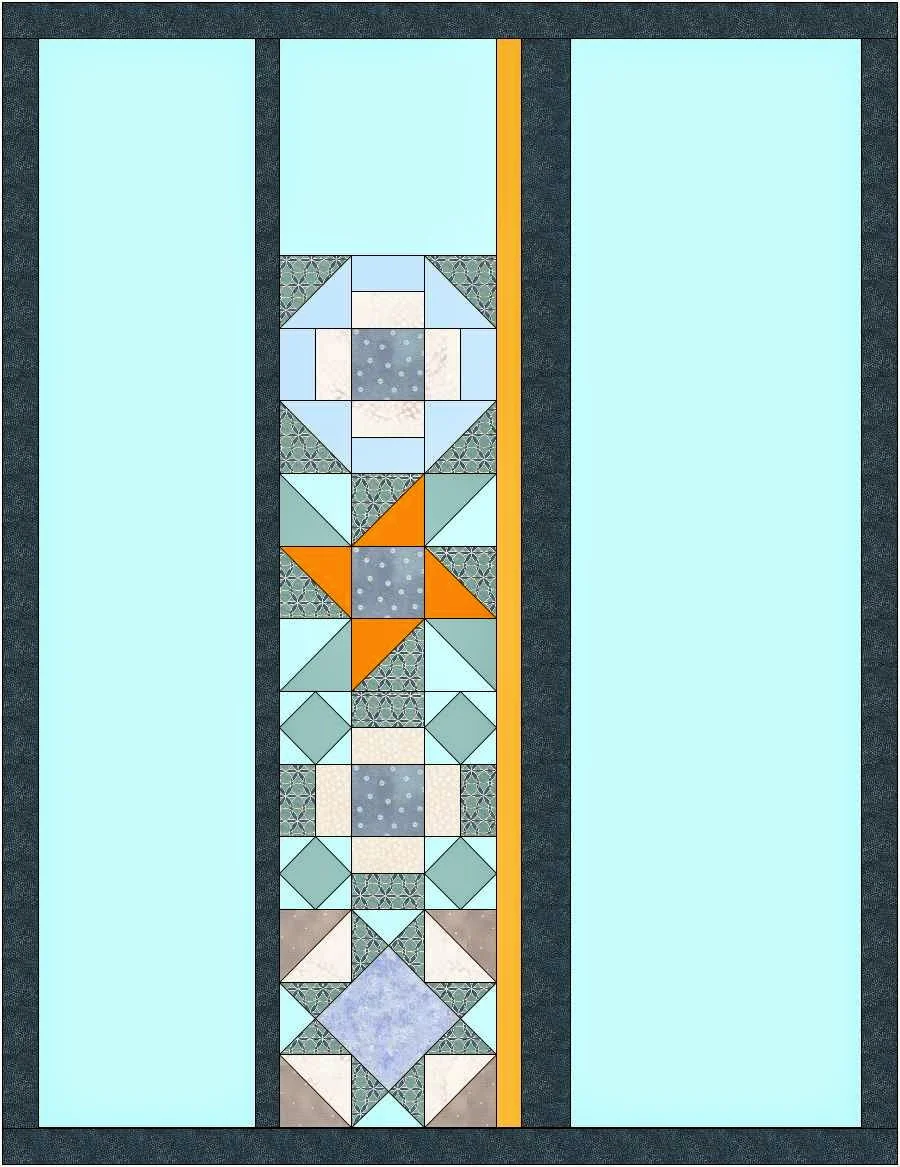
I was going cut the block in half when I made the strip but knew there had to be a way to alter the row in EQ7. We had been experimenting with various options for setting the blocks in a drop down list.
I decided to just give them all a try and see if there was an option which would work. The second option in Strip Style and Size is "Half Drop Blocks."Just what I wanted. This option creates a half width block at the top and bottom of the strip. So that's what I used for my quilt.

Part of this 4th lesson was about naming the quilt on "Notecard" in Sketchbook, and adding any other information we want in the "Notes" on the card. I typically put in a date, who I was making the quilt for and any quirks about making the quilt that would be helpful if I want to make it again.
Finally the the last part of the lesson was about printing the Fabric Yardage. In this feature, the program looks at the quilt you designed and provides an estimate of the yardage for each fabric used in the quilt. Because this is done mathematically, I usually add a bit extra to allow for the human factor (me!) in quilt making!
Here is my EQ7 Jump Start quilt! I love the bunnies in the center of each block. The quilting in the negative space is vertical lines--close together on the right, further apart on the left. It's going to have great texture when the quilt is washed and dried.
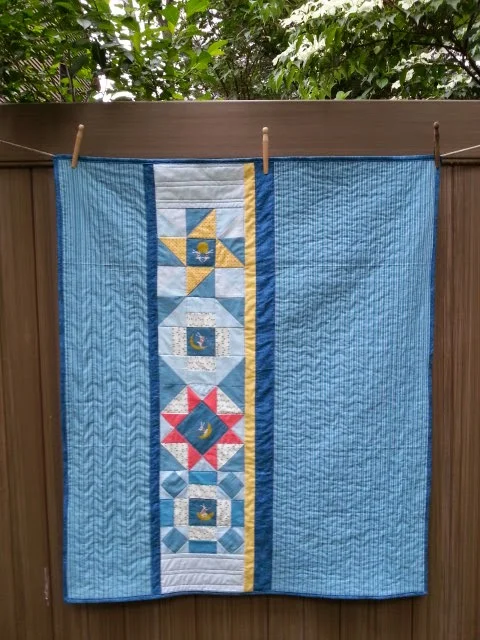
EQ7 Jump Start Quilt Along Finished Quilt
EQ7 Jump Start Quilt Along has been so much fun! I learned about some features I hadn't explored before and I'm a lot more comfortable using EQ7. Now that I've used "Strip Style and Size" and the "Border Style" on the Quilt Worktable I know I'll be working with them a lot. I'm sure I'll also be using the blocks in the Block Library and the tools in the Block Worktable to change the Library block to make a new block design.
Thank you
at Electric Quilt's blog,
for this great Quilt Along! Great job on the lesson content, the printable hand-outs and videos!!
I really hope Jenny and the Electric Quilt Blog will make follow up Quilt Along that builds on the skills in these four lessons.