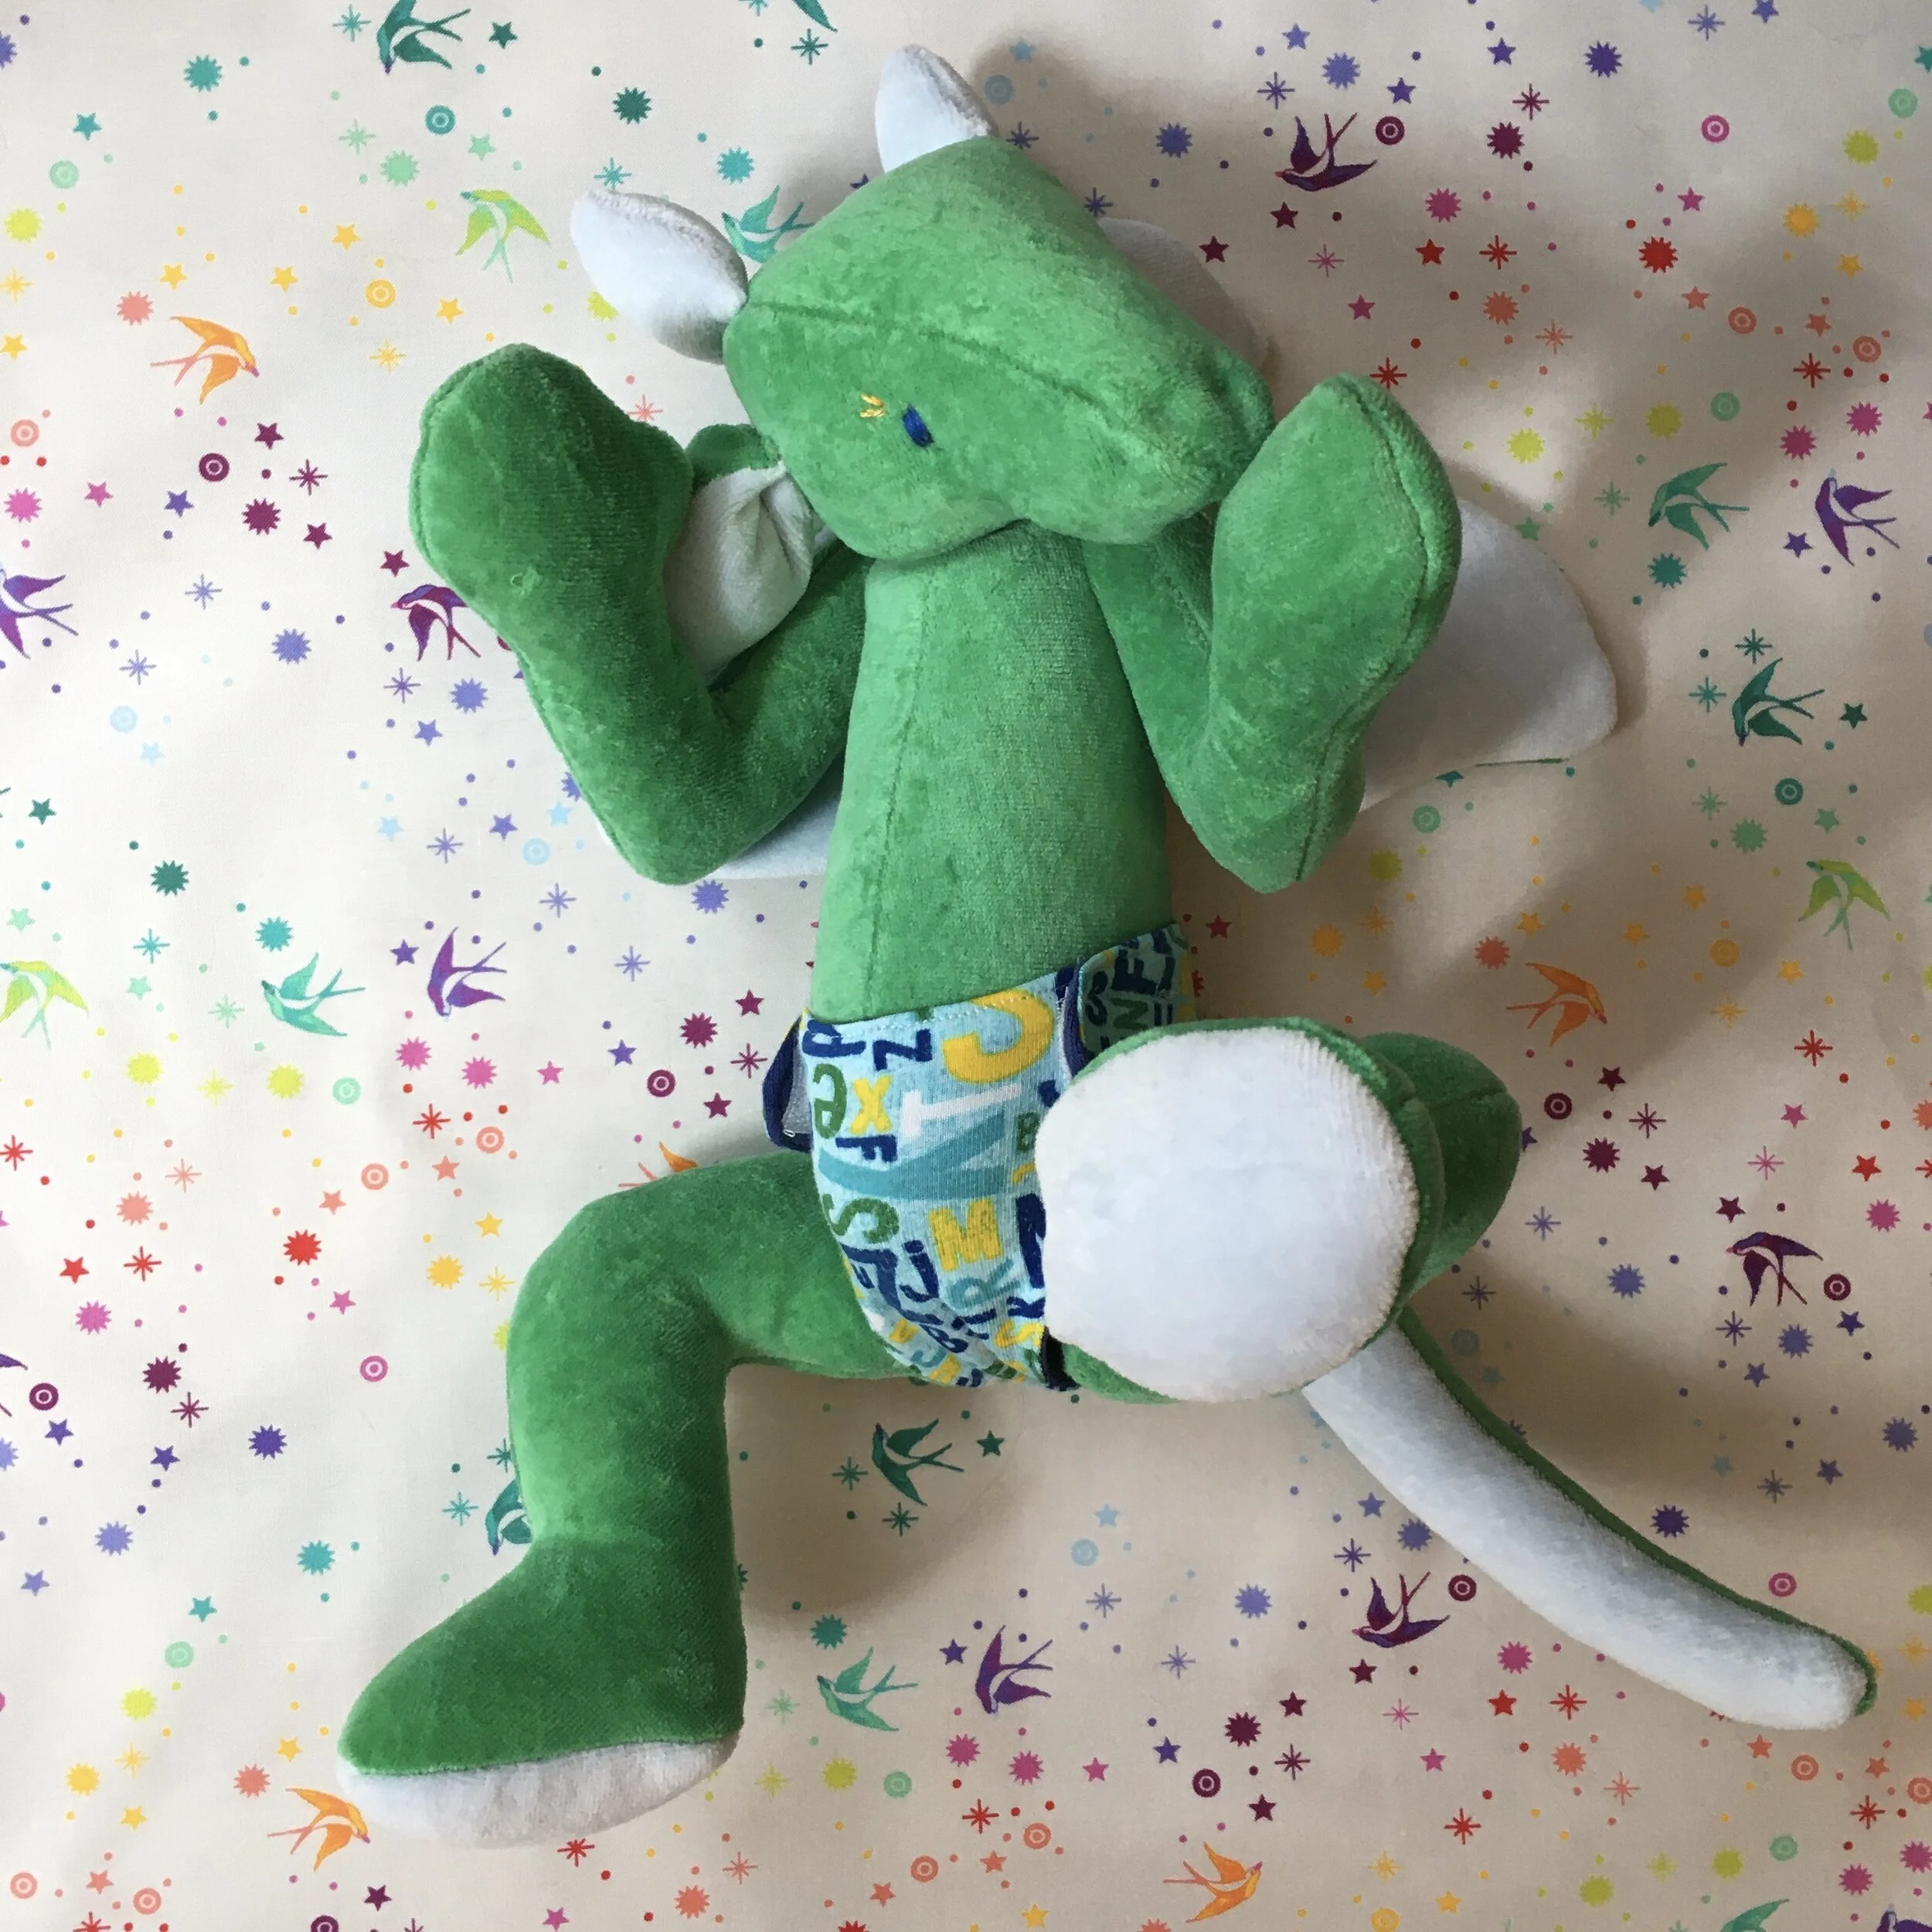
Gnomekins from the kit by teachwonderment.com
With the holidays coming in the not-too-distant-future, I want to tell you about the “Gnomekin” kit by teachwonderment.com
This kit comes in a basic form and the one I purchased and linked above. The complete kit has much of what you need to make one gnomekin figure. However you will need some additional supplies including non-toxic paint, tiny buttons from their bags, and needles and thread.
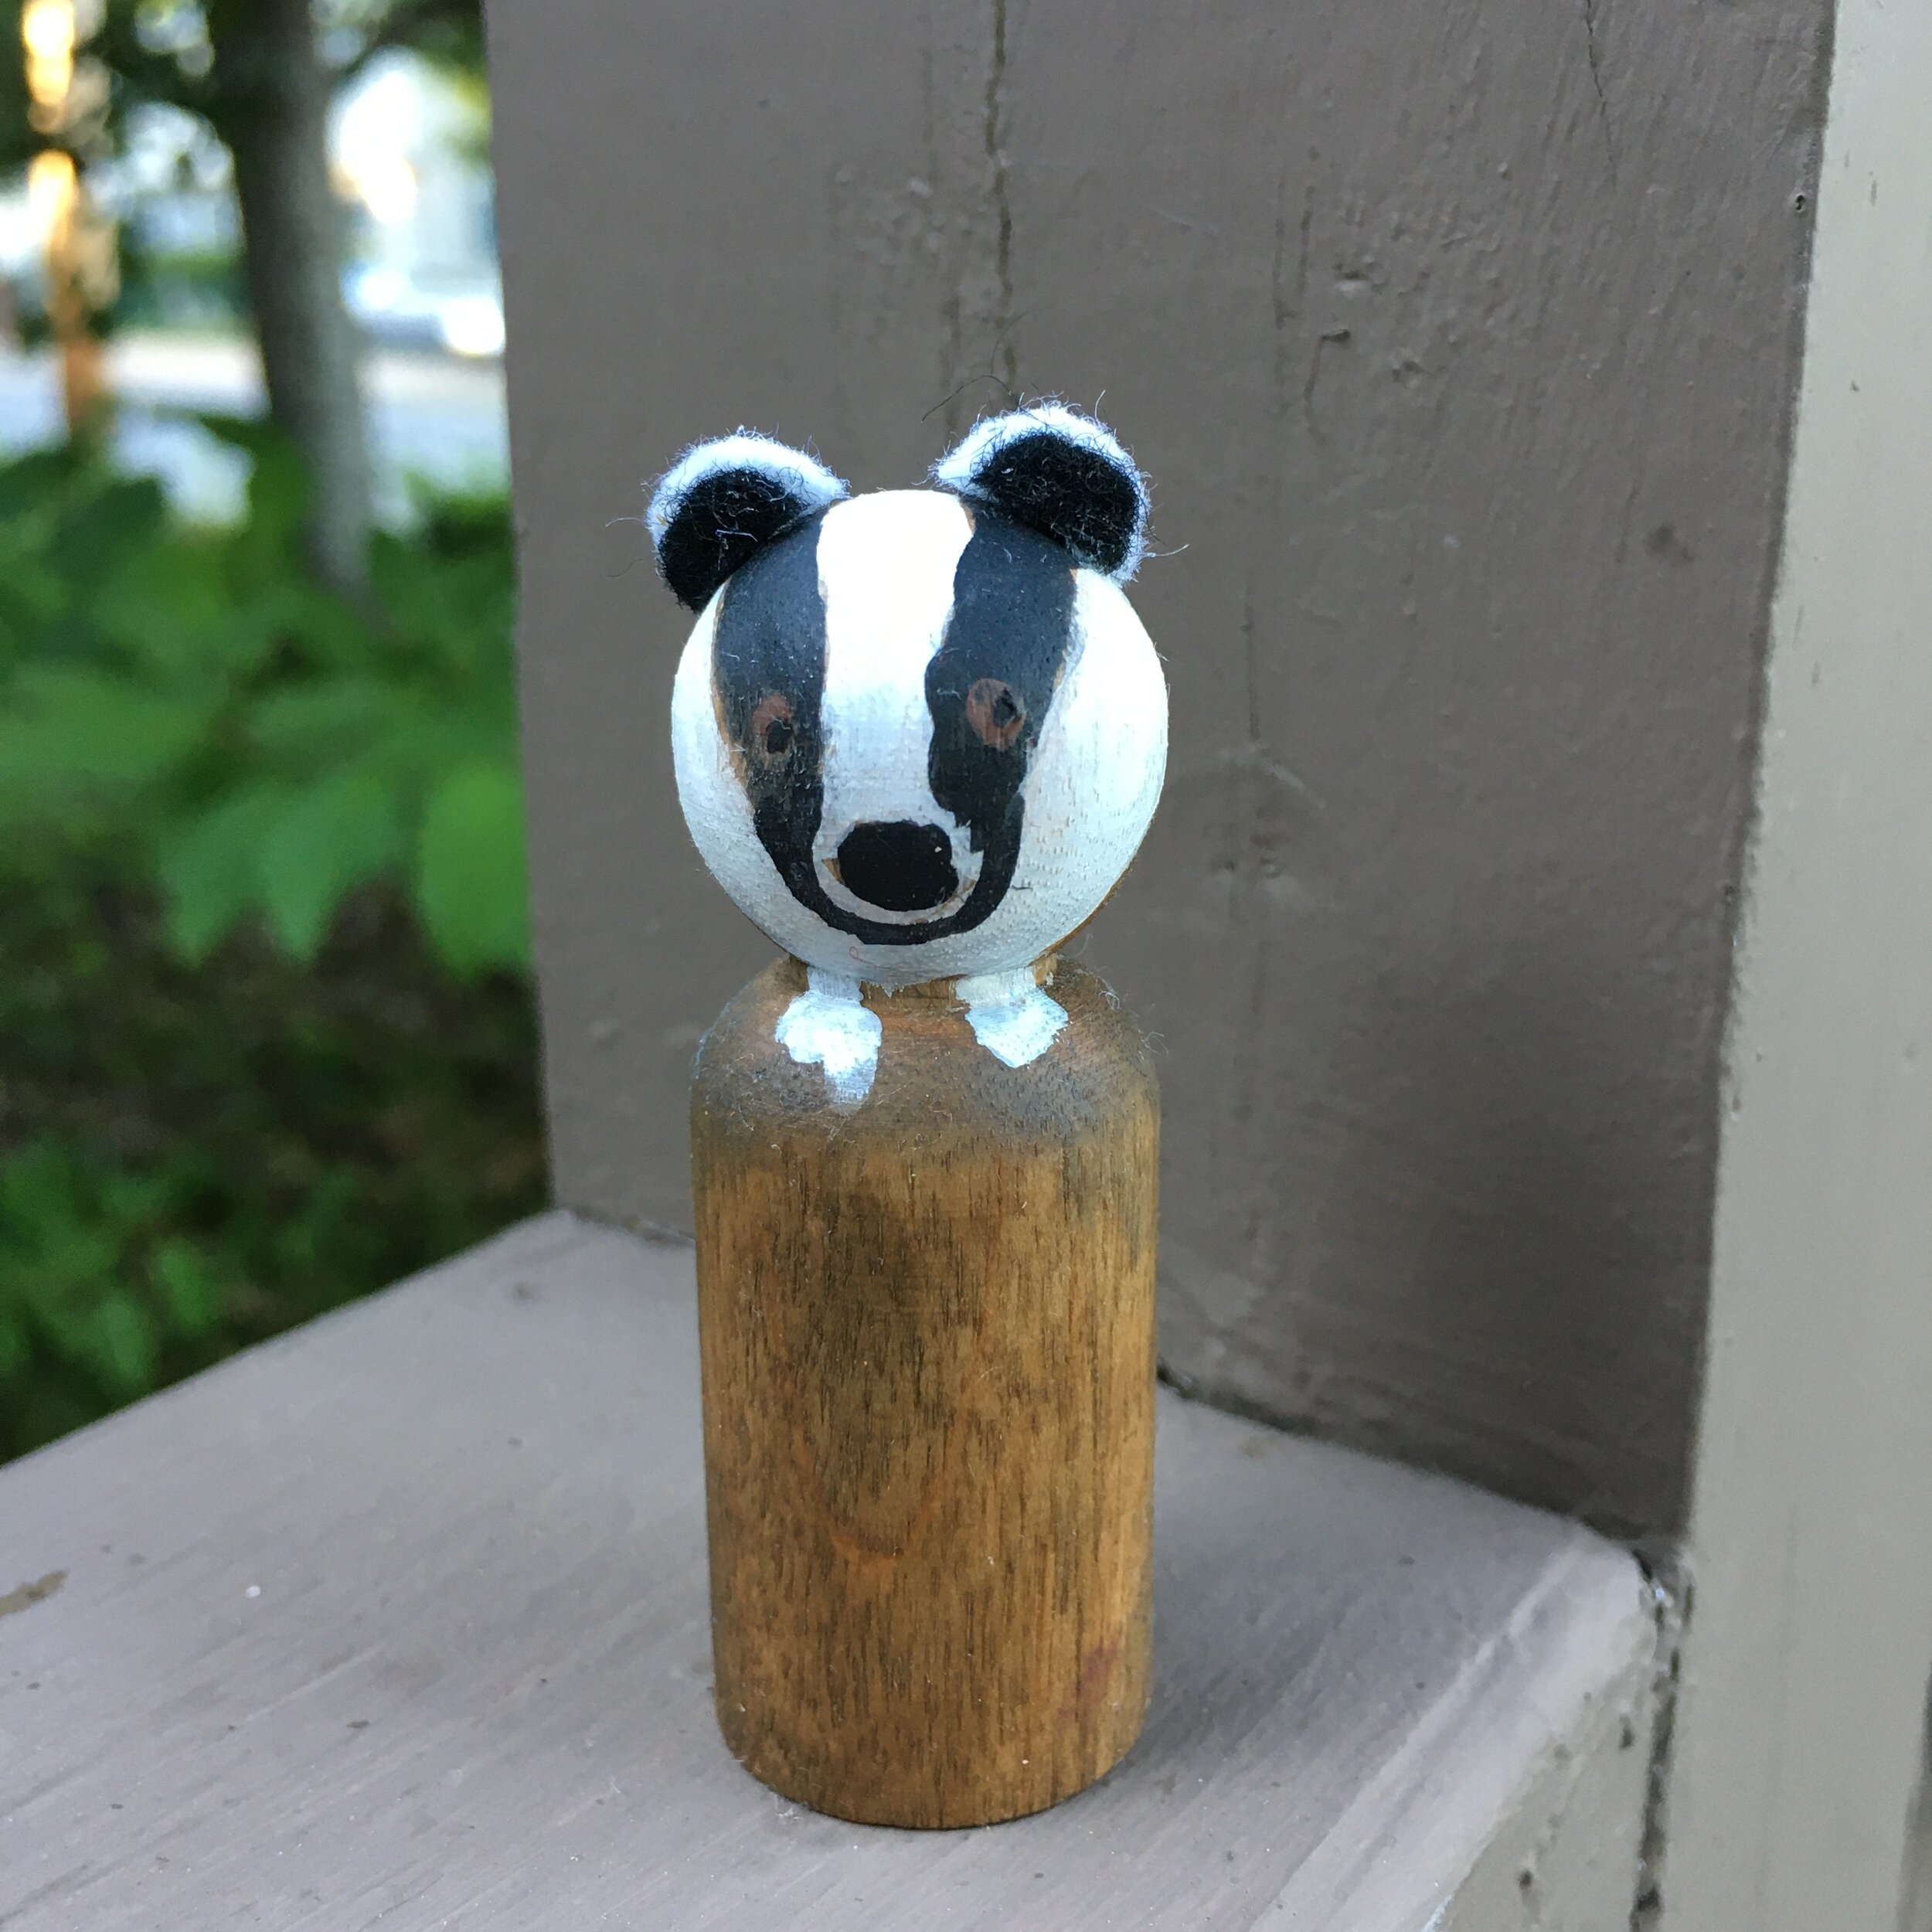
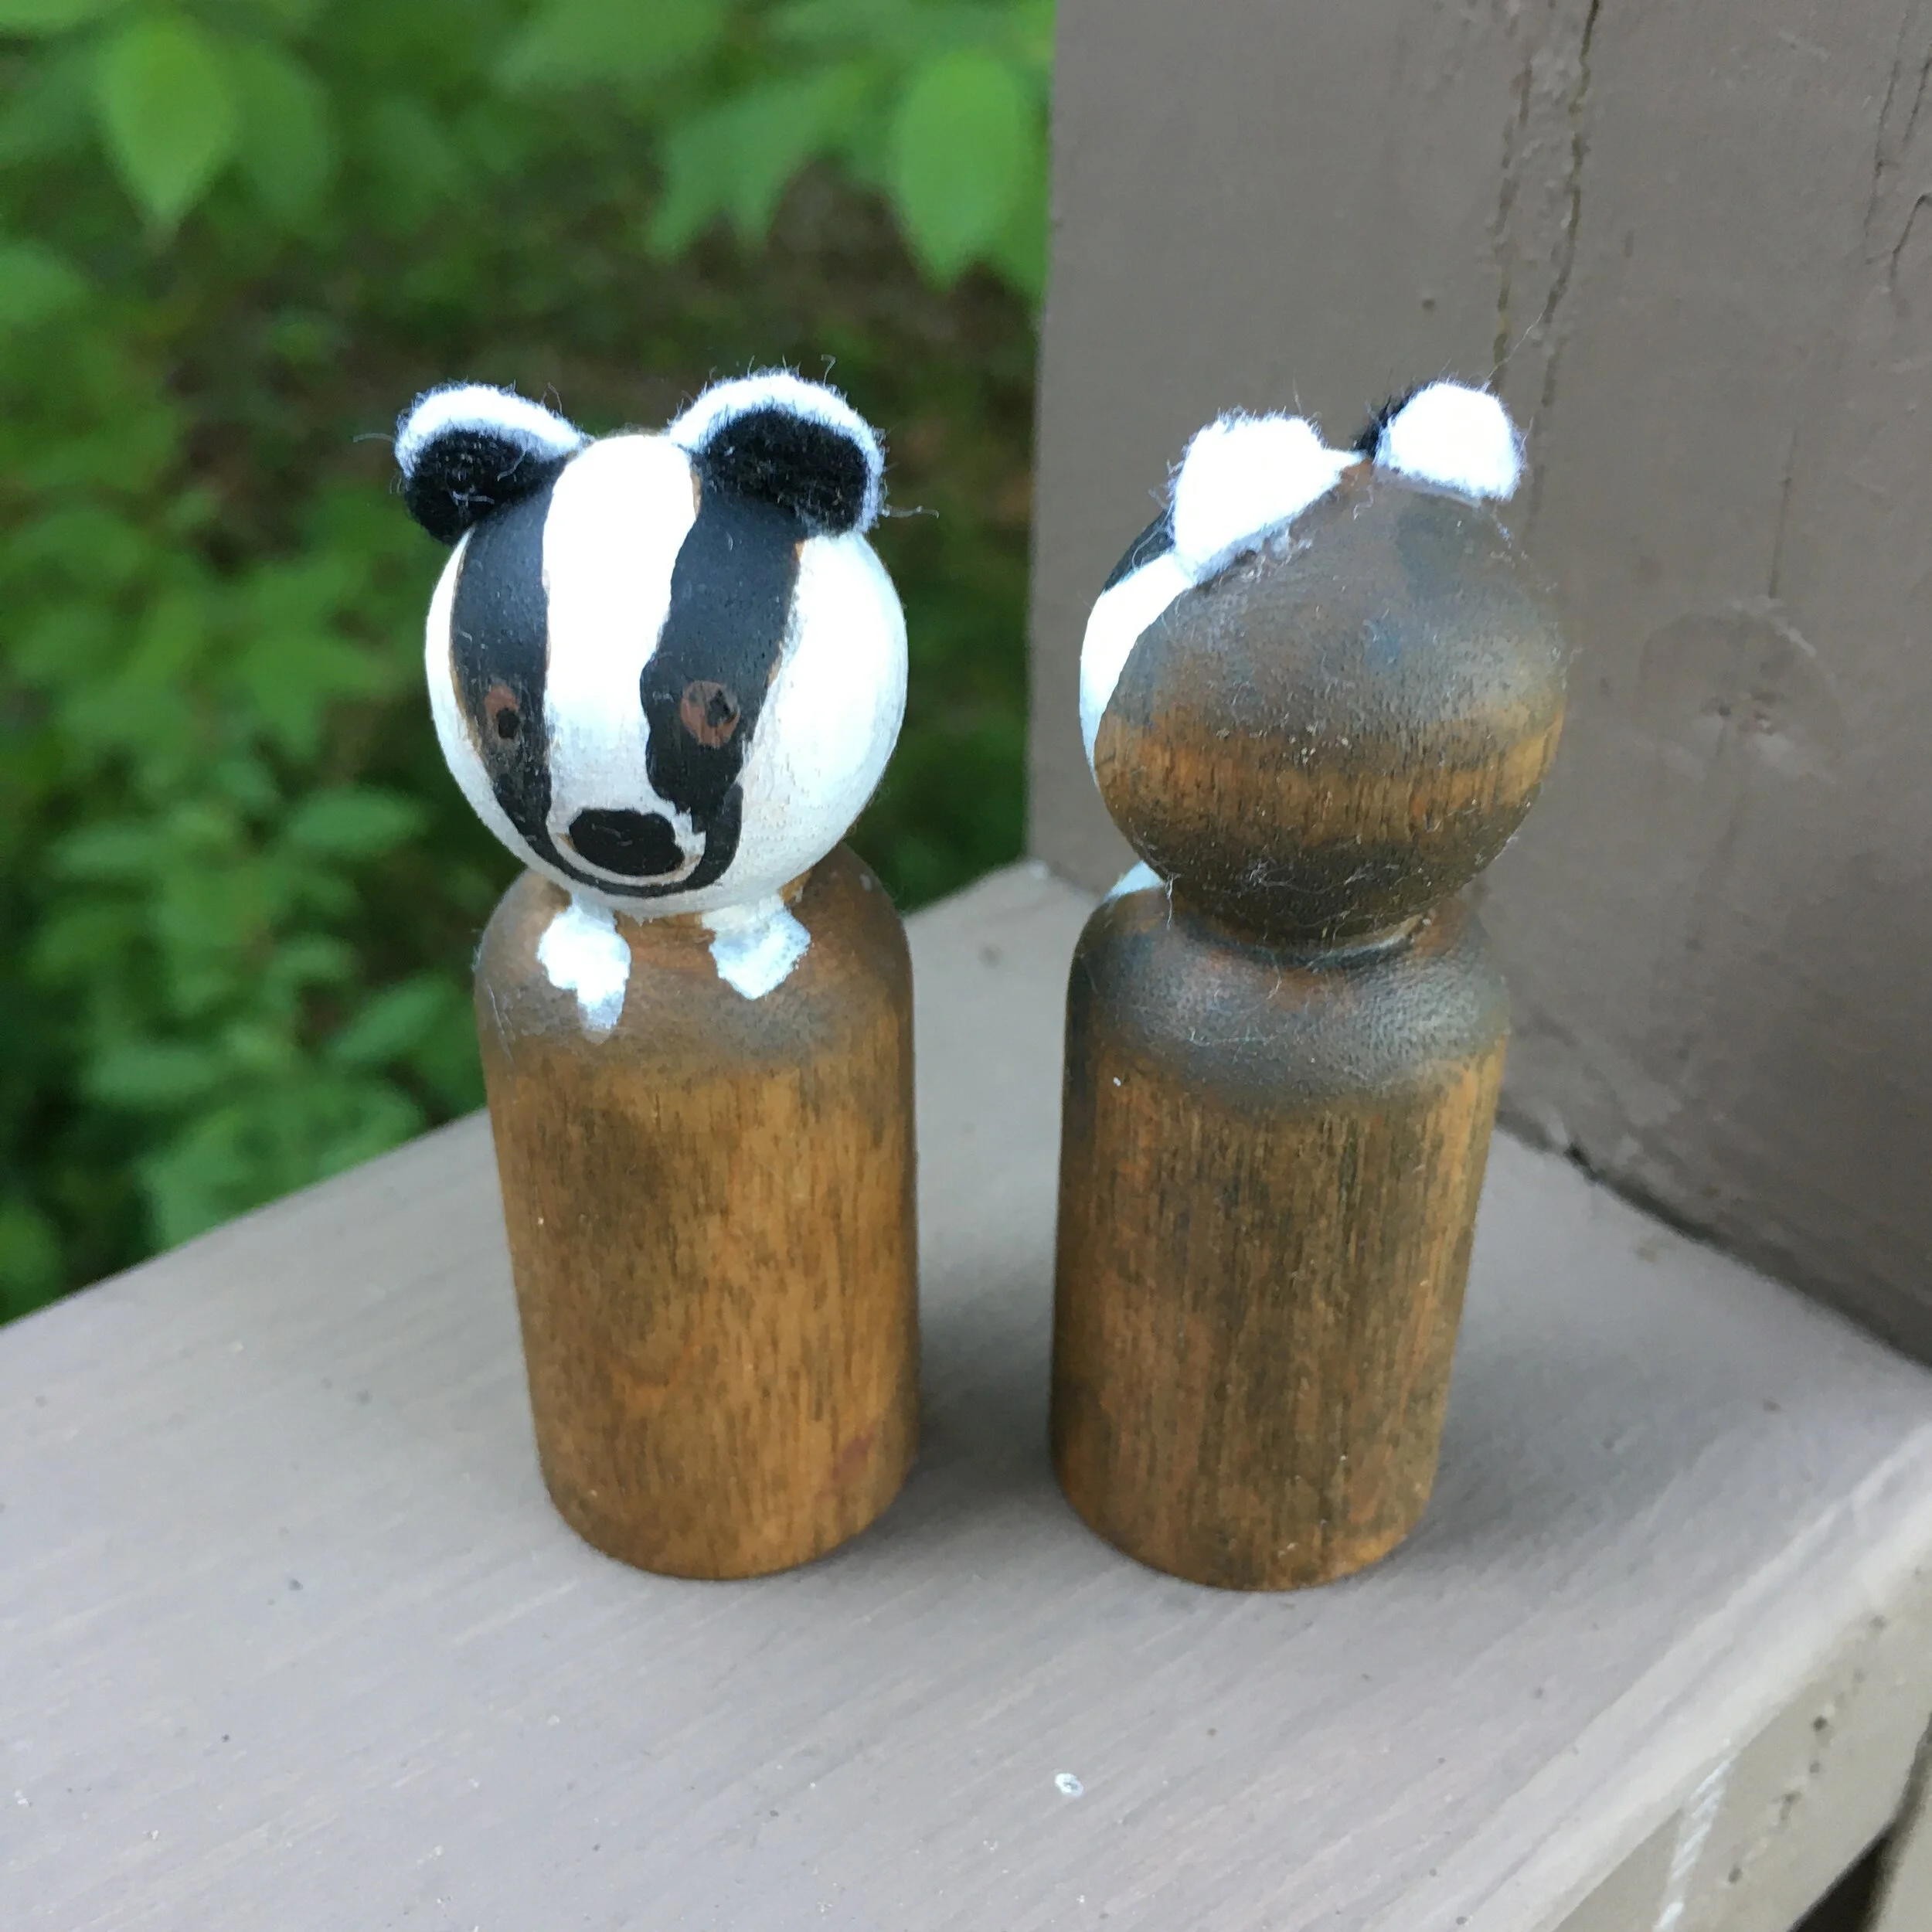
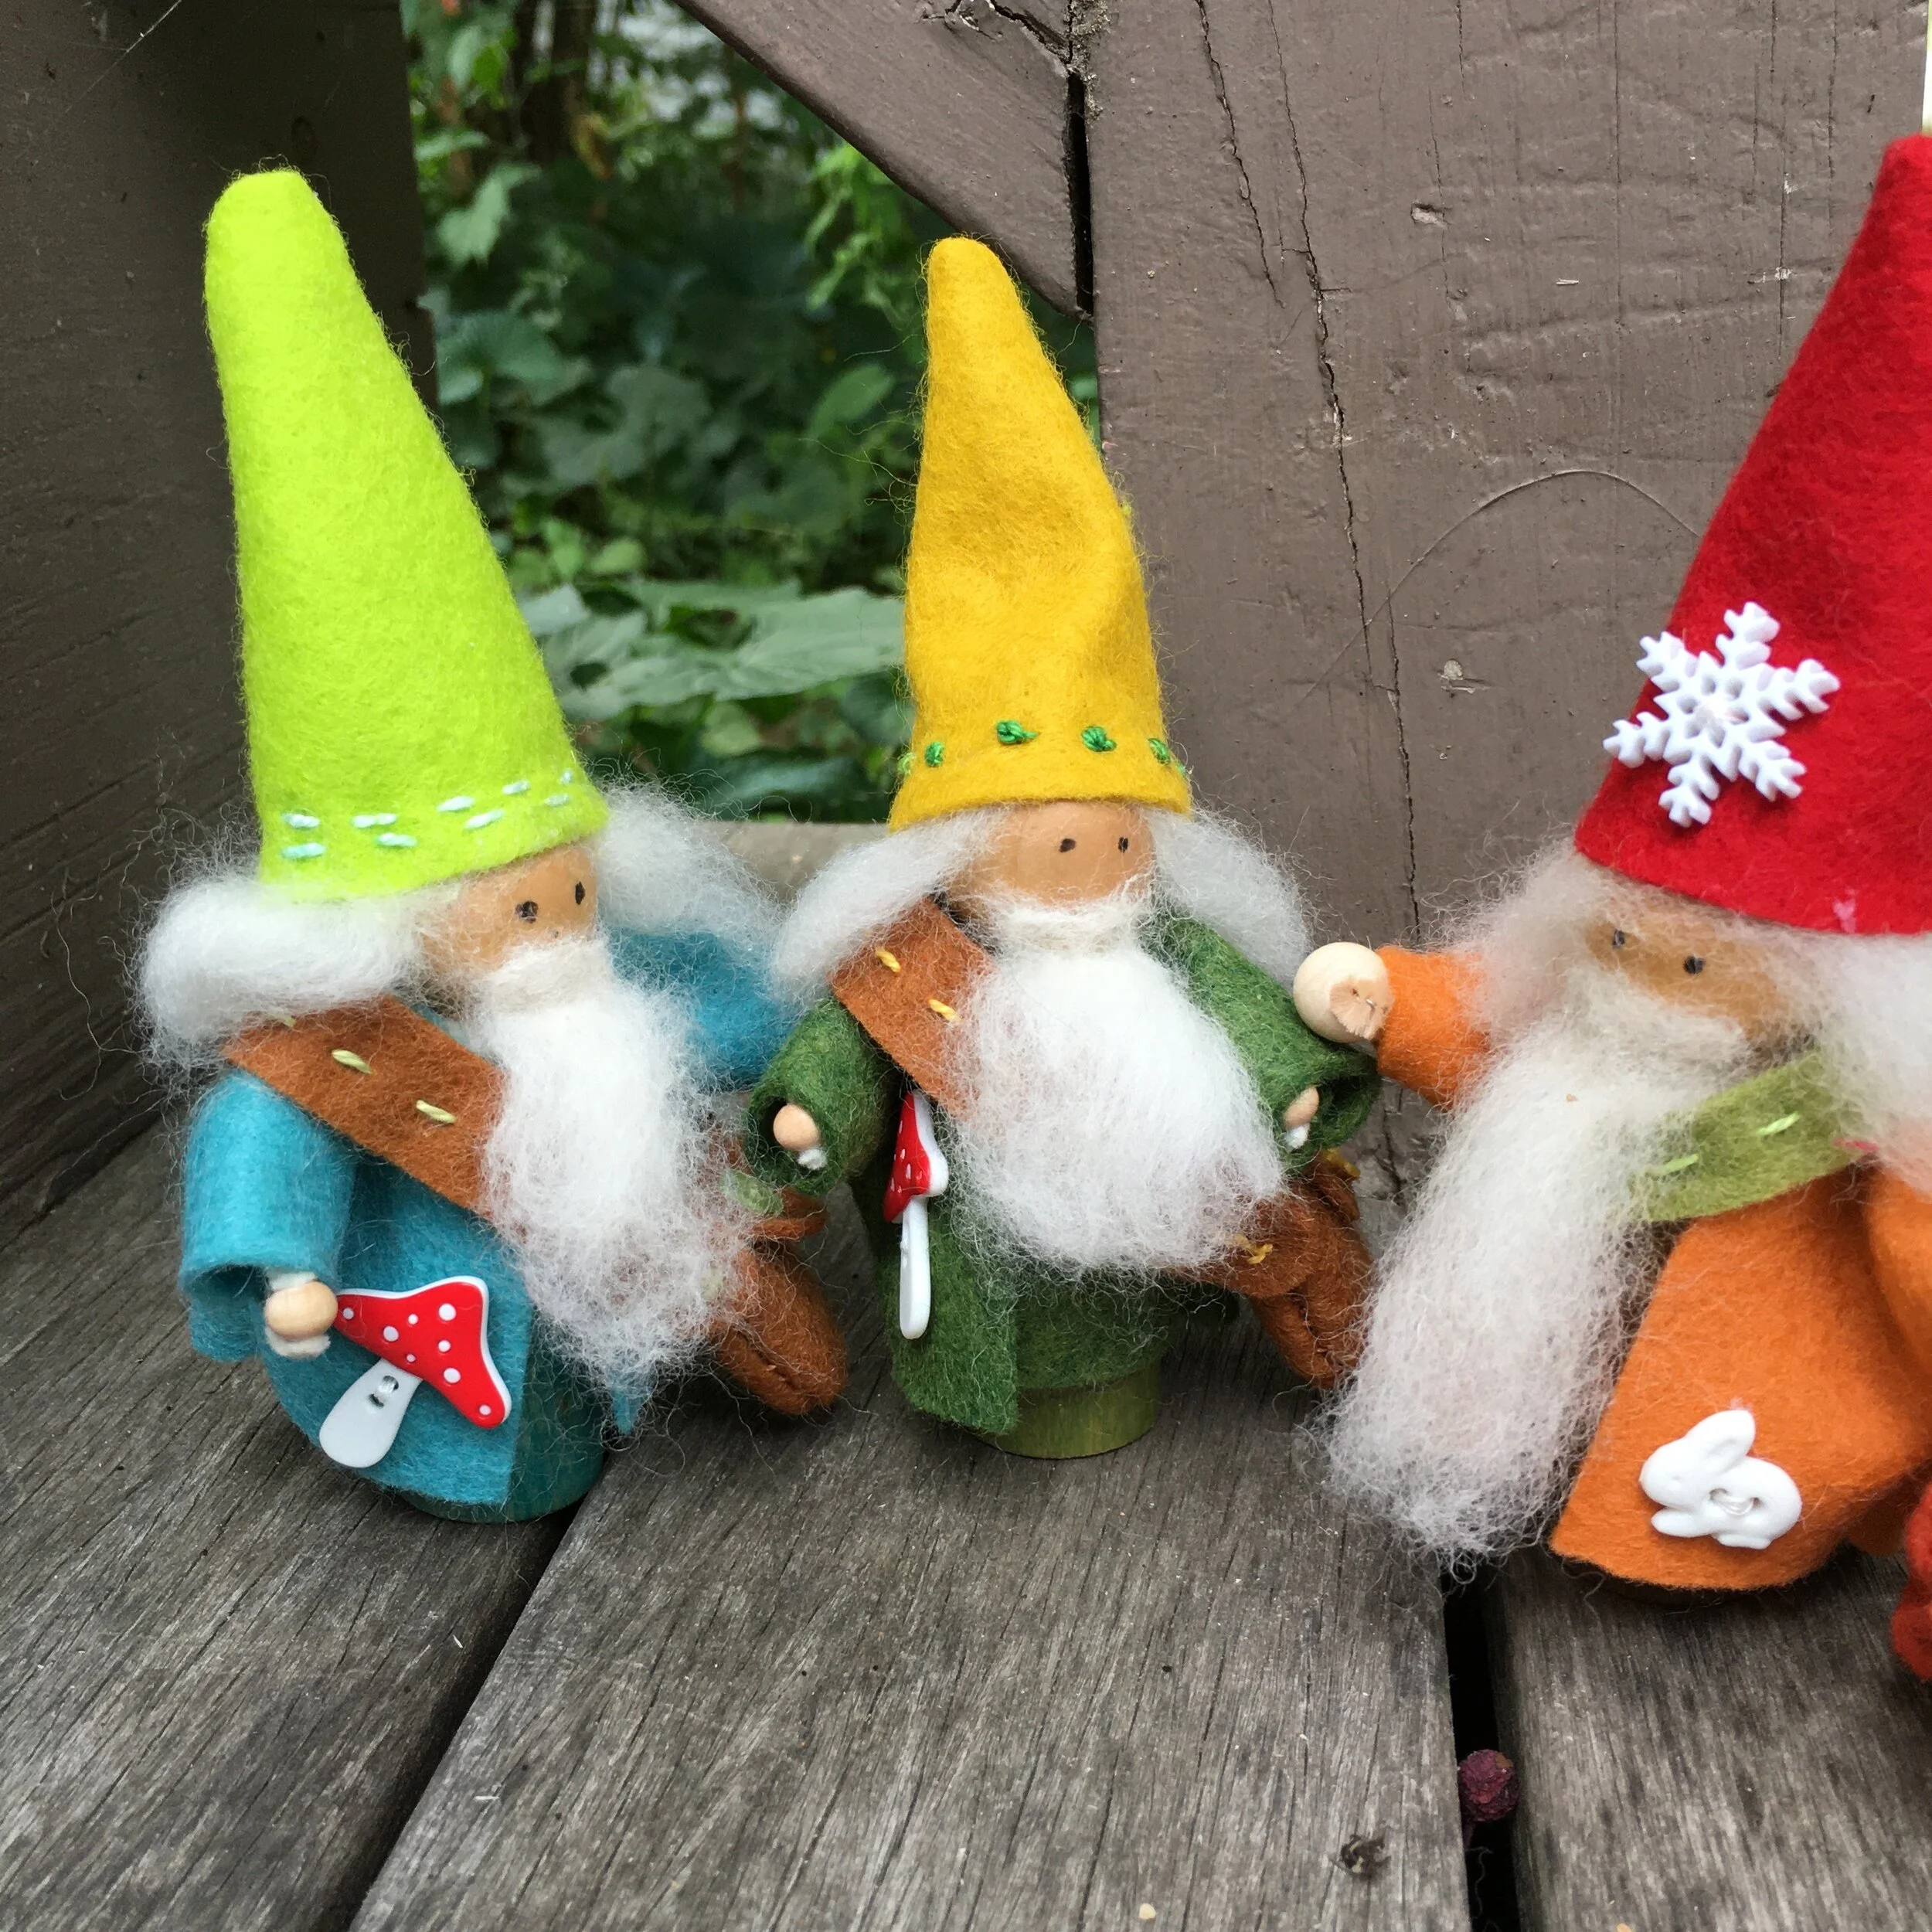
I purchased my kit and 2 extra gnomekin pegs from A Child’s Dream. The gnomekin with the orange coat was made using the original supplies from the kit. He got both a shoulder bag and the gathered bag. His hands are bigger than the tiny round wooden beads I had in my stash. I do like the bigger hands better! If you need additional supplies, A Child’s Dream carries non-toxic watercolor paint and beeswax polish, as well as wool felt, wood beads, pipe cleaners and wool roving in a variety of colors if you wish to make multiple gnomekins.
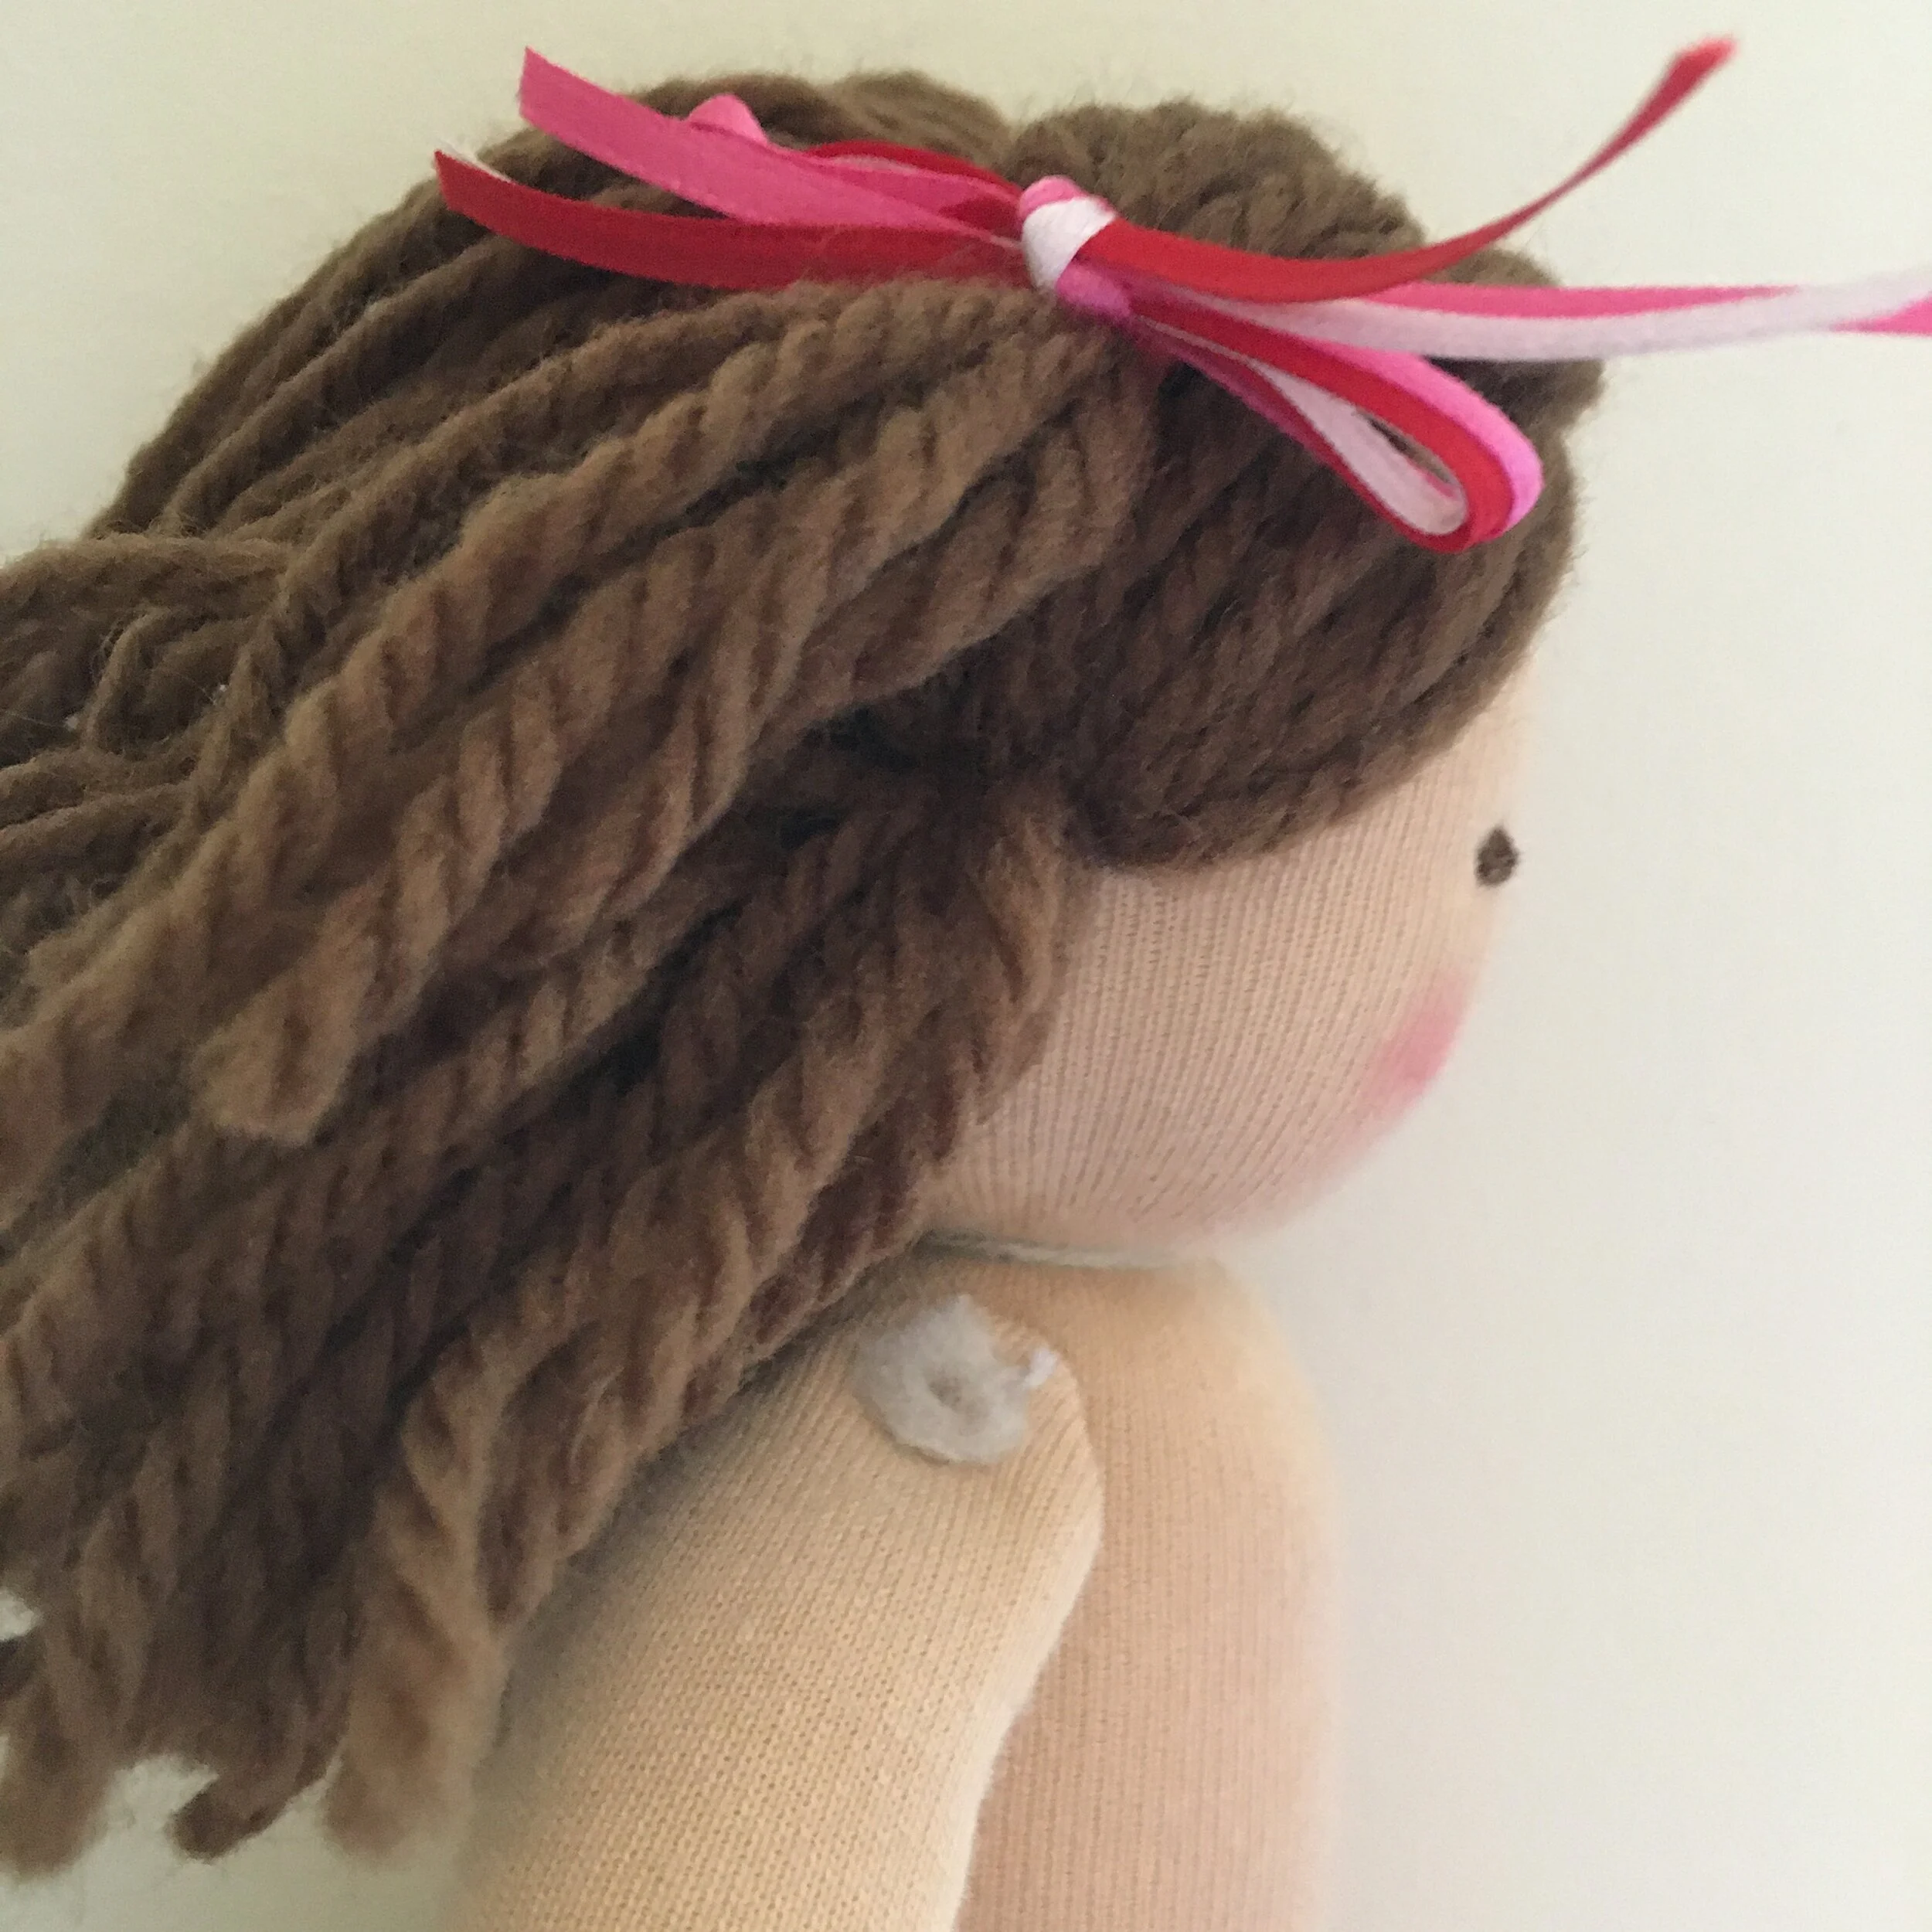
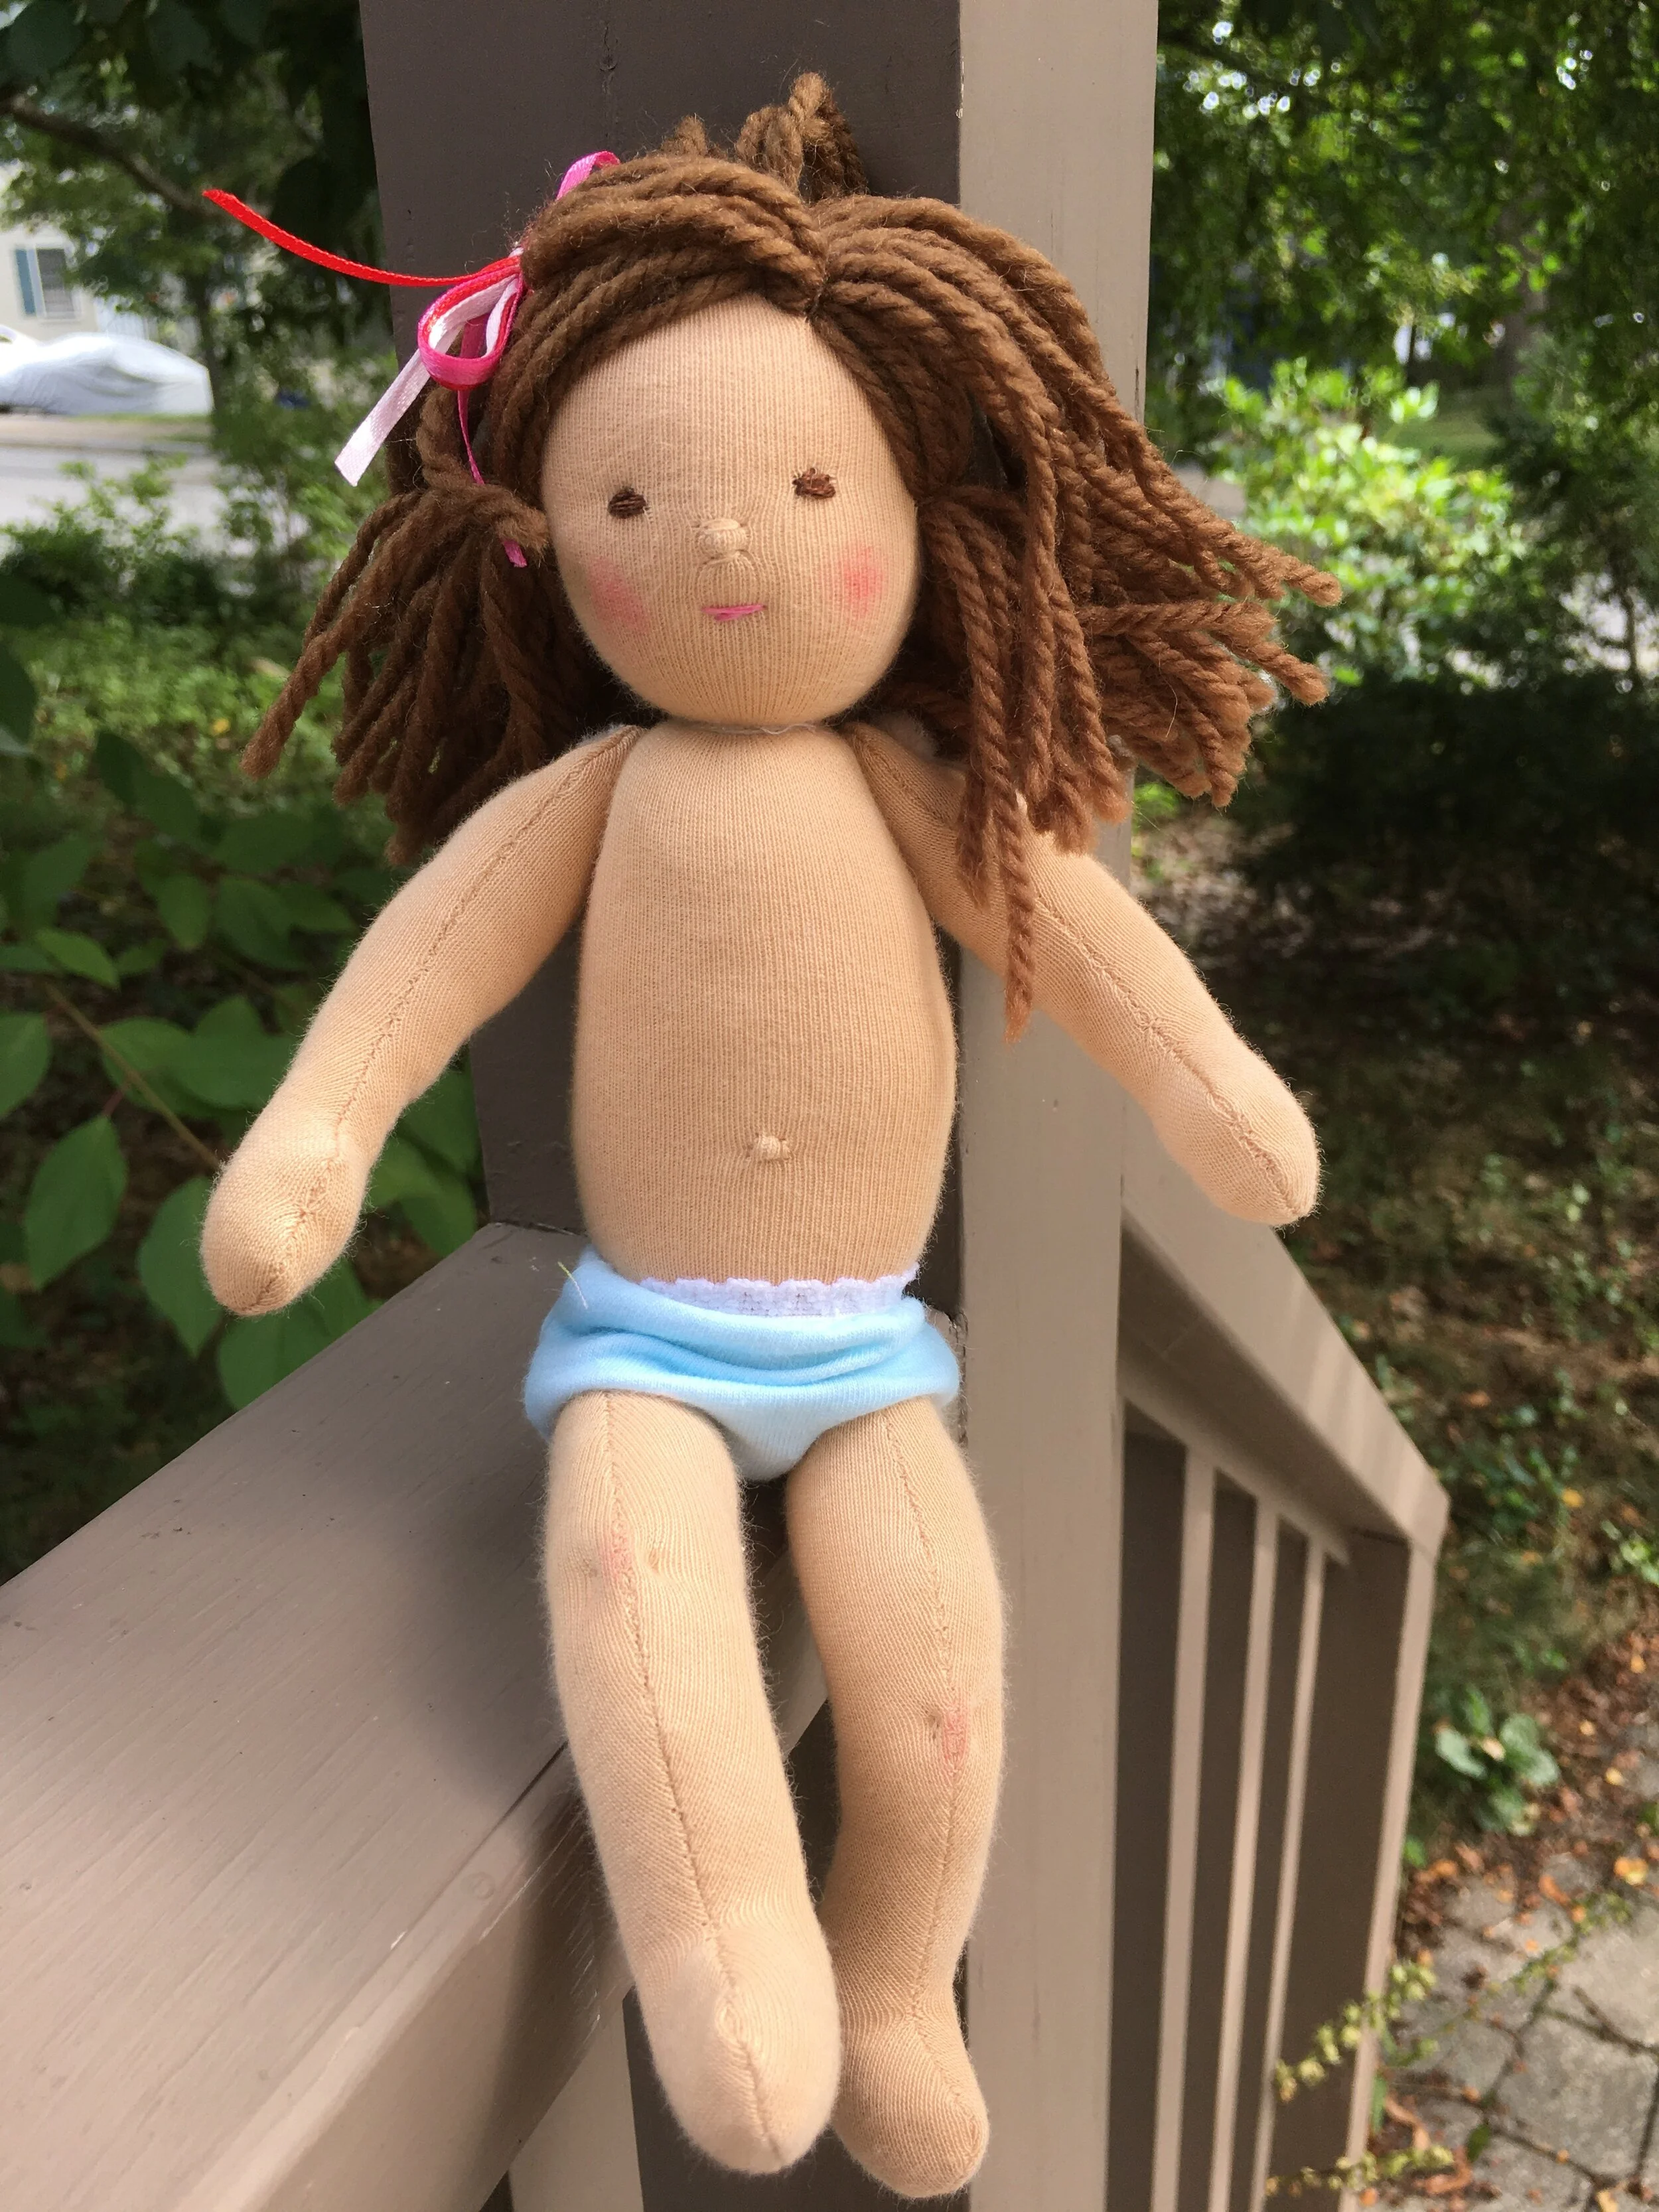
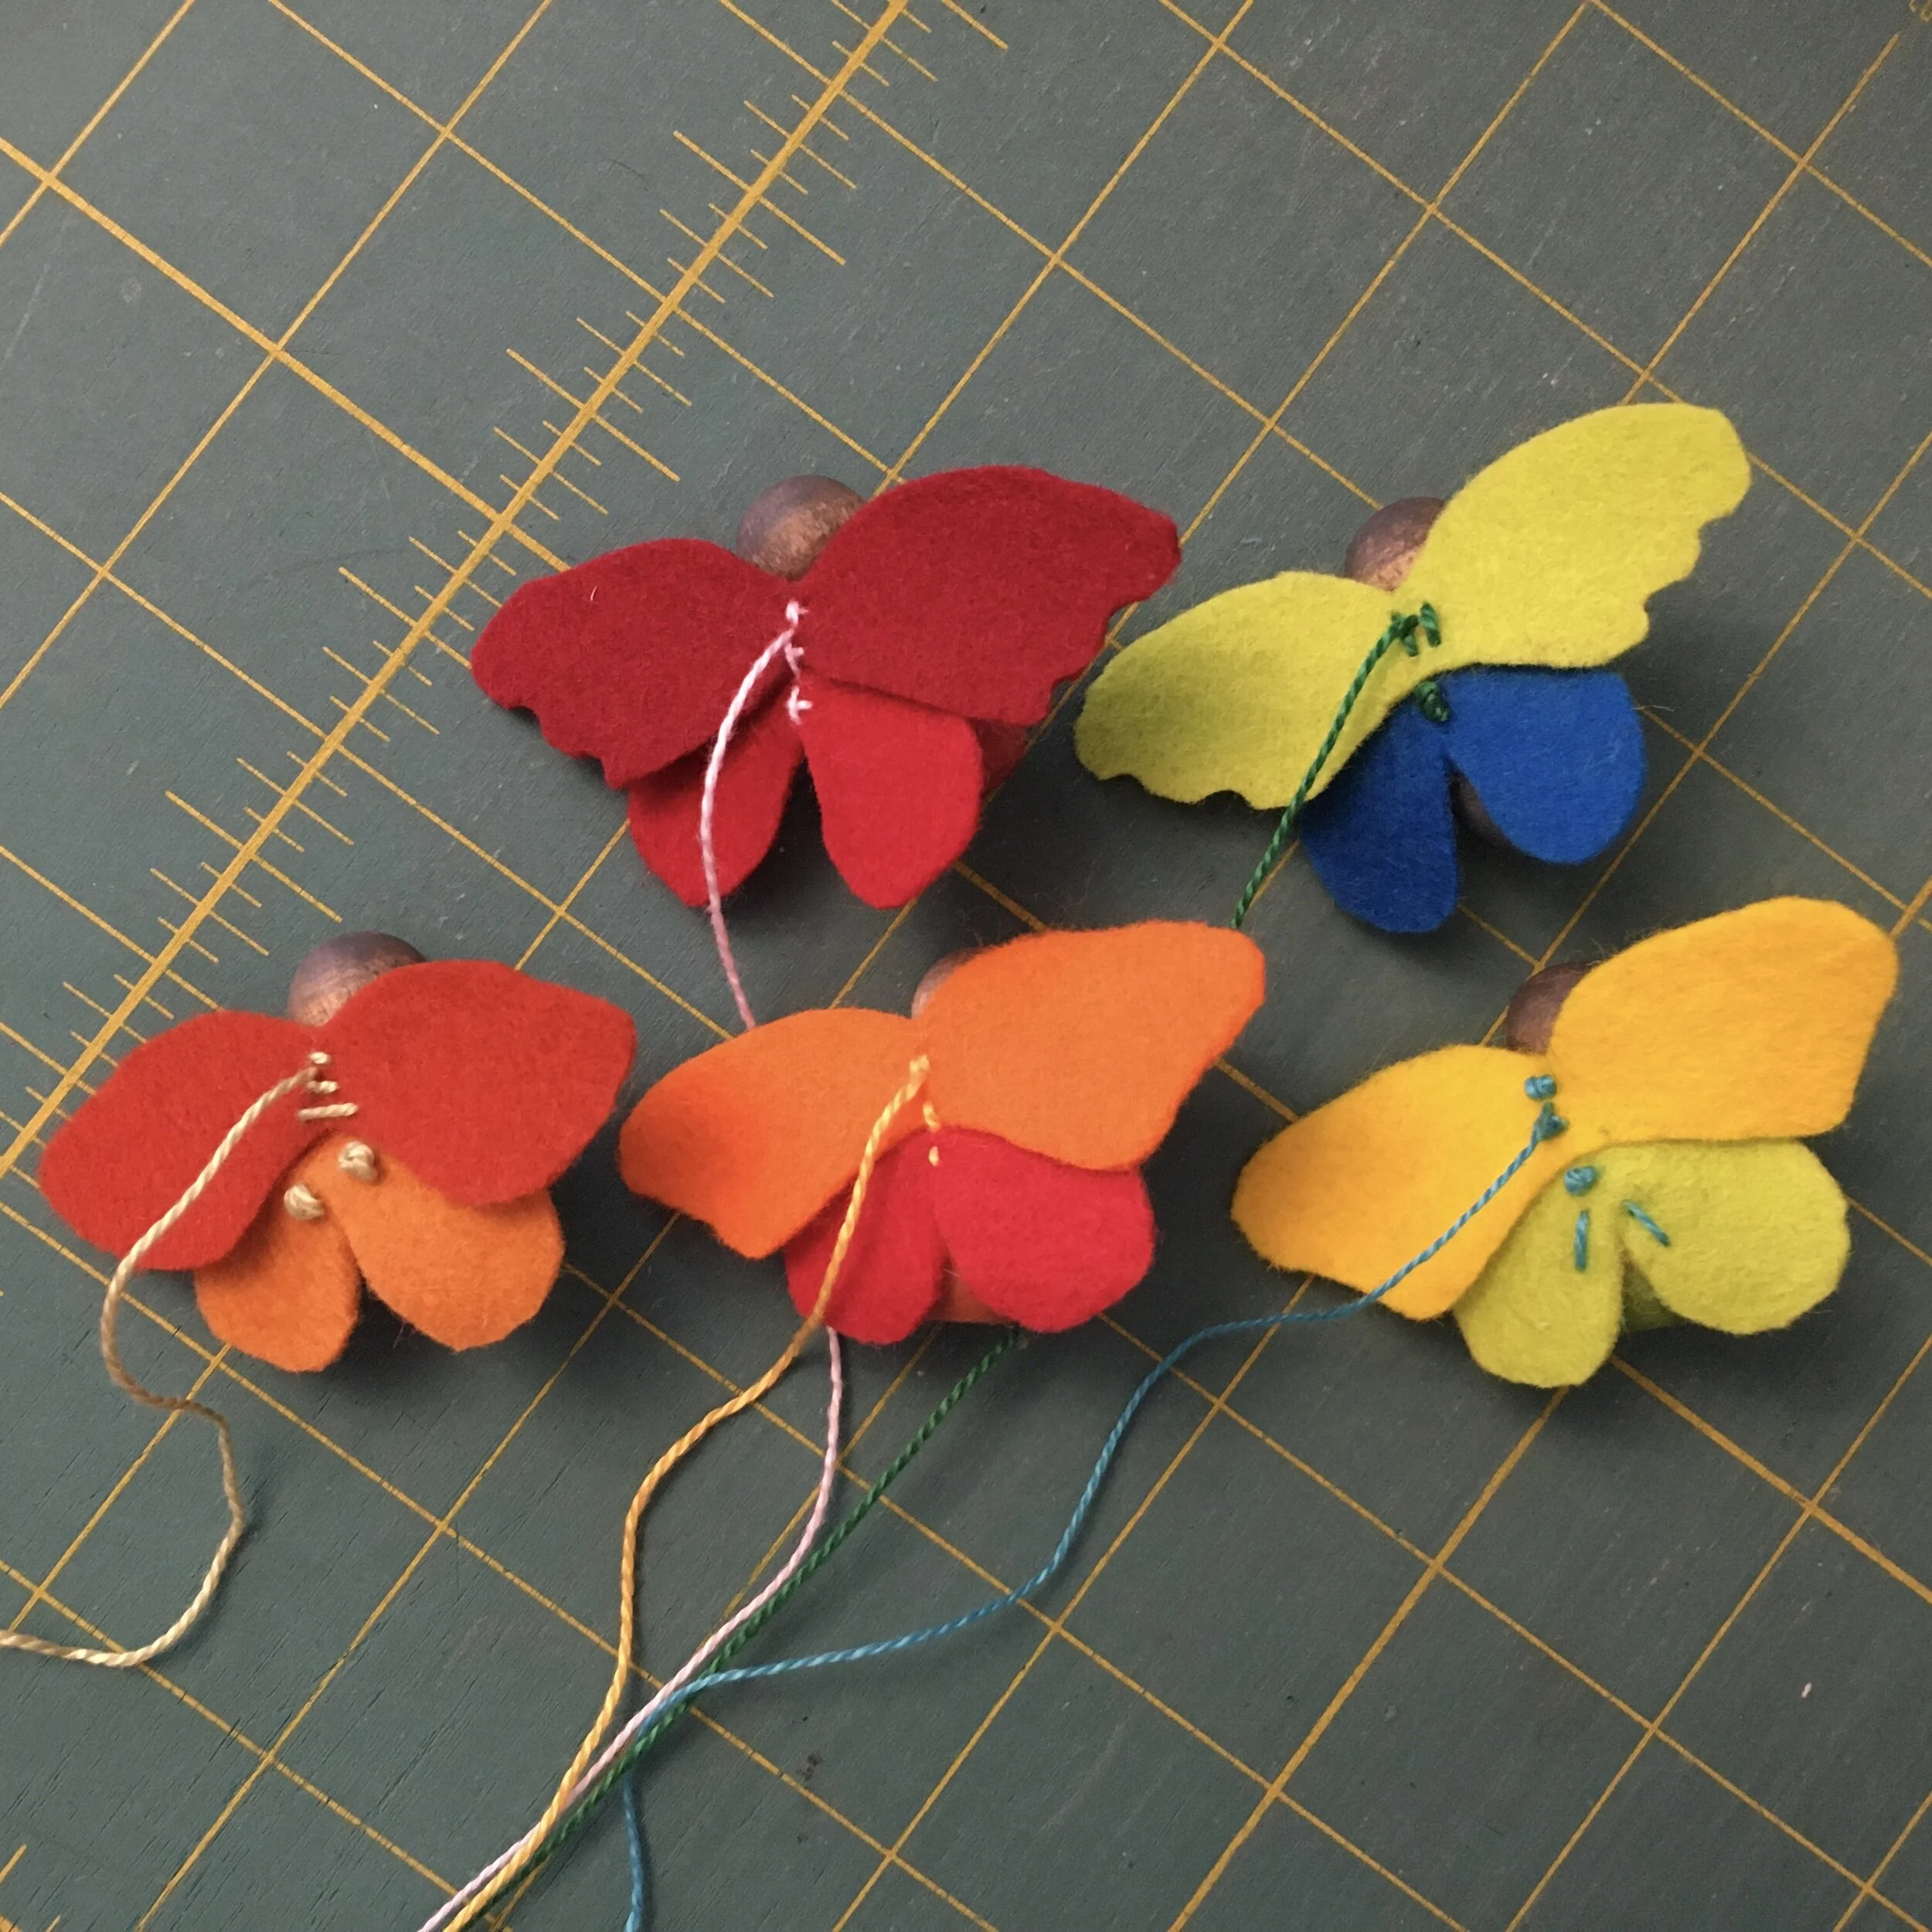
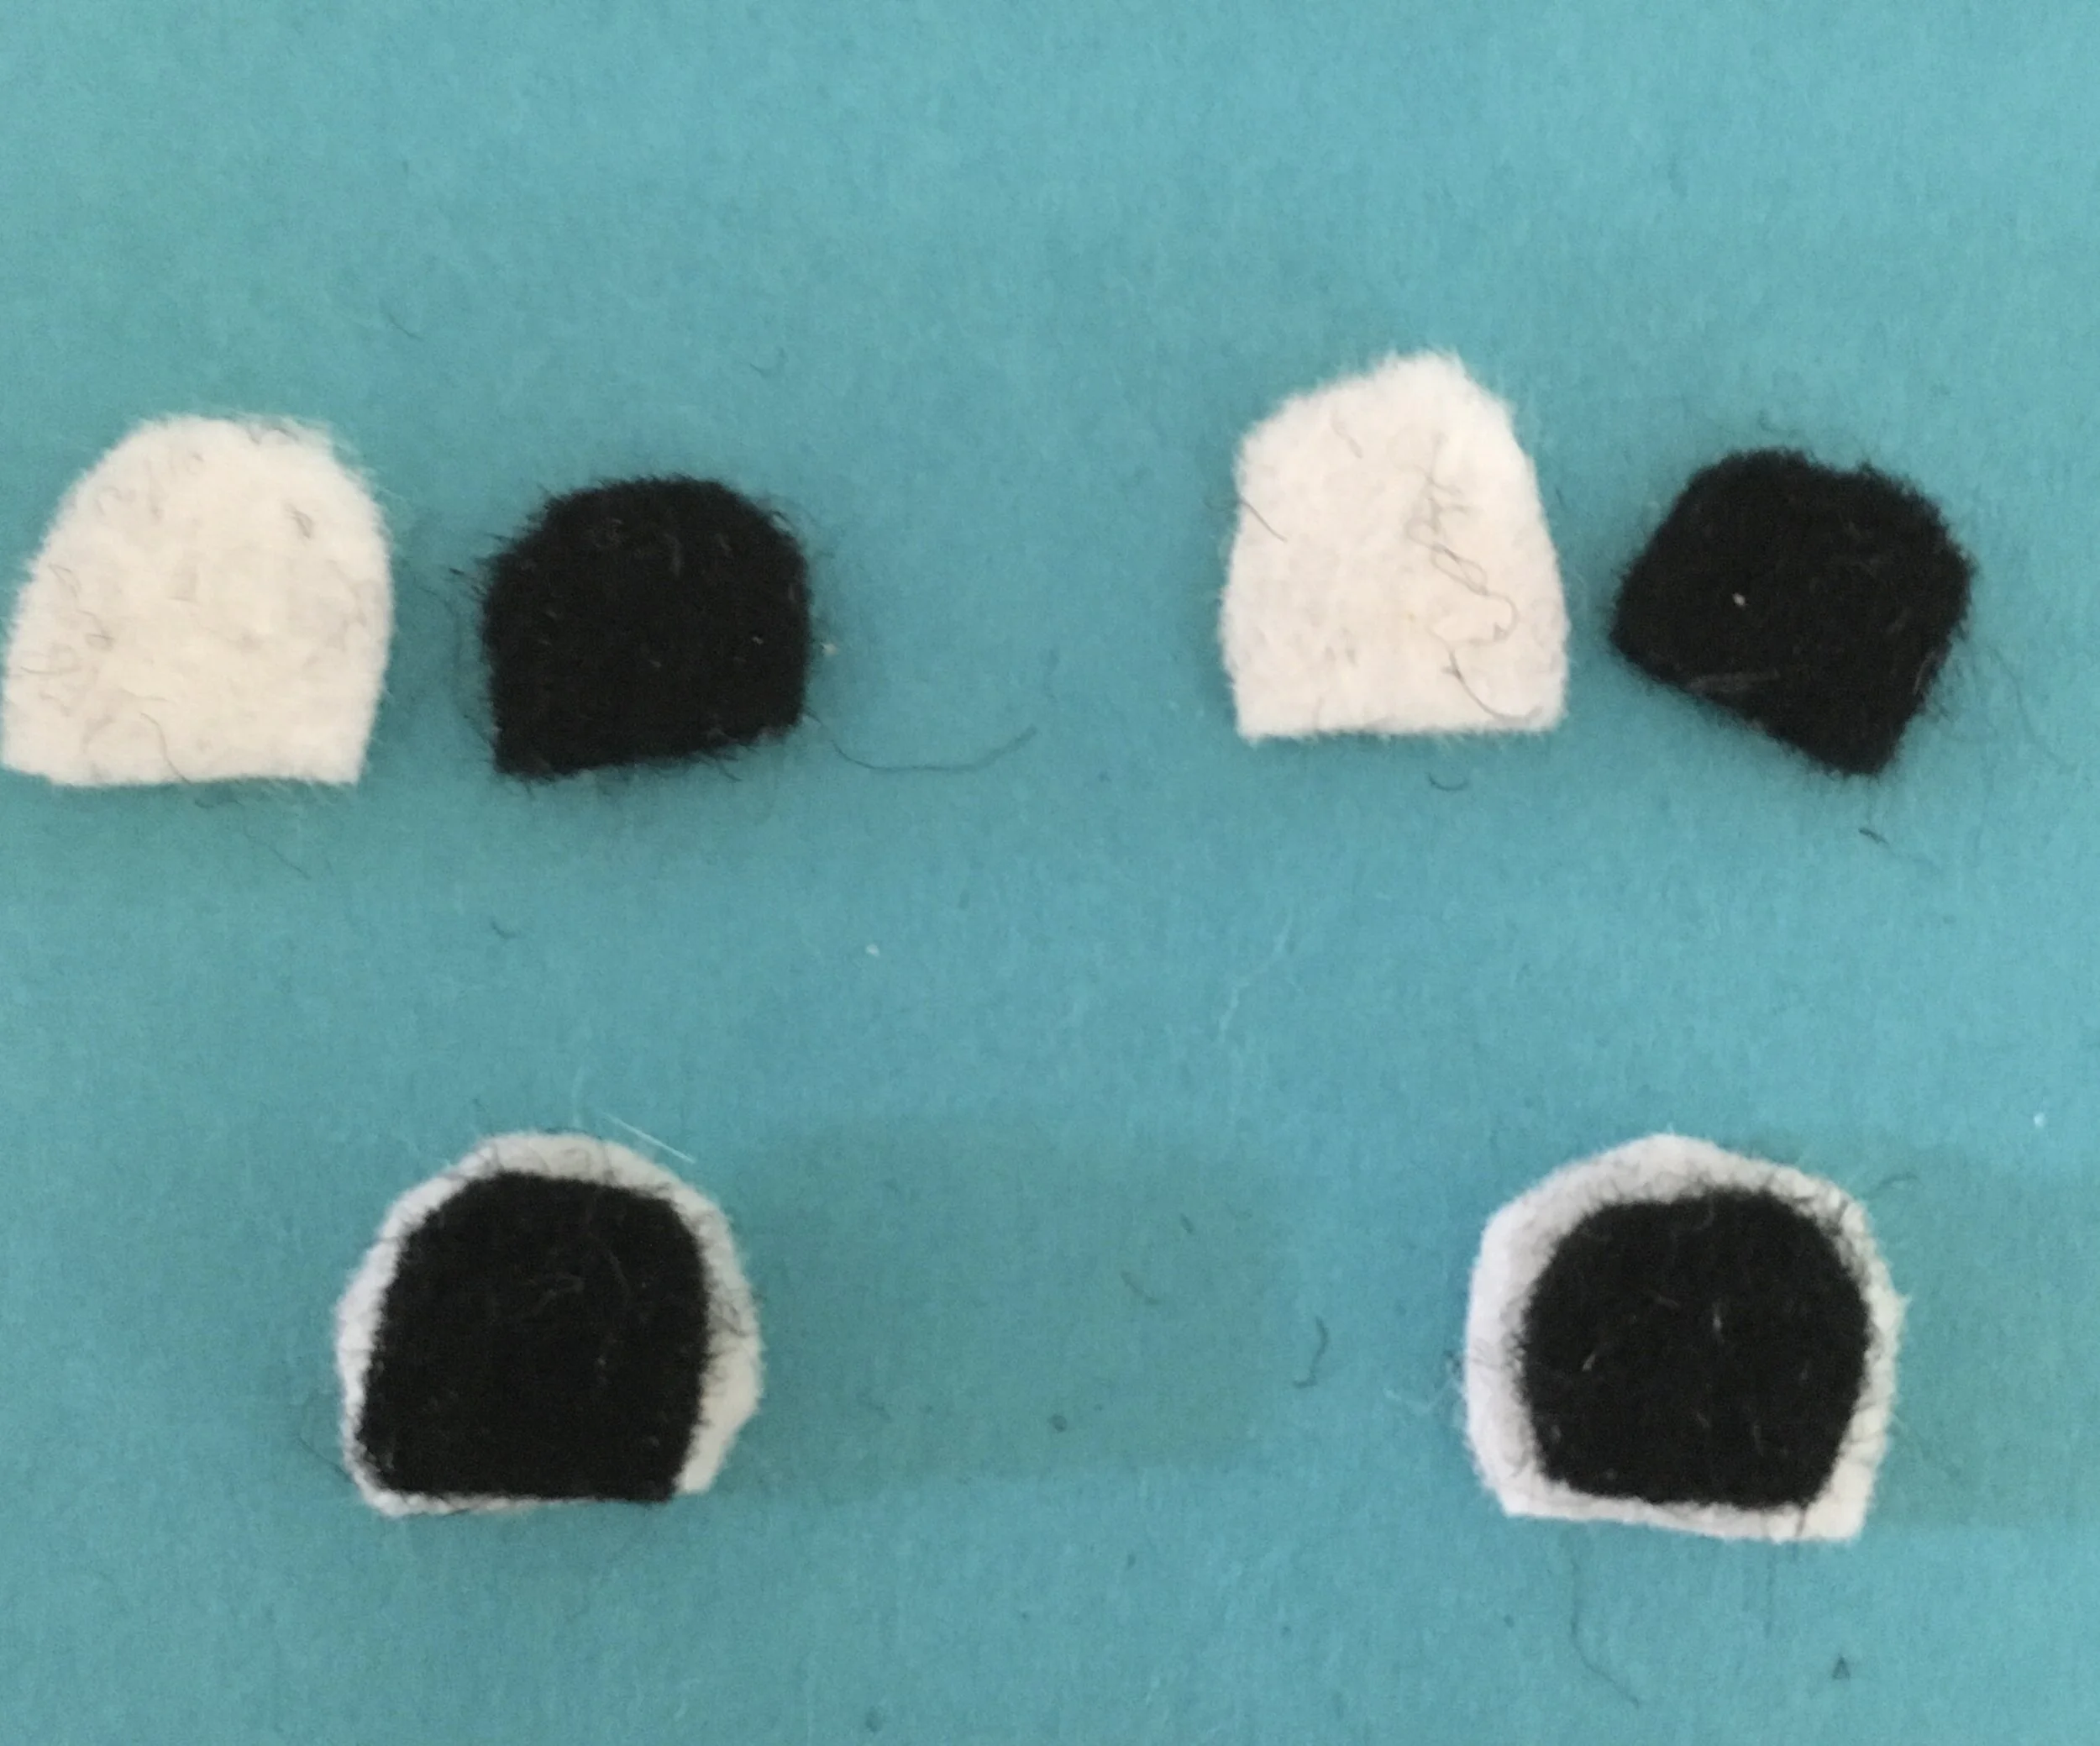
I added the buttons to the gnomekins coats and the red hat and dug into my stash for wool felt for the two extra gnomes. I embroidered the hats of two gnomekins. I didn’t use the heart shaped piece of wood in the kit that was supposed to be his feet and would add stability. None of my peg dolls have feet, so I just skipped that final step but it is a cute detail.
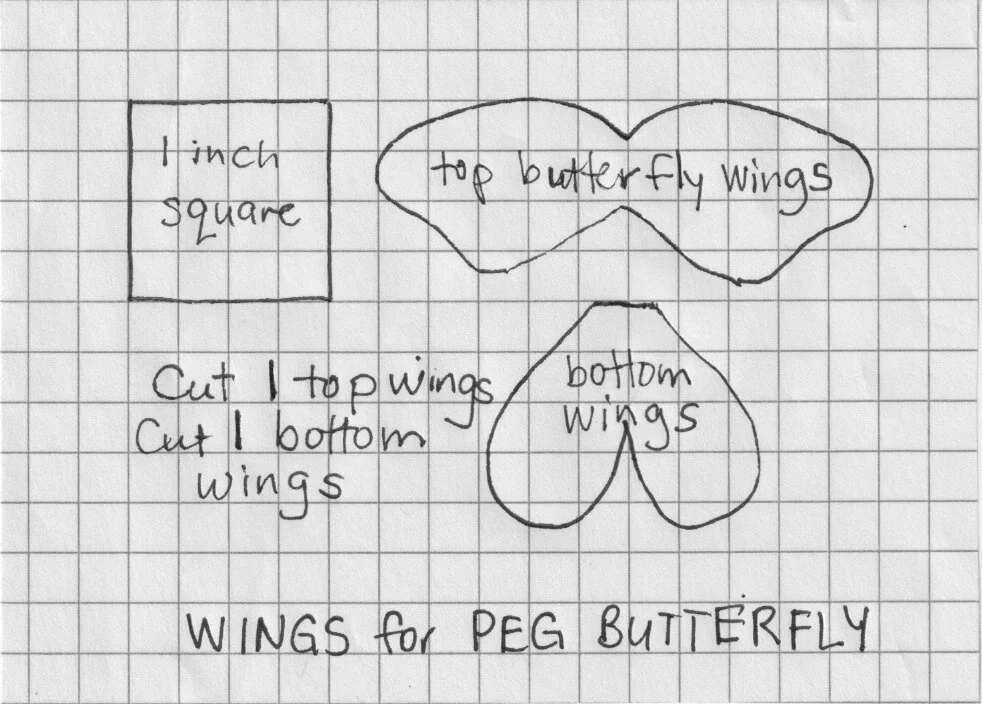
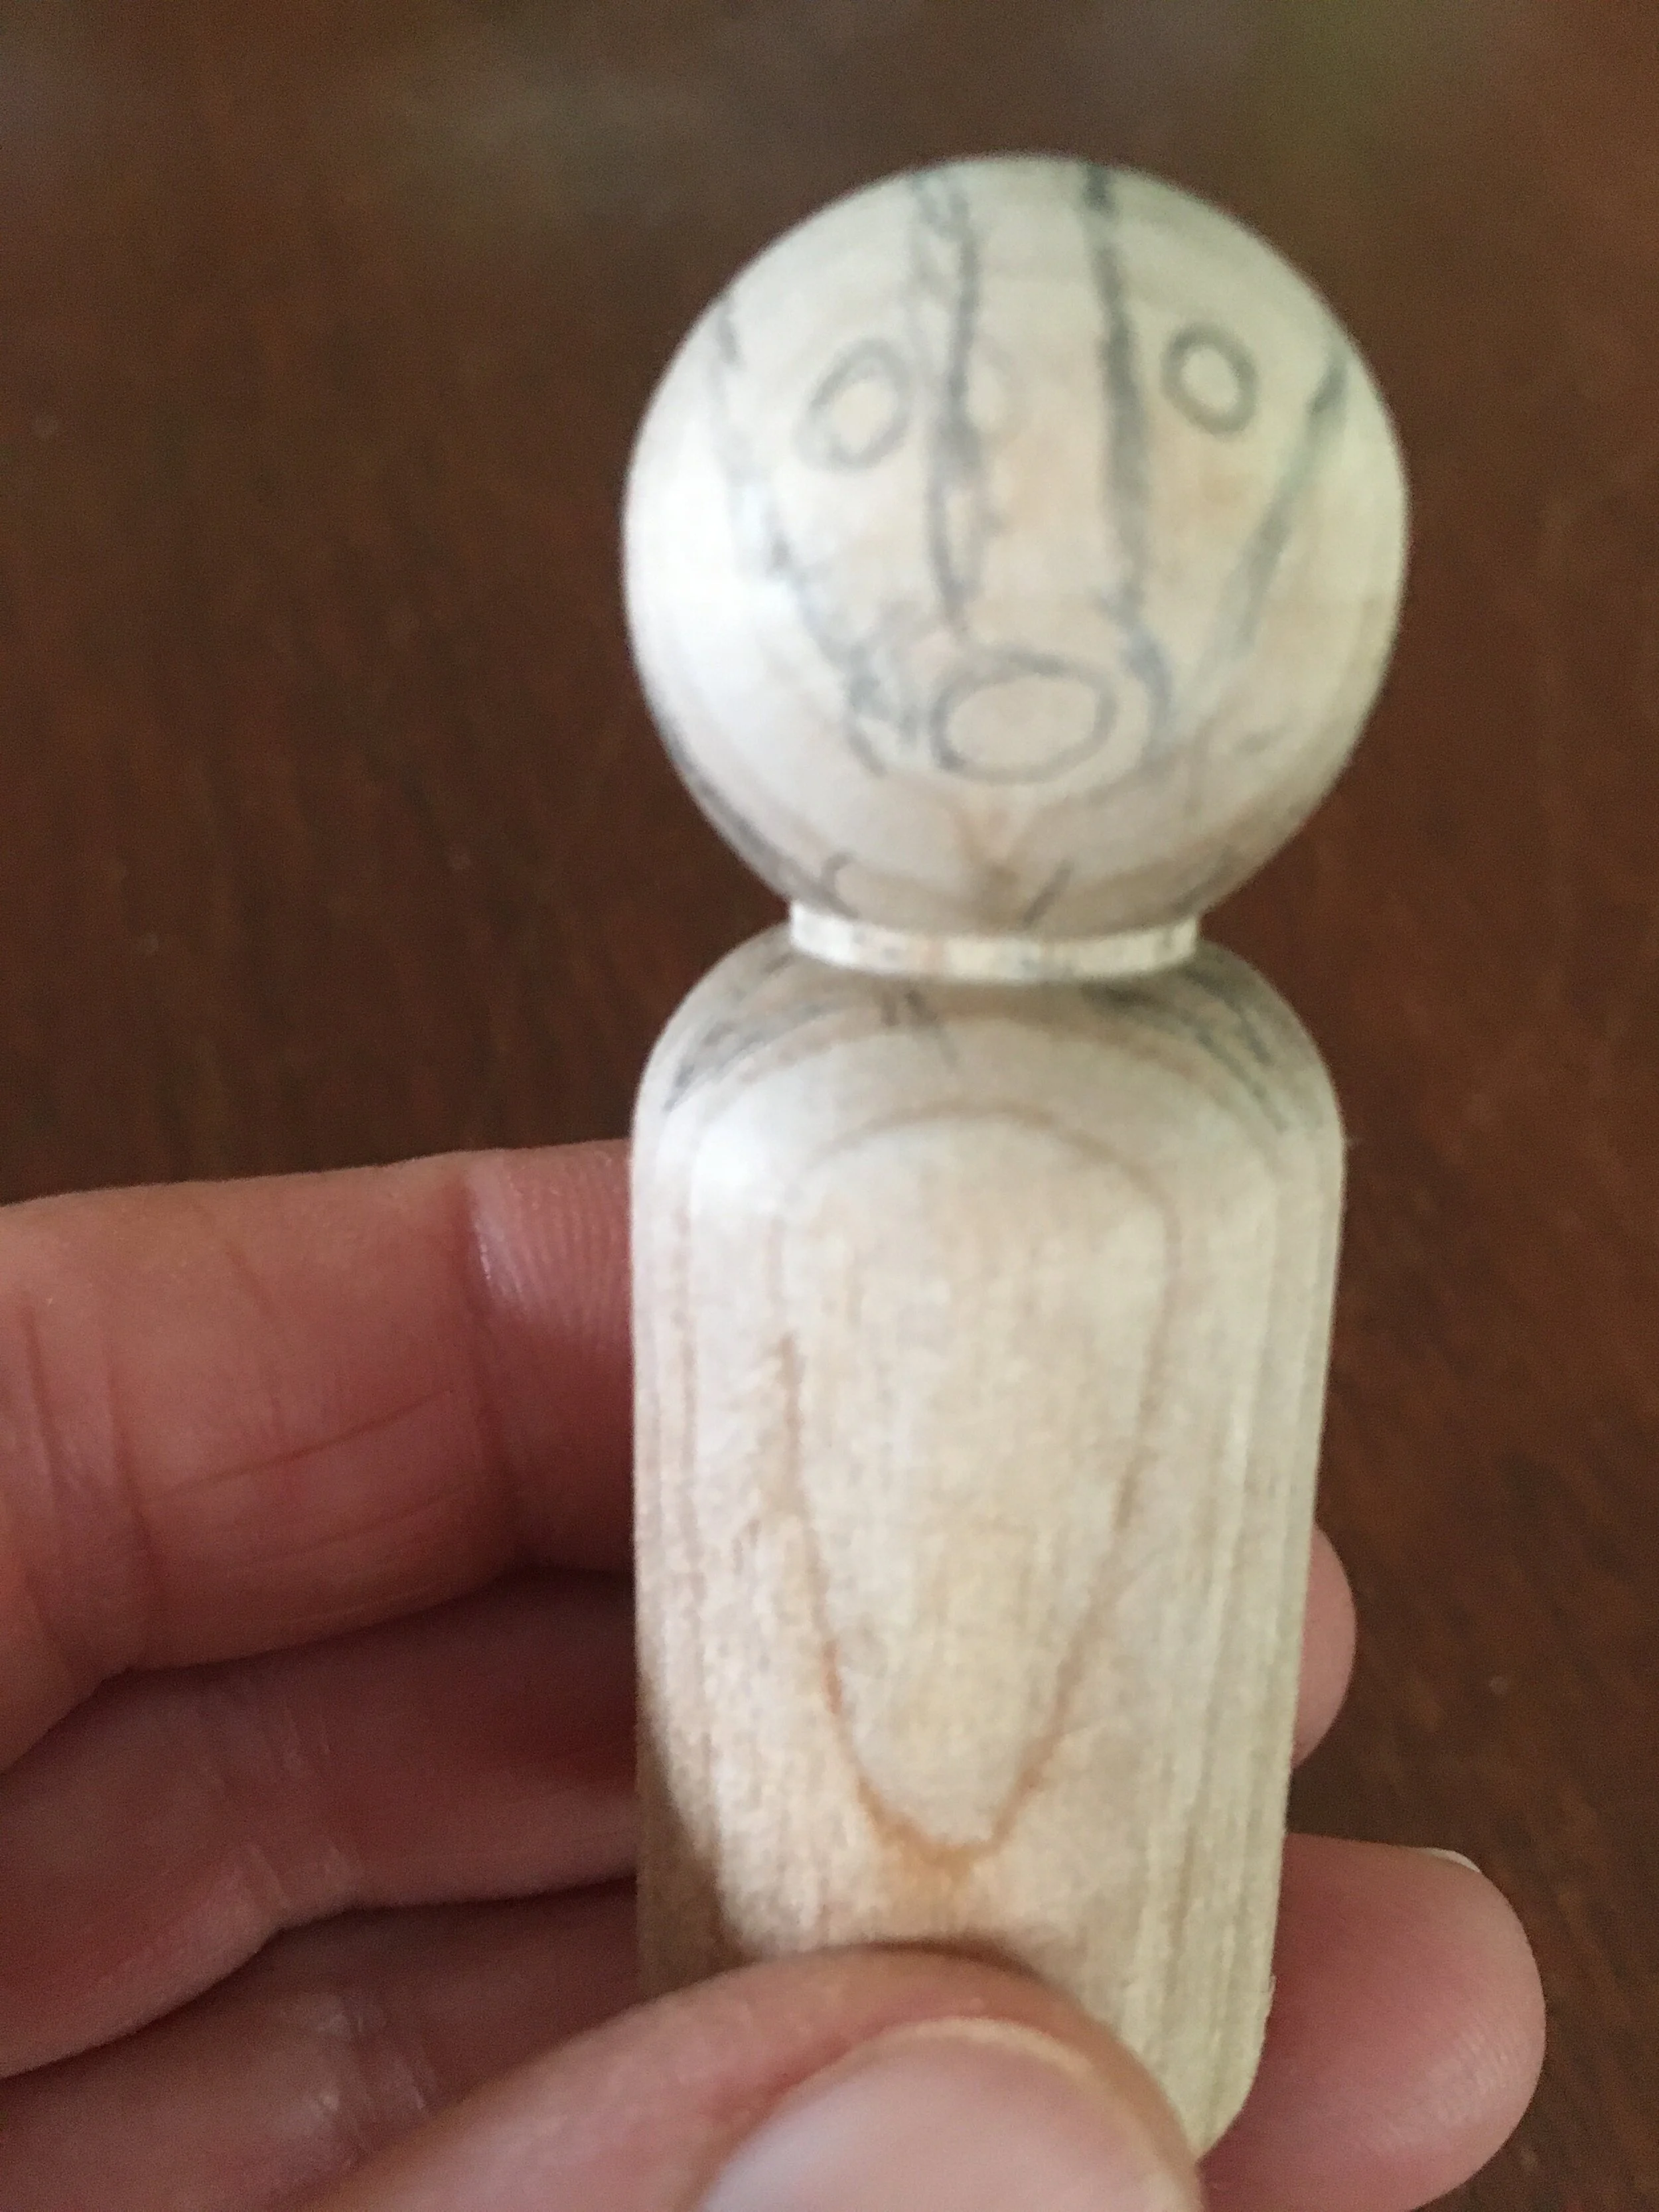
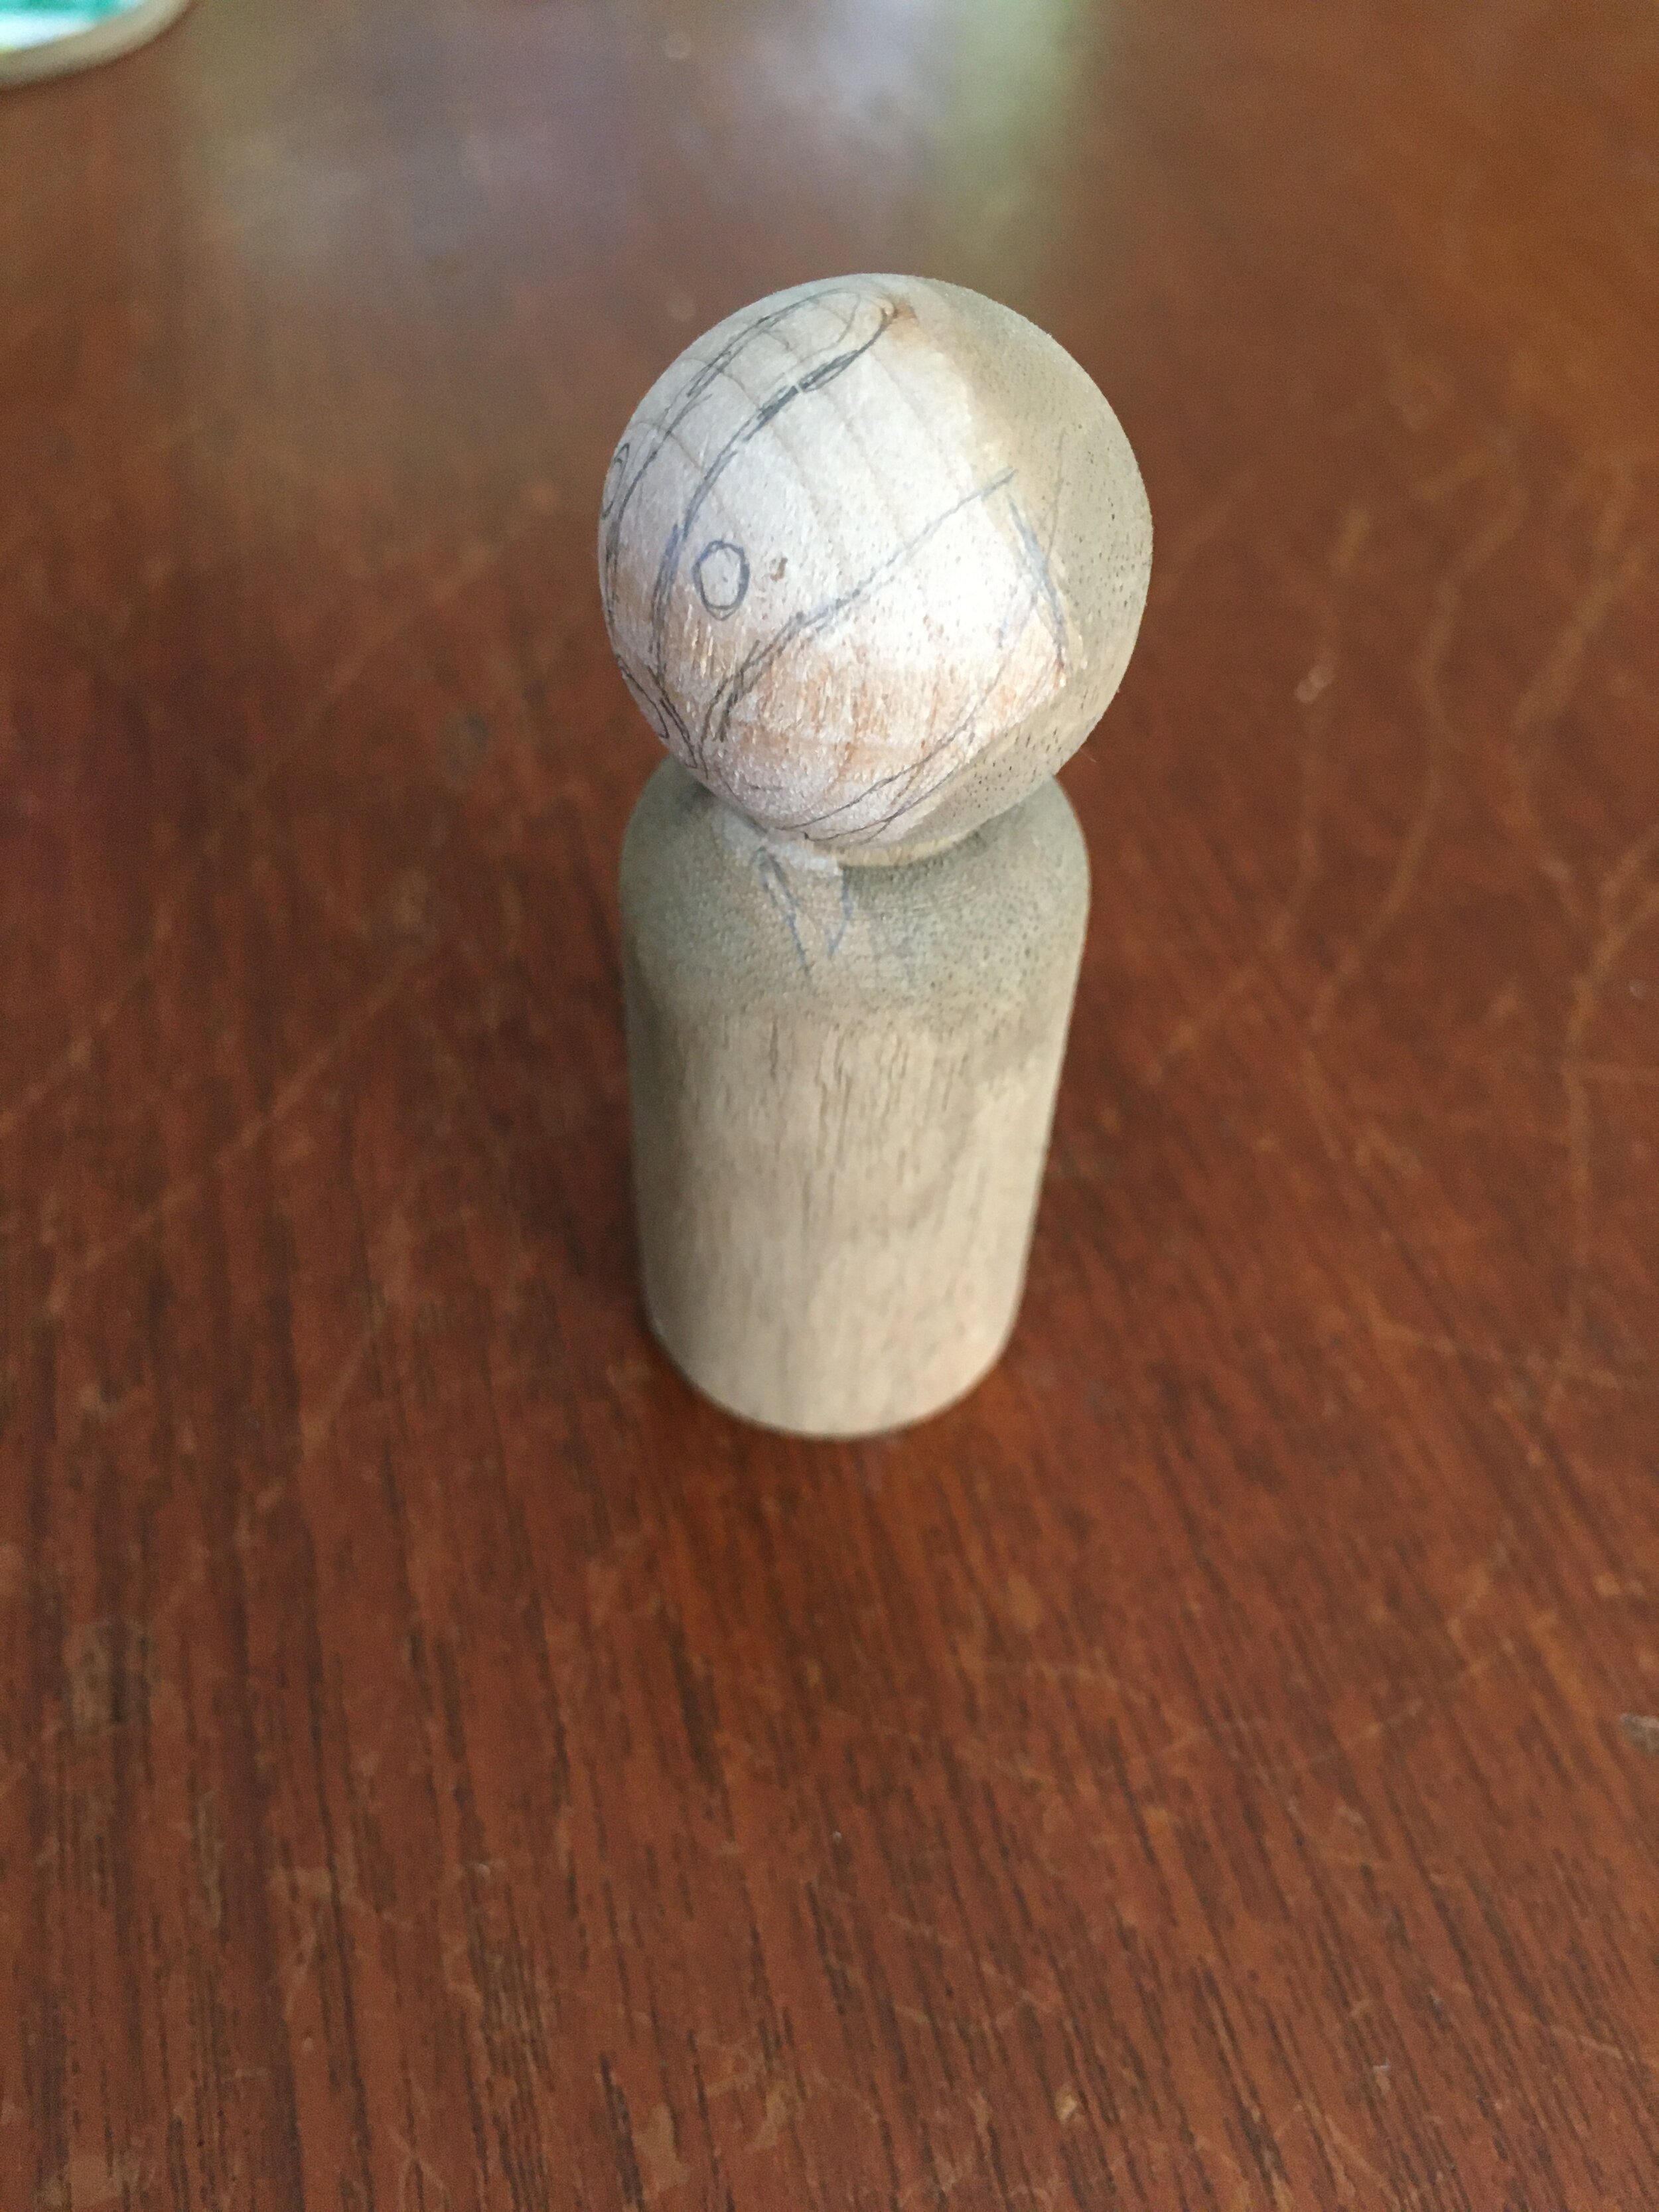
The instruction booklet is great. I found the coat and hat patterns to be a bit too big. I cut 1/8 inch off both those patterns. However, if a child is going to sew the clothes, leave the pattern pieces as is, unless he/she is able to stitch the narrow 1/8 inch seam indicated on the pattern.
The pattern calls for use of a glue gun but I used craft glue and that worked out well too. It just requires a bit more patience since it is slower to set up. However, craft glue allows for some adjustments which the hot glue does not. For that reason and for safety. I always use craft glue for my peg dolls.
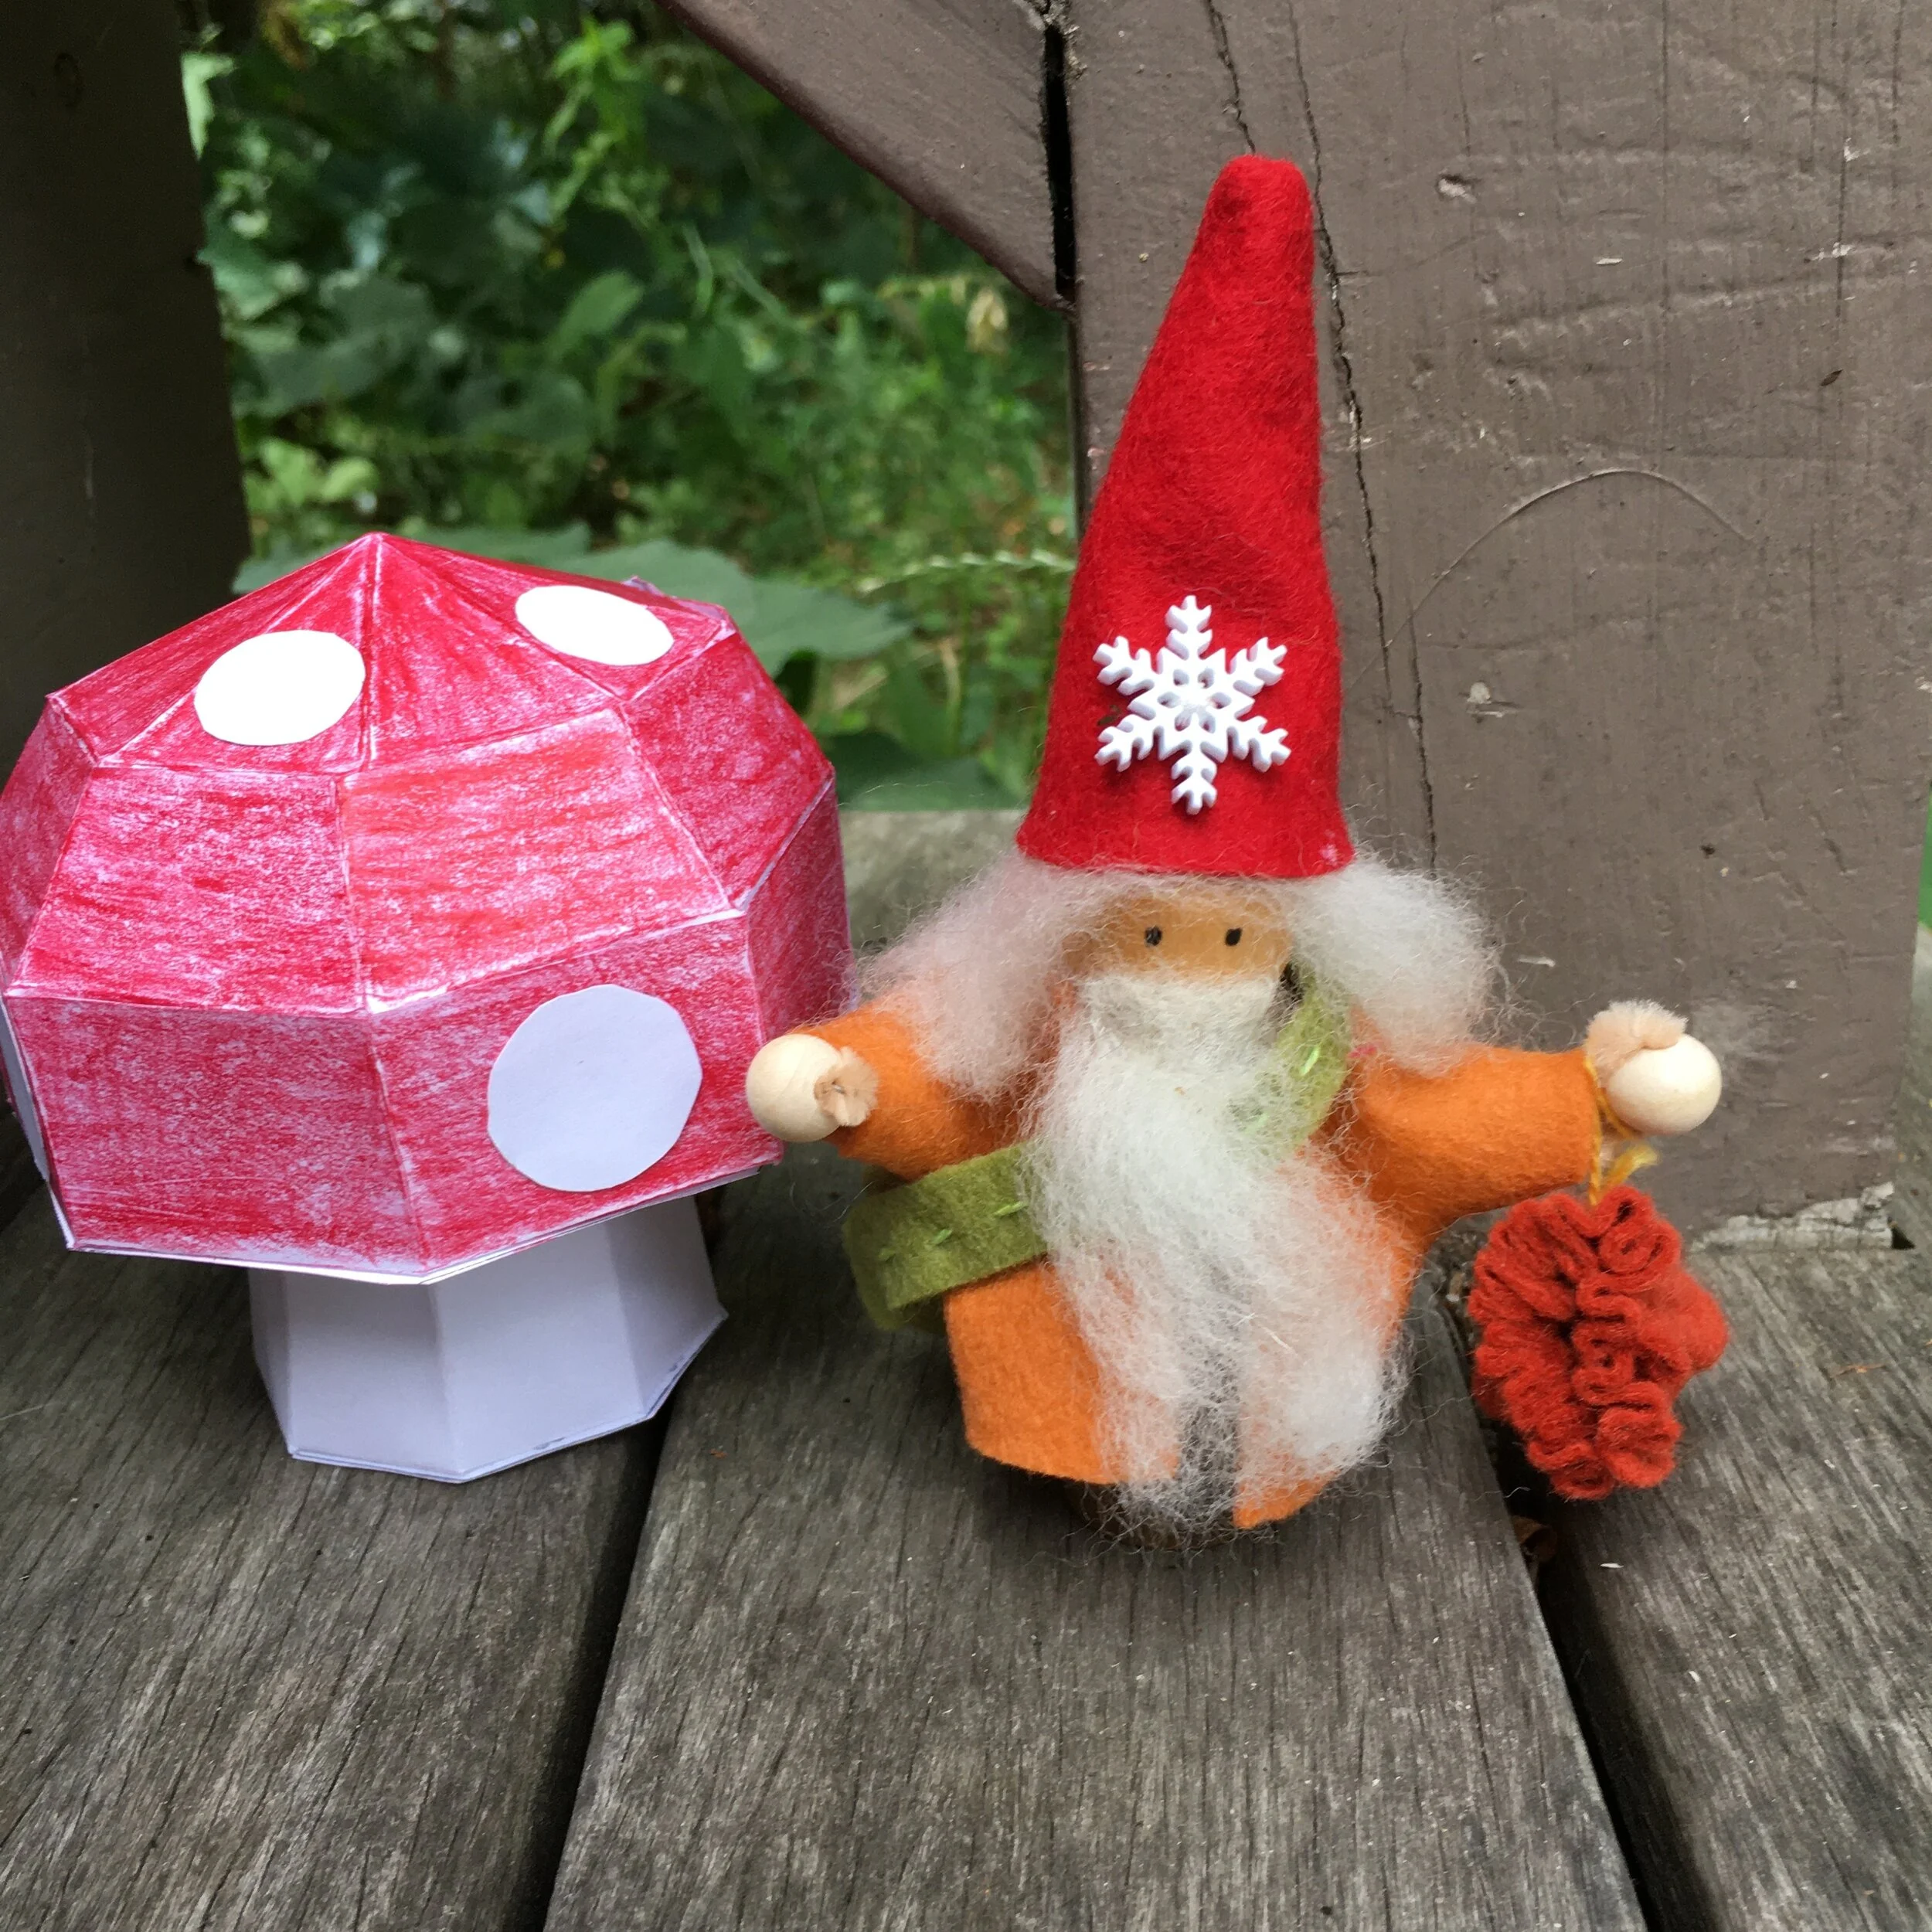
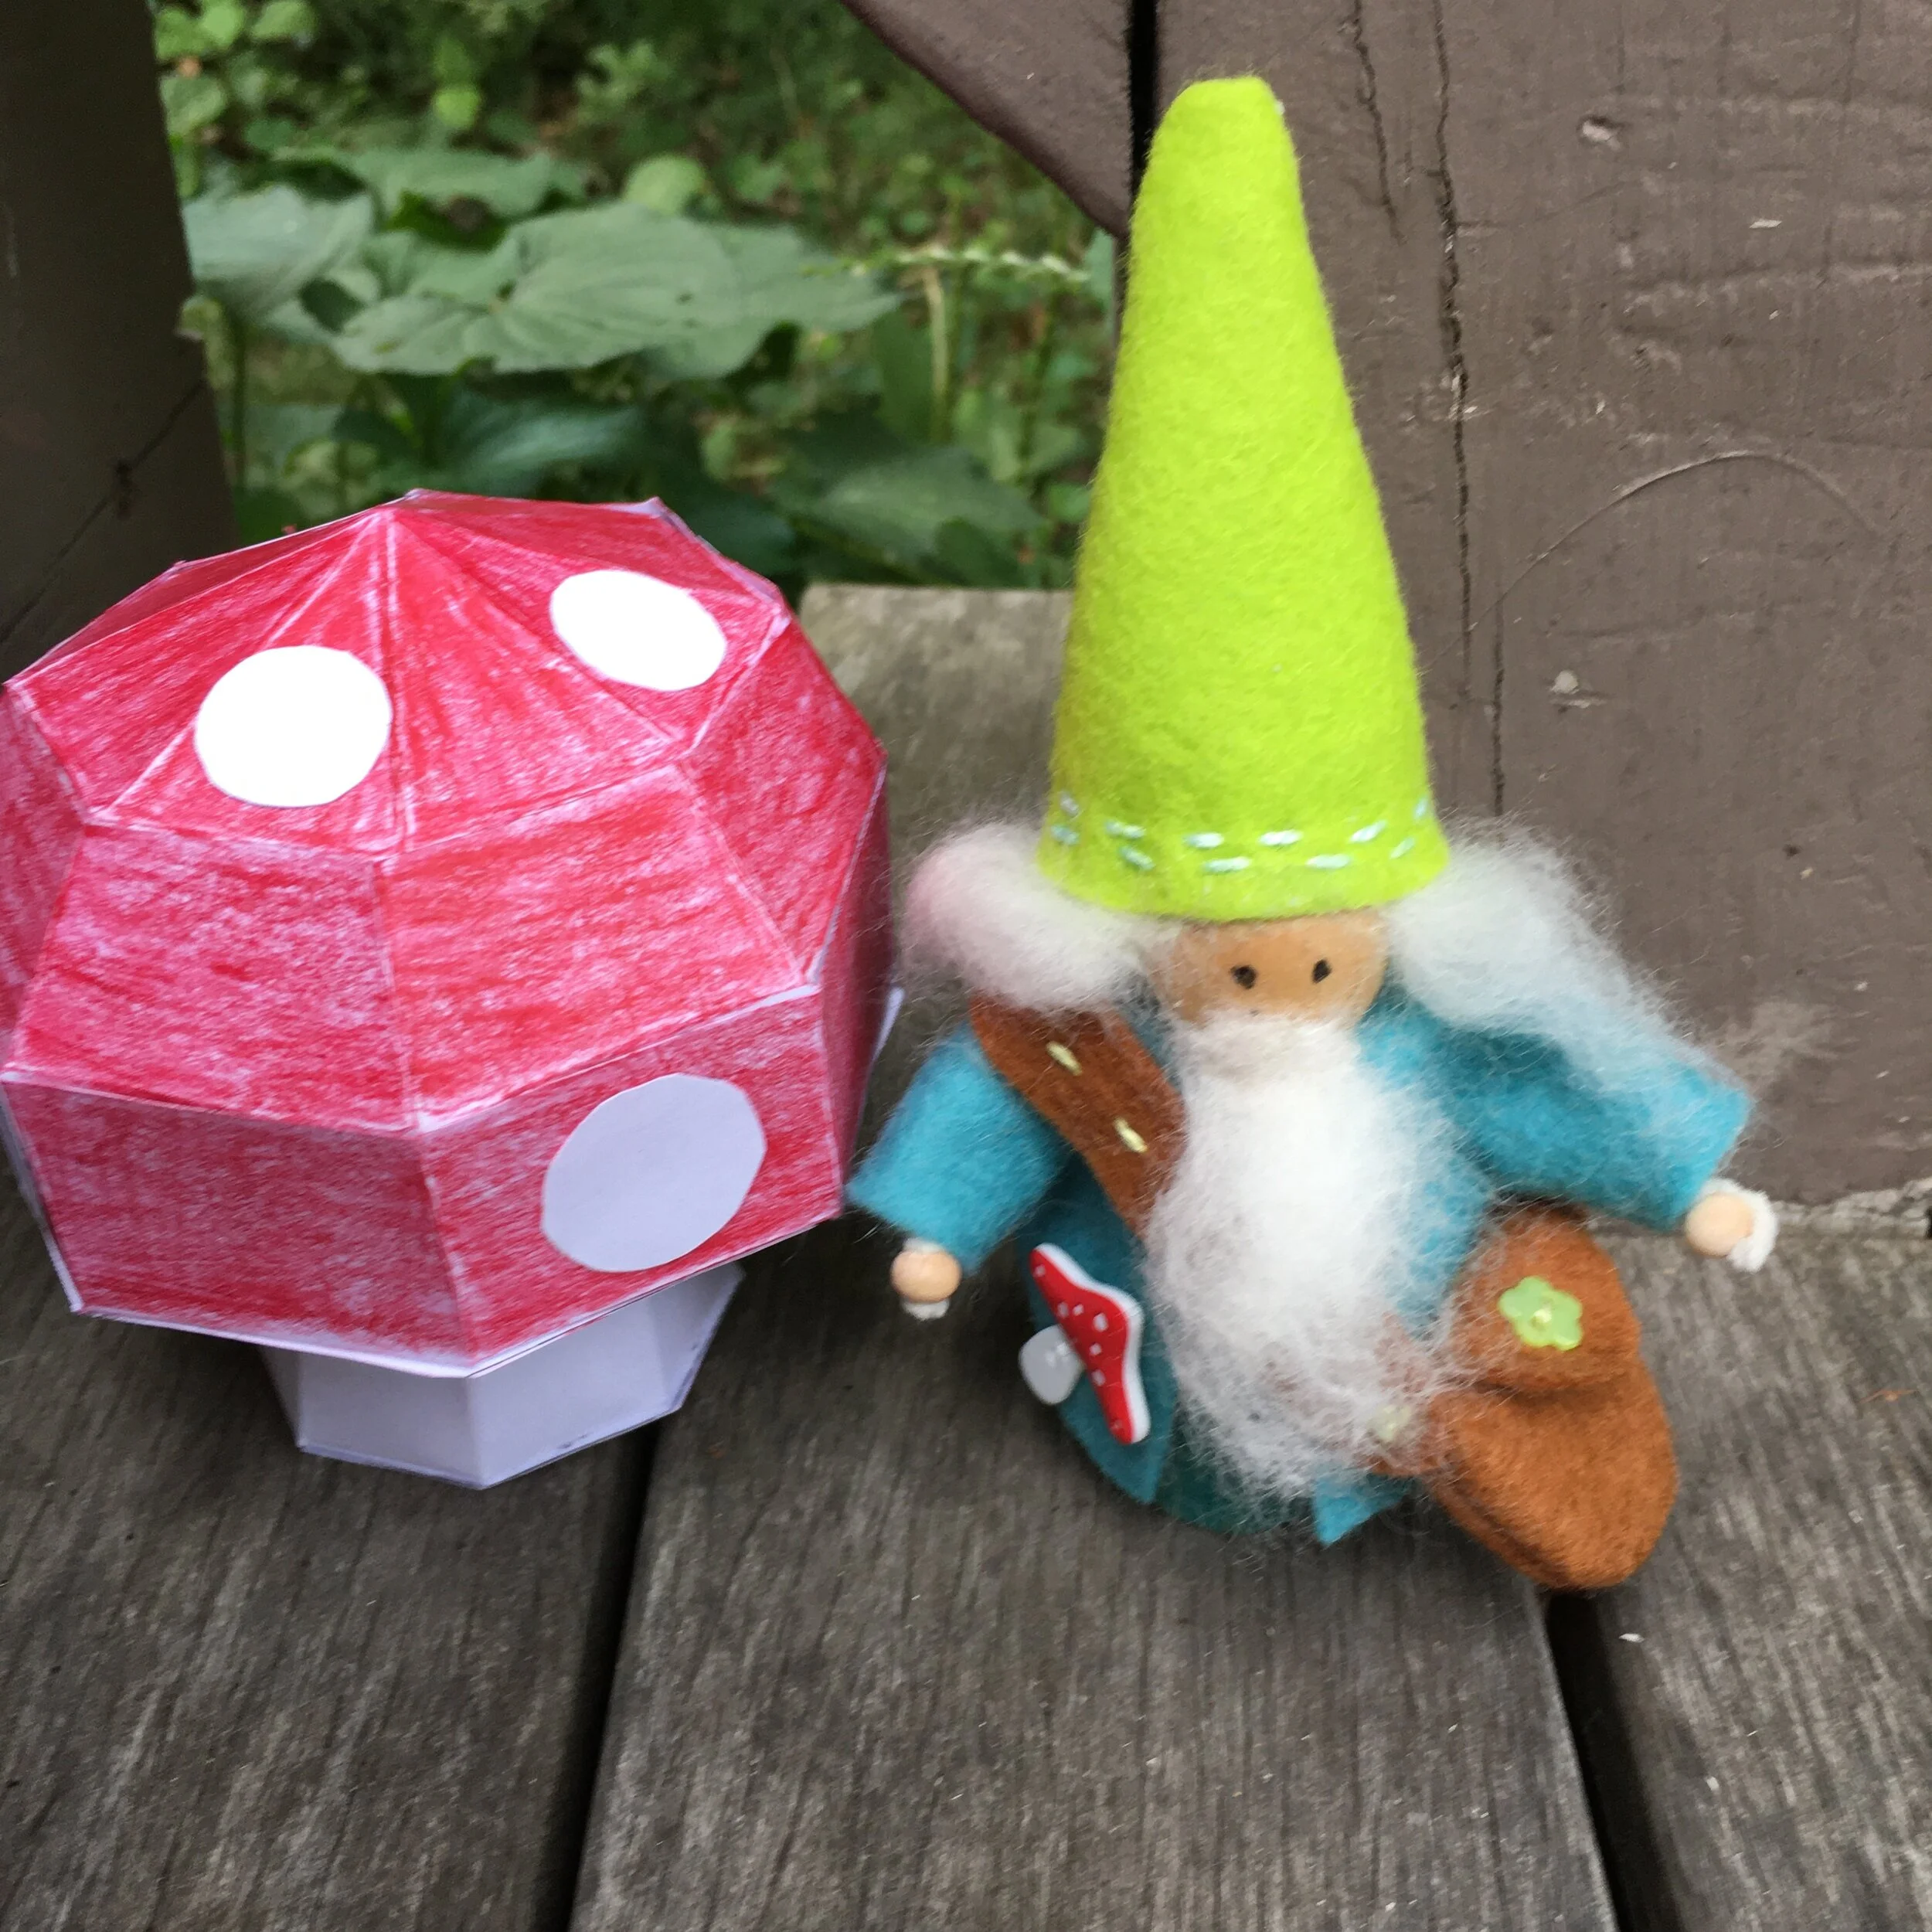
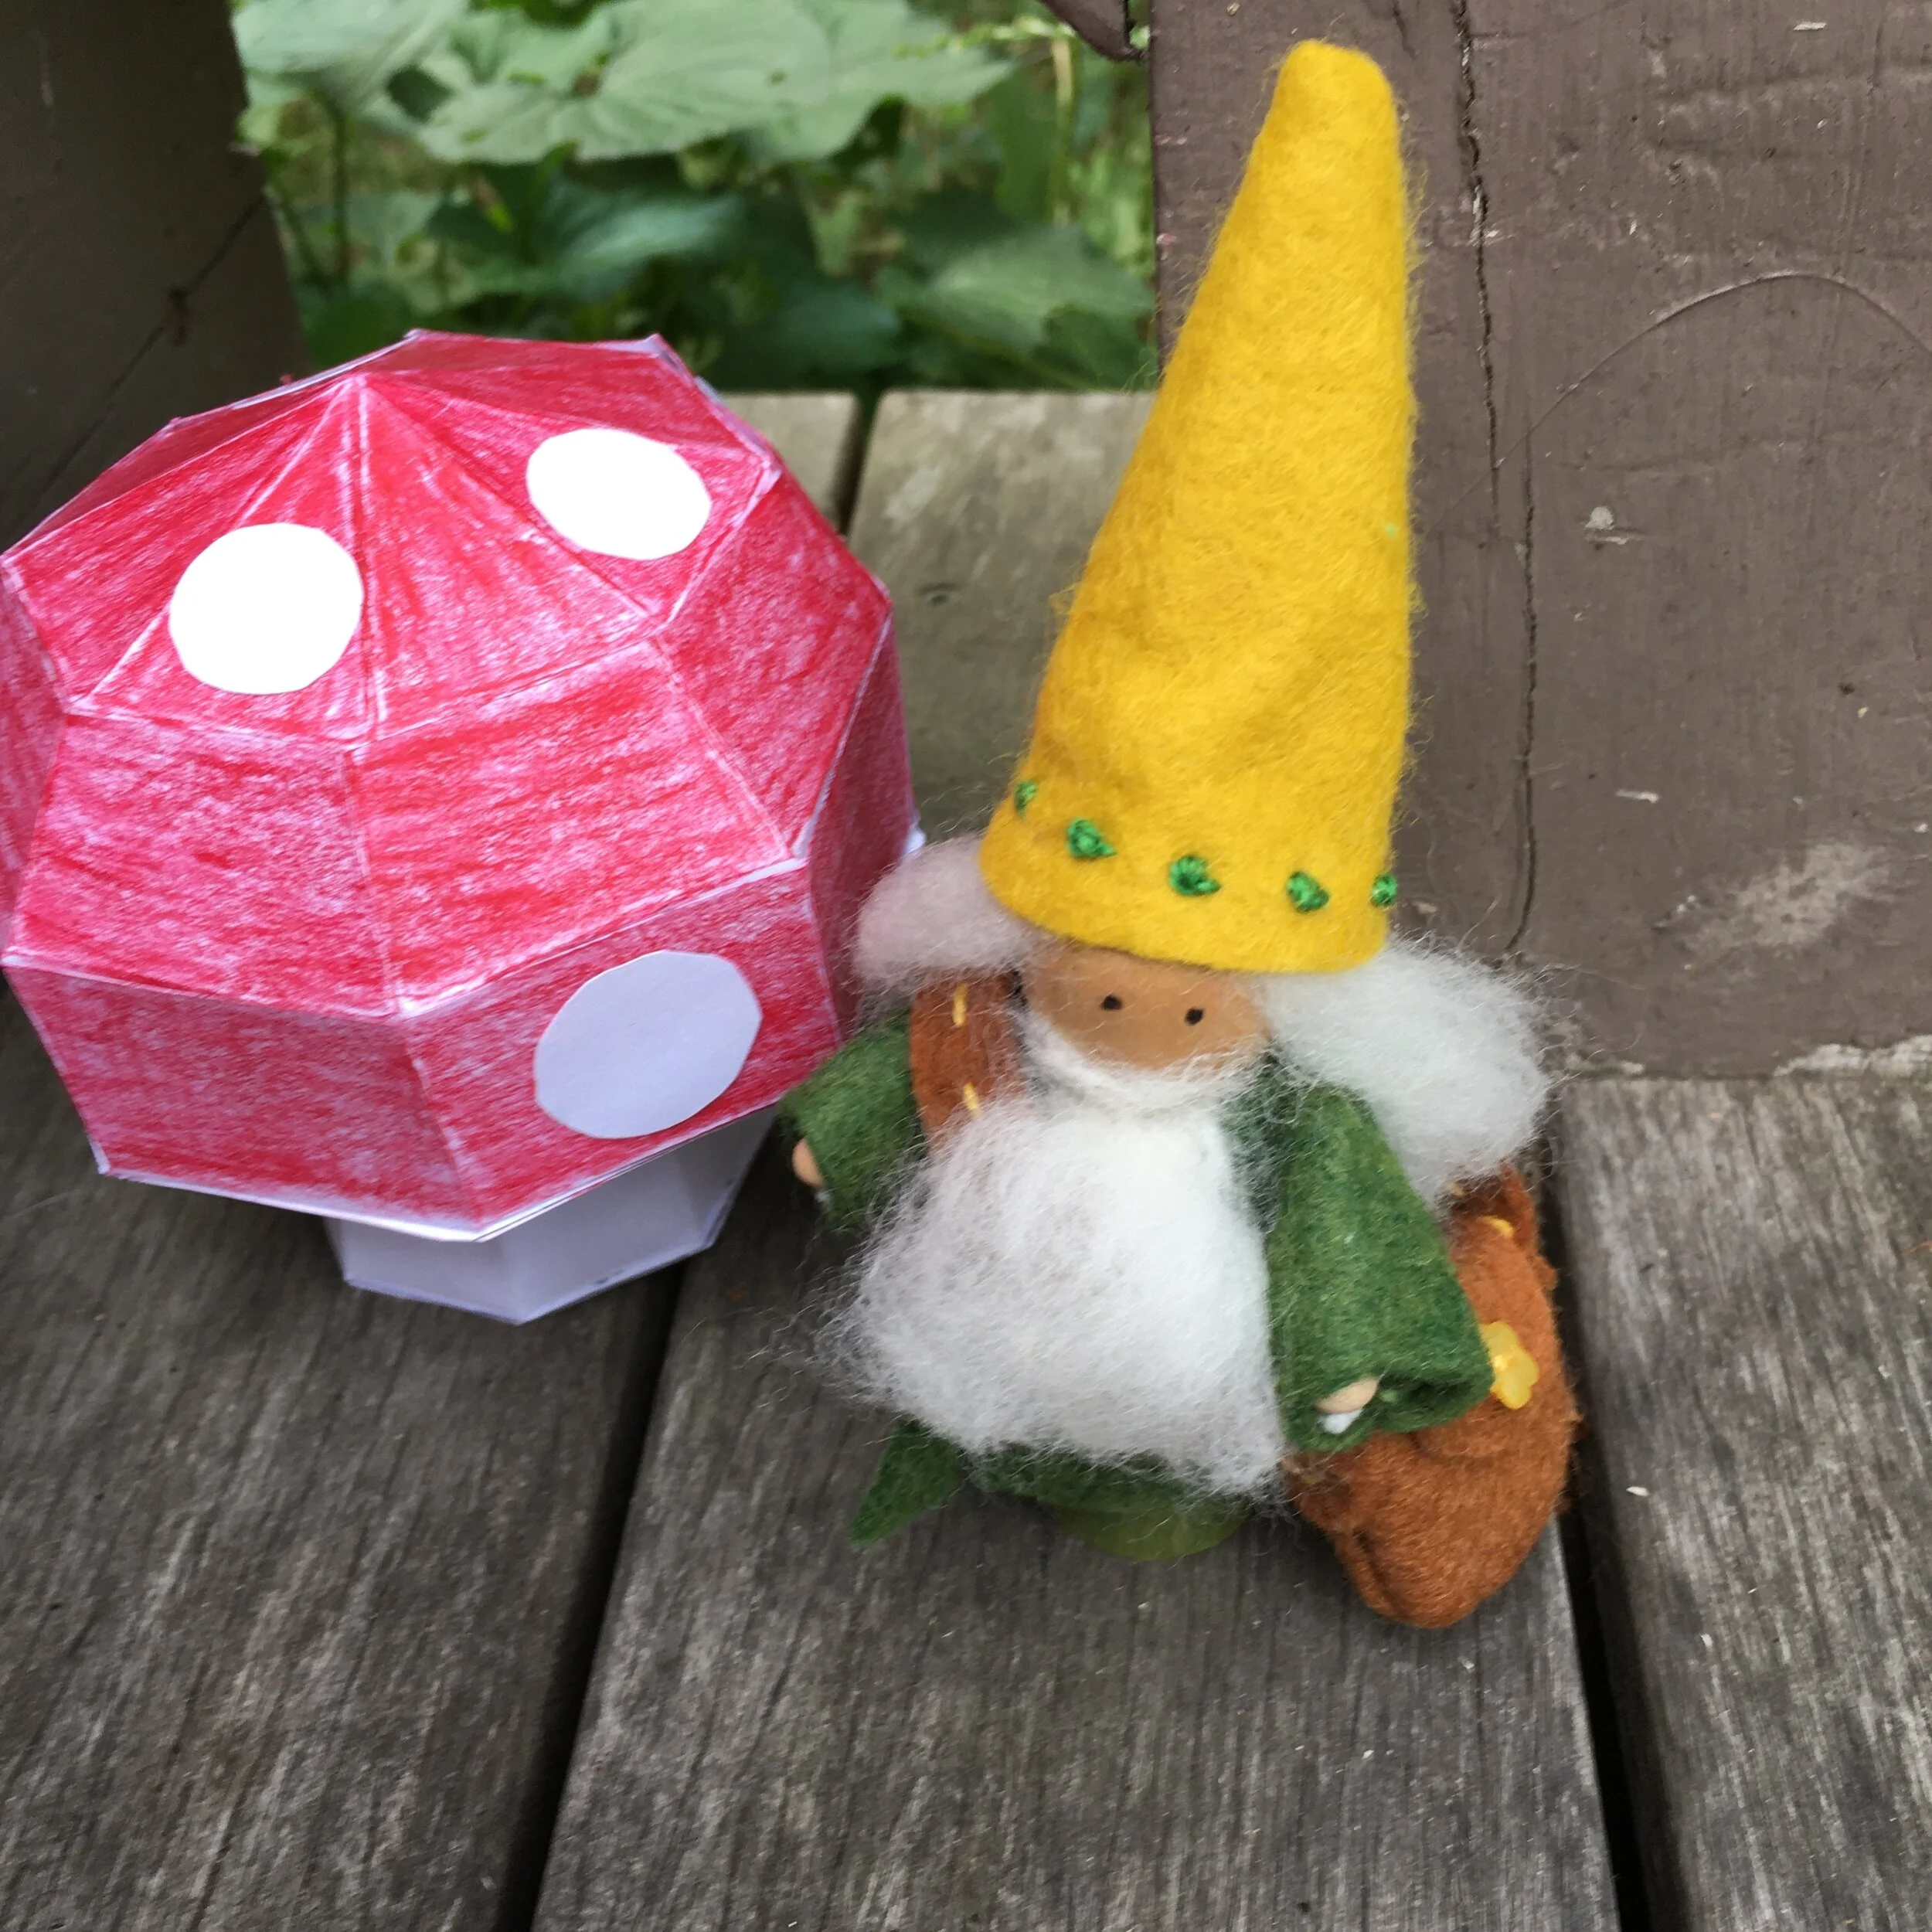
The paper mushroom is a free download from lowpolycrafts.com. I didn’t have any red card stock paper that was heavy enough, so I used white card stock and colored my mushroom with colored pencils. An older school child who likes origami or is good with their hands could easily construct this paper mushroom. All you need is card stock, craft glue, and a small pair of sharp scissors, and maybe a tool to score the fold lines.
So, two great kits you can make now to get ready the Winter Holidays!
Safety Note: No not give the gnomekins to a child under age three years. They have small pieces which are choking hazards.
Notice: This blog is not monetized: I do not use affiliate links. When there are links in a post, they are to give credit to another creative person, because I like or have used a product, or to help the reader easily find supplies for a project.